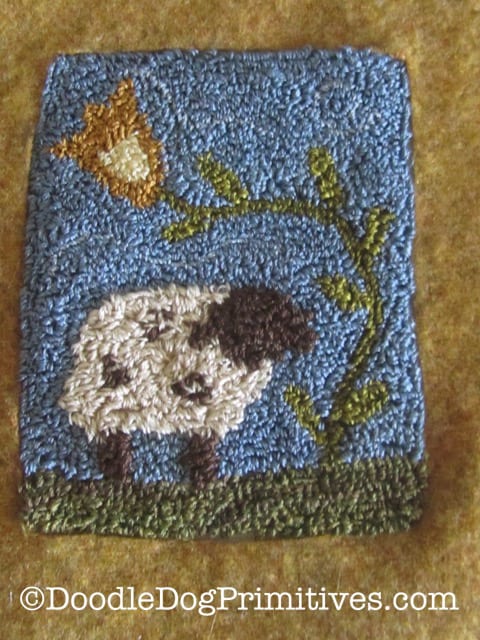
After finishing the punching of this free pattern,
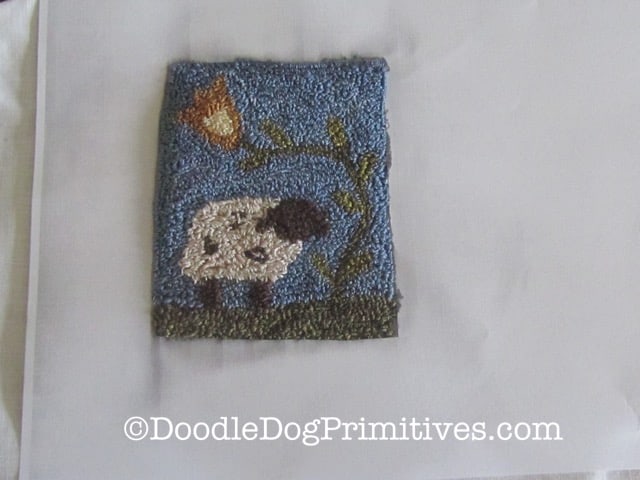
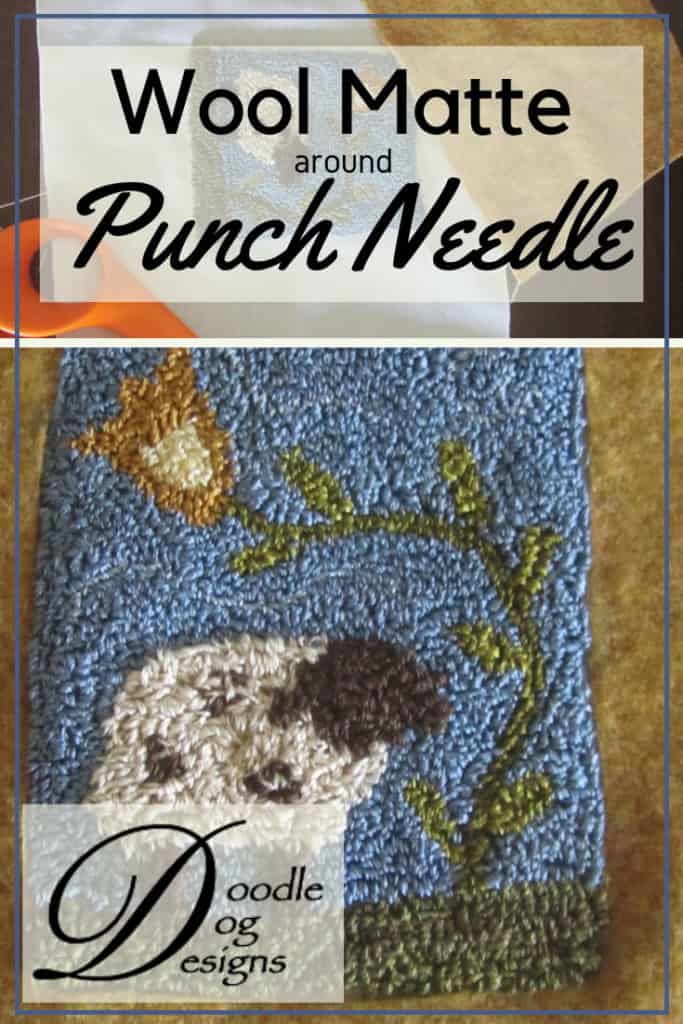
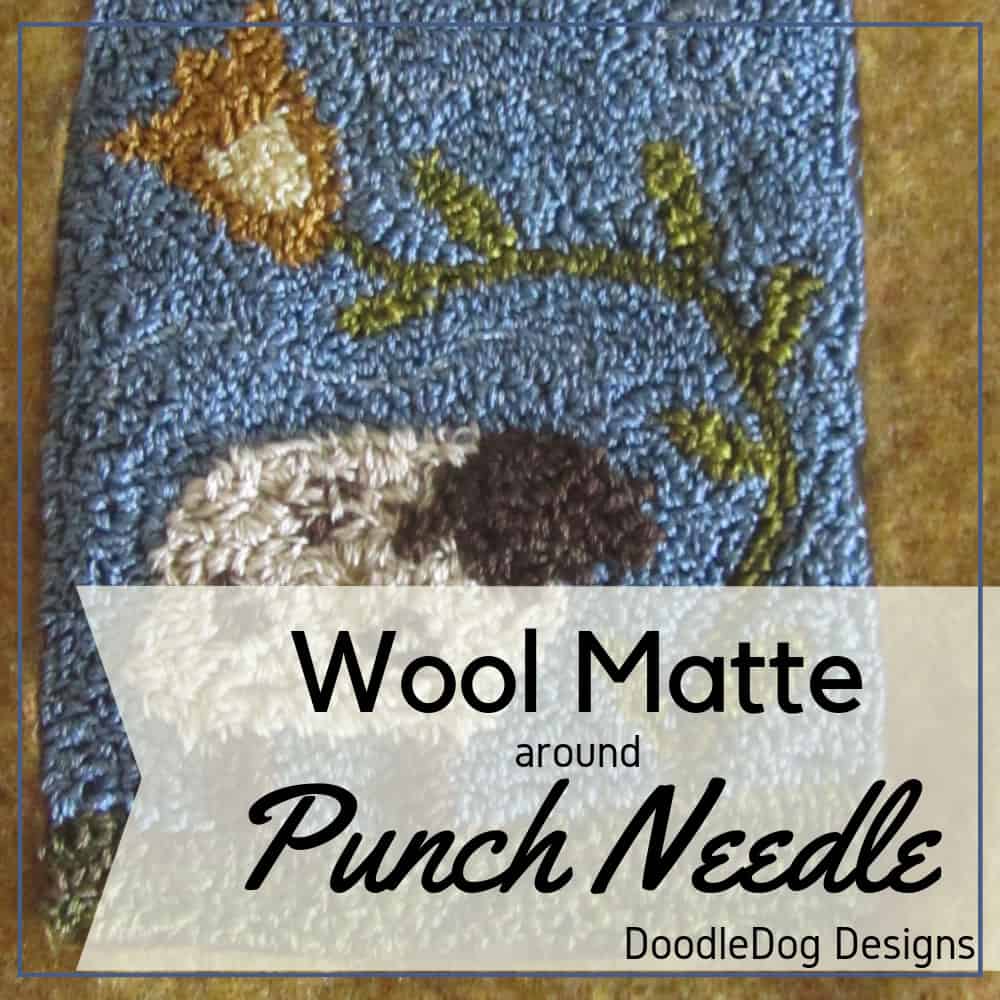
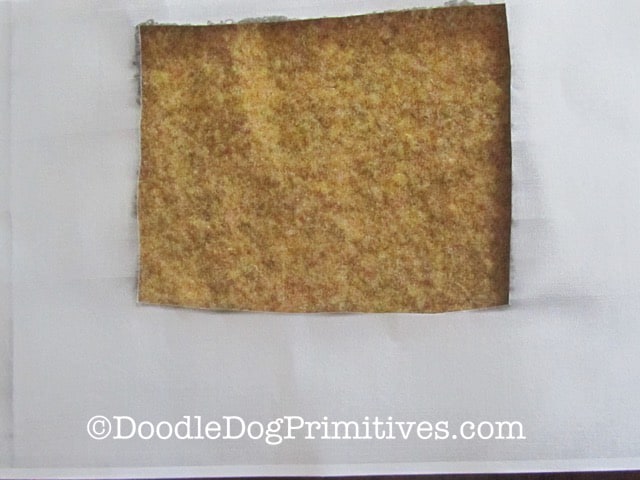
I decided to add a felted wool matte around the punch needle project.
I chose a nice antique golden yellow color to bring out the color in the tulip.
Supplies to Add a Wool Matte:
- Punch Needle Project
- Photocopier
- Scissors
- Felted Wool – large enough to form a frame around your punched piece
- Basic Sewing Supplies
Photocopy the Punch Needle Project:
First, photocopy your punch needle project.
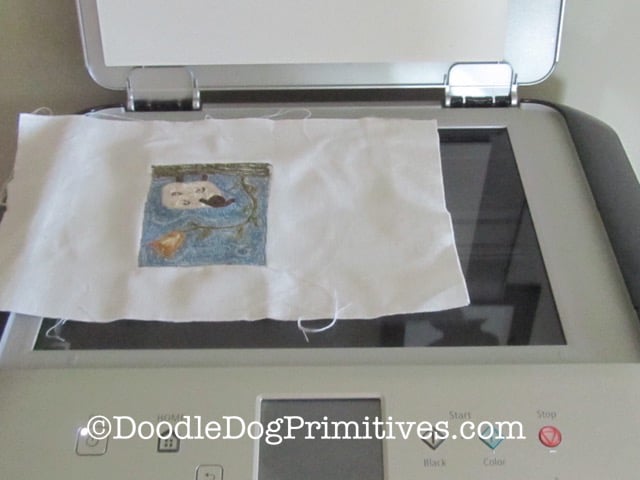
A black and white photocopy is fine.
It doesn’t need to turn out pretty,
you just need the size and shape of the finished project.
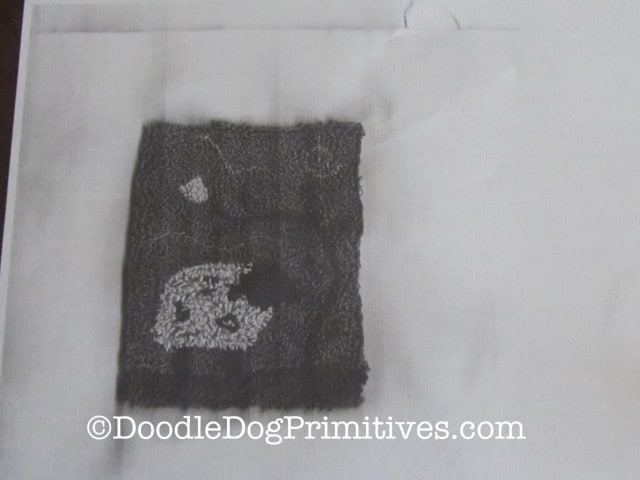
This photocopy will be your pattern for the wool matte.
Make Matte Pattern:
Cut the picture of the punched project out of the middle of your photocopy.
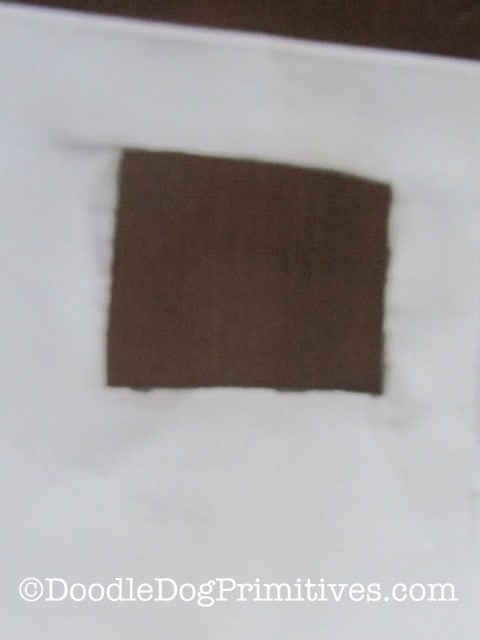

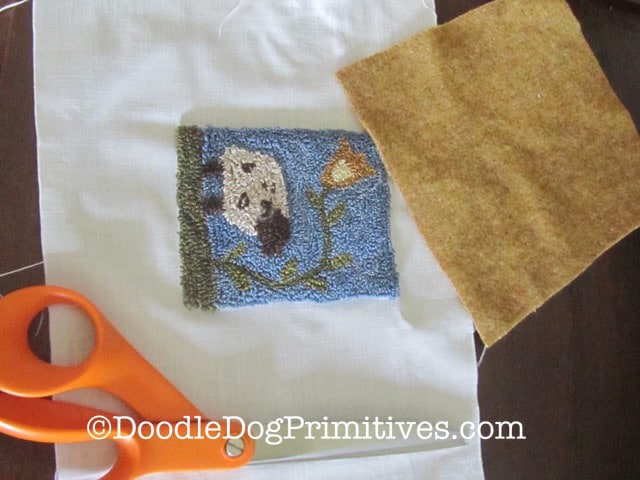
Cut Wool Matte:
Place the paper pattern over the top of the wool, centering it.
You can pin it on if you like.
Using the paper as a pattern,
cut out the rectangle showing through the pattern.
The easiest way to do this is to fold the wool to snip a whole in the middle.
(You don’t want to cut the “matte” part of the wool.)
You will end up with a piece of wool with a hole in the middle.
Place the hole in the wool around your punch needle project.
You can sew the wool matte to the weavers cloth
using thread to match the wool
or use a running stitch with
a coordinating color of thread for a different look.
That is a quick and easy way to add a coordinating wool matte to your punch needle project!
Blessings~
Amy
Be sure to Pin this punch needle tutorial: