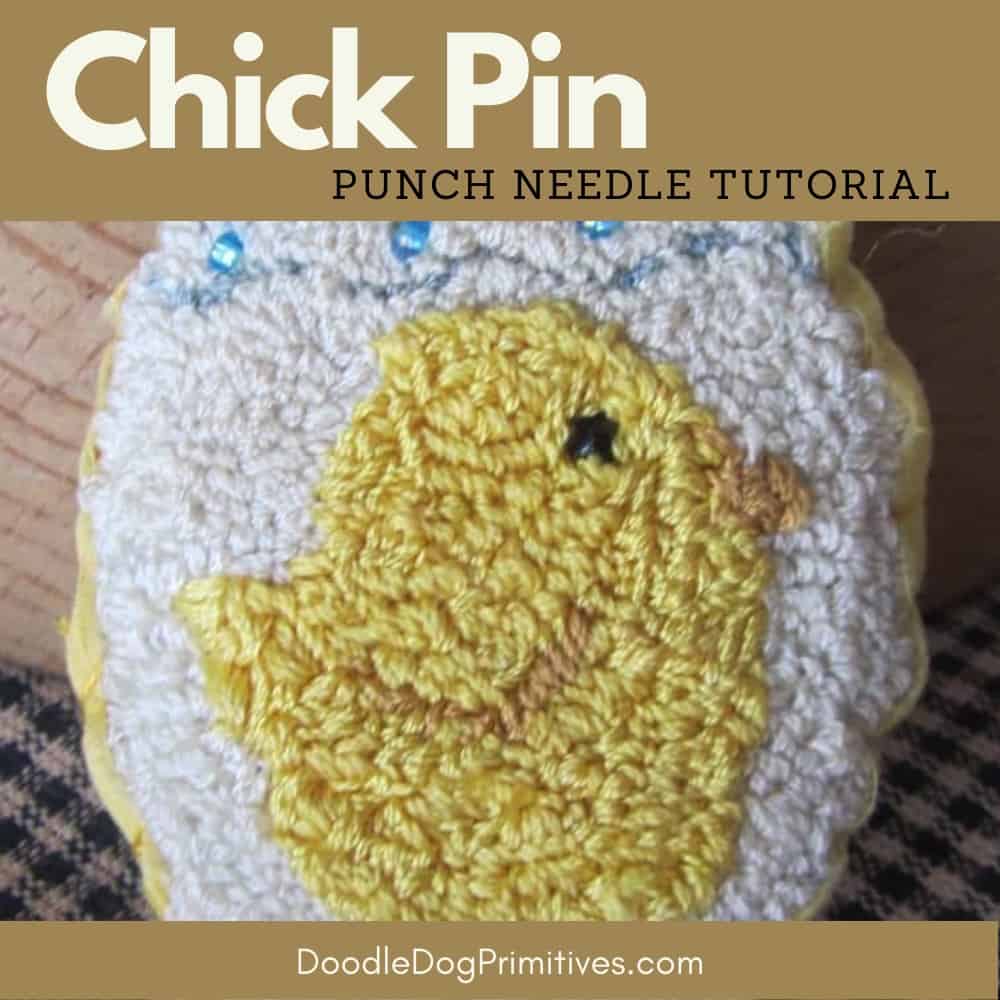
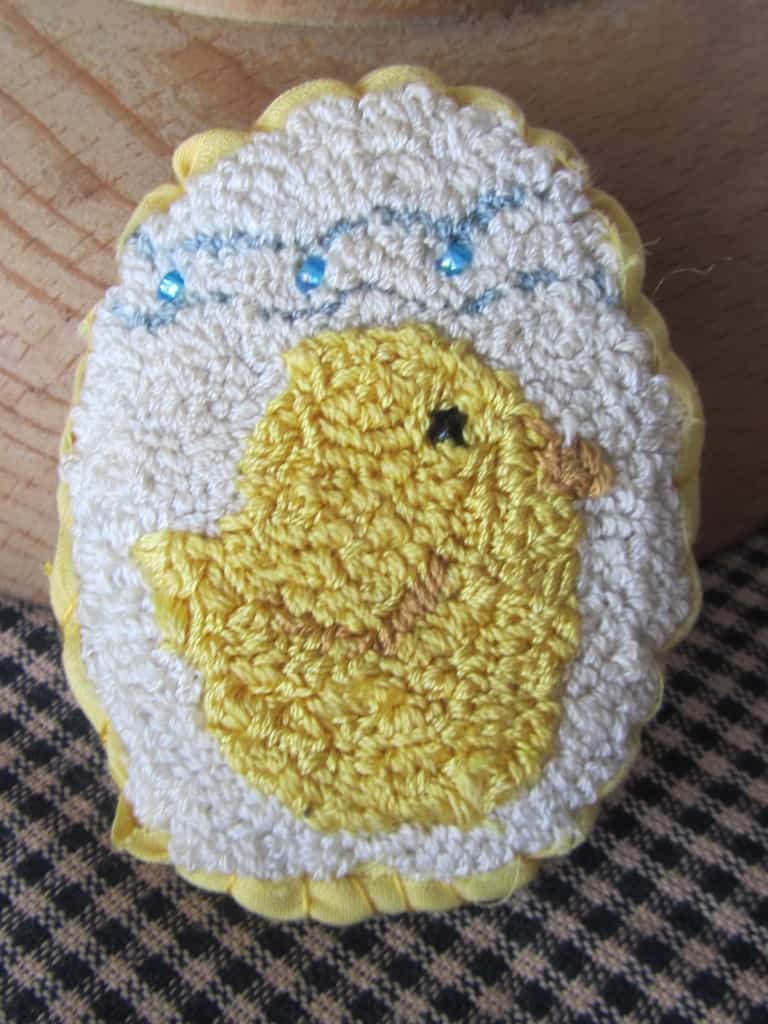
Last spring, I shared this free chick punch needle pattern with you. Today, I have created a chick pin tutorial to show you how to make the punched chick into a pin you can wear!
Watch the Video:
Supplies you need for the Chick Pin:
- Finished Punch Needle Project
- Felted Wool
- Basic Sewing Supplies
- Pin back
- Marking Chalk
- Crinkly Ribbon

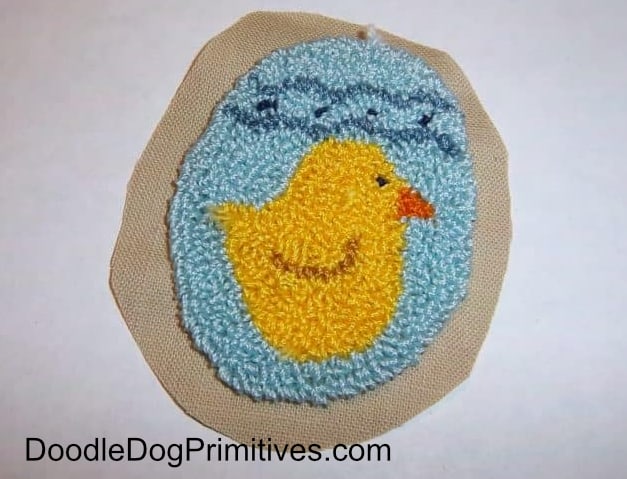
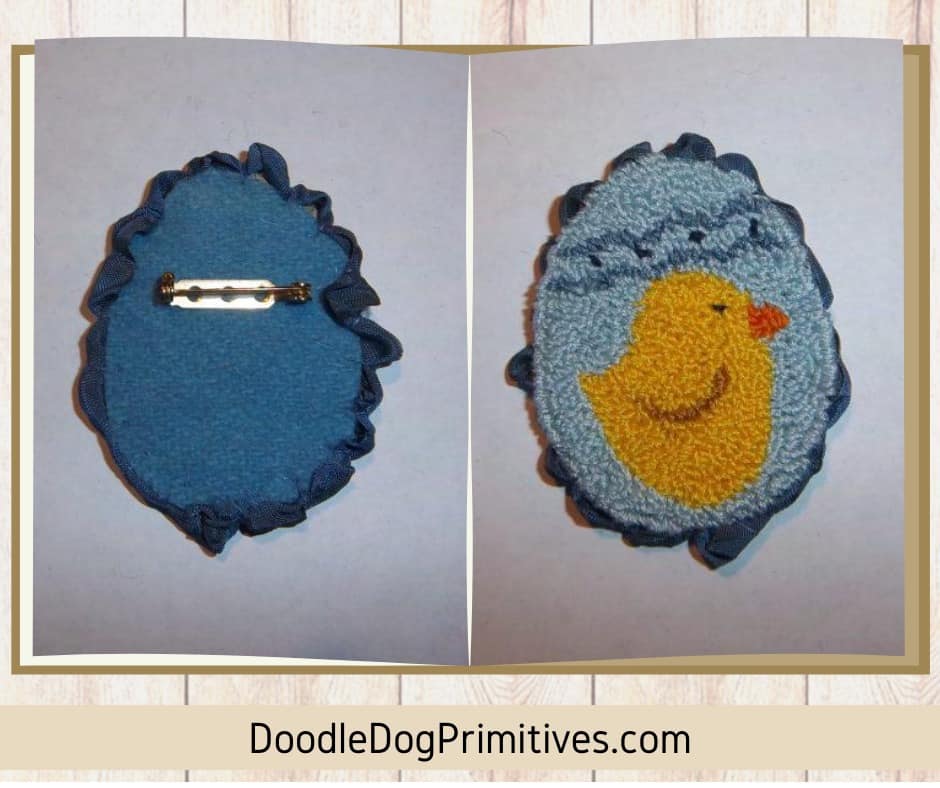
In this sample the chick was punched with a blue background instead of cream.
Make the Pin:
After punching, trim the empty weavers cloth to around 1/4″ beyond the edge of the punching.
Carefully press the empty weavers cloth to the back of the project
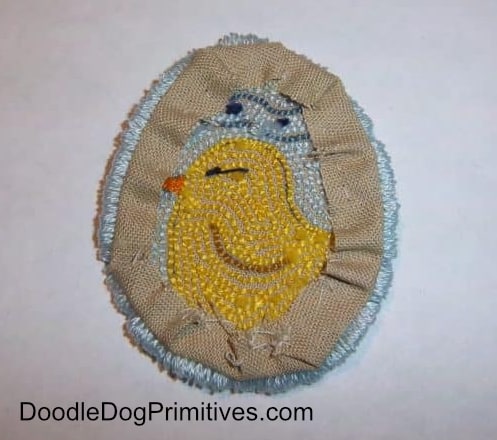
When you turn the punched project back over,
you shouldn’t be able to see any weavers cloth.

Place the finished punch needle project on top of the wool
and mark around it with chalk.
Cut out the wool oval.
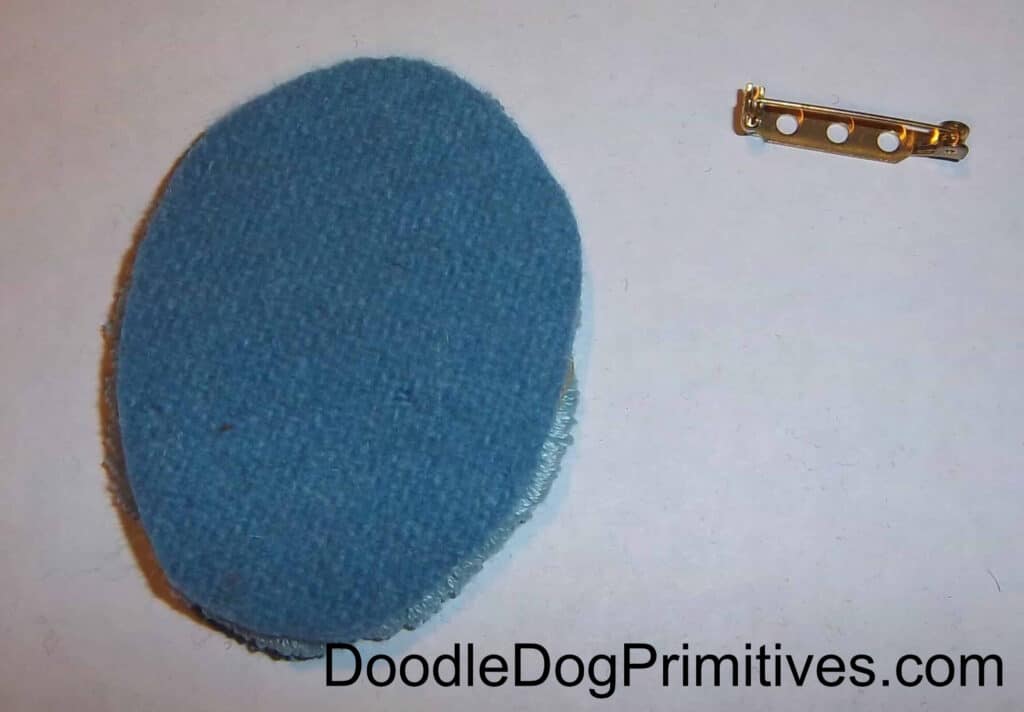
Go ahead and sew the pin back to the right side of the felted wool oval.
It will be easier to attach it now than after the pin is sewn together.
Layer the wool oval and the punch needle piece, wrong sides together.
If you want to add some dimension, you can add a little stuffing in between the layers.

Position the crinkly ribbon around the outer edge of the project.
Diagonally whipstitched the ribbon to the punched piece,
catching the punched piece and the backing piece in the stitching.
Check out this post for a more detailed tutorial.
This gives the piece a bit of a scalloped look around the edge.
I hope you enjoyed learning how make your own chick pin with this chick pin tutorial!
Blessings~
Amy
Pin this Punch Needle Tutorial:
