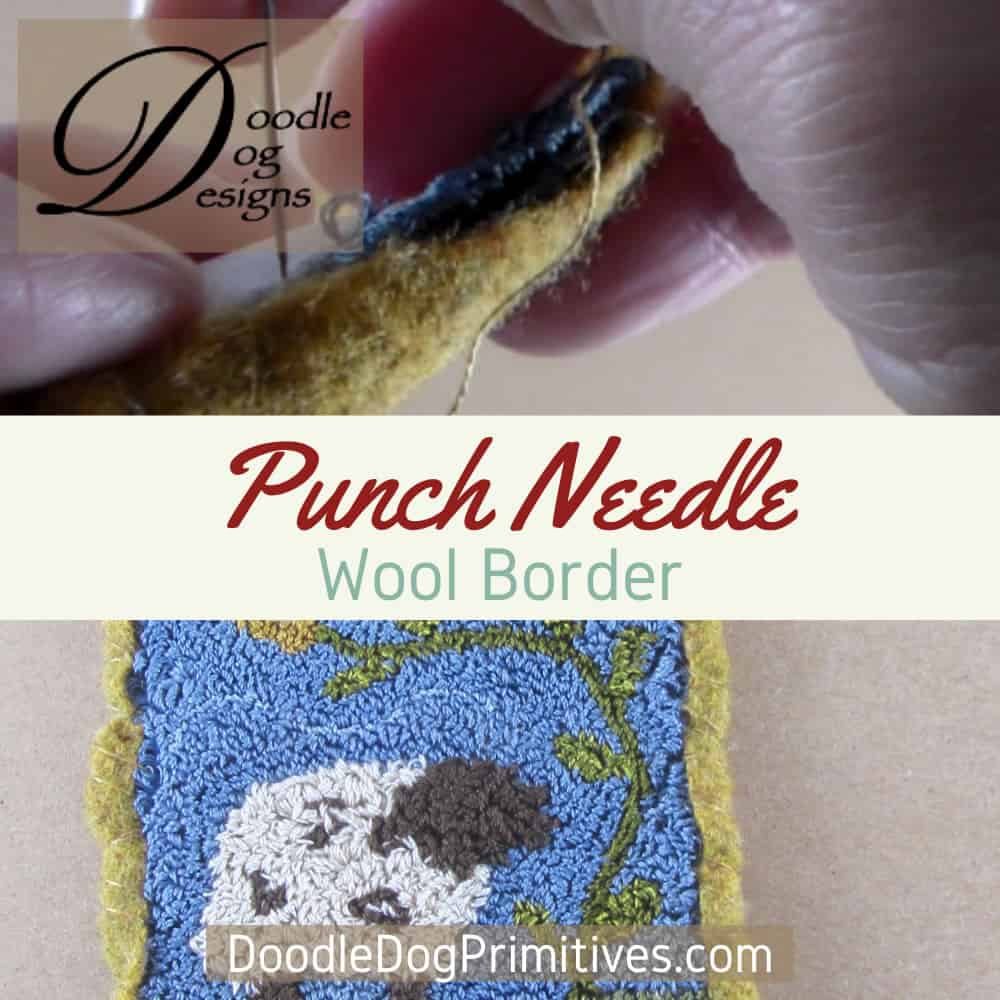
A great way to finish punch needle projects
is to add a wool border to the edge.
It is easy to do with a needle and thread
and you can match the wool to your project.
Here’s how to Add a Wool Border to a Punch Needle Project:
Supplies for Wool Border:
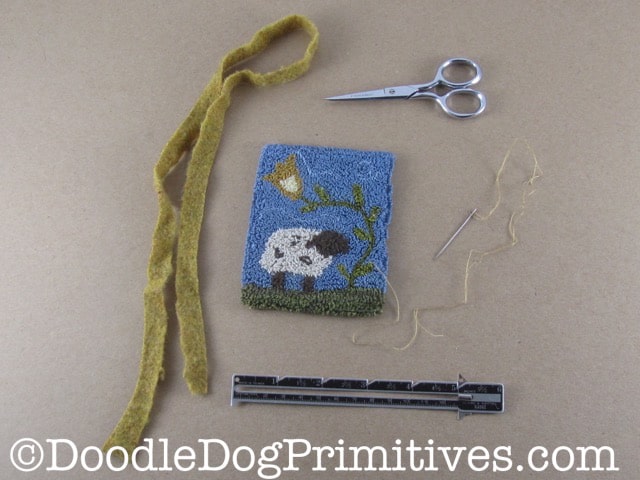
- Punch Needle Project
- 1/2″ strip of Felted Wool
- Basic Sewing Supplies
- Ruler
For this example, I used this free sheep punch needle pattern.
Watch the Video:
Prepare the punch needle piece:
Press the unpunched edges of the weavers cloth to the back.
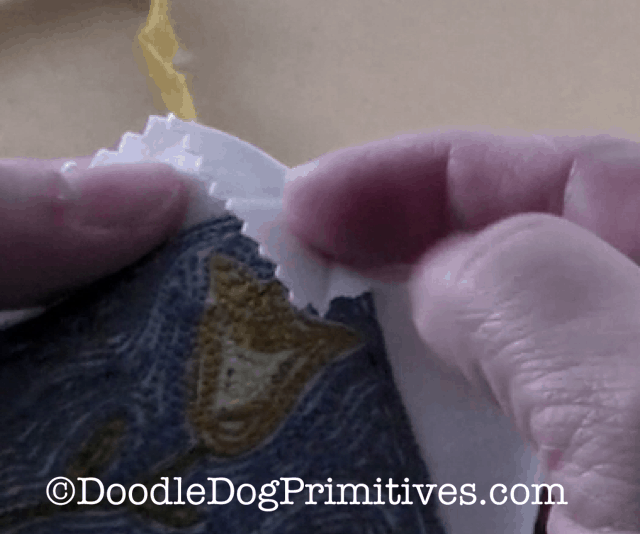
Press the corners in first,
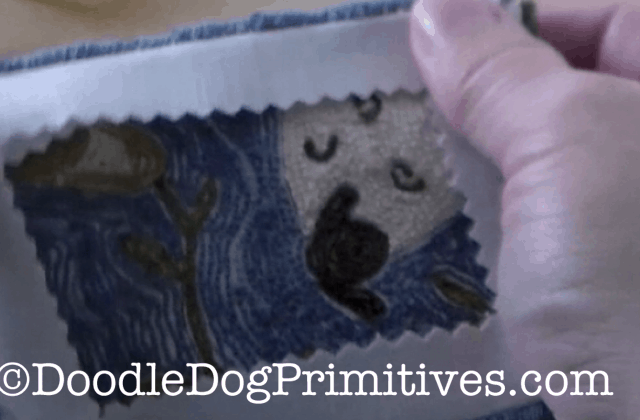
and then press the sides.
Measuring for the wool strip:
Measure the width and height of your finished punch needle project.
Add the width to the height and multiply by two
or you can simply measure all four sides
and add the four dimensions together.
This number is the perimeter of the punch needle project.
Add several inches to this to determine
how long your wool strip needs to be.
The bigger the punch needle project,
the more you should add because the wool puckers up as you work.
Cut your wool strip 1/2″ x your calculated number.
Experiment with different widths of wool to see what you like!
I used felted wool for the border because it won’t ravel.

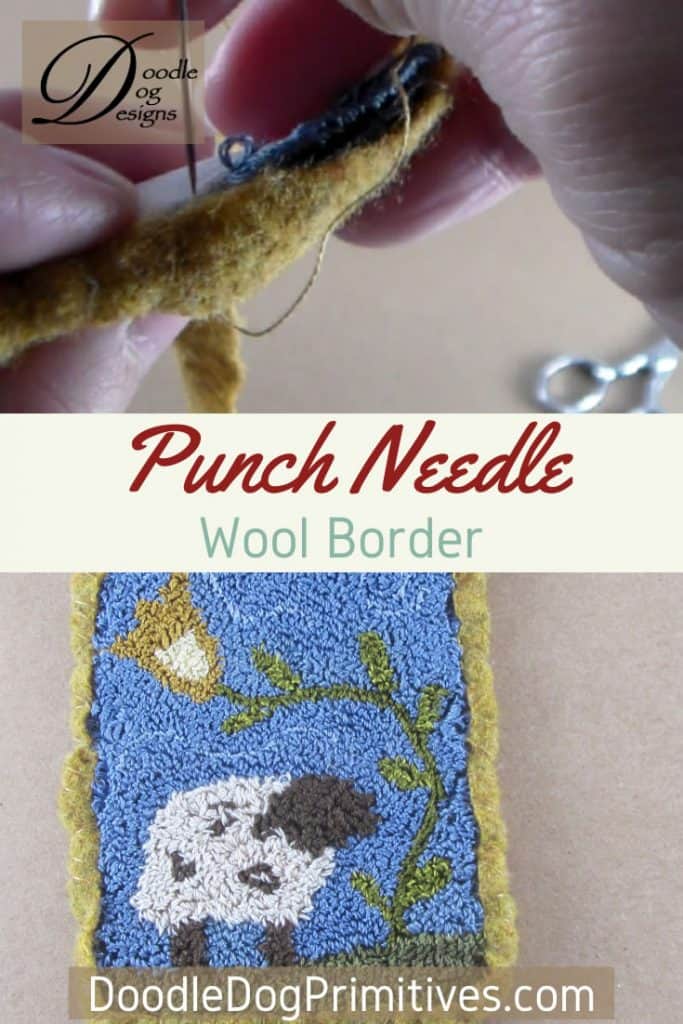
Sewing the punch needle wool border:
I used thread to match the wool in this example.
For a different look, you could also use a contrasting thread.
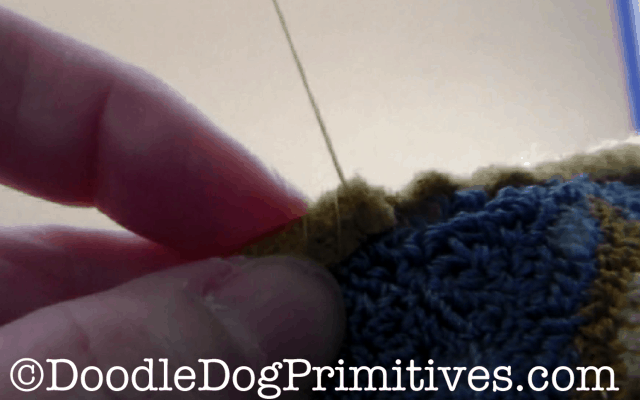
Place the end of the wool strip along the middle of one side.
You are going to whipstitch diagonally around the project.
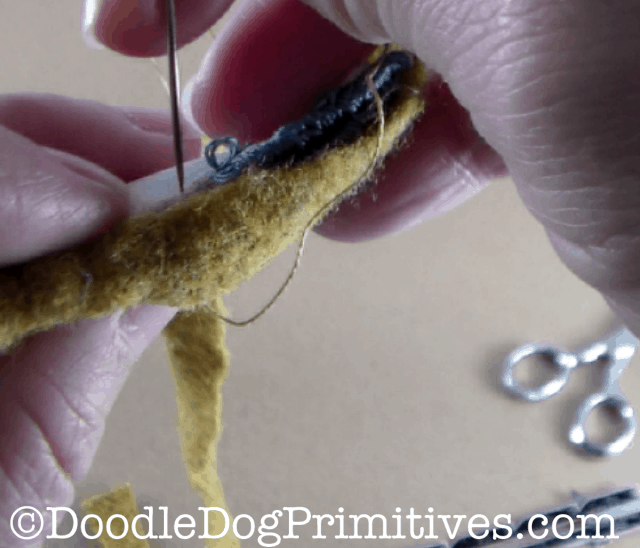
You will want to take your needle and thread over the wool strip
and catch the edge of the weavers cloth with your needle.
Keep repeating this with about 1/4″ between each stitch.
A wider stitch will create bigger “puckers”
while a narrower stitch will create smaller puckers.
You can experiment to see how you like it!
Keep going around the corners and all the way back to where you started.
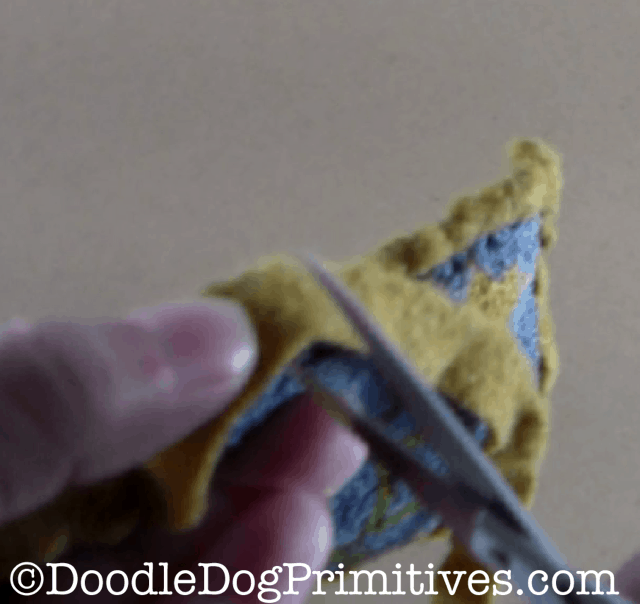
When you get back to the beginning,
overlap the wool strip a little (about 1/2″ – 3/4″) and cut off any extra.
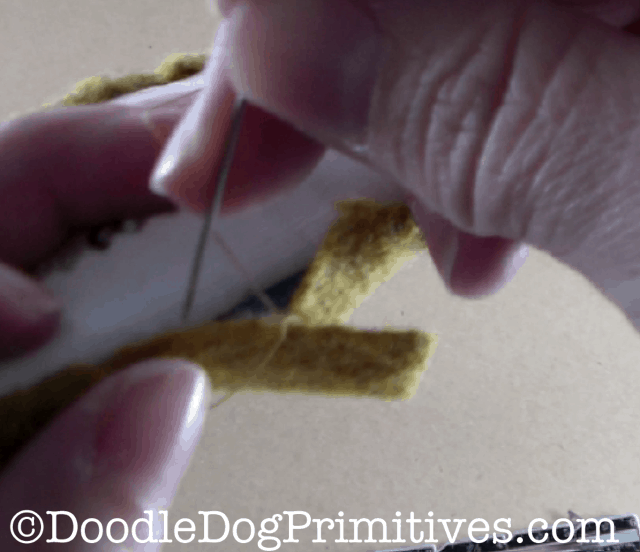
Continue whipstitching until you have sewn over the overlap.
Secure your thread.
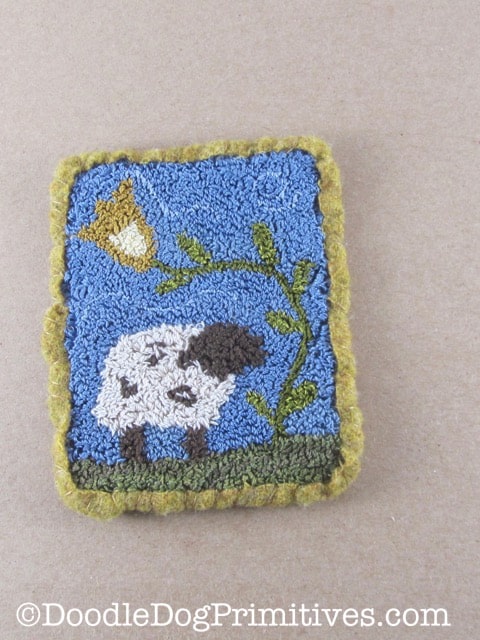
Enjoy your finished punch needle project!
Blessings~
Amy
Be sure to Pin this punch needle wool border tutorial!