Today, I am going to show you how to add contour to punch needle projects.
Using an adjustable punch needle,
you can gradually increase the punching depth
as you move toward the center of a project.
Punching a Contoured Sheep:
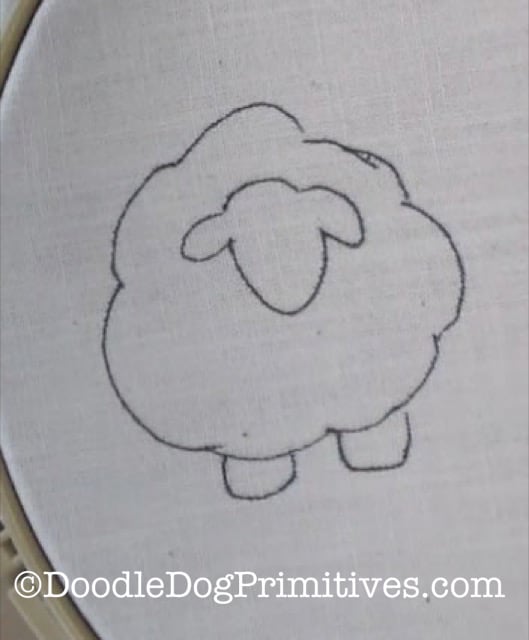
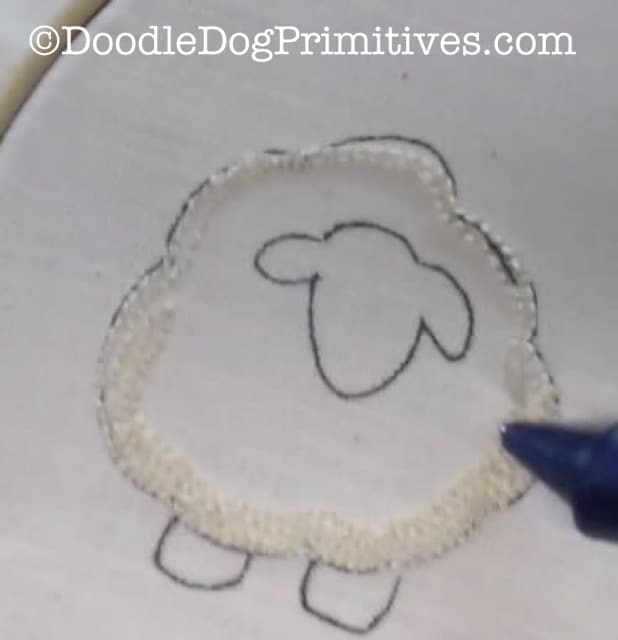
I drew out a simple sheep design onto weavers cloth
to do this contoured punch needle example.
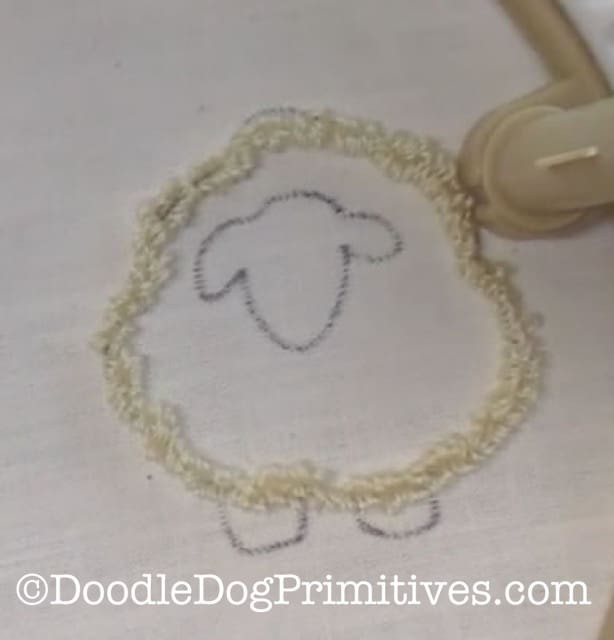
Start by punching all the way around the outside
of the design at the lowest punch needle setting you want to use.
For this example, I punched with the Ultra Punch needle
at a punching depth at setting #4.
In this example, I punched all the way around the sheep
with a punching depth of 4 – two times.
Since I wanted the tallest part of the sheep to end up at the face
which is towards the top of the sheep,
I then punched a couple more rows on the bottom part of the sheep.

The number of rows you punch around
the pattern will depend on how big the project is
and how much contour you want to add.
Watch How to Add Contour to Punch Needle Projects:
Increase Punching Depth:
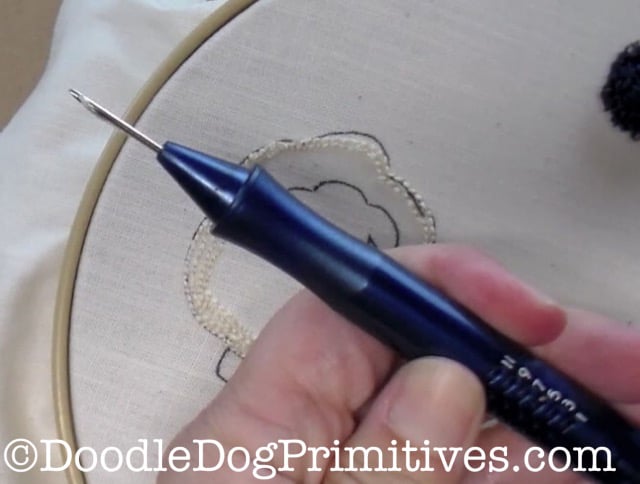
To increase the punching depth,
pull the needle out, but don’t cut the embroidery floss.
Increase the punching depth to the next level.
I increased it from 4 to 5.
Pull the floss back out of the end of the punch needle tool
and start punching again.
With a punching level of 5,
I punched all the way around one time.
Around the bottom, I punched an extra two or three rows.

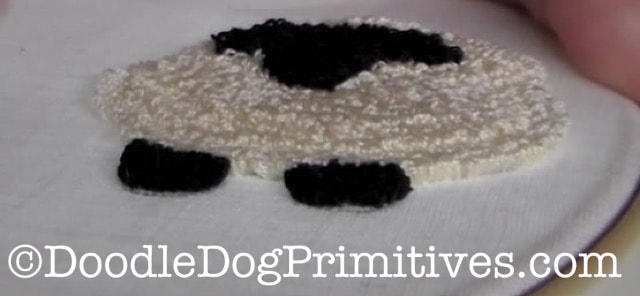
With a punching depth of 6,
I punched all the way around again
and filled in more on the bottom of the sheep.
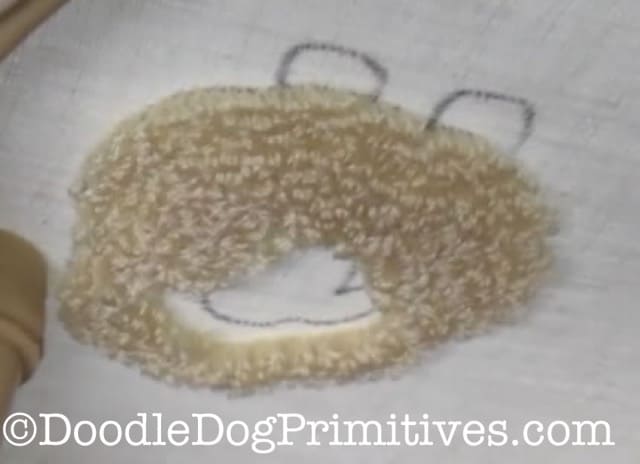
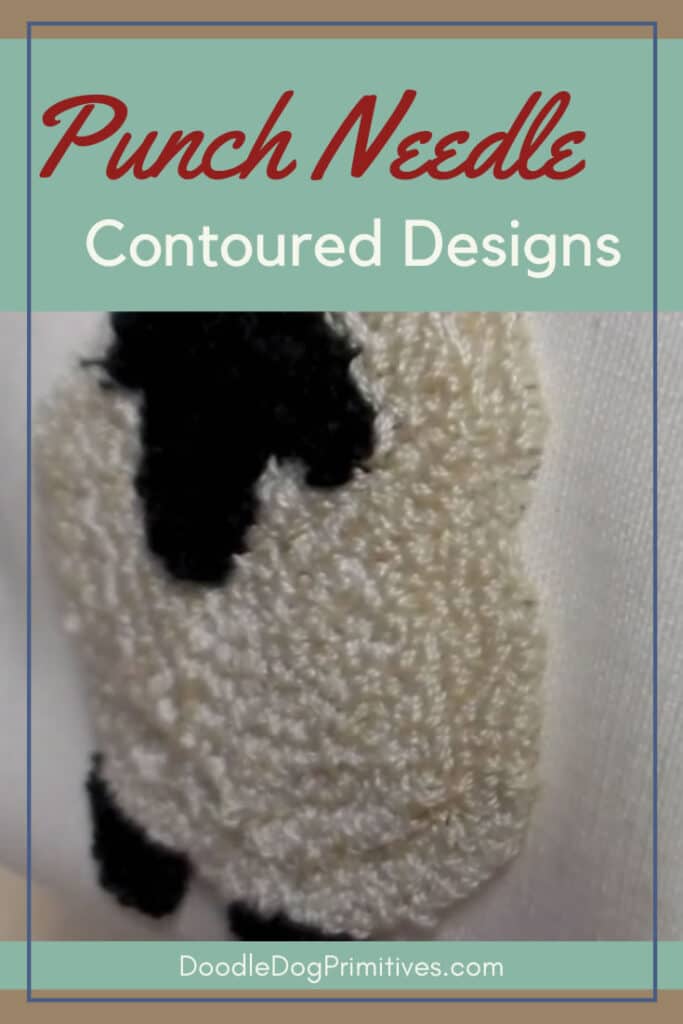
I finished filling in the area around the head with a punching depth of 7.
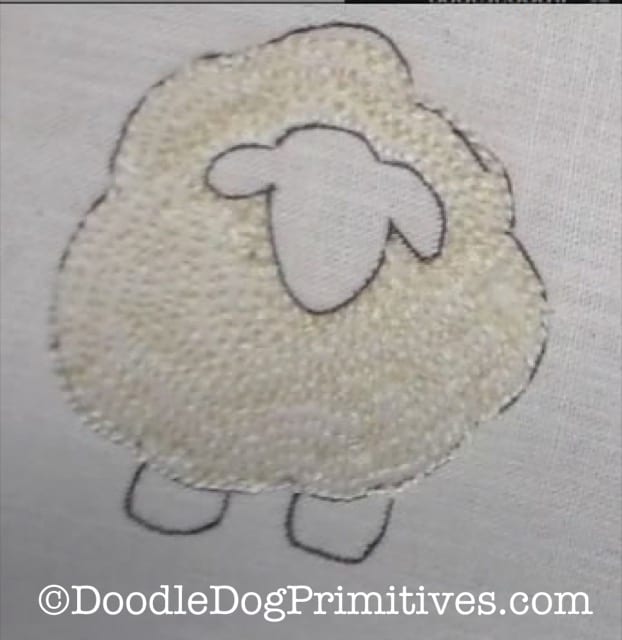
I filled in the head with a punching depth of 8.
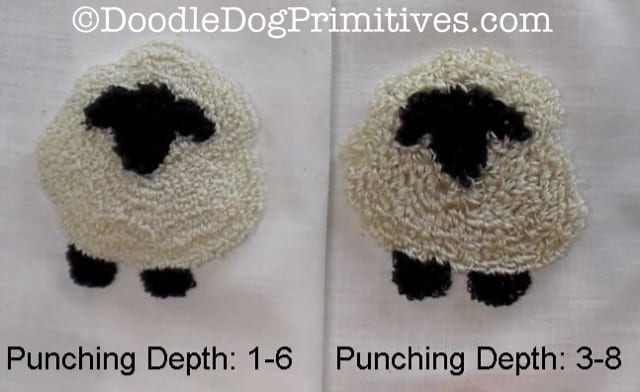
I started the outside of the sheep with a punching depth of 4
and I wanted the legs to be slightly lower,
so I used a punching depth of 3 for the legs.

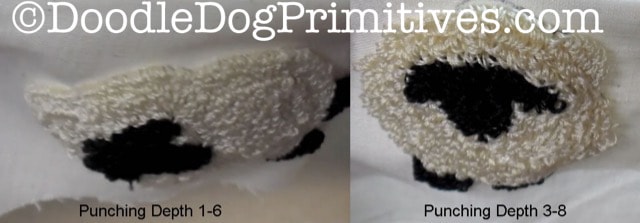
Contoured Punch Needle Projects:
I also punched another sheep starting with a depth of 1
and going up to a depth of 6.
I am not sure yet what I am going to do
with these contoured punched sheep,
but they might make good bowl fillers!
Blessings~
Amy
Pin this Punch Needle Tutorial