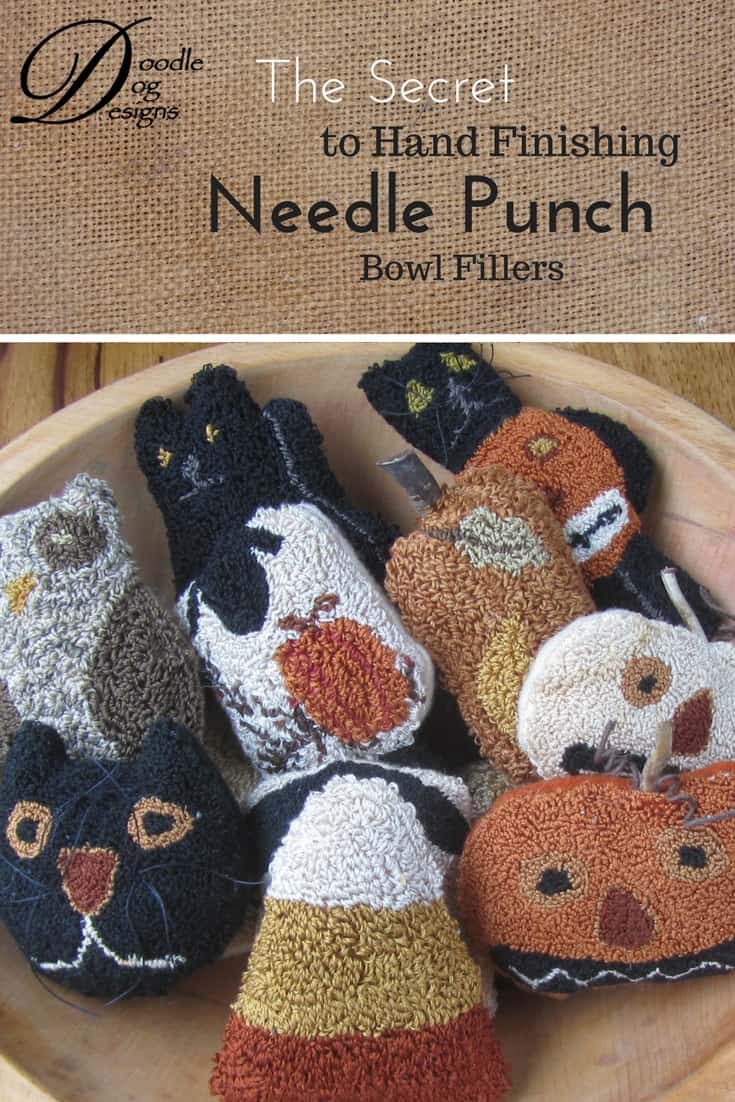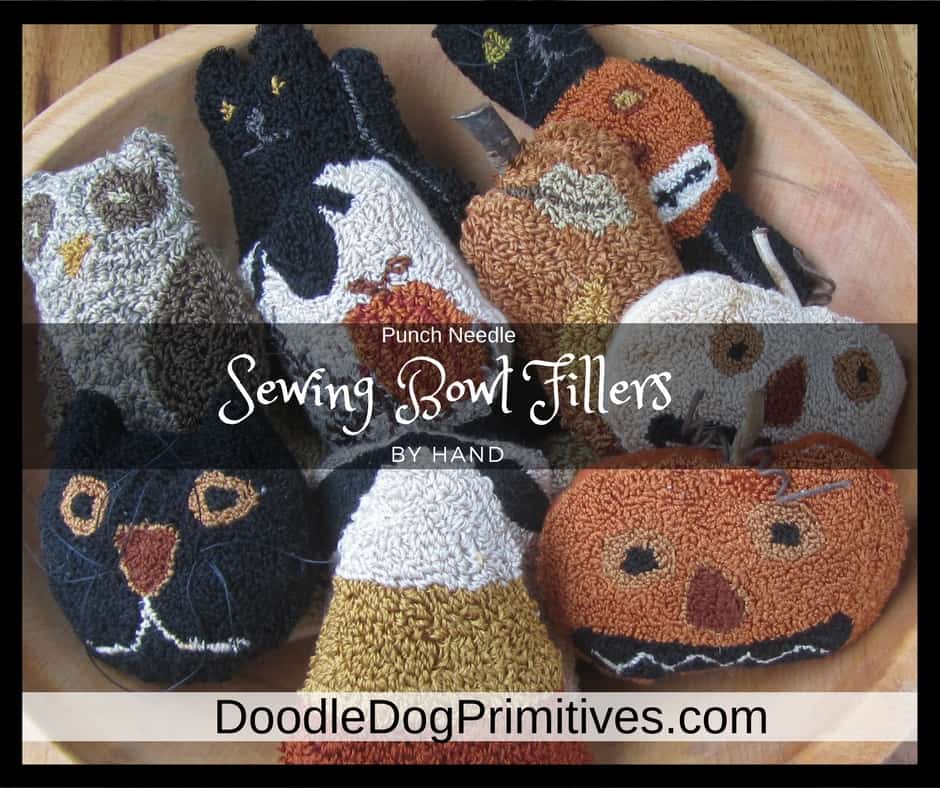
Punch needle bowl fillers are my favorite thing to punch! In this post, I will show you how to finish punch needle bowl fillers by hand.
I normally finish my bowl fillers in one of two ways:
by hand or by machine.
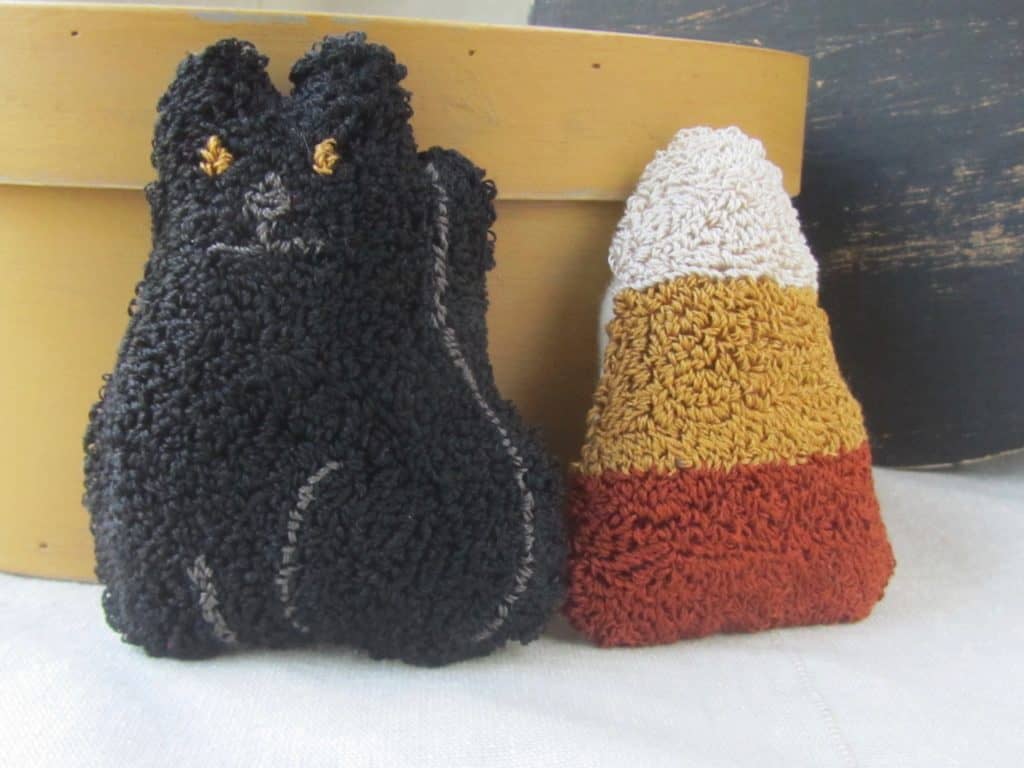
Sewing them up by hand works better for patterns that have protrusions such as this cat’s ears.
Prepare the Punch Needle Project:
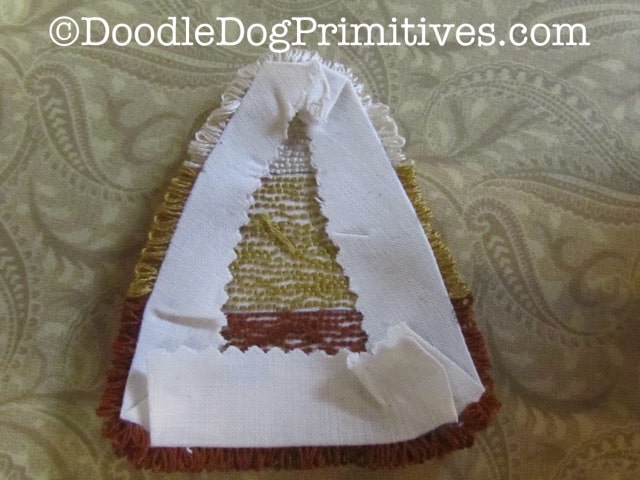
Start by trimming the weavers cloth to about 1/4 to 1/2″
all the way around the punched edge.
I like to use pinking shears so the fabric won’t unravel.
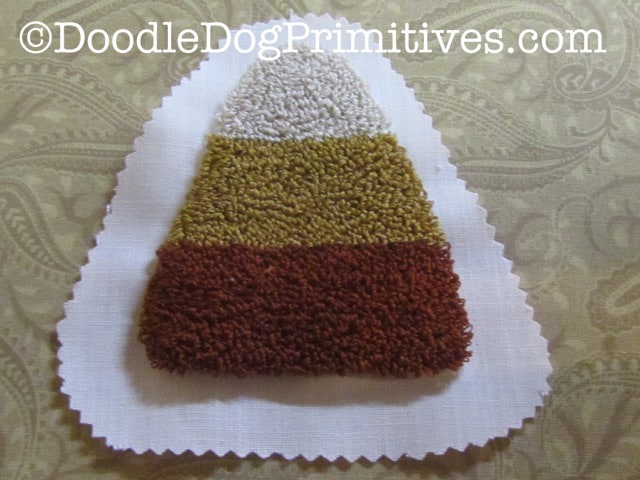
Press the empty weavers cloth to the back of the punched project.
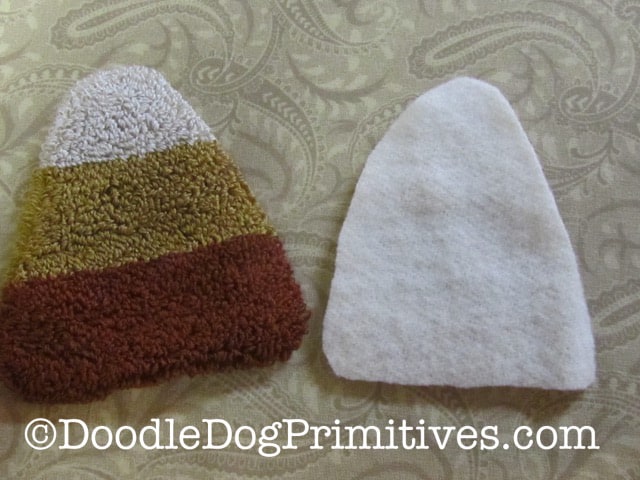
Using the outline of the punching pattern as your cutting pattern,
cut a piece of felted wool for the backing
the same size and shape as the punched piece.
Backing Fabric Note:
When finishing the bowl fillers with this method,
the raw edges of the backing fabric will be exposed along the edges.
Because of this, a fabric that would unravel,
such as cotton, would not be a good choice for a backing fabric.
If you want to use a cotton fabric for backing,
consider sewing the bowl filler with a sewing machine.
Sew the Punch Needle Bowl Filler by Hand:
Layer the punched piece and wool backing wrong sides together.
Pin, if desired. (I usually just hold it together with my fingers.)
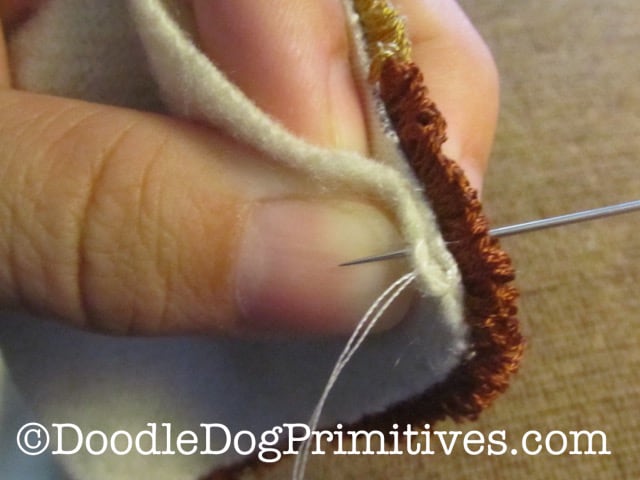
Using thread to match the backing fabric,
whipstitch all the way around,
leaving an opening for stuffing.
When stitching, you will want to make sure you catch the wool
and the folded edge of the weavers cloth
but not any of the thread loops.
Finishing the Punch Needle Bowl Filler:
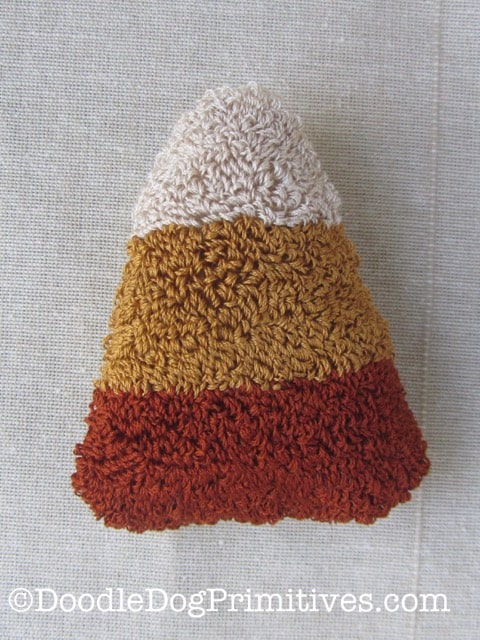
Stuff with desired stuffing and finish sewing closed
using the same method of sewing as used for the rest of the bowl filler.
I hope you enjoyed learning how to
finish punch needle bowl fillers by hand.
Find out how to finish bowl fillers with a sewing machine.
Blessings~
Amy

