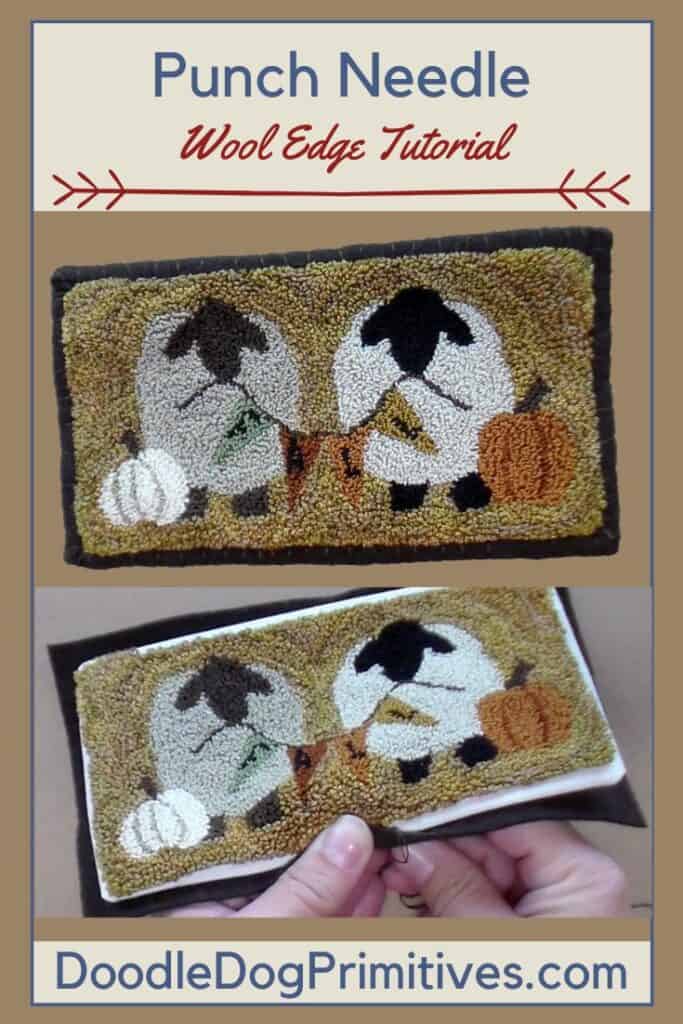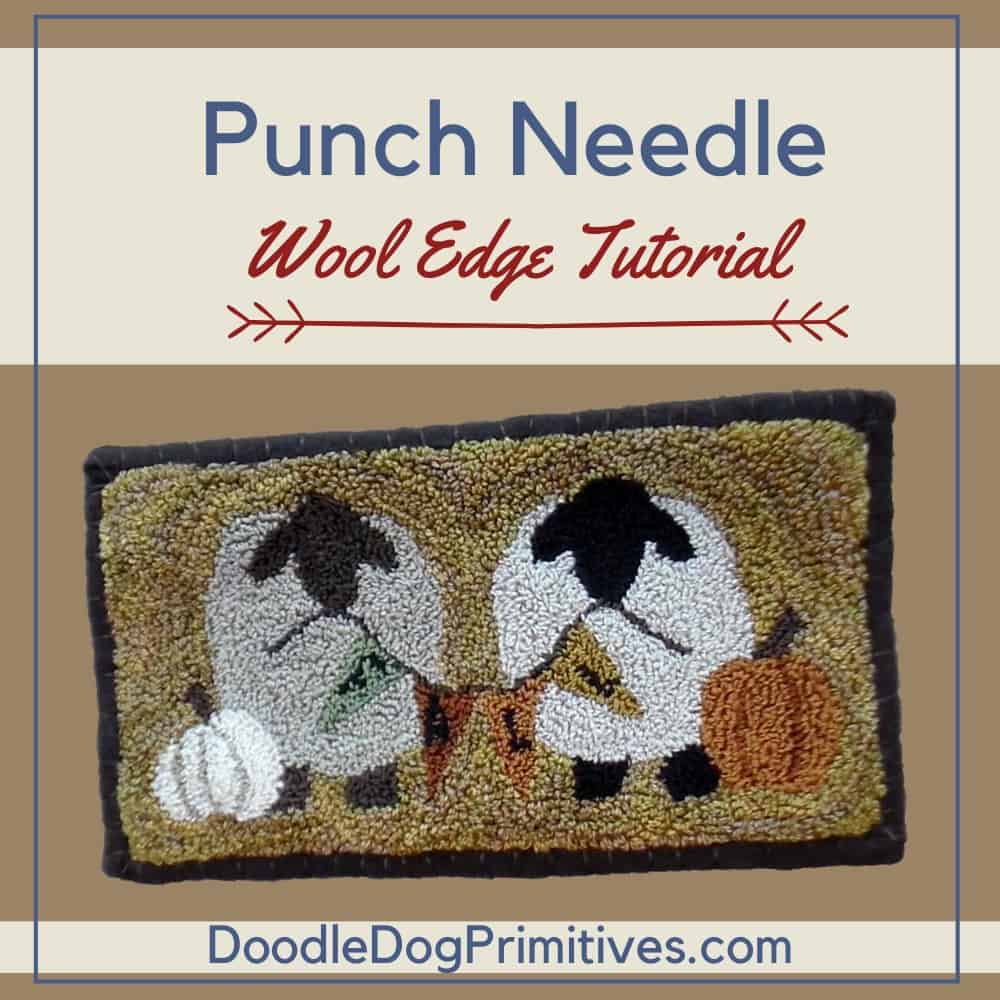
Find out how to add a wool edging to a punch needle project.
After completing the punching on a punch needle project,
I always have to ponder how to turn it into a finished project.
Today, I am going to show you how to add a backing
and a border to a punch needle project all in one step.
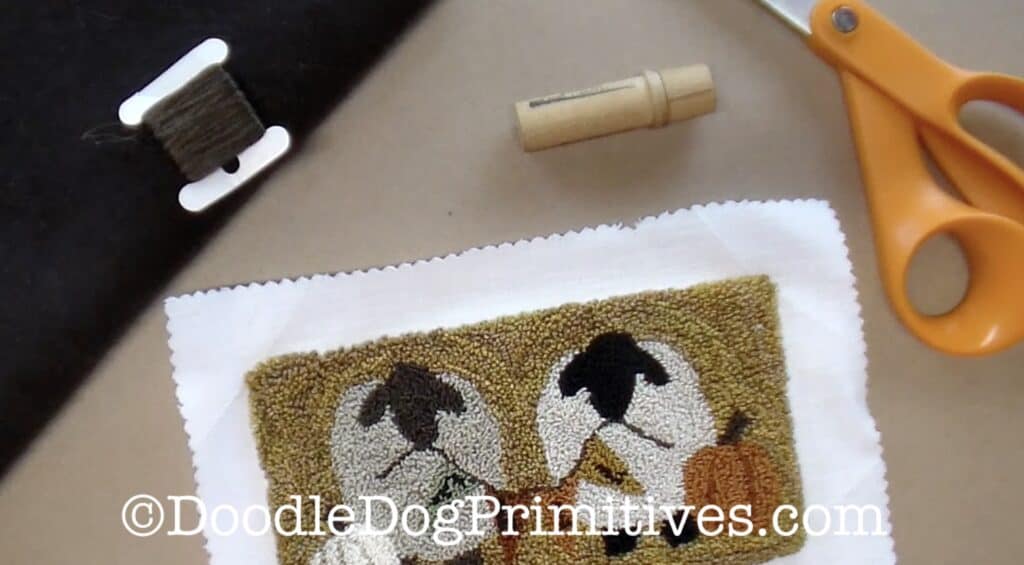
Supplies Needed to Add Wool Edge:
To complete this project, you will need your finished punch needle design,
felted wool, embroidery floss, scissors, and a sewing needle.
I am going to use this Fall Friends punch needle pattern in this tutorial.
Watch the Video:
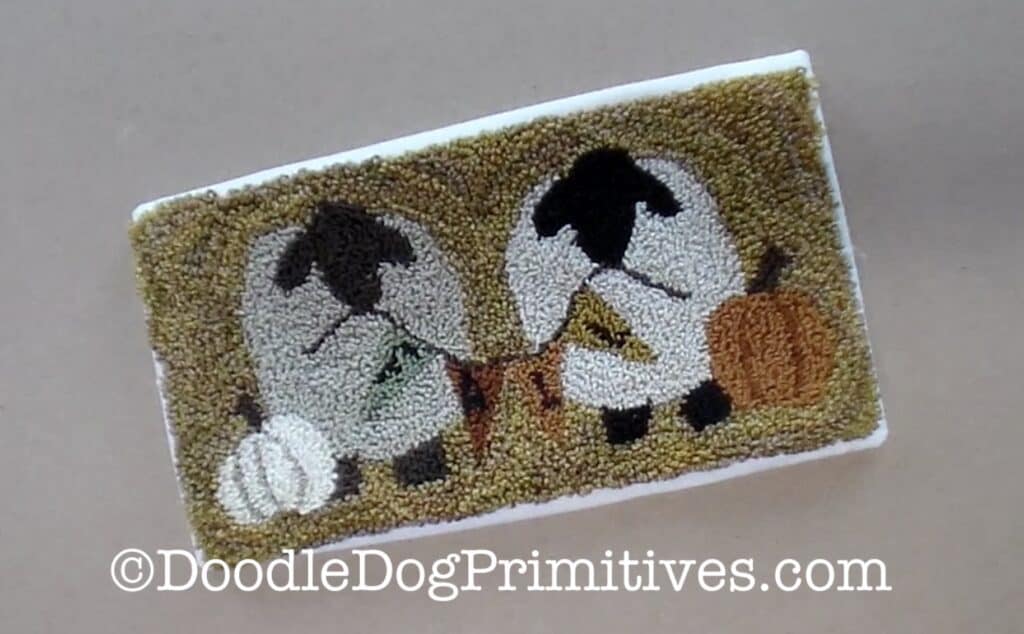
Prepare the Weavers Cloth:
First, trim the weavers cloth to approximately a one inch border
all the way around the punched area.
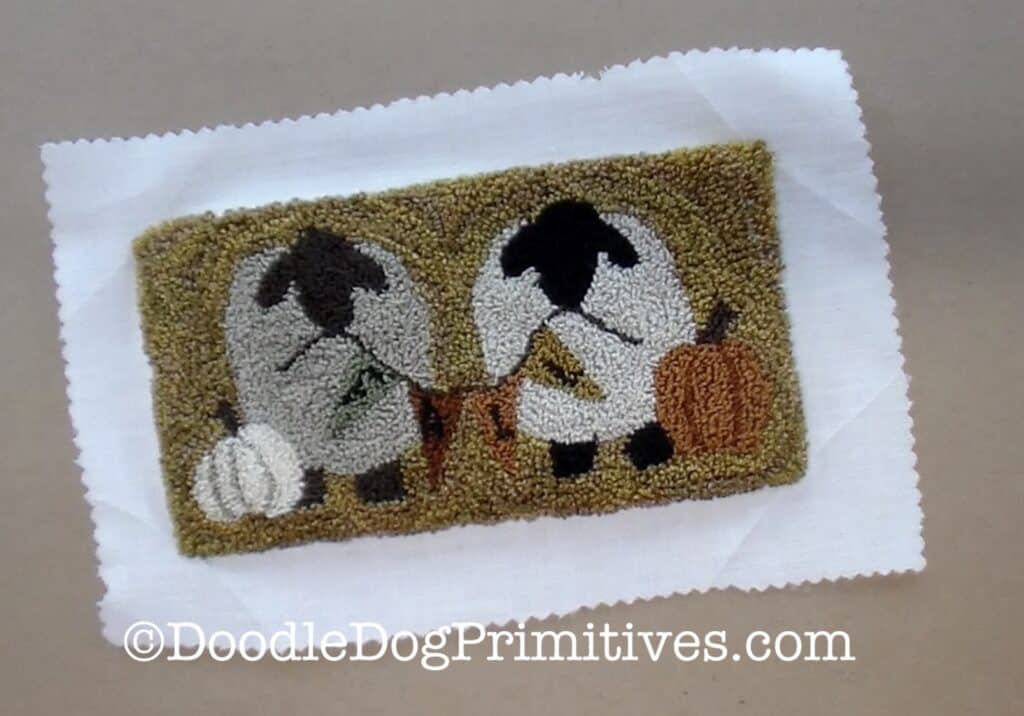
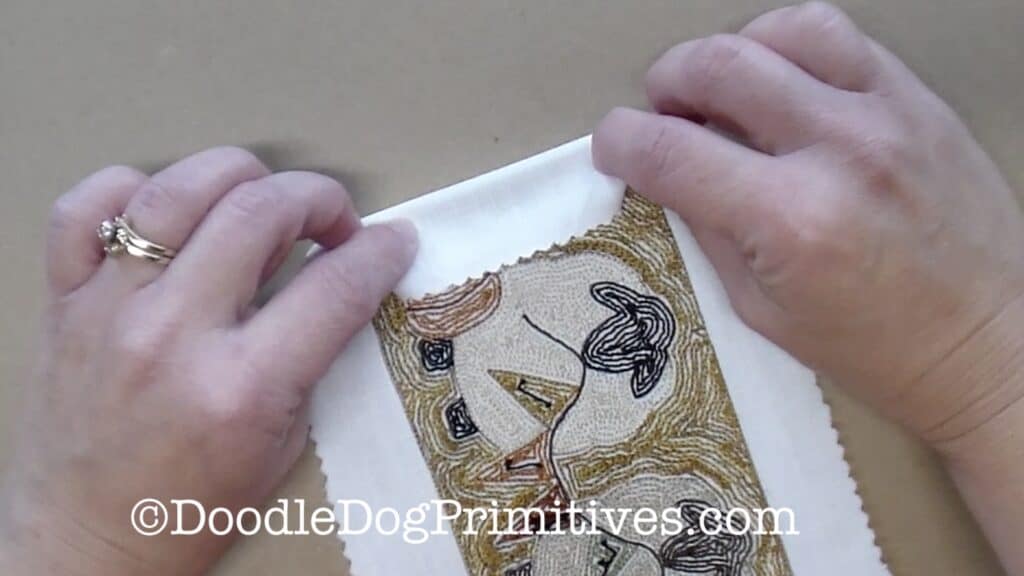
Press the empty weavers cloth to the back of the project,
leaving about one fourth inch showing in the front.
Press all four corners back first
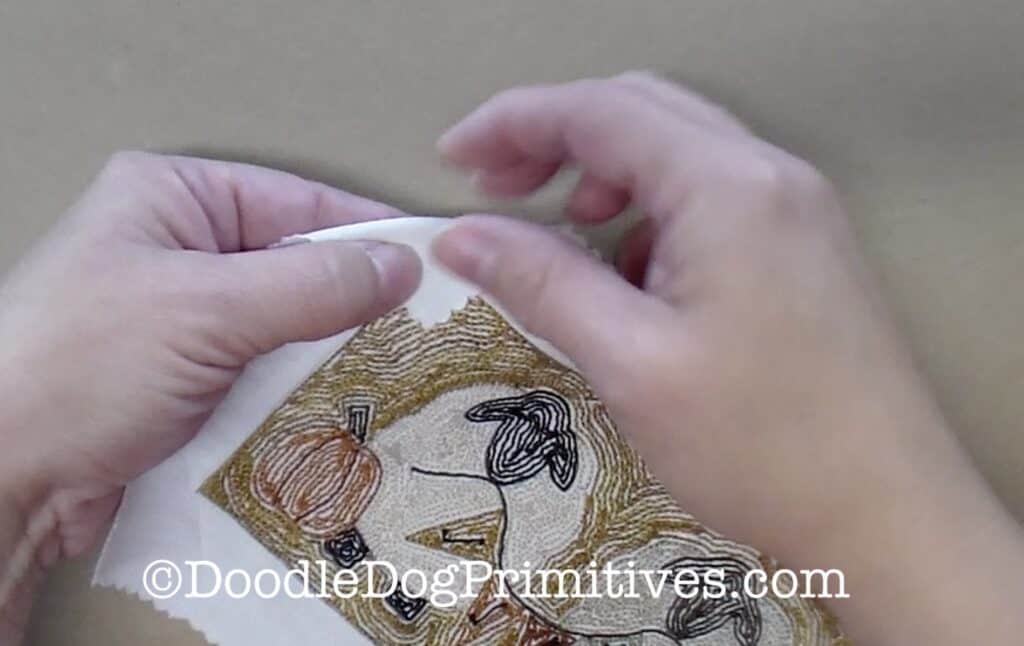
and then press back each one of the sides.
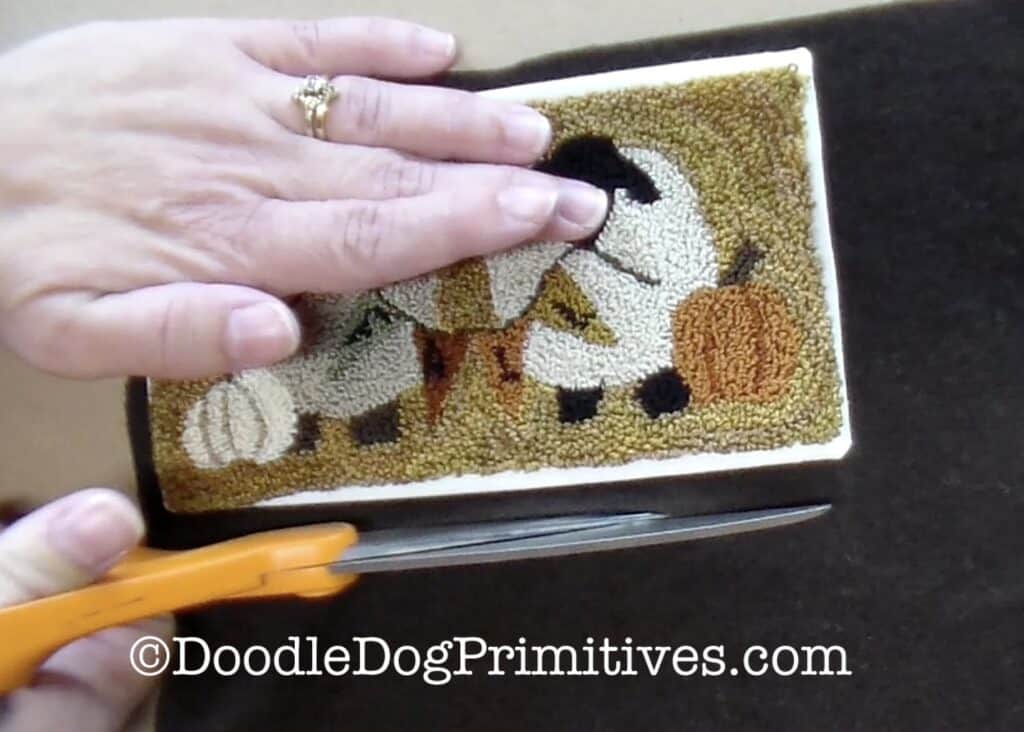
Cut the Felted Wool:
It is important to use felted wool for this project because it won’t ravel.
Place the punch needle project onto a piece of felted wool.

Cut out the felted wool 3/8″ more all the way around on each side
than the finished punch needle project.
I just placed the punch needle project on the felted wool and eyeballed it.
You could also measure the punch needle project
and add 3/4 inch to each dimension
to figure out how big to cut the felted wool.

Add Wool Edging to Punch Needle Project:
Take a single strand of DMC floss and thread it through your needle.
Align both ends of the floss to make a double strand of thread.
Knot the end.
I used a floss that matched the wool.
You could also use a contrasting color of floss.
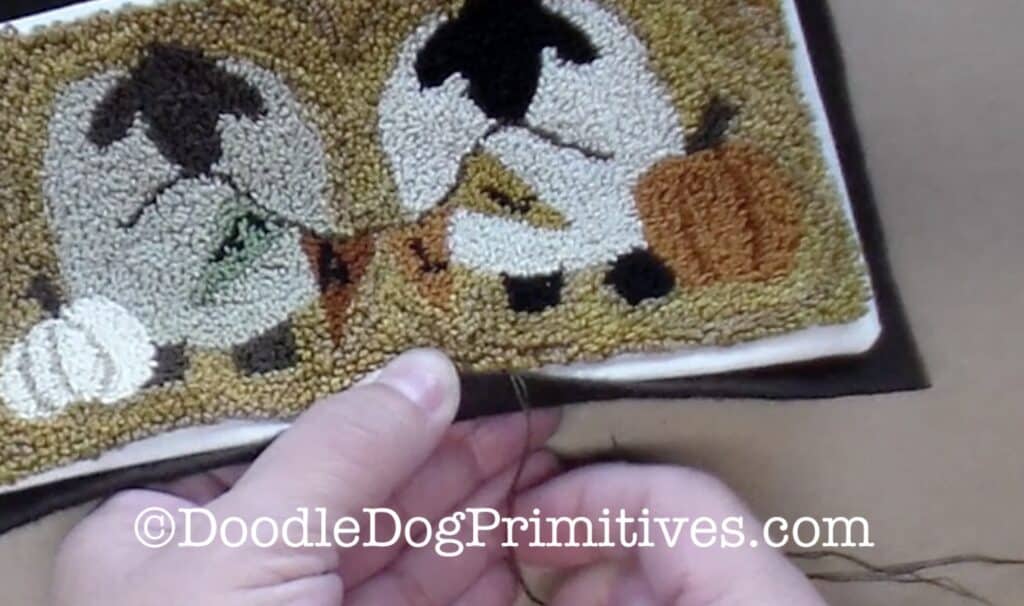
Center the punch needle project on the top of the felted wool.
Start in the middle of the bottom of the project.
Bring the needle between the weavers cloth and the wool.
Pull it through right in the fold of the weavers cloth
with the knot on the back side.
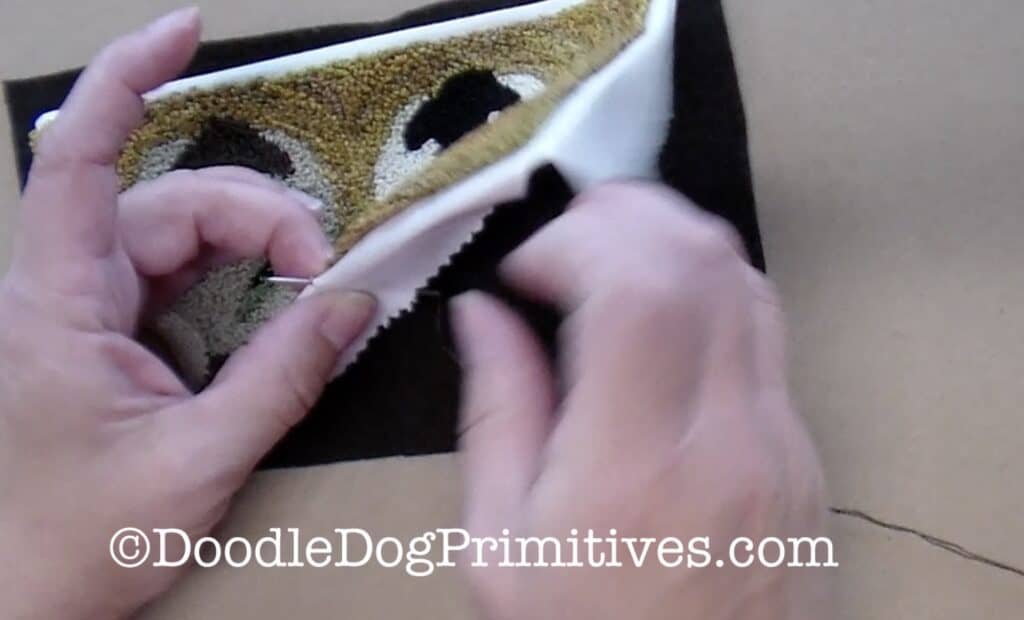
Fold up the edge of the felted wool.
Bring the needle to the back of the felted wool,
wrap the floss around
and pull the needle through all the layers
in the same place you came up with the needle before.
Be sure to catch the weavers cloth and the wool.
Make sure to not catch any of the punched loops.
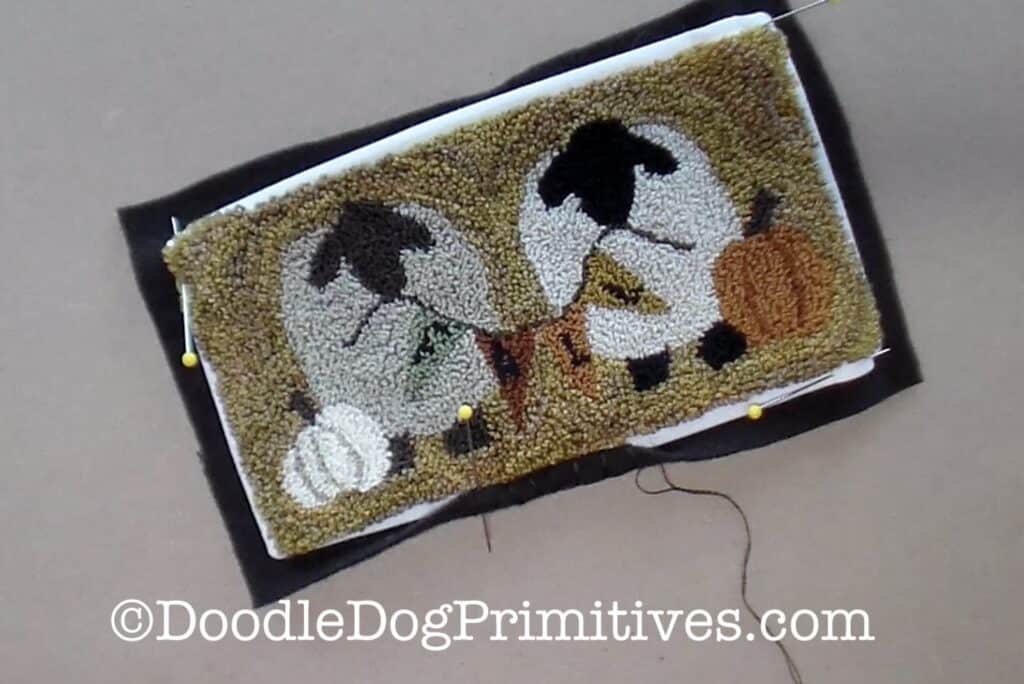
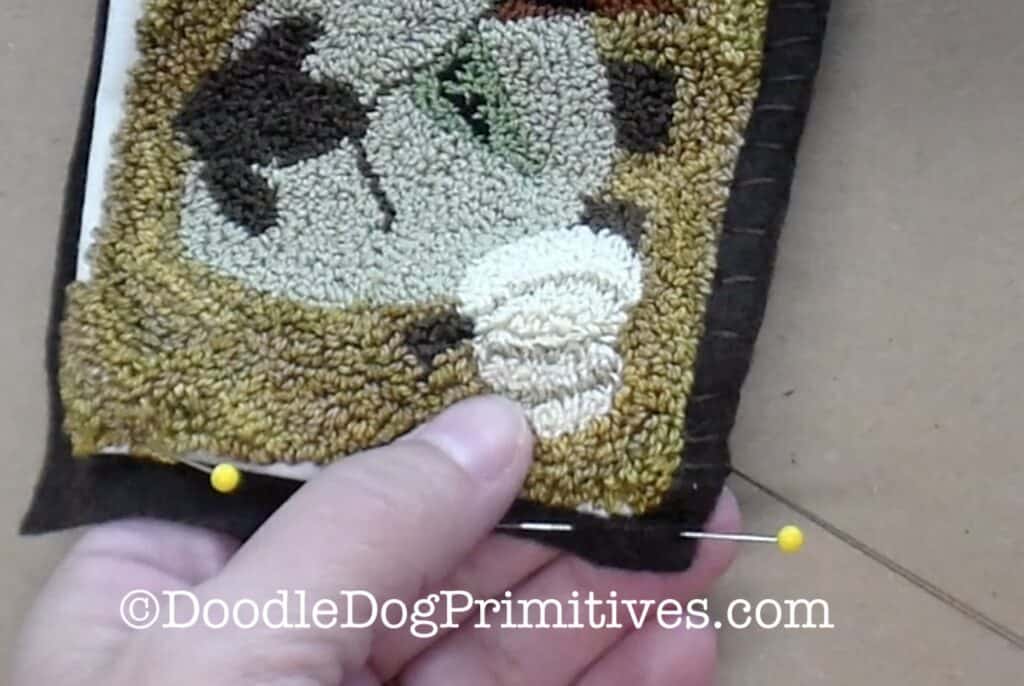
You can pin the wool up as you go along.
I find it is way too easy to stab myself if I put too many pins in at once
so I just pin as I go.
It is also helpful to pin down each of the corners to keep it all together.
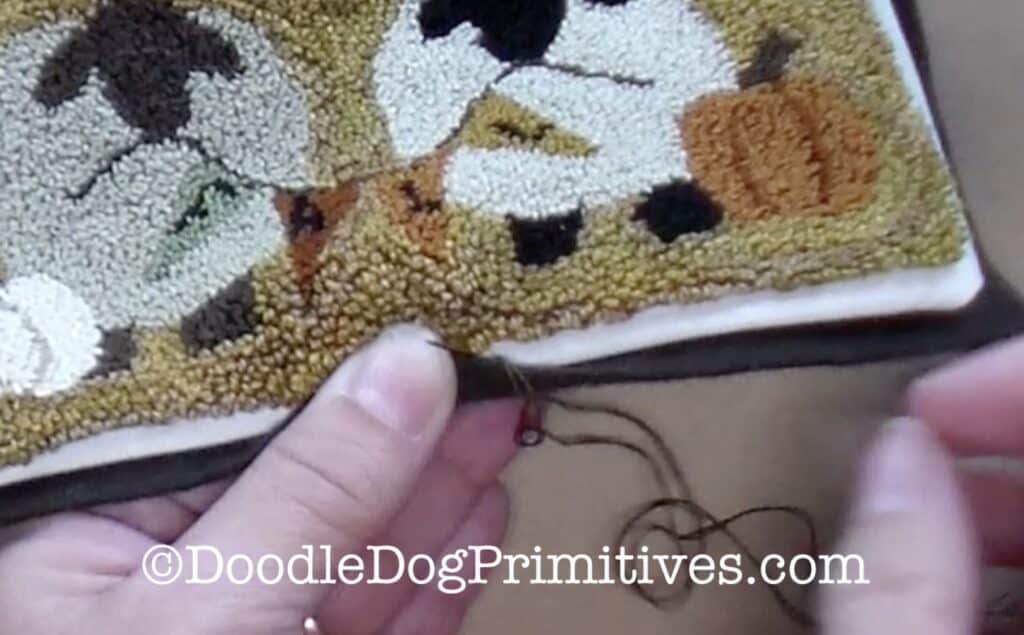
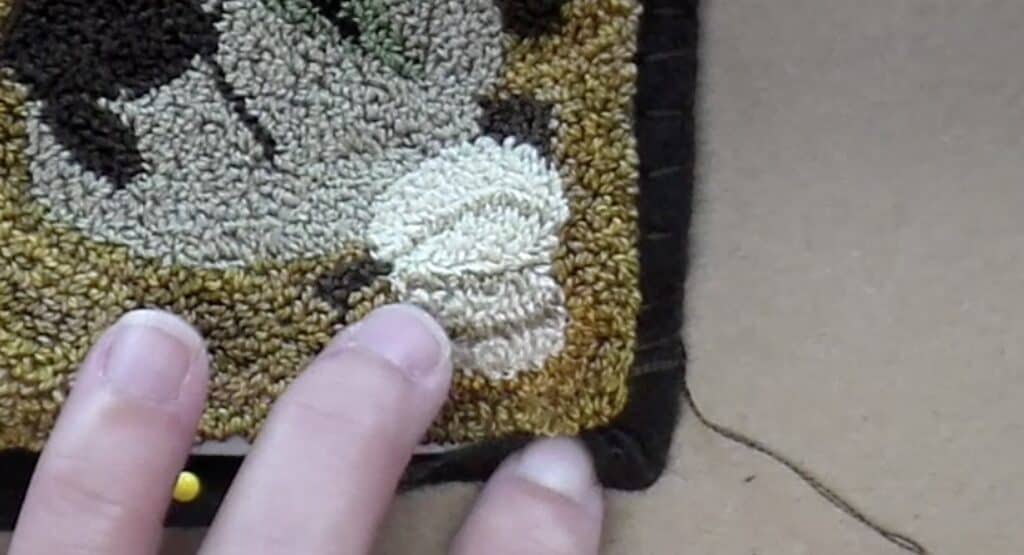
Blanket stitch all the way around.
When you get to the corners,
fold the wool over a little extra so the edge is at a bit of an angle.
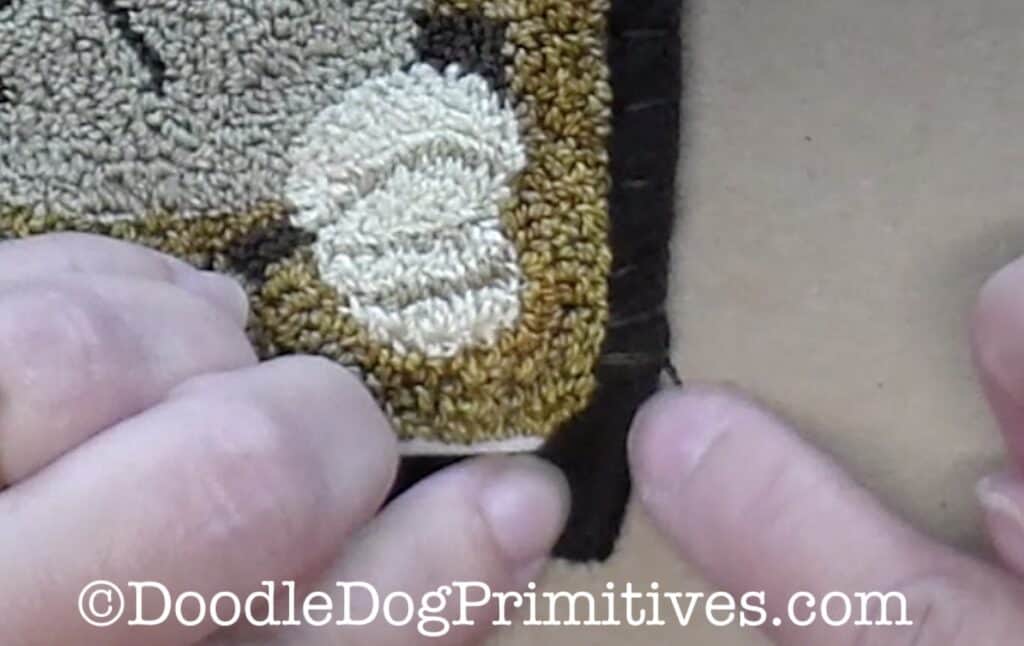
Then fold the other side up like normal.
Pin the wool in place on the corner.
Continue blanket stitching the rest of the way around.
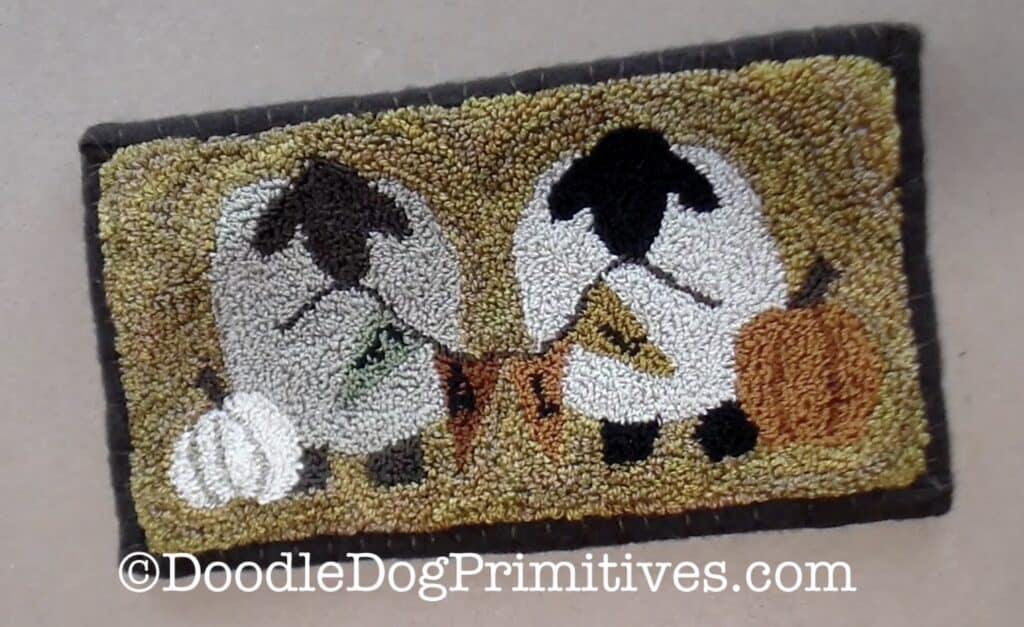
Finished Punch Needle Project:
After you have finished blanket stitching all the way around,
you will have a finished project on both the front and the back.
Be sure to check out all of our other punch needle tutorials.
Blessings~
Amy
Pin this Punch Needle Tutorial: