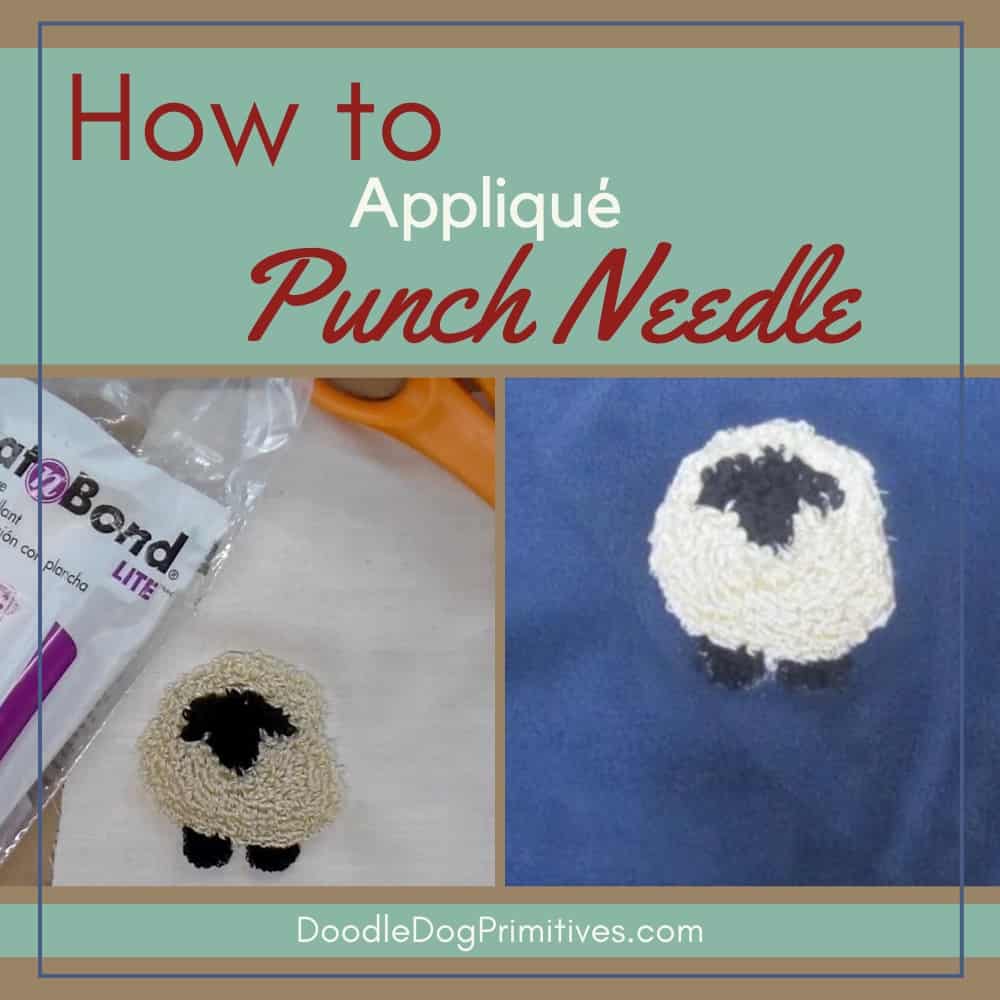
Would you like to try to Appliqué Punch Needle Projects onto clothing?
I appliquéd a punch needle sheep onto a zip up sweatshirt.
Here’s how I did it.
This post may contain affiliate links for your convenience, which means if you make a purchase after clicking a link I will earn a small commission but it won’t cost you a penny more. For more information, please visit our Privacy Policy.
Supplies Needed to Appliqué:
- Finished Punch Needle Project
- Lite Heat n Bond
- Clothing item
- Iron
- Sewing Machine
- Basic Sewing Supplies
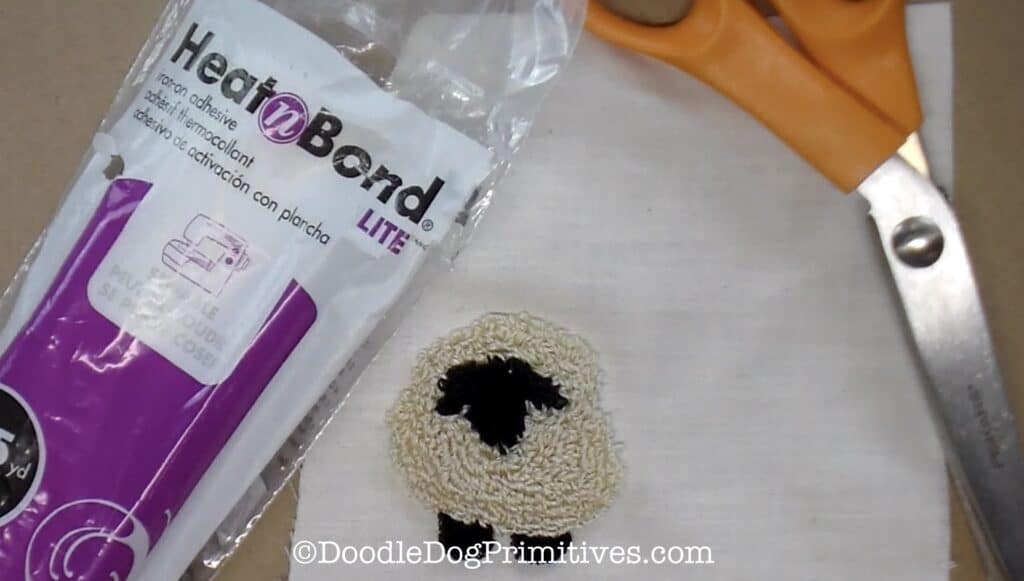
Watch the Video Tutorial:
Prepare the Punch Needle Project:
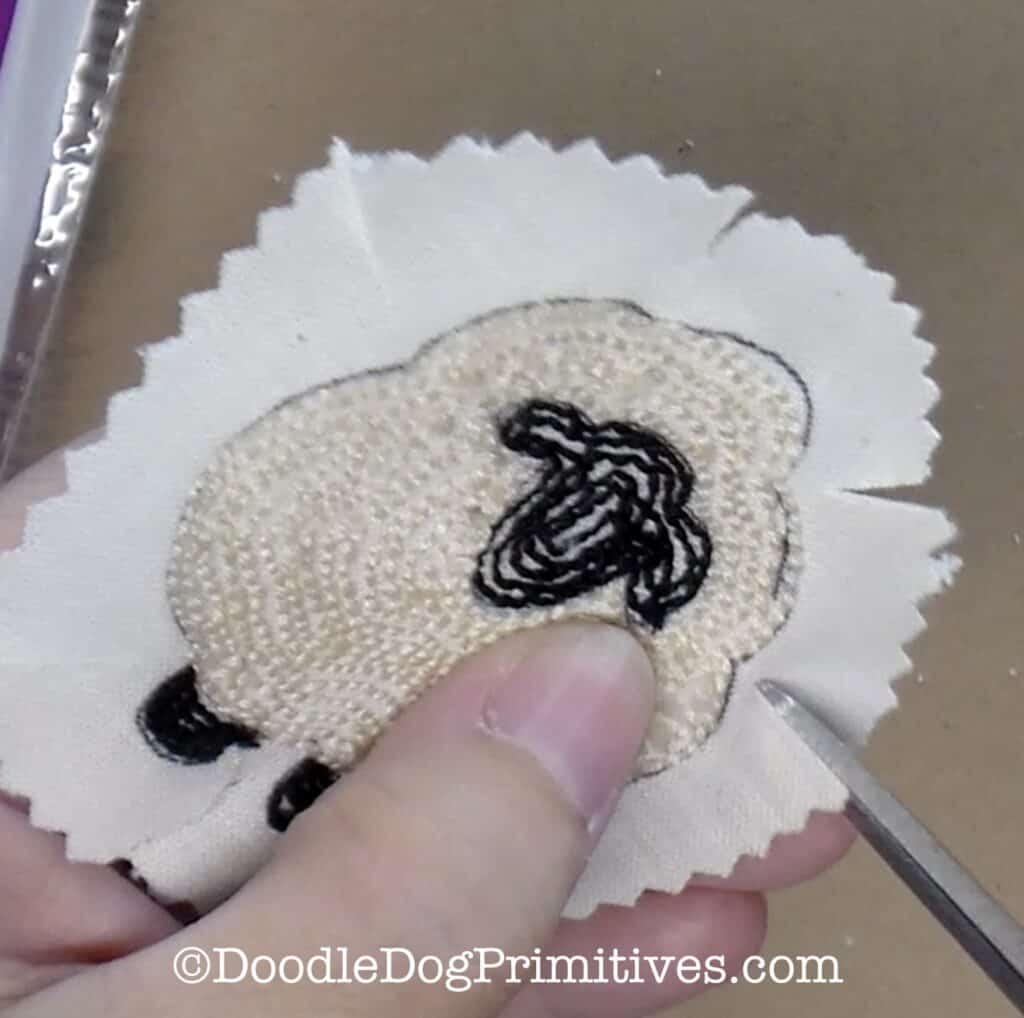
First, you will need to trim around
the edge of the finished punch needle project.
I used pinking shears so there will be less problems
with the weavers cloth raveling.
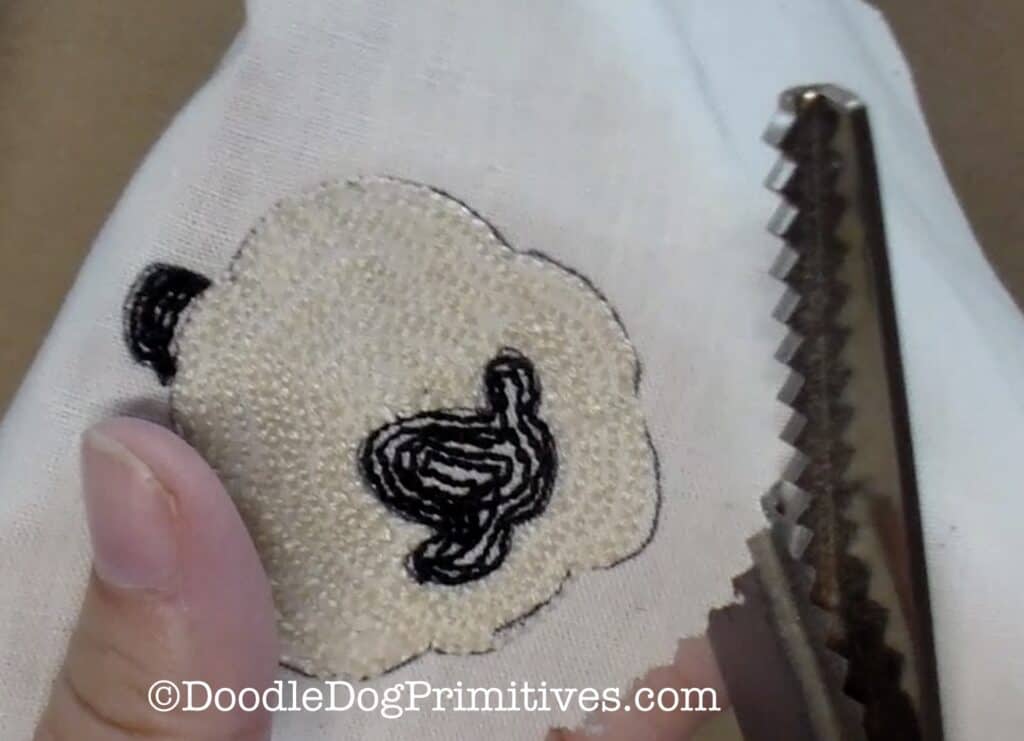
After you have pinked all the way around the edge,
use regular scissors to clip the inside corners and curves
around the punched piece.
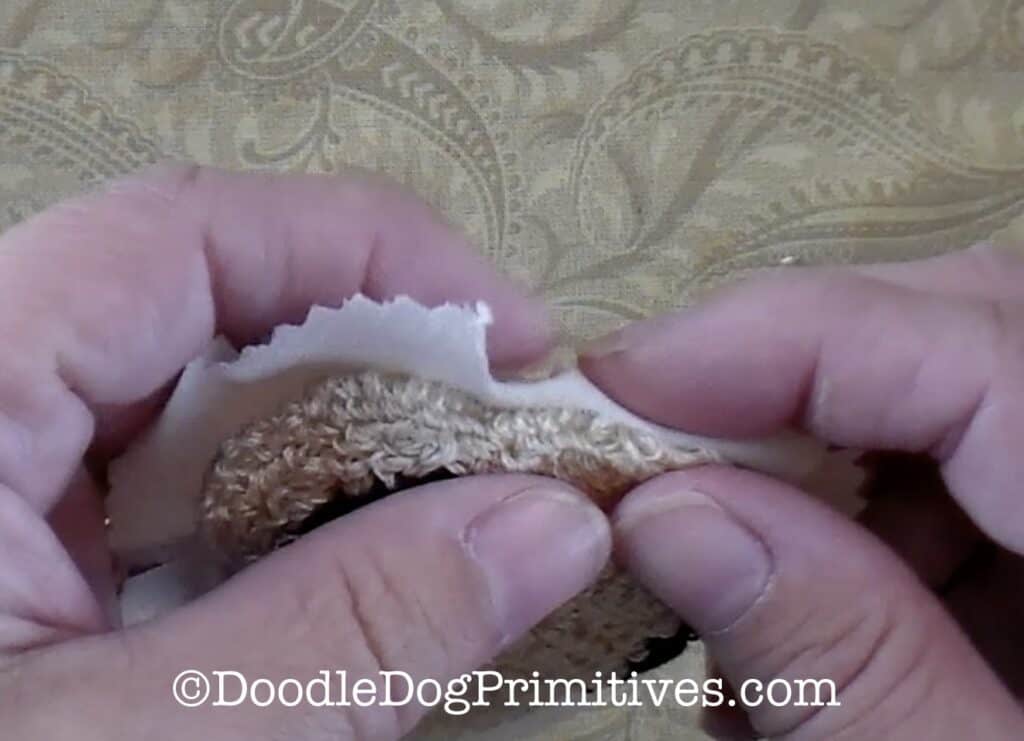
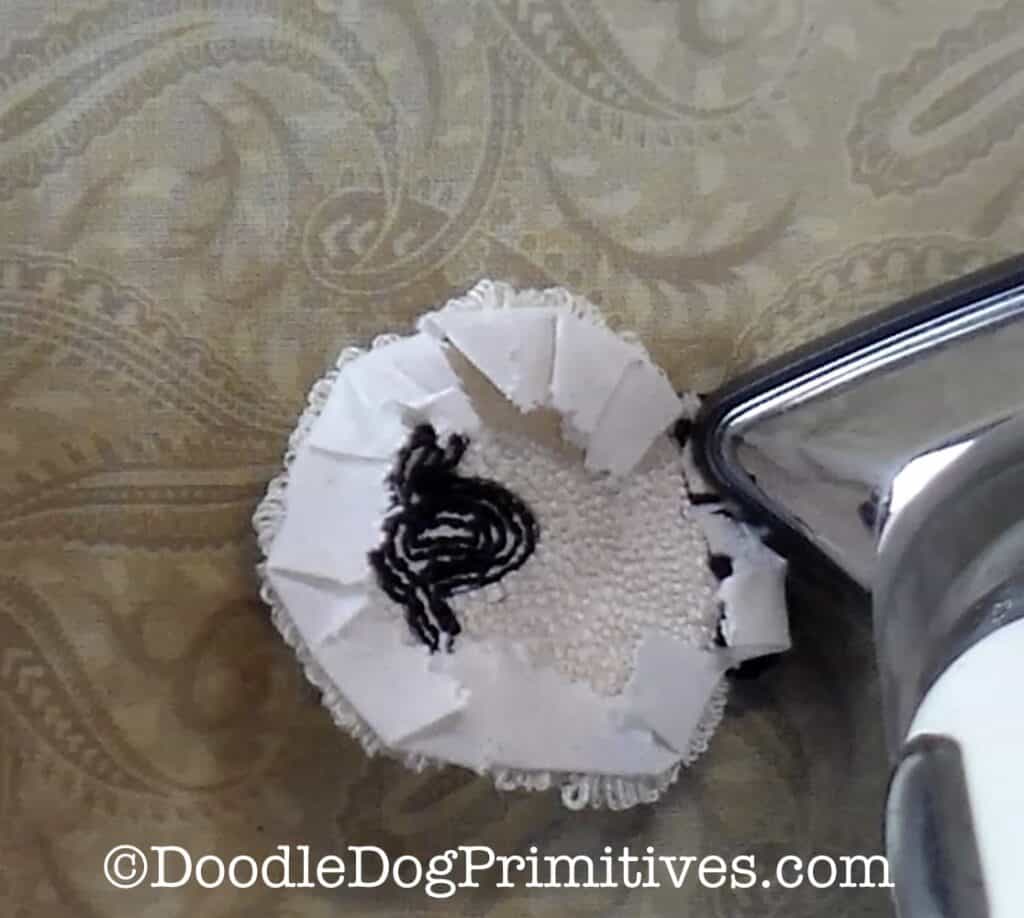
The next step is to press the edges of the empty weavers cloth to the back.
Normally, I would press the entire empty part of the
edges of the weavers cloth to the back.
However, with this project,
I want to be able to sew the weavers cloth to my clothing,
so I will press back the edges,
leaving about 1/8 of unpunched weavers cloth before the fold.
Add Heat n Bond:
After pressing, cut a square of Lite Heat n Bond
just slightly larger than the punch needle project.
(It is important to use the Lite and not the UltraHold because the UltraHold will clog up your sewing machine needle with sticky goo!)
Place the punch needle project upside down
on top of the paper side of the Heat n Bond.
Trace around the punch needle project onto the Heat n Bond.
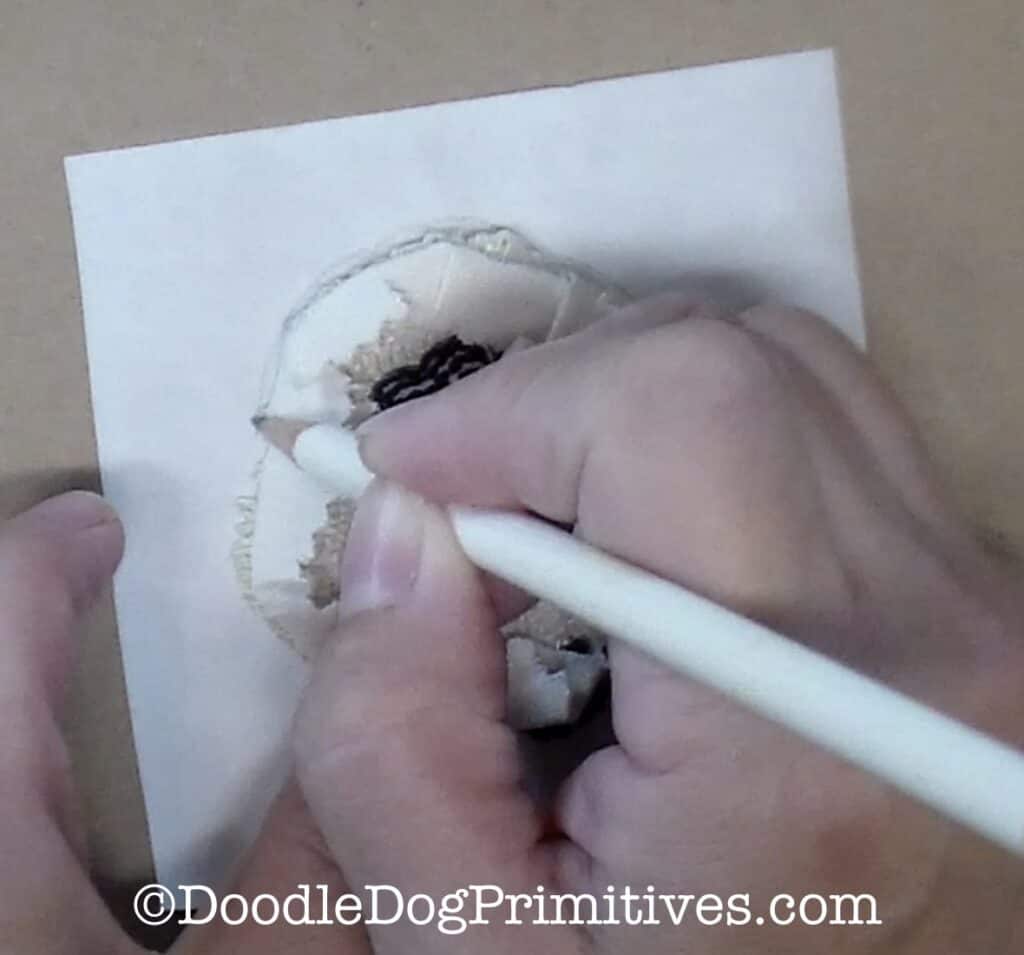
Cut out the traced project on the Heat n Bond.
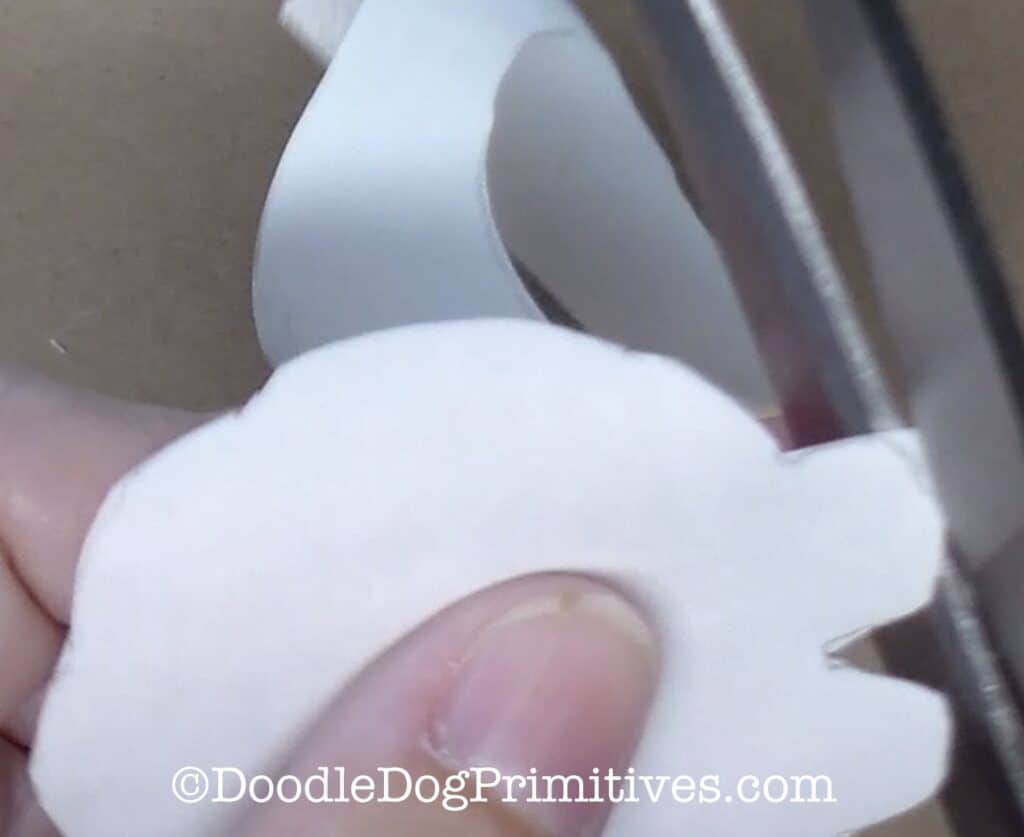
Following the Heat n Bond instructions,
press the cut out piece onto the back of the punch needle piece.
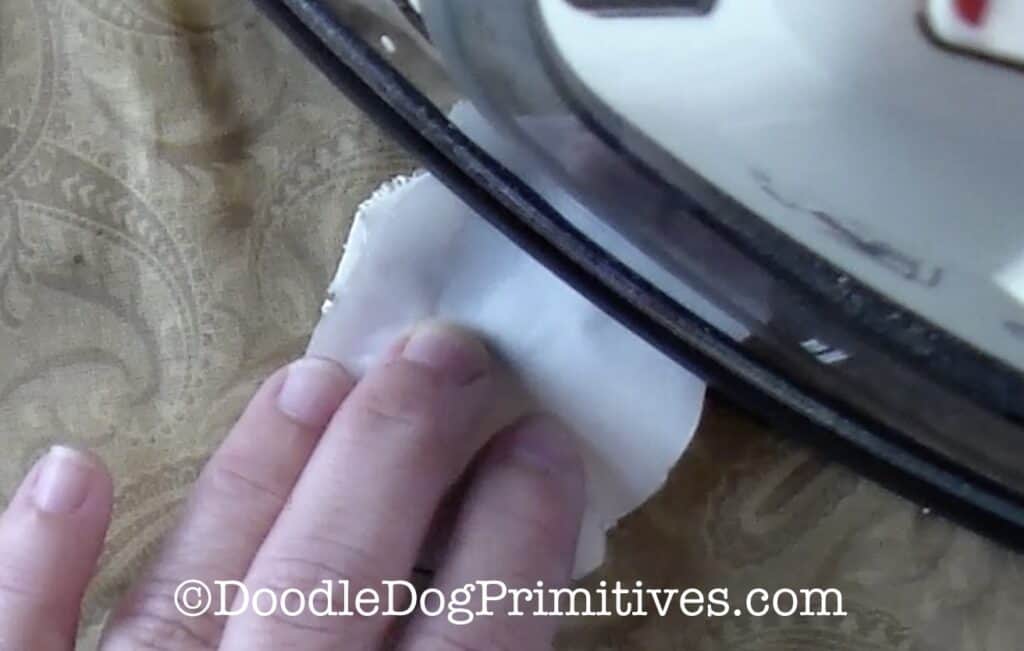
After it is cool,
peel the paper backing off the project.
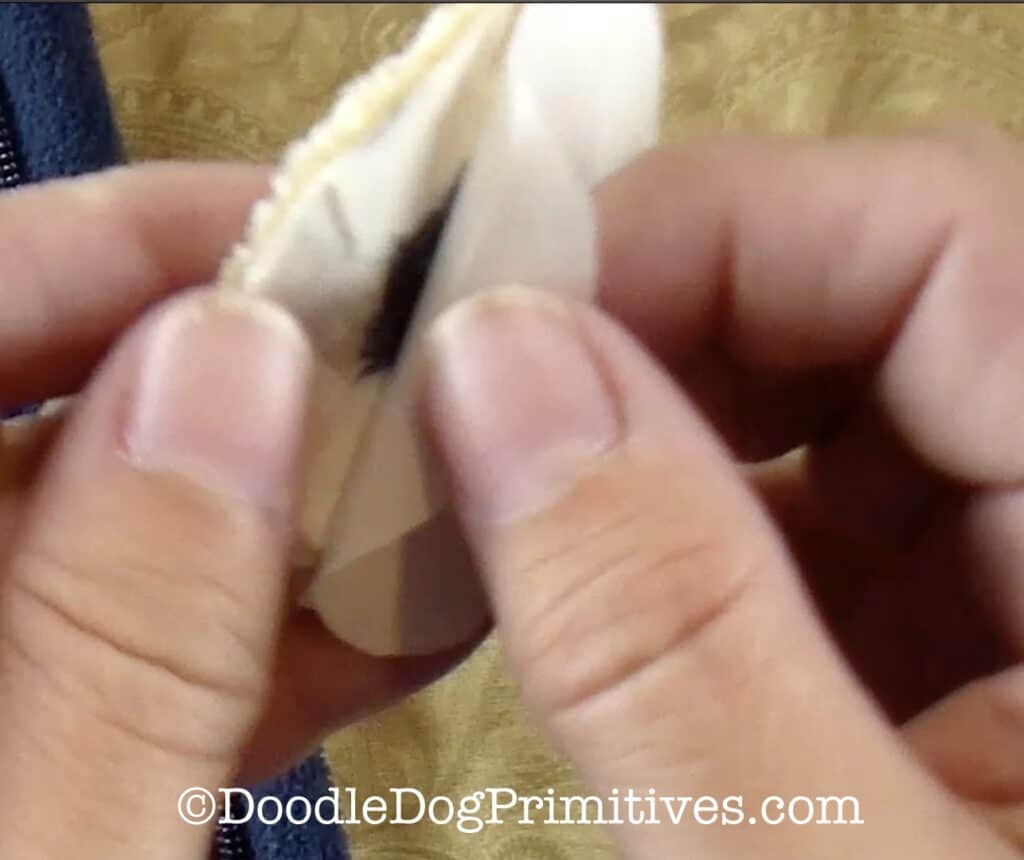
Trim the edges of the sticky Heat n Bond if necessary.
Iron the Project to Clothing:
Place the punch needle project onto your clothing item
and press following the instructions for the Heat n Bond.
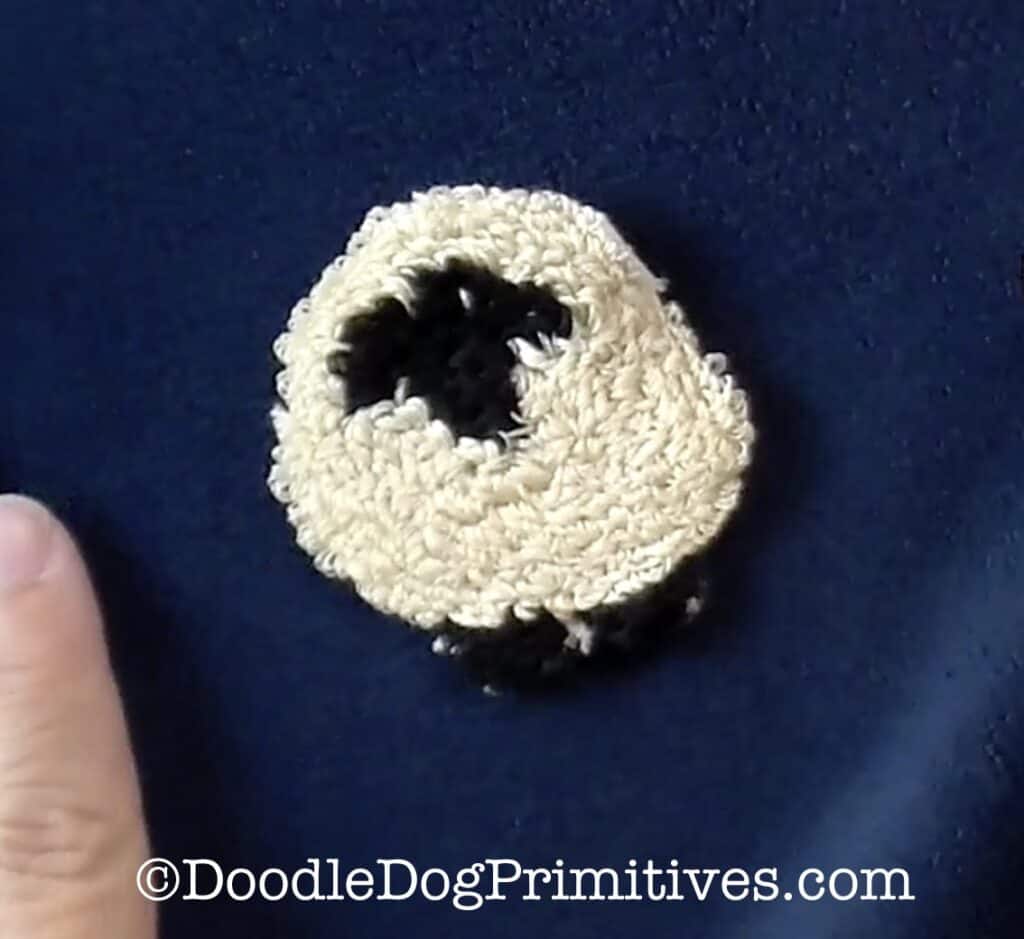
Sew the Punch Needle Appliqué:
Use thread to match the project
and a zig zag stitch on your sewing machine.
Sew all the way around the punch needle project.
You want to be careful to sew the weavers cloth
and NOT the punched loops.
This does take some time and patience
to keep moving the loops out of the way.
I used the seam ripper to help move the loops under the presser foot.
Just be sure to remove the seam ripper before sewing!
When you are finished sewing,
clip off the strings and
enjoy your newly embellished clothing item!
Find out the results of my laundering a punch needle project.
Blessings~
Amy
Pin this Punch Needle Tutorial
