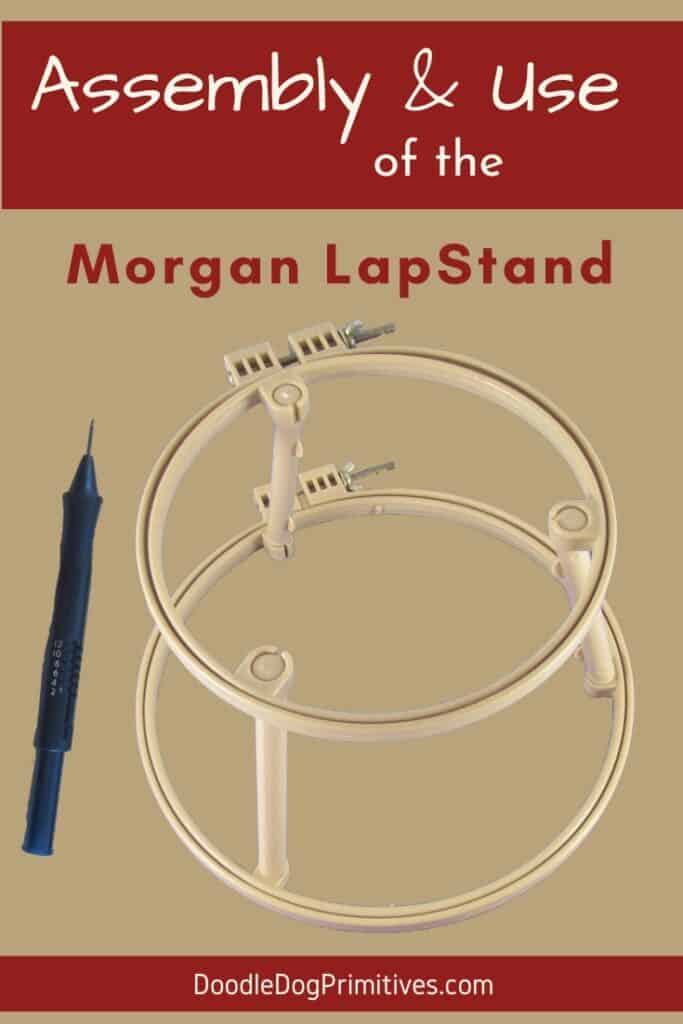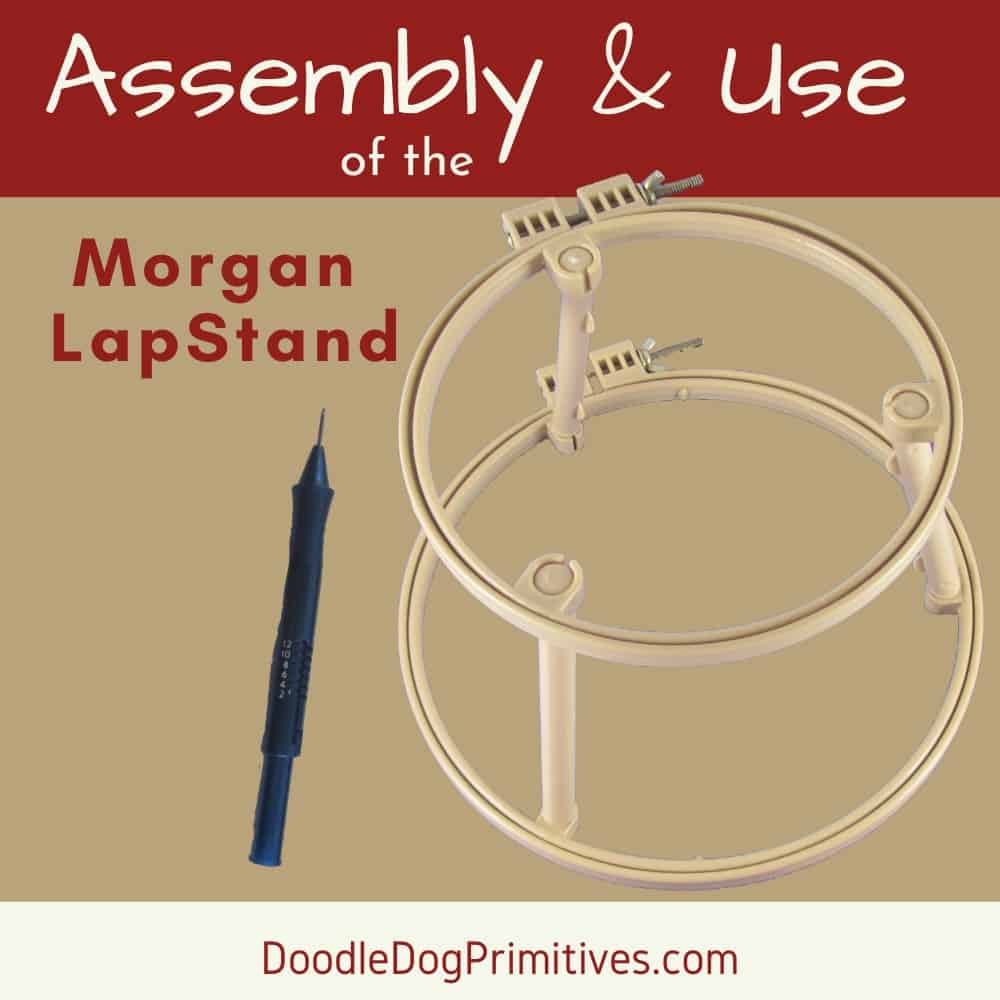
I had someone ask me a couple of questions about the Morgan LapStand, so I thought I would write a quick post to show you how to assemble and use the Morgan no-slip hoop LapStand for punch needle and other fiber arts projects.
I love the flexibility of these lapstands. Since they come apart easily, they are perfect way to take your crafts while traveling. You can also choose to just use one of the hoops instead of the whole frame.
Watch the Video:
What comes with the LapStand?
The Morgan LapStand comes unassembled. It will have two no-slip hoops and three pillars. The pillars space the hoops 4″ apart.
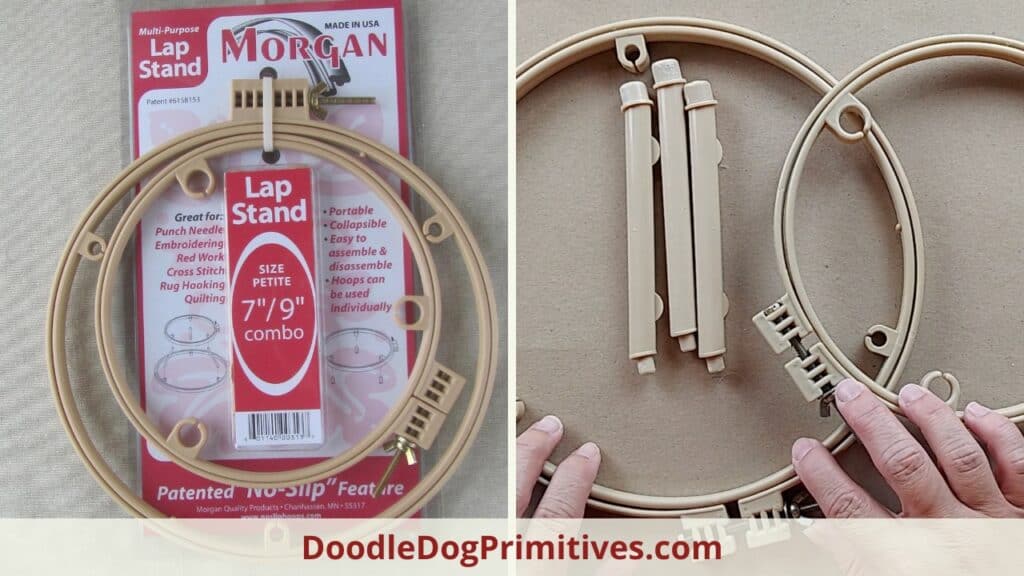
There are different sized lapstands to choose from. This one is a 7″/9″ which means that one of the no-slip hoops is 7″ in diameter and the other hoop is 9″ in diameter. You can use either of the hoops by itself or combine them to make a lapstand.
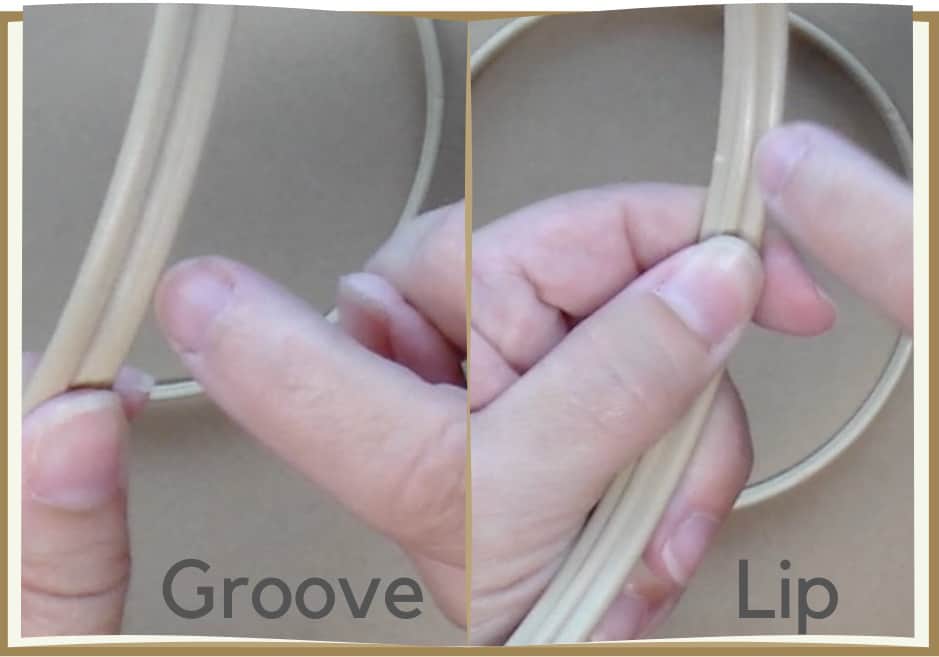
The Morgan hoops have a groove on the outside of one the parts of the hoop and a lip on the inside of the other. This allows the hoop to lock together, keeping your fabric tight as you work.
Assemble the LapStand:
Push the smaller end of each pillar into the holes on the inside of the larger of the two hoops. Make sure the pillars angle in towards the middle of the hoop.
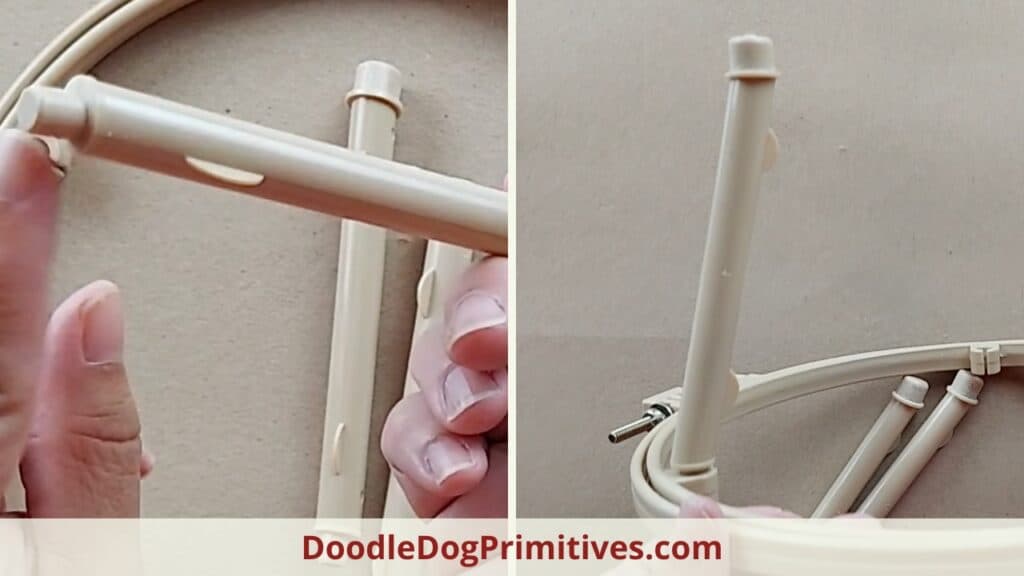
Press the holes on the smaller hoop into the pillars.
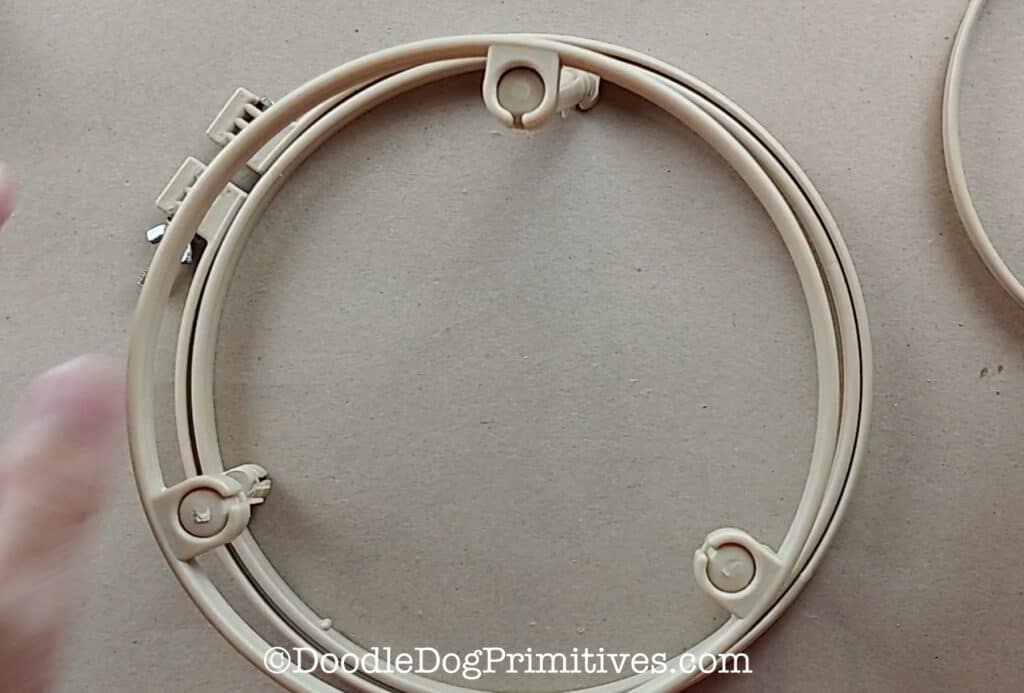
Using the LapStand:
You can now use either size hoop as you would any other hoop. Since the pillars are on the inside of the frame, it doesn’t keep you from getting the weavers cloth drum tight for punch needle.
If you are punching a project that comes close to the edge of the hoop, just make sure you don’t punch into the pillar!
I take off the outer section of hoop that is on the opposite side of the hoop I am using and set it aside. For example, if I am using the smaller hoop, I would remove the outer part of the larger hoop that has the screw.
This leaves only the round plastic hoop, making it easy to turn in my lap so I don’t accidentally poke myself in the leg with the screw.
Be sure to check out our other punch needle tutorials.
Be sure to Pin this Tutorial:
