I have seen braided edges done on hooked rugs,
but not on a punched piece.
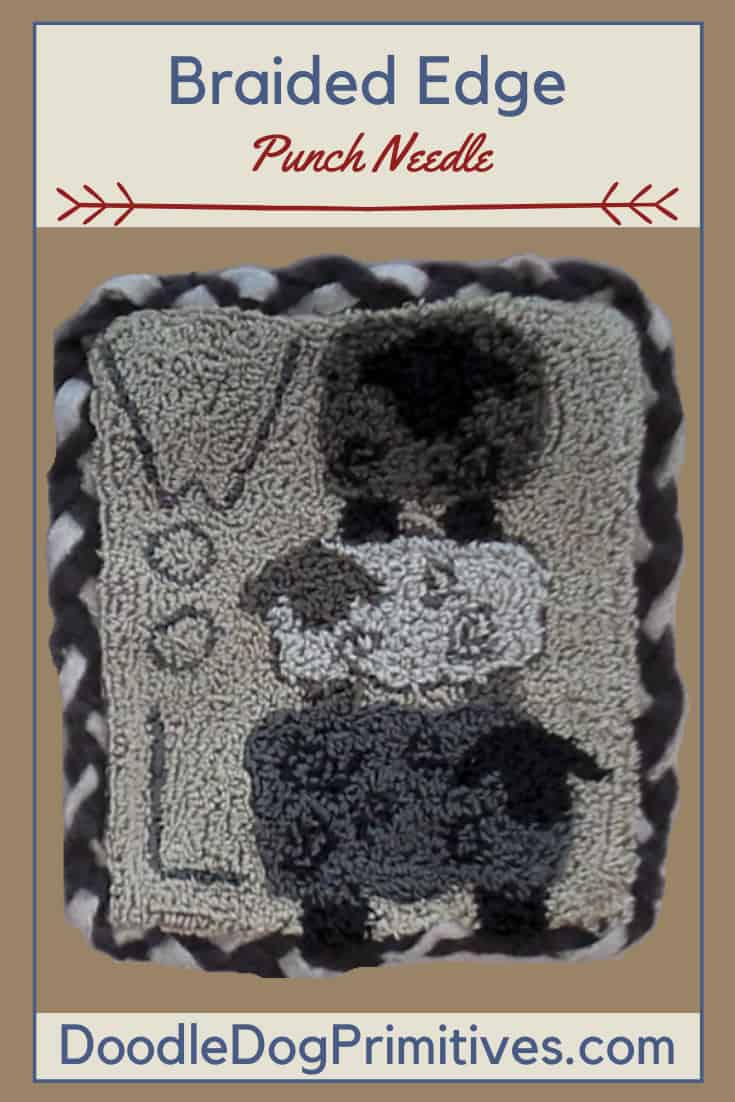
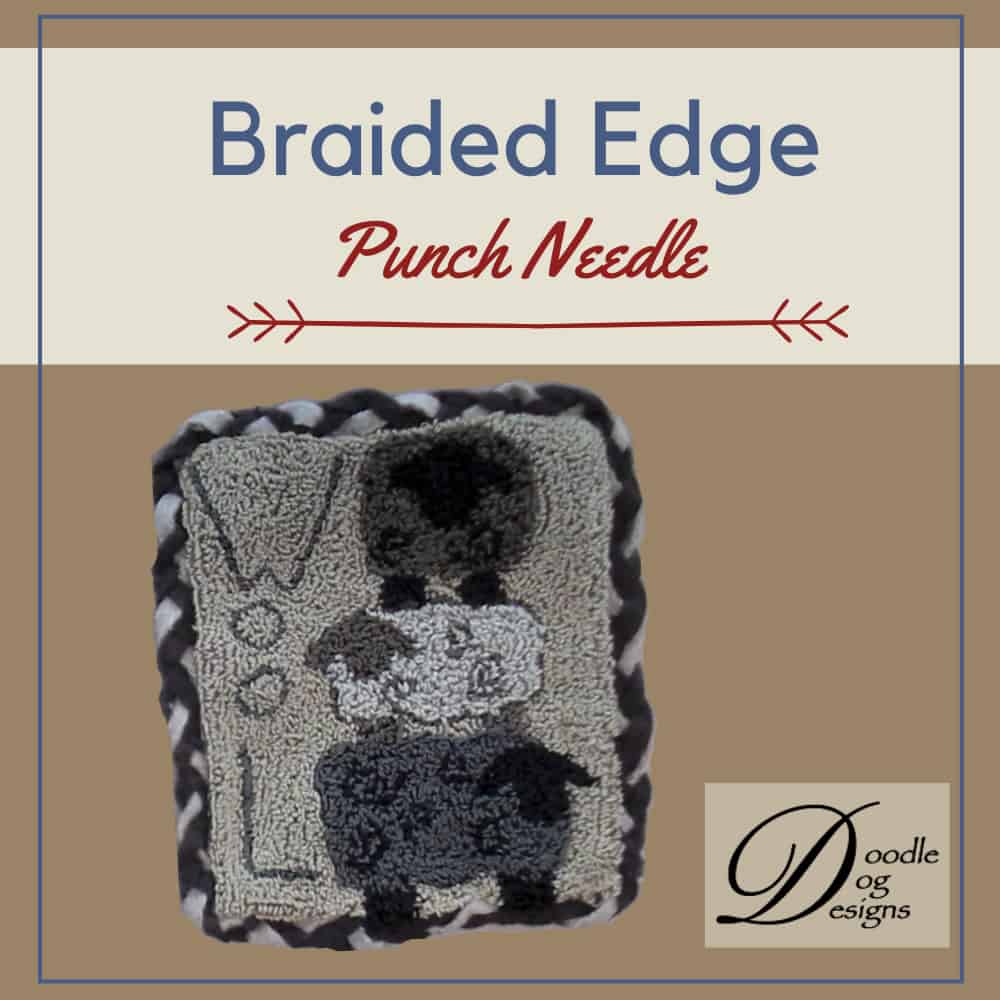
I like the idea of the braided edge on punch needle,
so I decided to add a wool braided edge
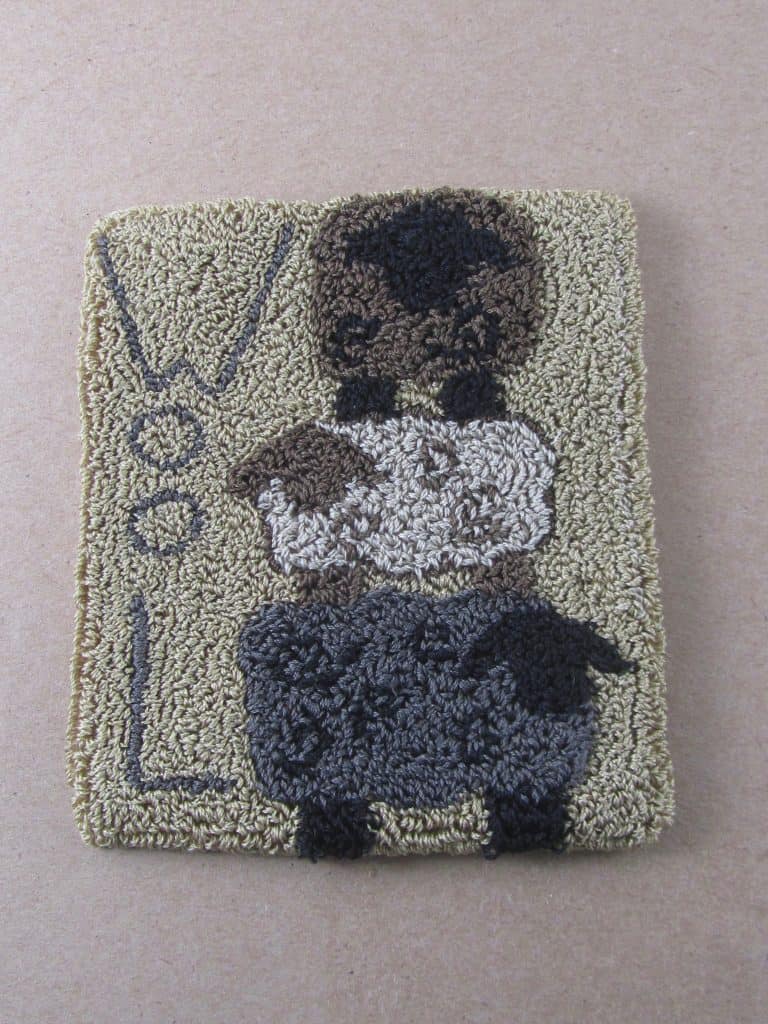
to this stacked sheep punch needle pattern.
Here’s a tutorial showing how I did it.
Braiding the Strips:
Measure the distance all the way around the punched piece.
Multiply this by two to determine how long your strips need to be.
If you have to sew strips together,
make sure the seams are staggered
and not in the same place on all three strips
so there isn’t a big bulk in your braid.
I chose two different colors of wool – dark brown and tan.
You could also make the braid from just one color or three different colors.
I cut the strips about 3/16″ wide.
You might want them wider if your project is big.
Use a safety pin to pin the ends of the three strips together.
Pin it to an upholstered piece of furniture and braid.
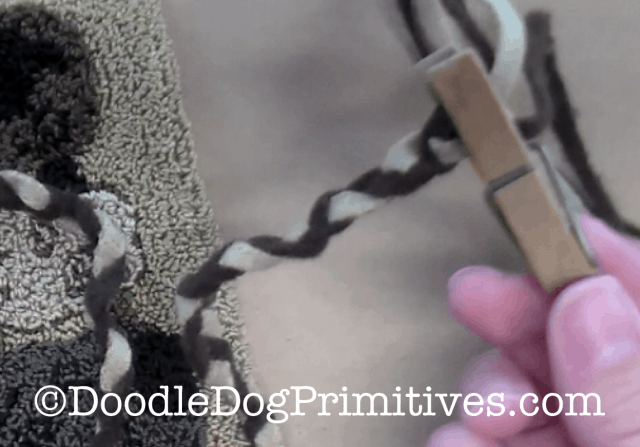
When you get to the end of the braid,
use a clothespin to hold the braid together.
Watch the Braided Edge Video:
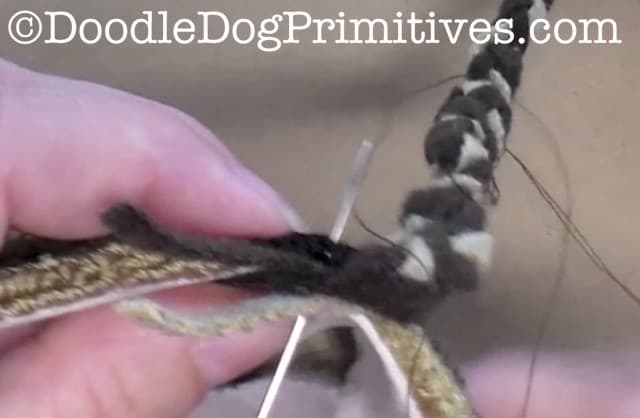
Sew the braided edging:
Start sewing at the bottom of the punched piece.
Sew back and forth through all three strips of wool in your braid
catching the edge of the weavers cloth on each pass
several times until the braid is firmly attached.

Go over about 1/4 inch and put the needle through the weavers cloth
and pull the thread to the front of the punched piece.
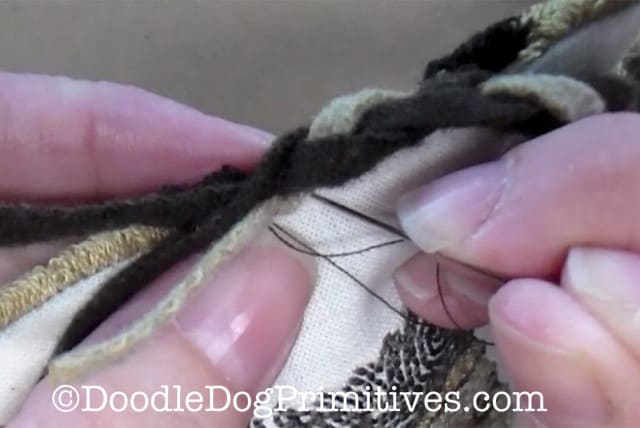
Put the needle through the braid to the back, catching the wools.
Do this several times until you feel like the braid is firmly attached.
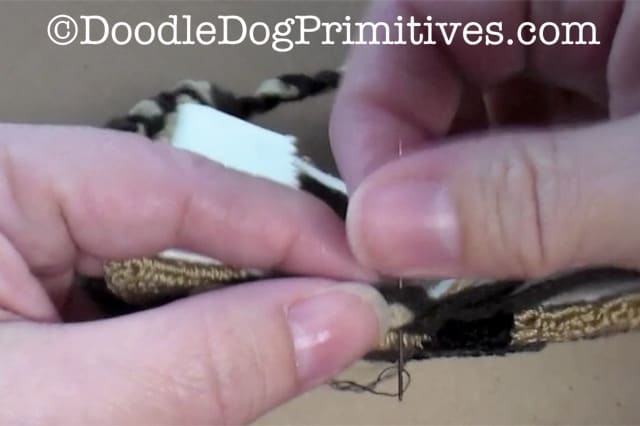
Then, whipstitch the edge of the weavers cloth
to the edge of the braid.
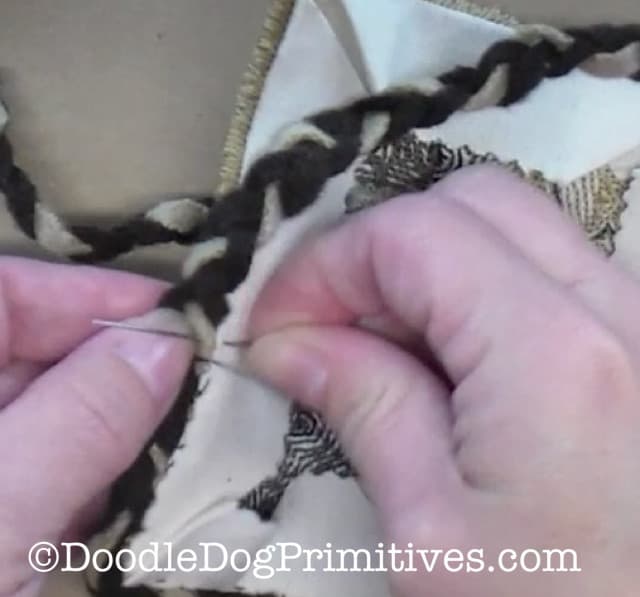
When you get to the corners,
just bend the braid around and keep stitching.
Finishing the Braided Edge on Punch Needle:
When you get back to the beginning,
you might have to unbraid some of the un-sewn braid if there is too much.
Cut the strips off about an inch past where the ends of the braids meet.
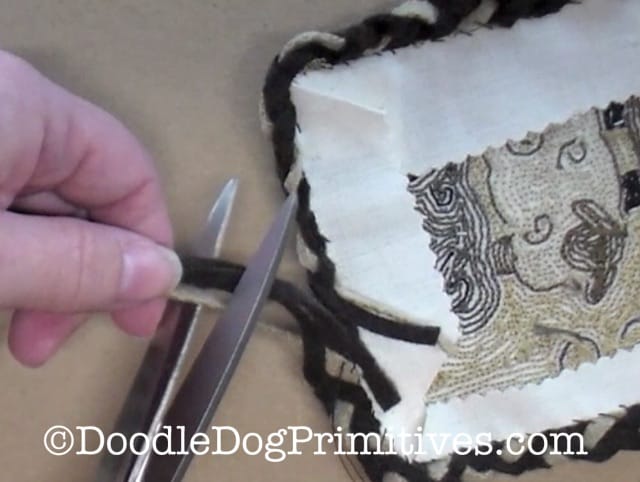
Bring all six of the ends to the back and fan them out.
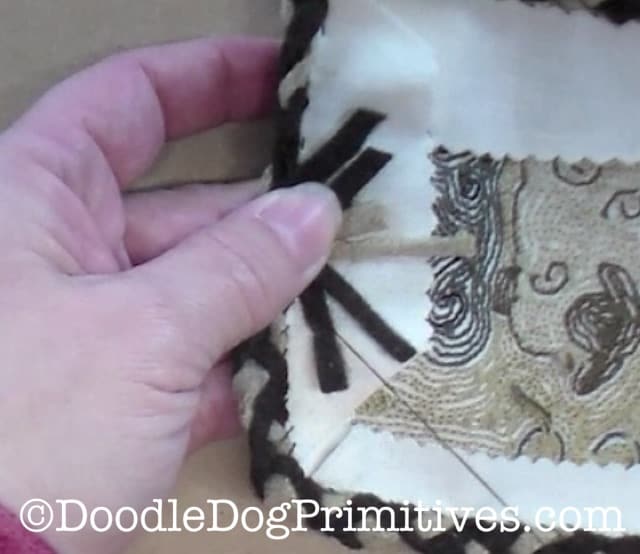
With your needle and thread, tack the ends down to the weavers cloth.
Trim the ends to make it less bulky in the back.
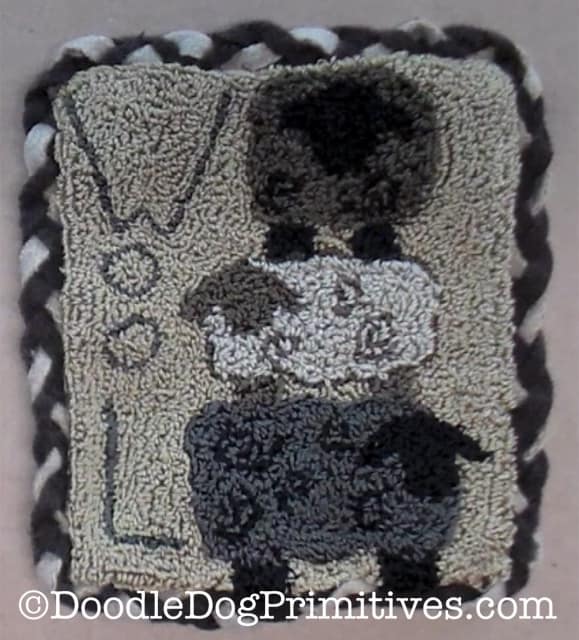
Now, you can enjoy your finished punch needle project!
Blessings~
Amy
Pin this Punch Needle Finishing Tutorial!