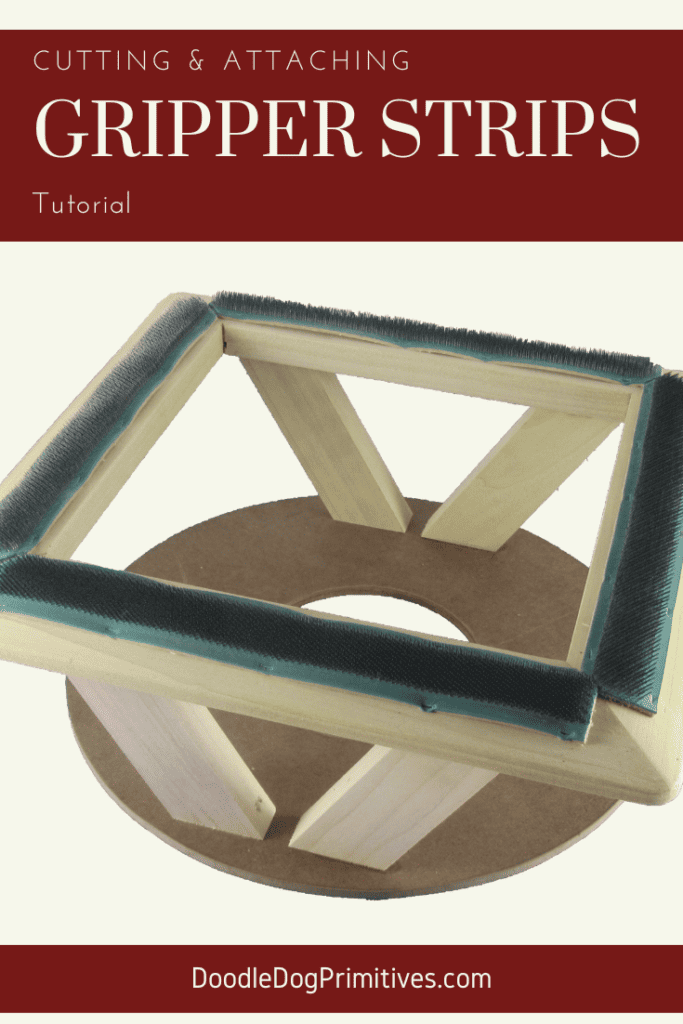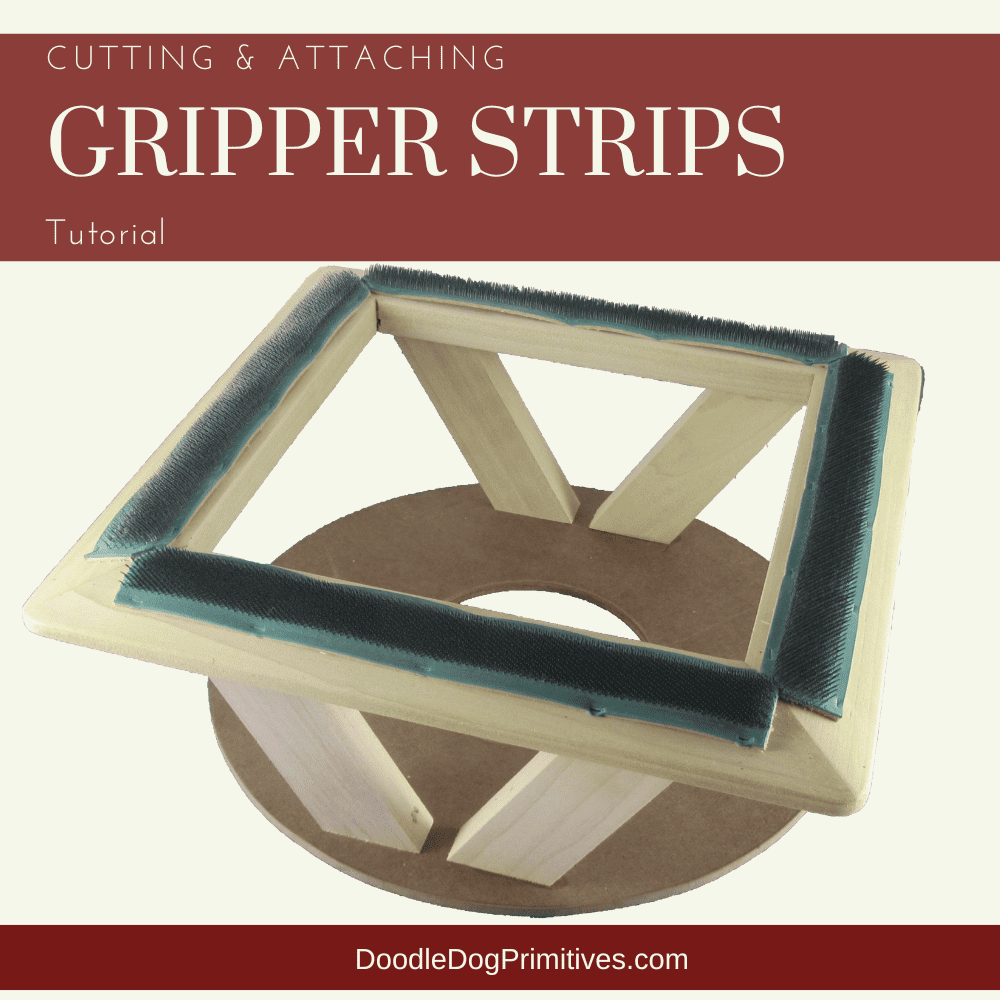
Gripper strip frames can be expensive, so I know some of you would rather make your own frame (or have your favorite woodworker make one). But where do you get the gripper strips and how do you go about cutting and attaching the gripper strips to the make the gripper frame?
My dad is a woodworker and he has designed a wonderful gripper frame that is perfect for either punch needle or rug hooking. He wrote up the gripper frame plans and they are available in my Etsy shop.
Whether you want to use his design or come up with your own, here’s more info about purchasing, cutting, and attaching the gripper strips to the frames.
Watch the Video:
Where to Purchase the Gripper Strips:
I buy my gripper strips directly from Howard Brush. I have bought many gripper strips from them and never been disappointed in their quality.
They do come in three different sizes.
- EH3 – For use with Burlap/Linen.
- EH4 – For use with Monk’s Cloth/Linen.
- EH5 – For use with very Fine Linen/Punch needle work.
Since it is the middle size, I use the EH4 on my frames because I want to be able to hook rugs and do punch needle projects.
These gripper strips come in a 40″ length and they are about 1-1/4″ wide.
They also sell wooden channels that can be used to attach the gripper strips to the frame. That is NOT what I am going to show you in this tutorial.
Cutting the Gripper Strips:
For my frame, I want to cut the 40″ gripper strip into four equal 10″ pieces.
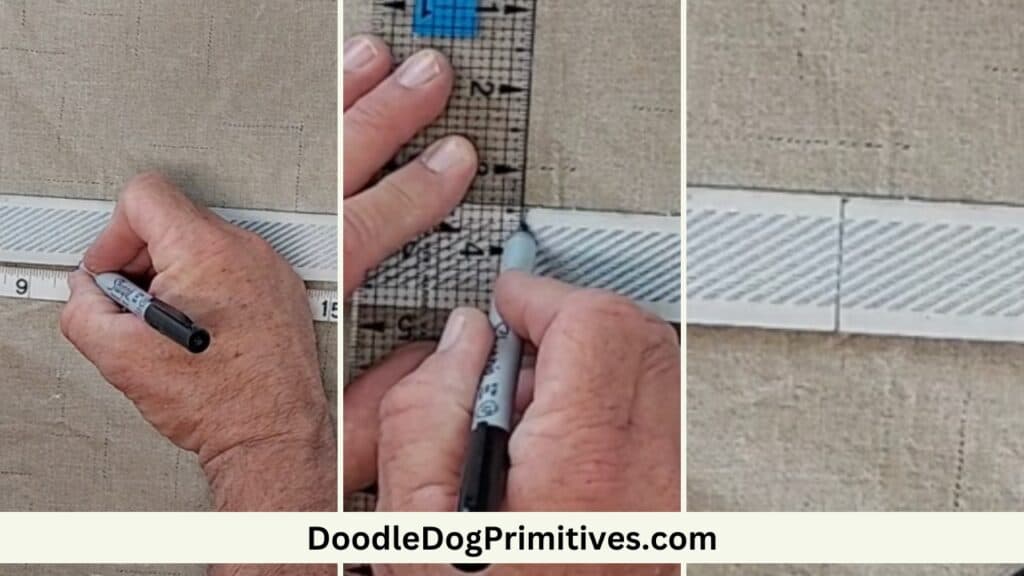
With the gripper strip upside down, use a marker and a ruler to mark each place to cut.
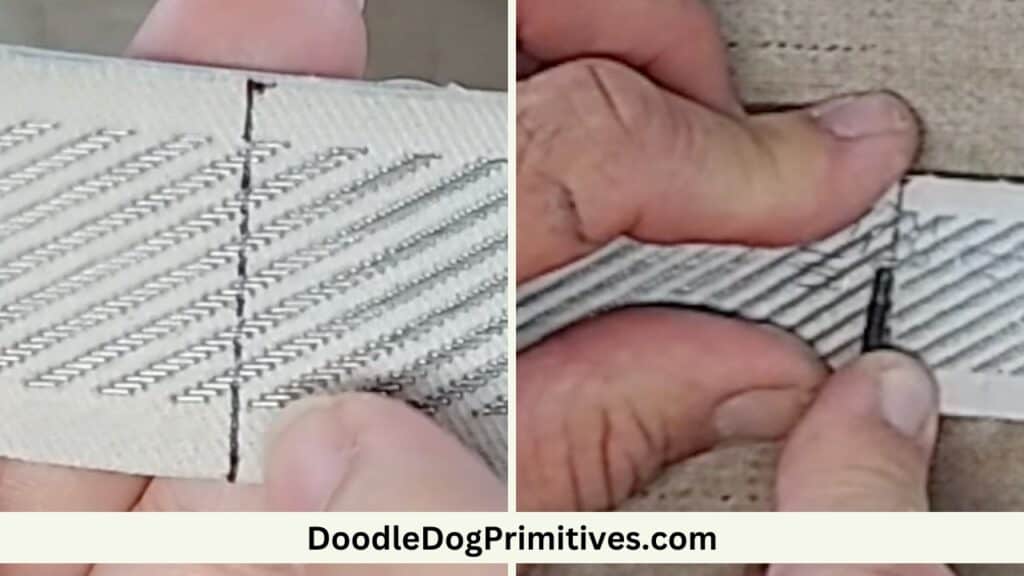
From the backside, use an awl to pull out the staples that are in line with the cutting line. If the staples don’t come out easily, rotate the gripper strip and try again. The wires are angled and they come out much easier one way than the other way.
Put the gripper strips upside down on a cutting board. Use a utility knife to cut the gripper strip along the drawn lines.
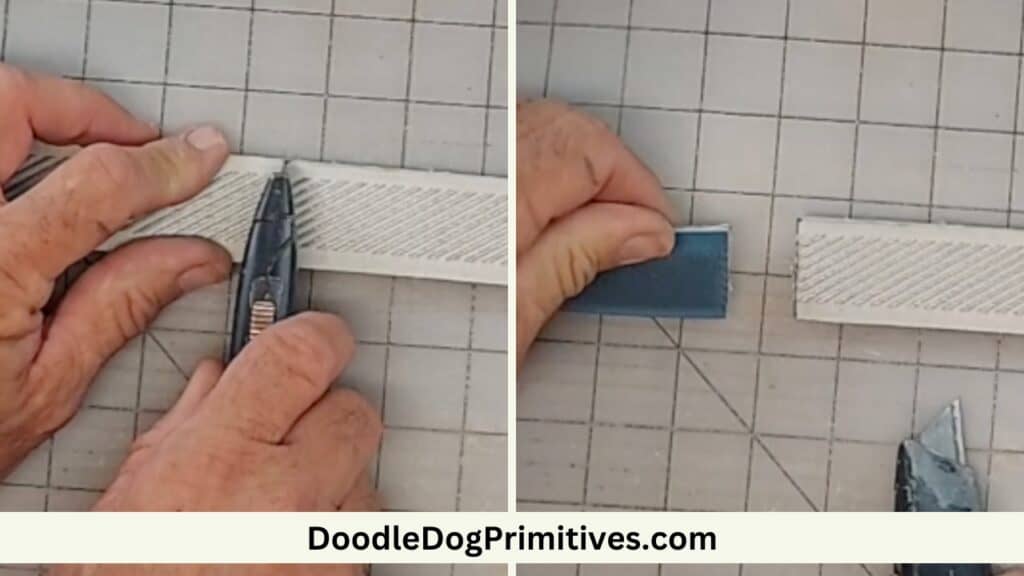
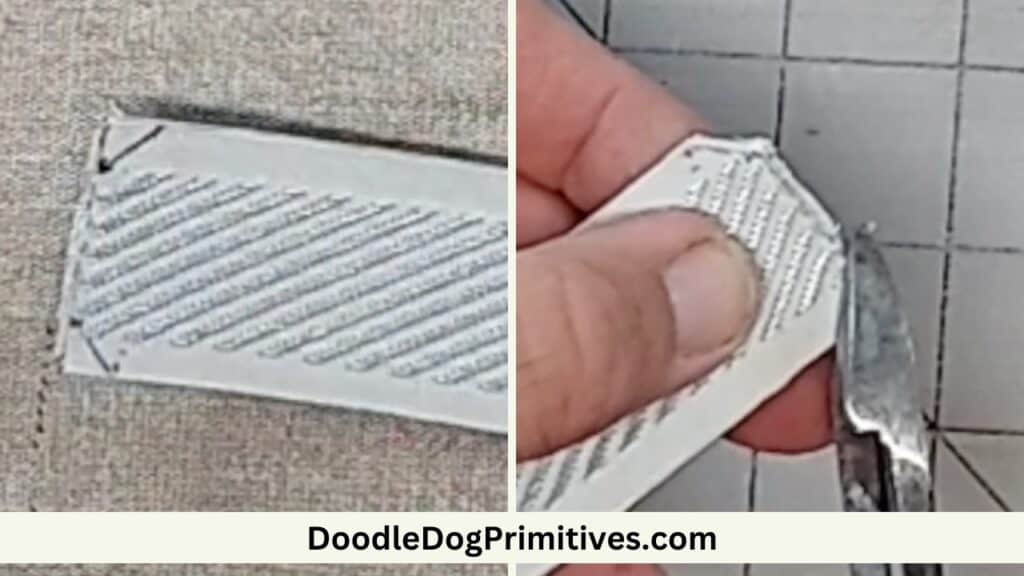
Because of the design of my frame, we also make 1/4″ 45 degree cuts on the corners of each 10″ strip. Depending on the design of your frame, this part may not be necessary.
We marked the lines, pulled out staples, and cut the strips. It was easier to use diagonal cutters here since it is such a small piece.
Attaching the Gripper Strips to the Frame:
Measure and draw placement lines on your frame as a guide for placing your gripper strips. We measured ours 1/4″ away from the center of the frame.
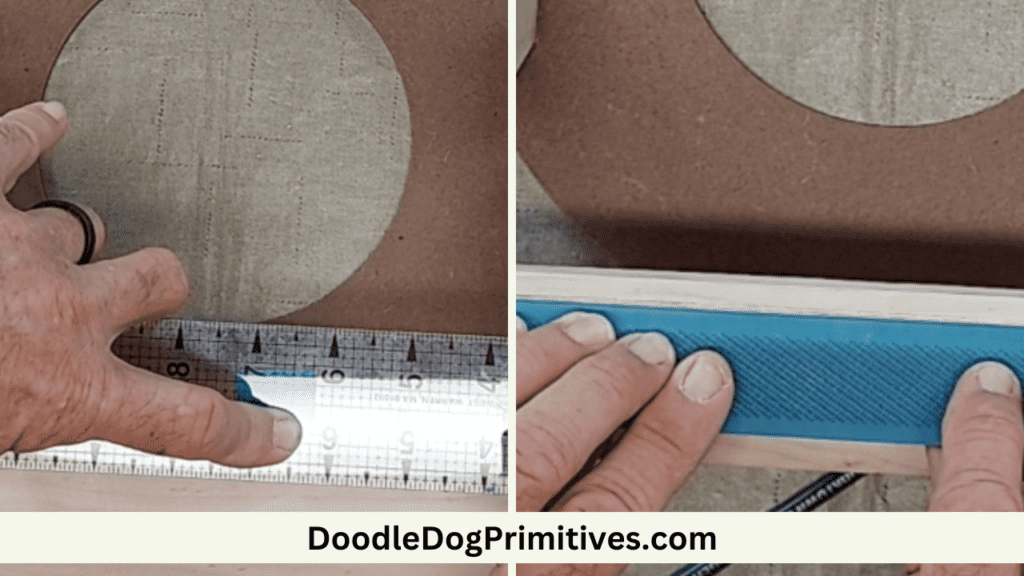
As mentioned before, the wires on the gripper strips are angled. It is important to make sure they are angled in the correct direction on the frame.
Lightly rub your finger over the strip across the width. In one direction, the wires will feel ‘smooth’. In the other direction, the wires will feel very prickly.
When the strips are on the frame, you want it to feel ‘smooth’ going away from the center of the frame.
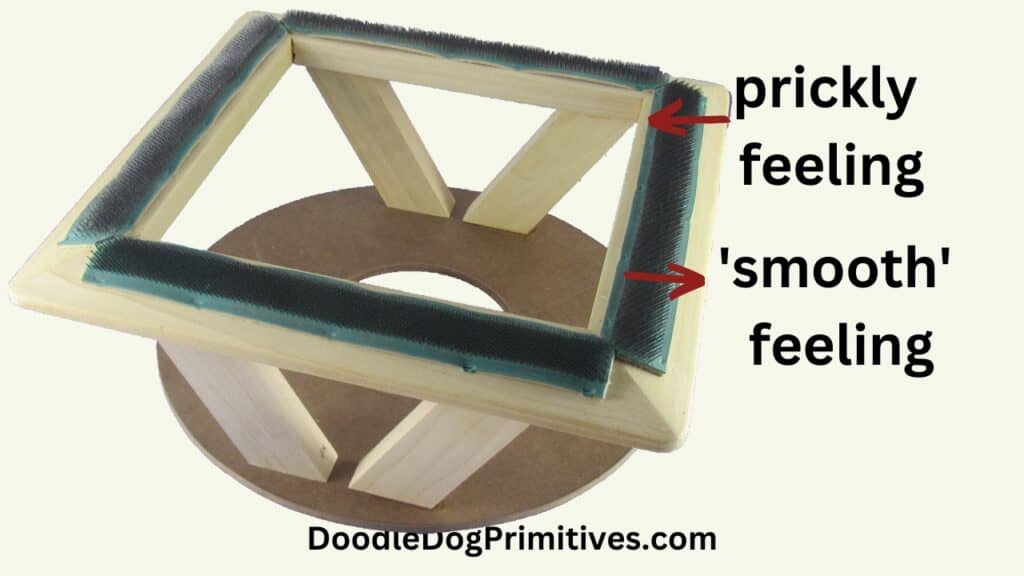
This will allow the gripper strips to grip the foundation fabric and hold it tight while you hook or punch.
Place all of the gripper strips on the drawn lines on the frame to make sure everything is going to fit properly.
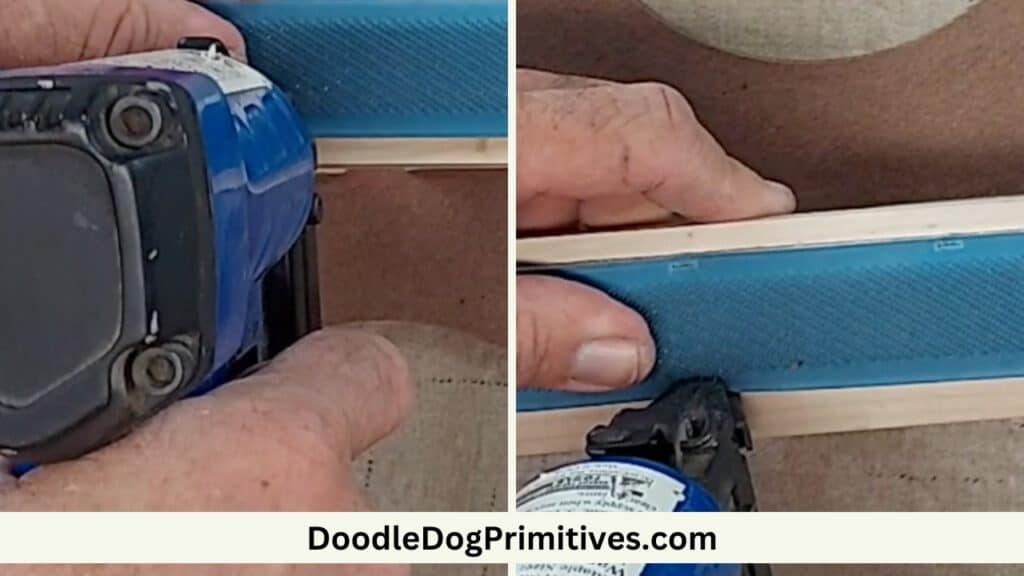
Use an air stapler to attach the gripper strips to the frame. We used 3/8″ staples. You can choose staples based on the thickness of the wood in the top of the frame.
Place staples along each long each of the gripper strips where there are no wires. We find it easiest to staple both ends and then work towards the middle adding more staples as necessary.
Be sure to Pin this Gripper Strip Tutorial:
