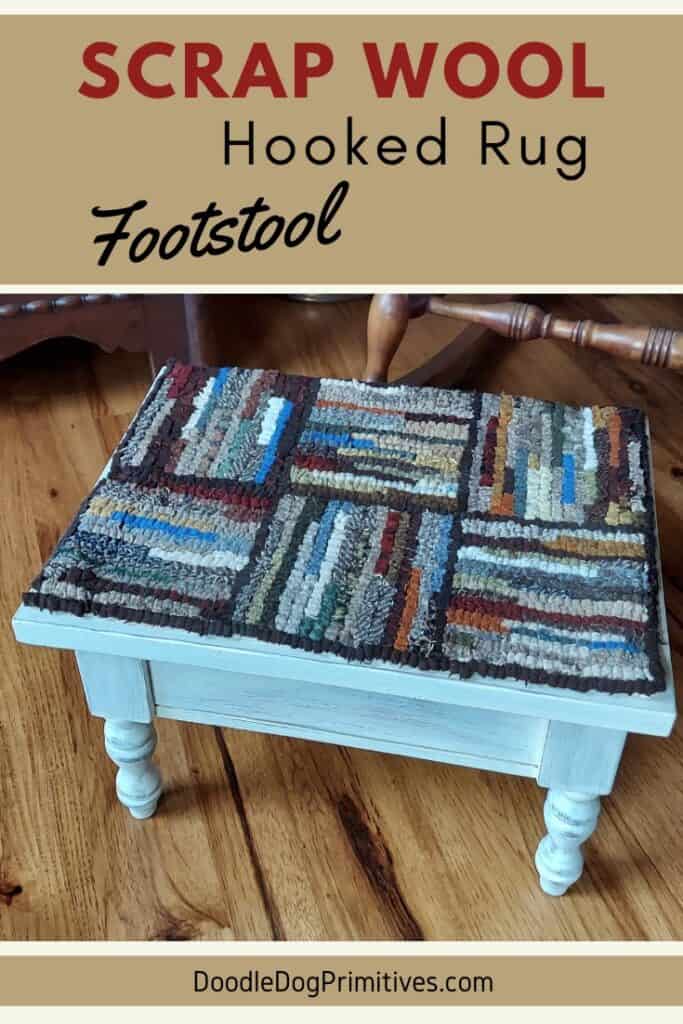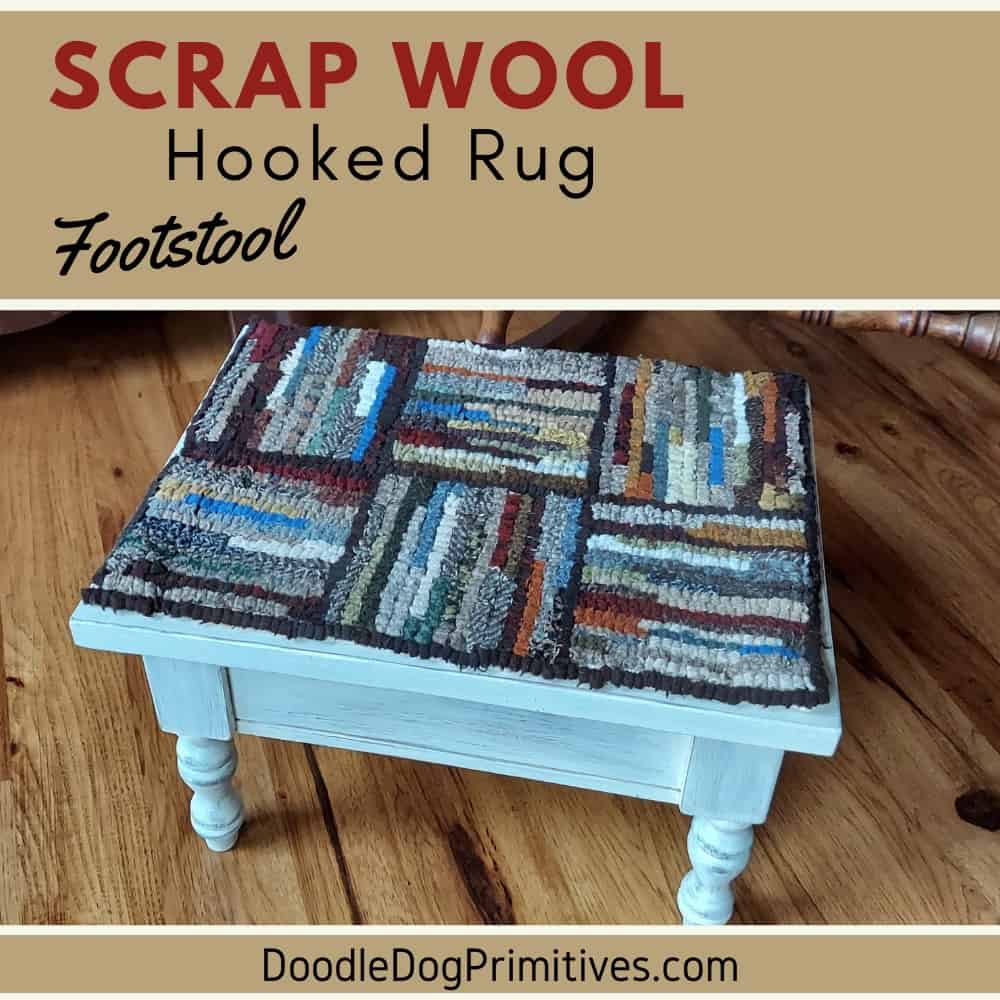
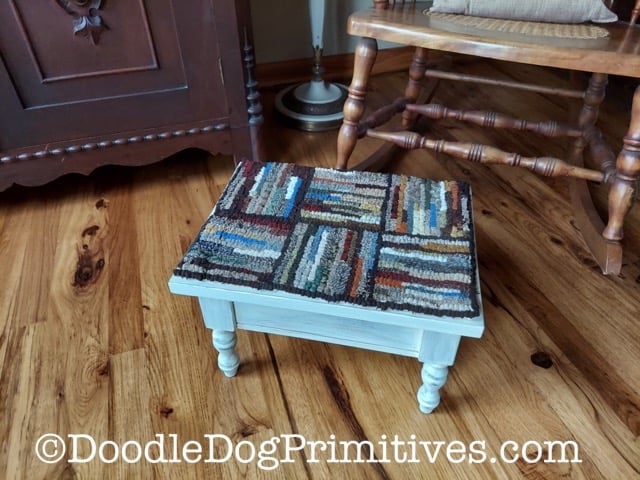
I recently completed a makeover on a wooden stool, giving it a flat wooden top perfect for adding a hooked rug. My basket of scrap wool is overflowing so I decided to design a hooked rug with the intent of using up some of those scraps of wool. Join me for the planning and designing of a scrap wool hooked rug for the top of the footstool.
Watch the Video:
Design the Rug:
The top of my footstool is 14.5″ x 11″. I want to have about 1/4″ of stool showing around each of the edges so I will deduct 1/2″ from each measurement to get the measurements for my hooked rug.
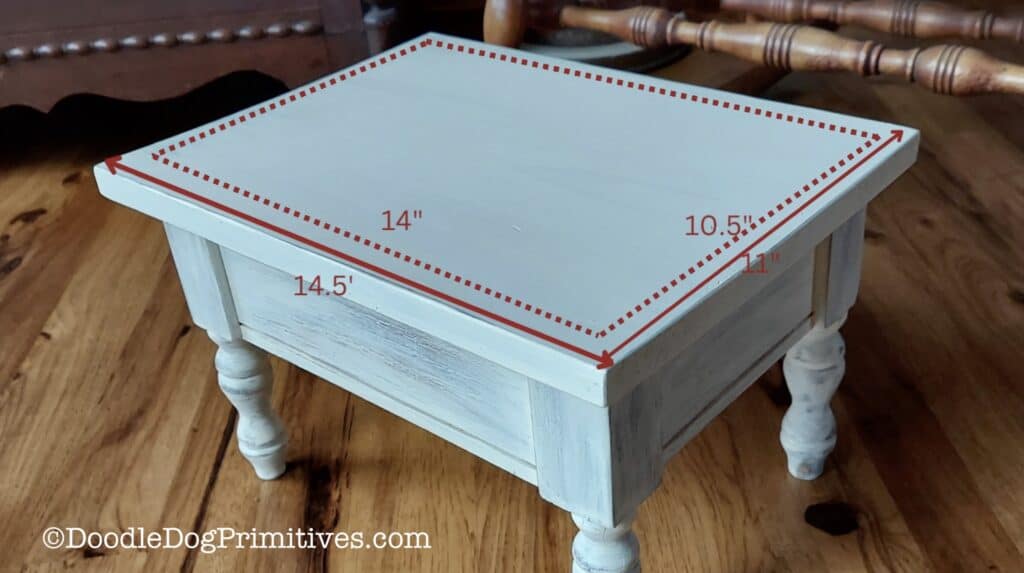
I will design my hooked rug to be 14″ x 10.5″.
I cut a piece of rug warp to 22″ x 19″ to give me a nice border of 4″ on each side for attaching the rug to the gripper strip frame.
I drew a 14″ x 10.5″ rectangle centered on the rug warp for the border of the hooked rug.
I decided to break the rug up into six smaller rectangles, hooking each consecutive rectangle in the opposite direction (vertical and horizontal).
To get the dimensions for each block, I took 14″ and divided it by 3, which is 4-2/3″. I then took the 10-1/2″ and divided it by 2 to get 5-1/4″ so each small rectangle is 4-2/3″ x 5-1/4″.
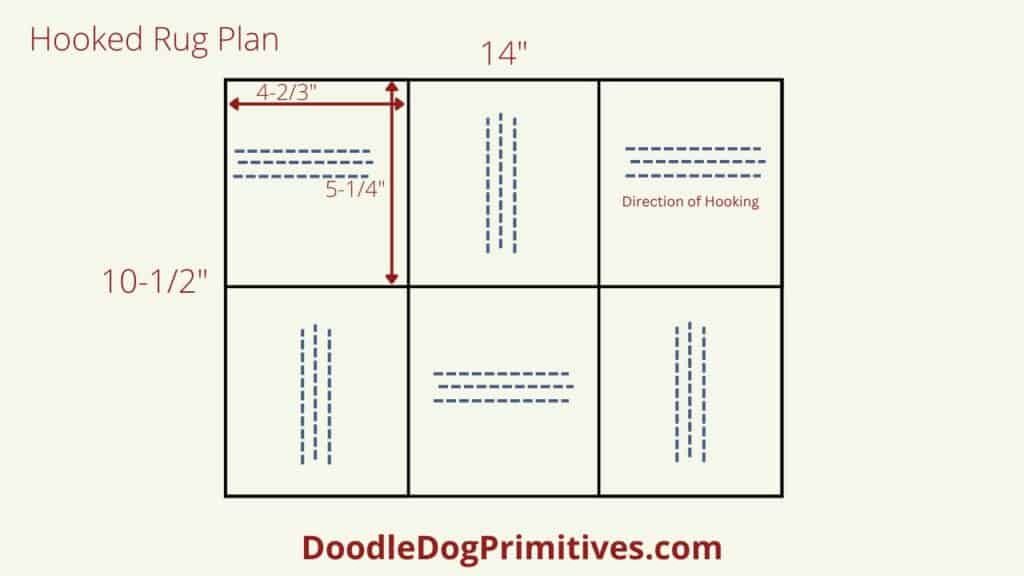
I then drew each of the smaller rectangles onto the rug warp and added marks so I would remember which direction to hook each rectangle.
Choosing Colors for Scrap Wool Hooked Rug:
I dumped out my basket of scrap wool and started sorting.
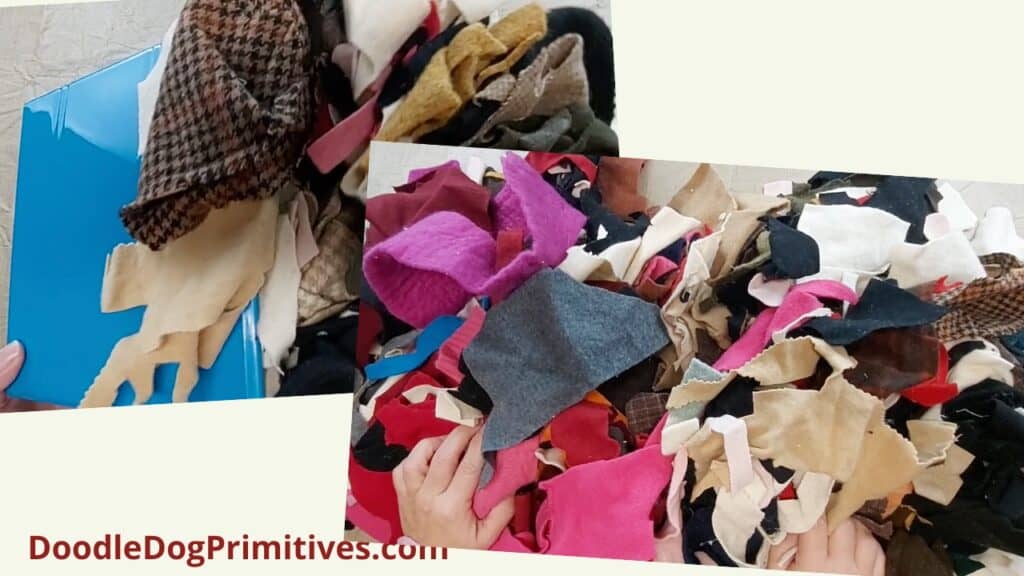
I removed all of the pieces that were not suitable for rug hooking and colors I knew I didn’t want to use. Pinks, purples, and greys were removed first.
Then I took the remaining wool pieces and looked at them as a whole to see if there were any that didn’t look good with the rest. I removed these also. I ended up removing some bright red, orange, and black.
Since most of the wools that I have are browns and tans (and that will go with the furniture in my living room), I decided to outline each of the blocks in a solid dark brown wool and fill in with other scrap wools.
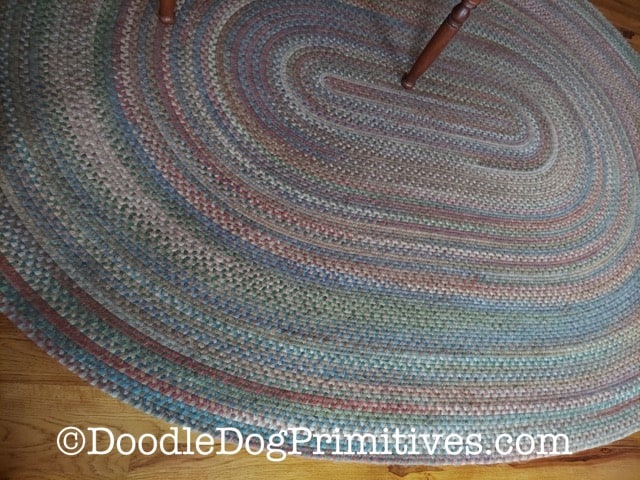
I am going to use a little bit of maroon for some color and accent with blues to coordinate with the blue of my braided rug.
Hooking the Rug:
I cut my strips by hand with my quilting ruler and rotary cutter. My cuts are not perfect so some of my rows on the finished hooked rug are not quite straight but I think that lends to the authenticity of a true antique scrap wool rug.
I did cut a little blue wool from a larger piece, but all the rest of the wool came from my scrap basket. The funny thing is, my scrap basket doesn’t seem any less full now!
Attaching the Hooked Rug to the Stool:
After steam pressing the hooked rug, I trimmed and serged the edges and pressed them to the back. Then I basted the edges to the back of the rug.
I used carpet tacks to tack the rug to the stool, being careful to place the backs between the wool loops. I only placed tacks around the edges of the rug. After each tack was hammered into the stool, I rearranged the wool strips to cover the tack.
Be sure to check out our other rug hooking tutorials.
Be sure to Pin this Rug Hooking Inspiration:
