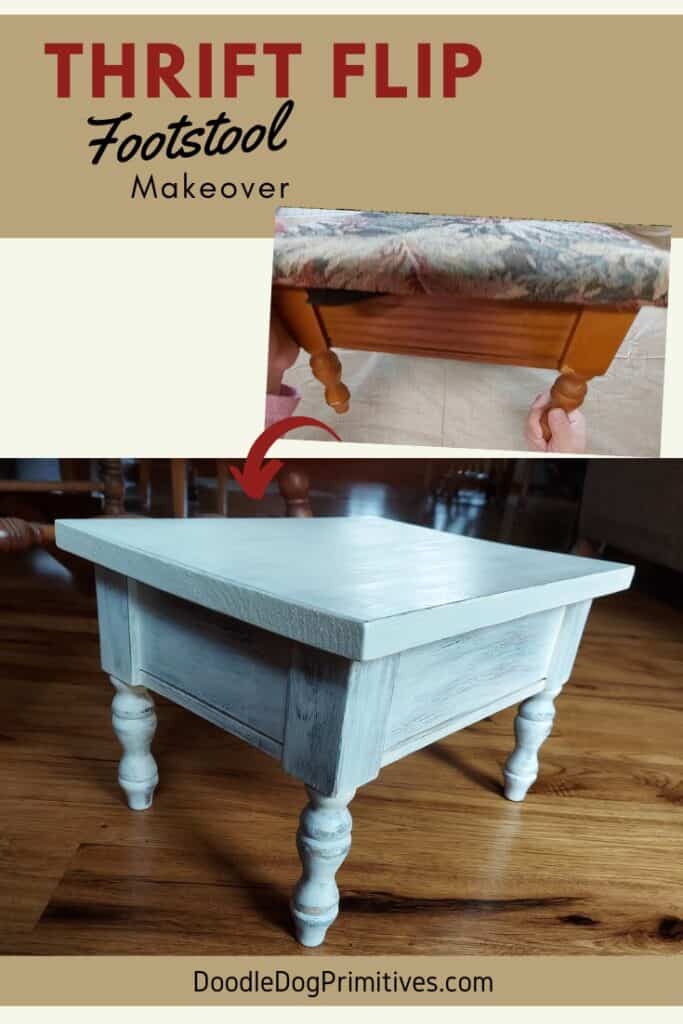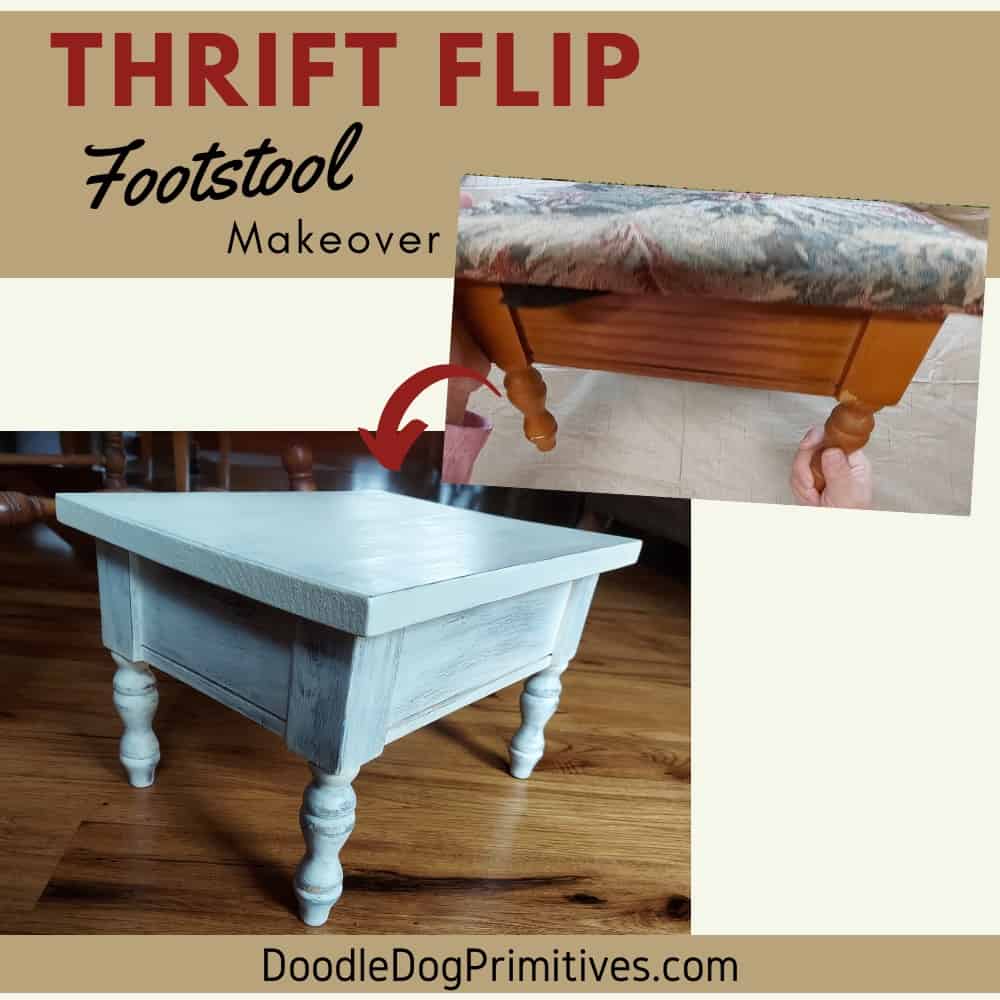
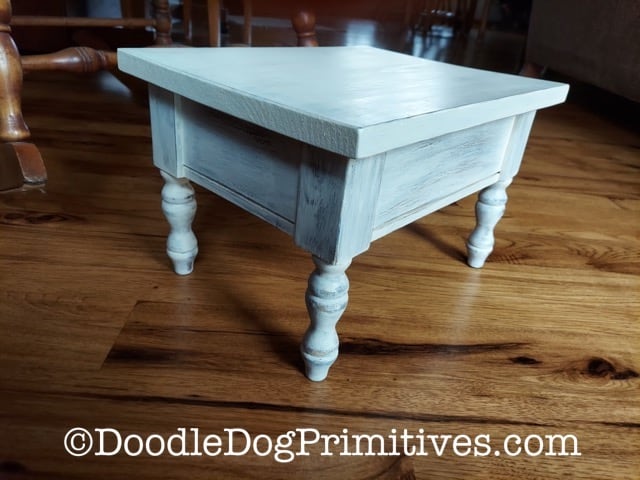
I came across a newer footstool with a fabric covered lid at a garage sale last summer. It had good ‘bones’ so I snagged it for $1. it has a hinged lid and a very dated fabric cover. I will show you how I gave the footstool a makeover to turn it into an antique looking stool.
My original plan was to recover the top and paint the bottom of the footstool to give it an antique, distressed look. But after getting it home (and letting it set for several months) I decided to replace the lid with a solid wood board and then later attach a hooked rug to the top.
Watch the Makeover Video:
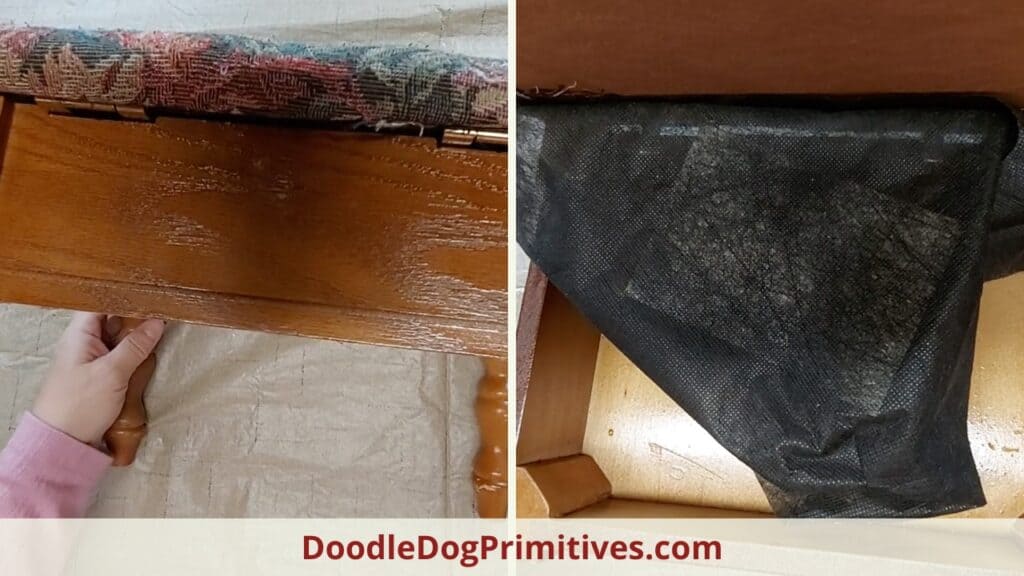
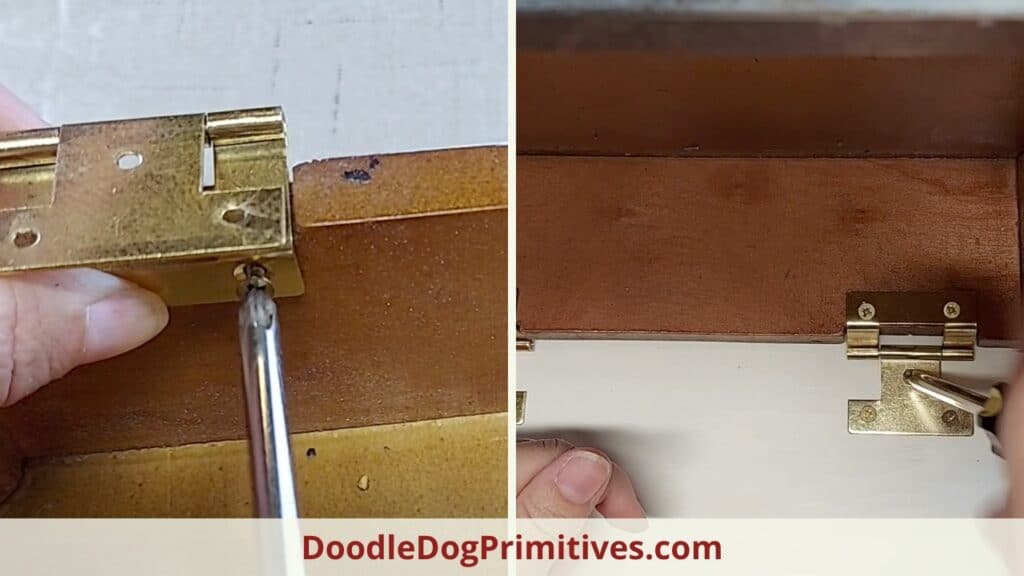
Remove the Lid:
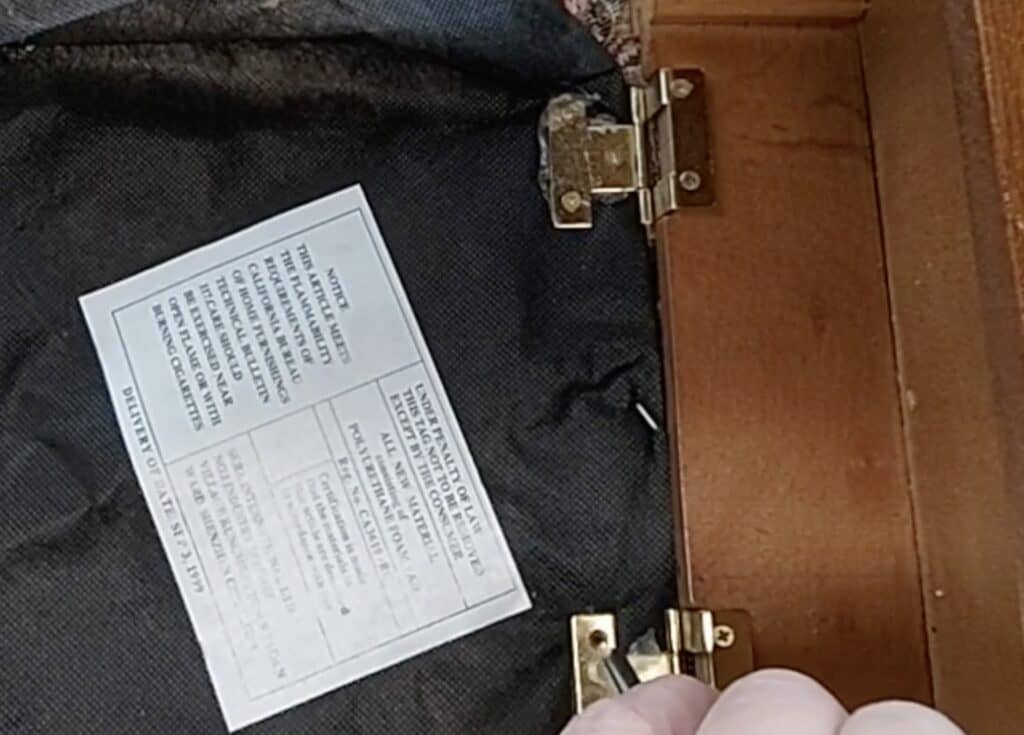
The first thing I did was to remove the lid by unscrewing the hinges. I took the hinges completely off the footstool so I wouldn’t have to worry about getting paint on them later.
I then removed the fabric and padding from the lid using a screwdriver and pliers to remove the staples that were holding down the fabric.

Once all of the fabric and padding are removed from the lid, I used the wooden particle board as a template for cutting a new lid for the stool out of a solid piece of wood.
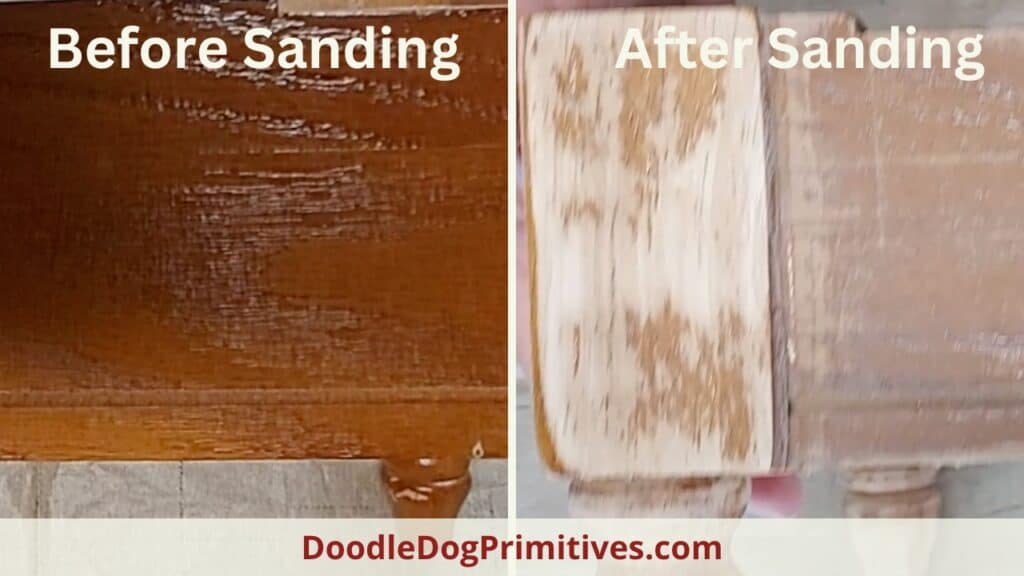
Sand and Paint the Stool:
The stool had a pretty glossy finish so I sanded it with 60 grit sandpaper to knock off the gloss so the paint would stick. I probably could have skipped the sanding if I was going to use a chalk paint.
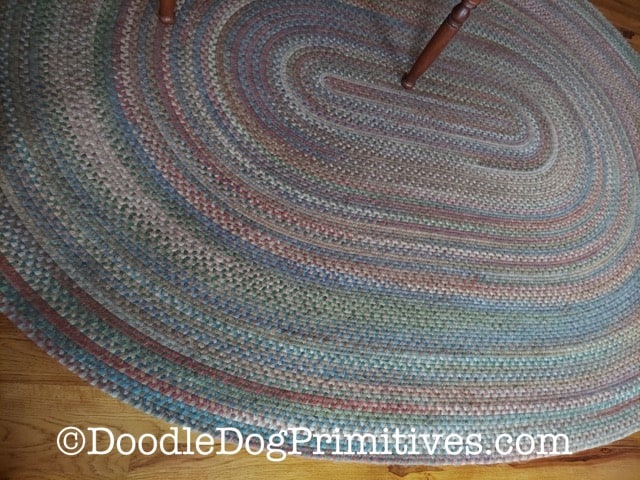
The braided rug in my living room is mostly blue so I decided to paint the undercoat of the stool blue with a cream top coat of paint.
I painted a very light coat of blue paint on the stool and the new lid without worrying about completely covering everything. Less paint applied makes for easier sanding later!
After the blue paint was dry, I applied two thin coats of cream paint on the footstool and lid.
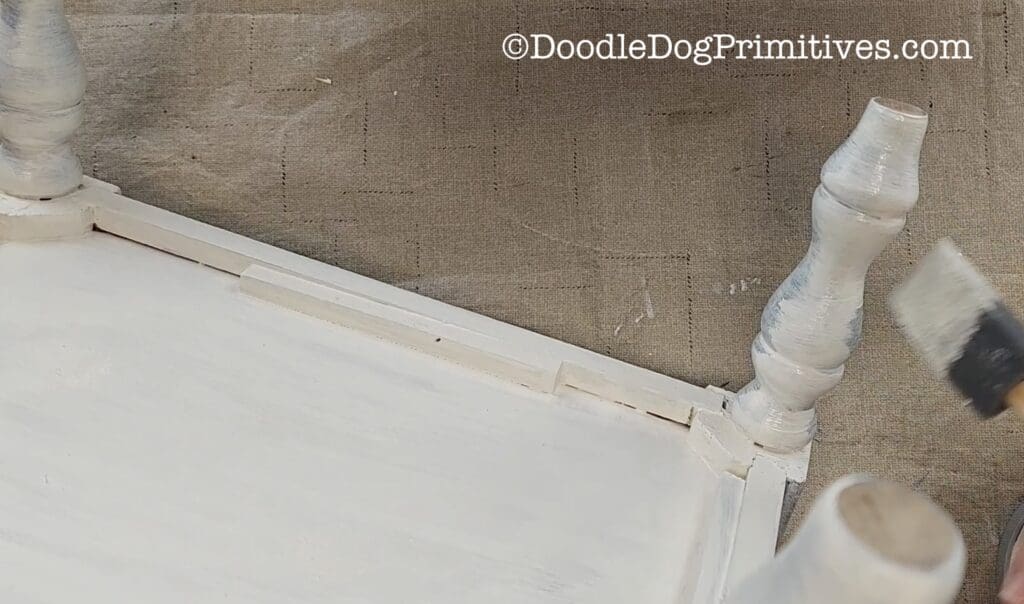
The cream paint was not completely covering the blue paint at this point, which will make the sanding easier. I let the paint dry overnight before moving onto sanding.
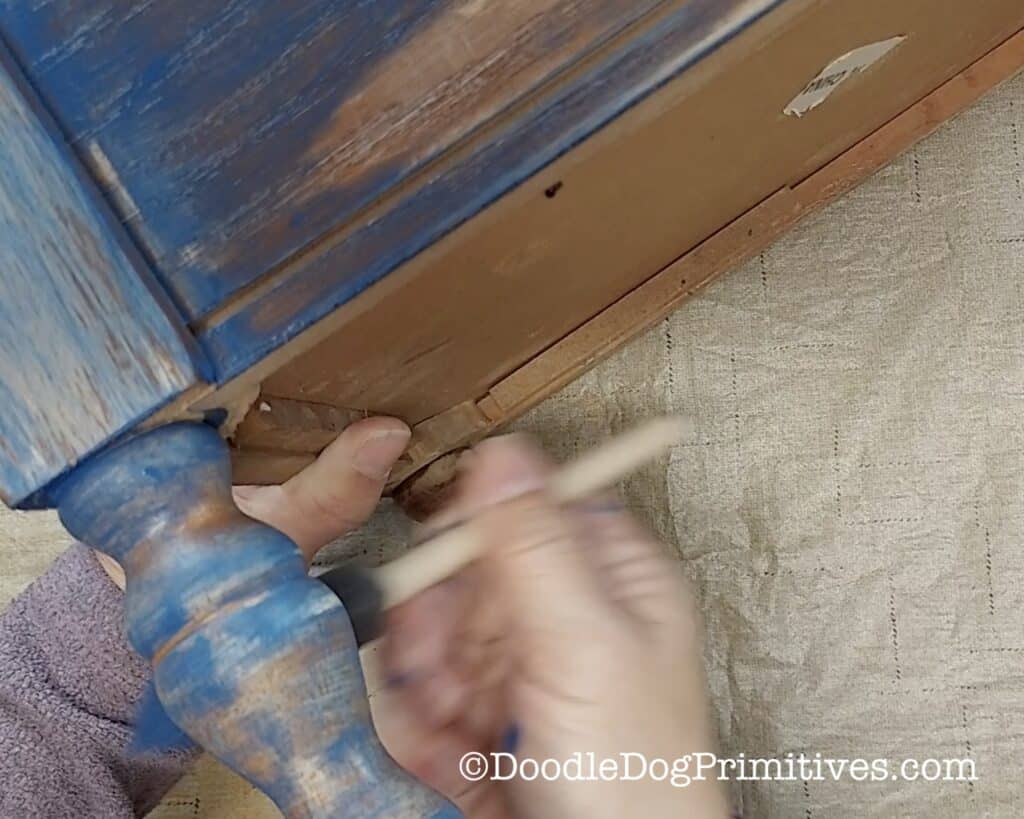
Distressing the Footstool:
I used 120 grit sanding block and 180 grit sandpaper to sand the entire footstool and the lid to give it a distressed, aged look. My goal was to have some of the blue and some of the original wood showing through the cream paint.
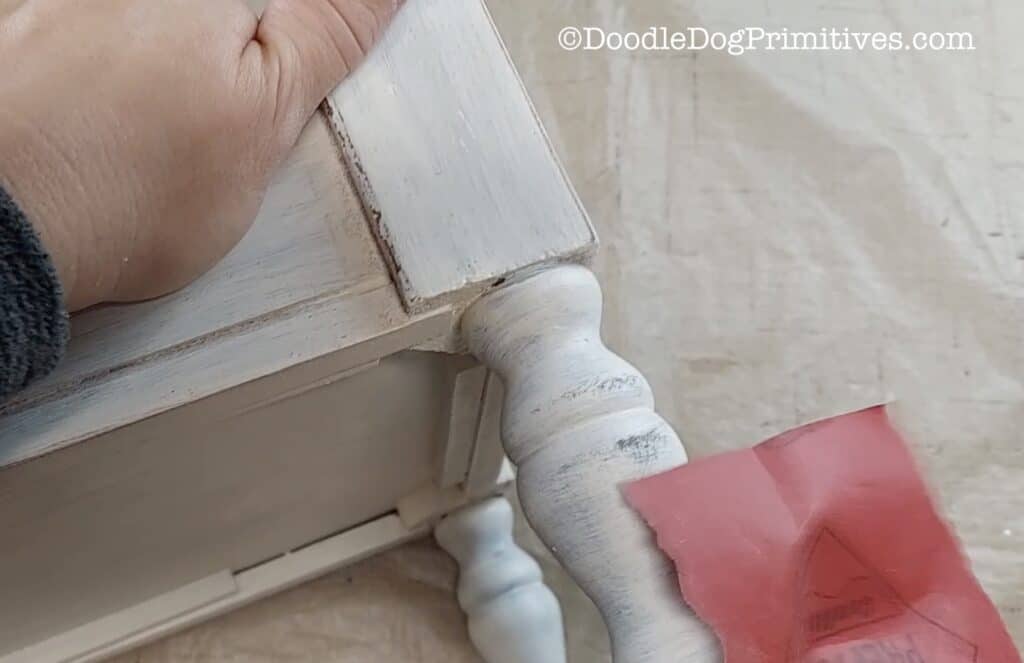
Wax the Footstool:
In order to protect the paint, I applied a finishing wax to the entire footstool. I chose to use the natural shade of the Minwax Finishing Paste Wax. I sometimes use a darker finish wax if I want a piece to have a darker look.
Applying the wax is a simple rub on – buff off process.
Attach the New FootStool Lid:
I reused the original hinges to attach the new lid to the footstool.
Next time, I will show you how I designed a hooked rug using scrap wool to attach to the top of the made over stool.
Pin this Footstool Thrift Flip Makeover: