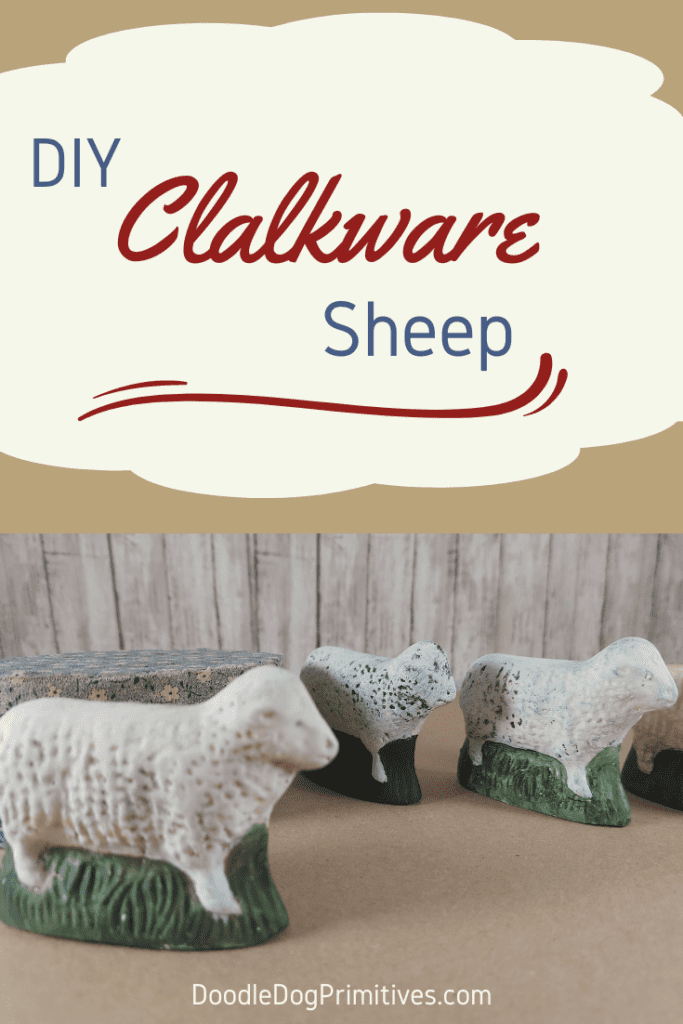
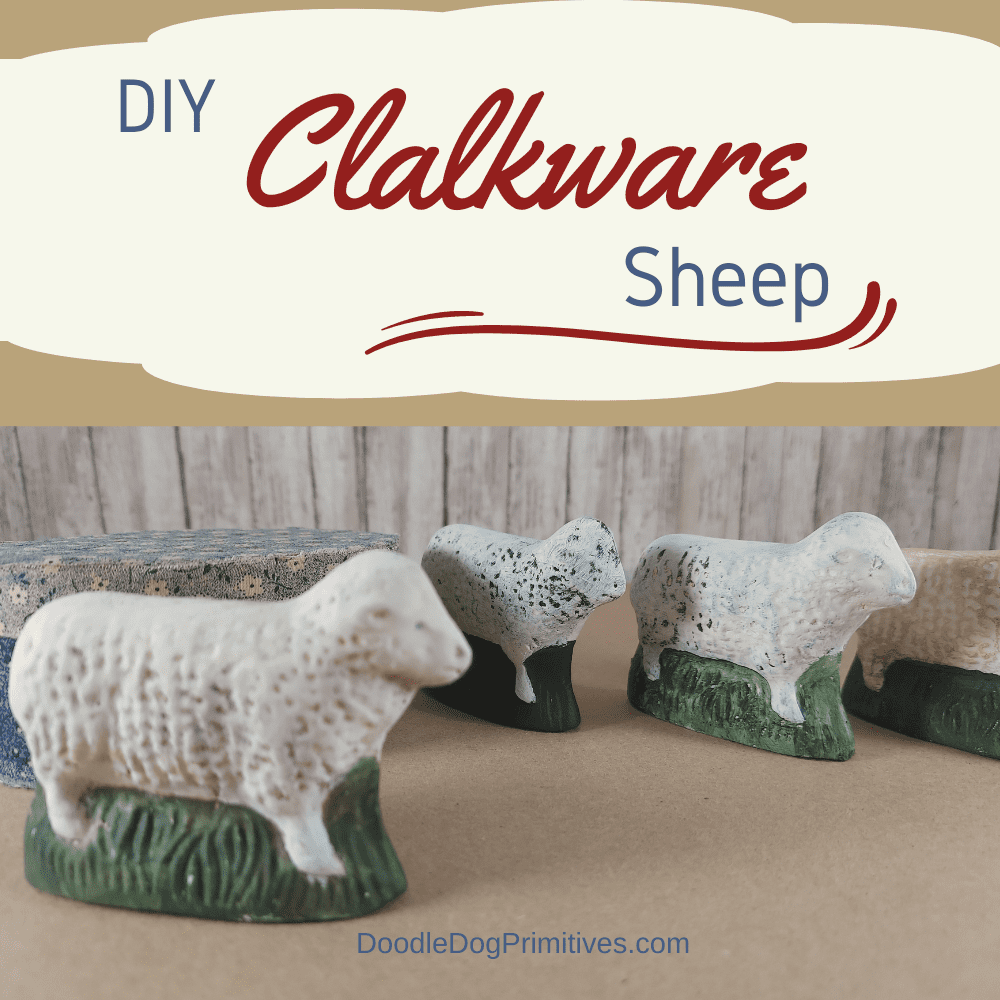
Today I want to show you how I make chalkware sheep using an antique chocolate candy mold. This is an easy DIY project perfect for your primitive or farmhouse decor. The hardest part is finding the candy mold!
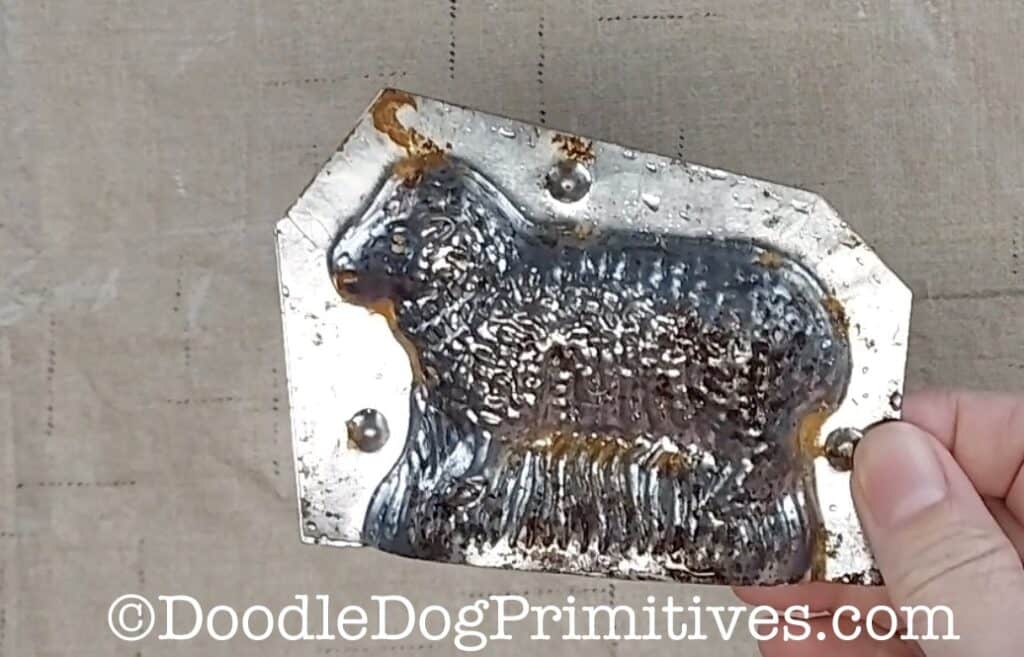
I was able to snag mine at an auction. I did a quick check and there are currently several for sale over on Ebay. My mold is 3D so the finished chalkware sheep will stand up and look the same on both sides.
Watch the Video:
This post may contain affiliate links for your convenience, which means if you make a purchase after clicking a link I will earn a small commission but it won’t cost you a penny more. For more information, please visit our Privacy Policy.
Supplies for Chalkware:
You will need the antique chocolate mold, small clamps, some plaster of paris, fine grit sanding paper or Scotch Brite style pad, a clay sculpting tool or knife, craft paints, disposable spoon and bowl.
Make the Chalkware:
In order to make removing the mold easier, wet the inside of the mold.
If your mold doesn’t have clamps, use some small clamps to hold it together. These can also act as a stand so the mold will stay upright while the plaster is hardening. Make sure the mold is level at the top.
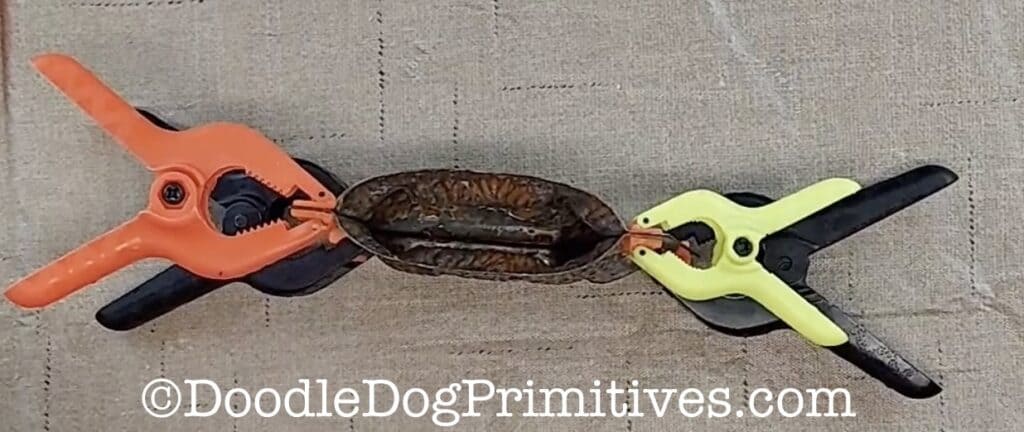
Now that the mold is ready, it is time to mix up the plaster of paris. Follow the instructions for the plaster you get. Mine called for mixing 2 parts plaster to 1 part water.
You want to mix up enough to fill the mold completely without having too much leftover. It hardens pretty fast so any extra will just be wasted. I had to make a few sheep before I figured out just the right quantities to use.
I like to use a disposable paper bowl and a plastic spoon so clean up is easy! Mix the plaster of paris with water until it is a smooth mixture.
Gradually pour the mixture into the mold, shaking and tapping the mold frequently to remove any air bubbles.
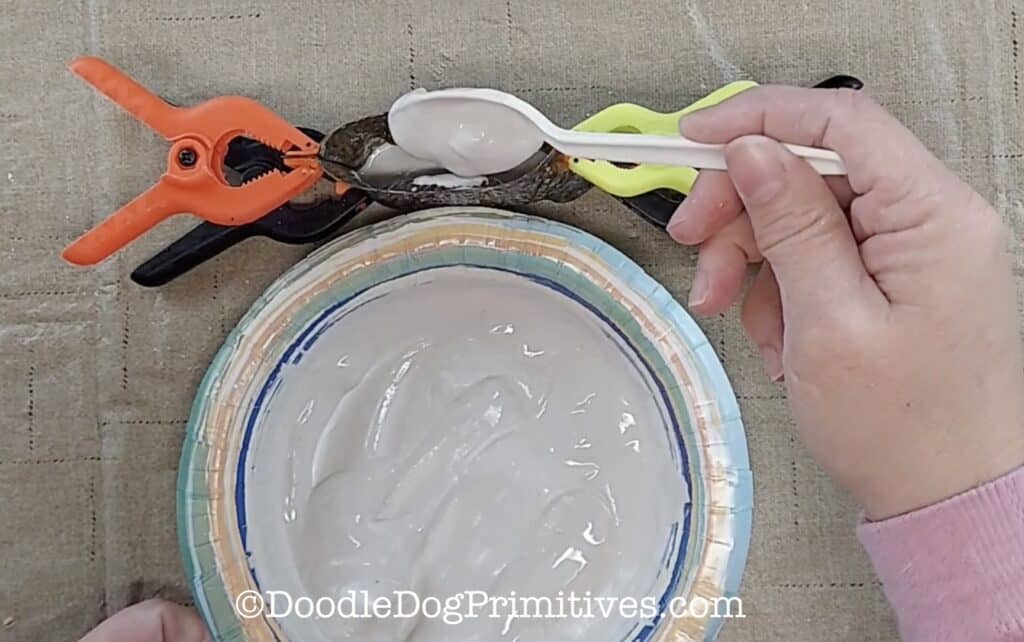
Make sure the top of the plaster of paris is level and smooth. Follow the directions on your plaster for curing time on molds. Mine said to let dry for one hour.
After it is dry, remove the clamps and remove the candy mold from the plaster. It is a little hard to remove, you just have to pull hard!
It will probably have some extra plaster that seeped into the seams. Don’t worry about that. It can be removed.
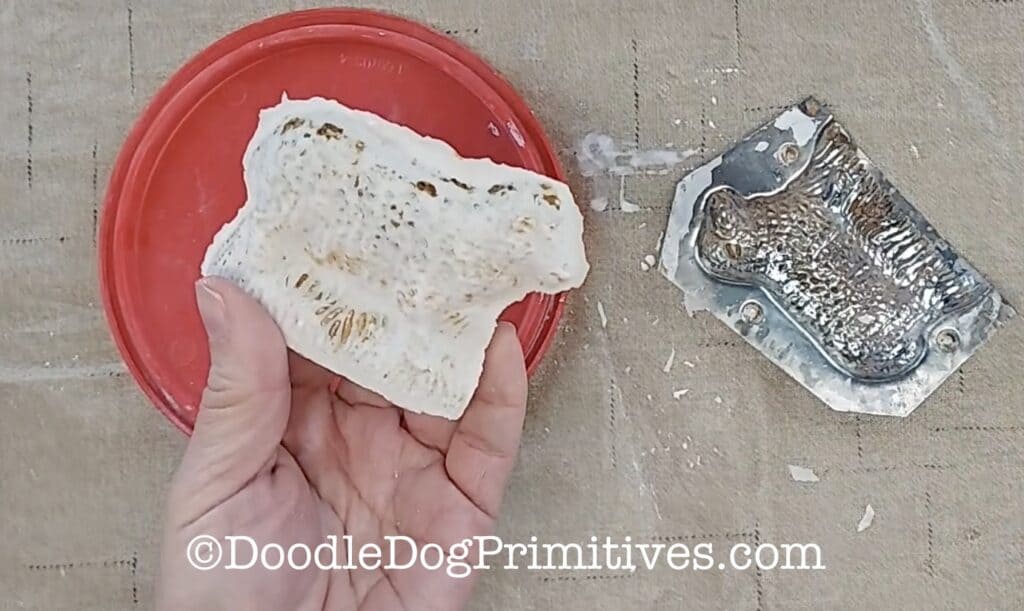
Take a knife or rounded clay sculpting tool to scrape the extra plaster off at the seams.
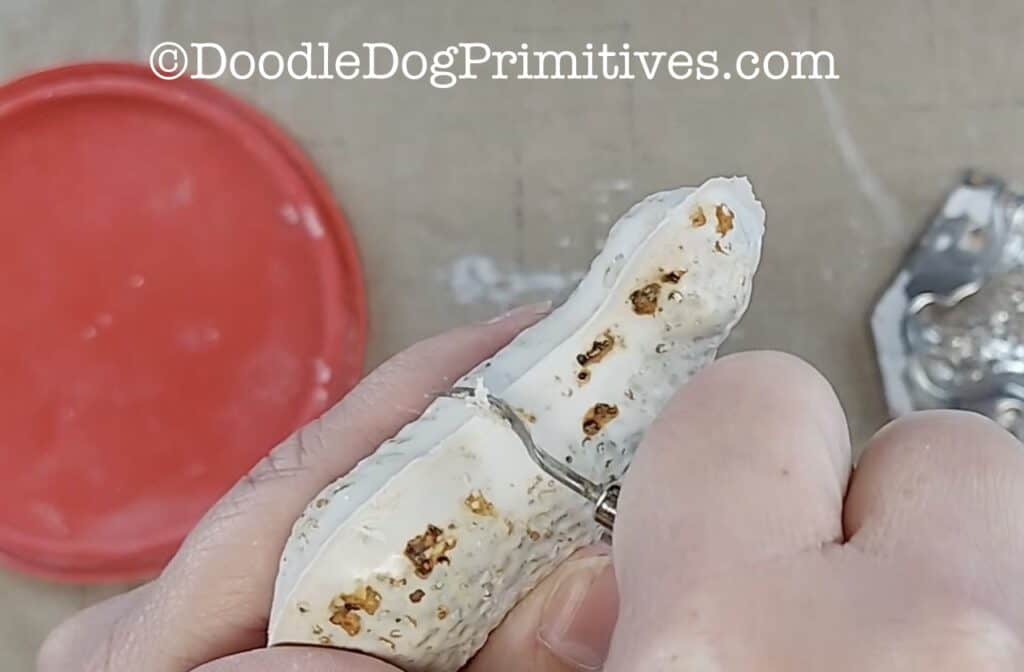
Use a fine sanding paper or Scotch Brite sanding pad to sand the seams smooth. Sand the bottom if it doesn’t sit flat.
Let the sheep cure overnight before painting.
Painting the Sheep:
I have painted the sheep in several different combinations.
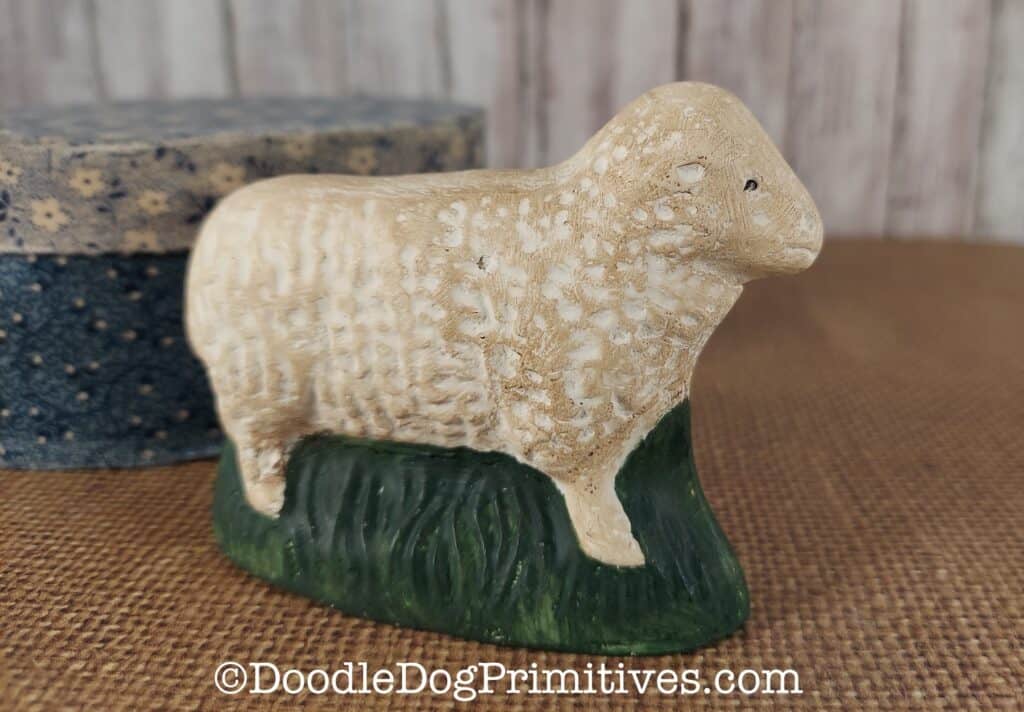
For this sheep, I painted the grass with FolkArt craft paint in the color Thicket. I painted the sheep with Folk Art Vintage White. I then watered down some Folk Art Burnt Umber and painted over the cream. At that point, it was too dark, so I applied a thin coat of the Vintage White with a stiff brush.
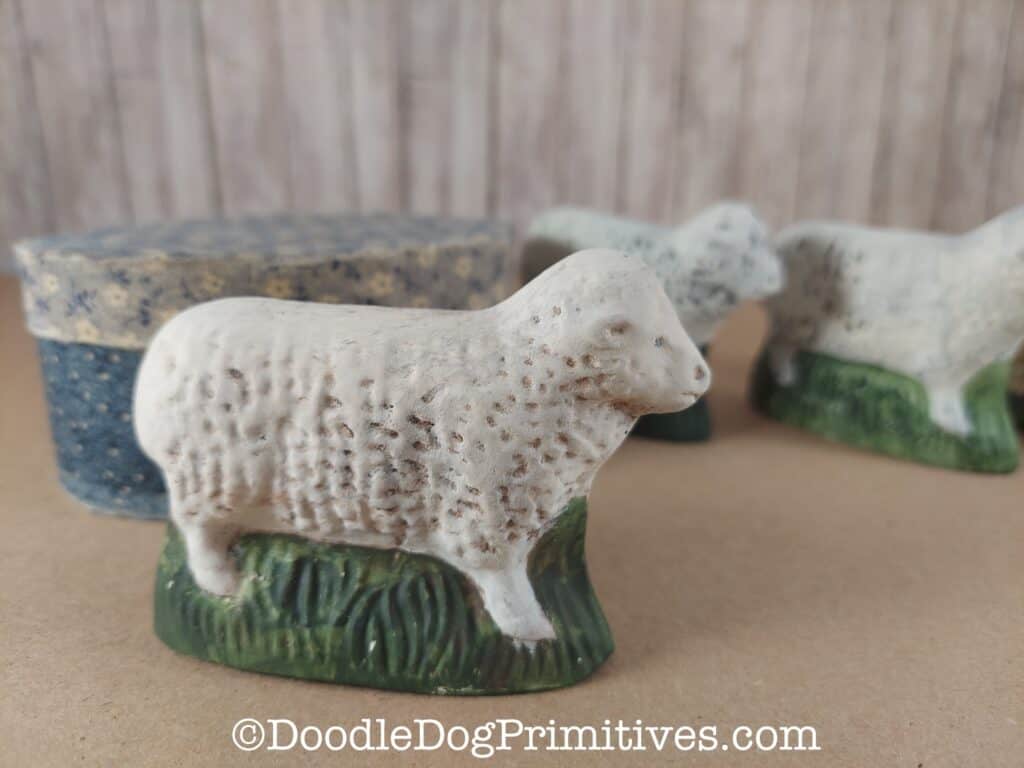
On this sheep, I painted the grass with FolkArt craft paint in the color Thicket. I painted the sheep with black paint and then applied a thin coat of the Vintage White with a stiff brush.
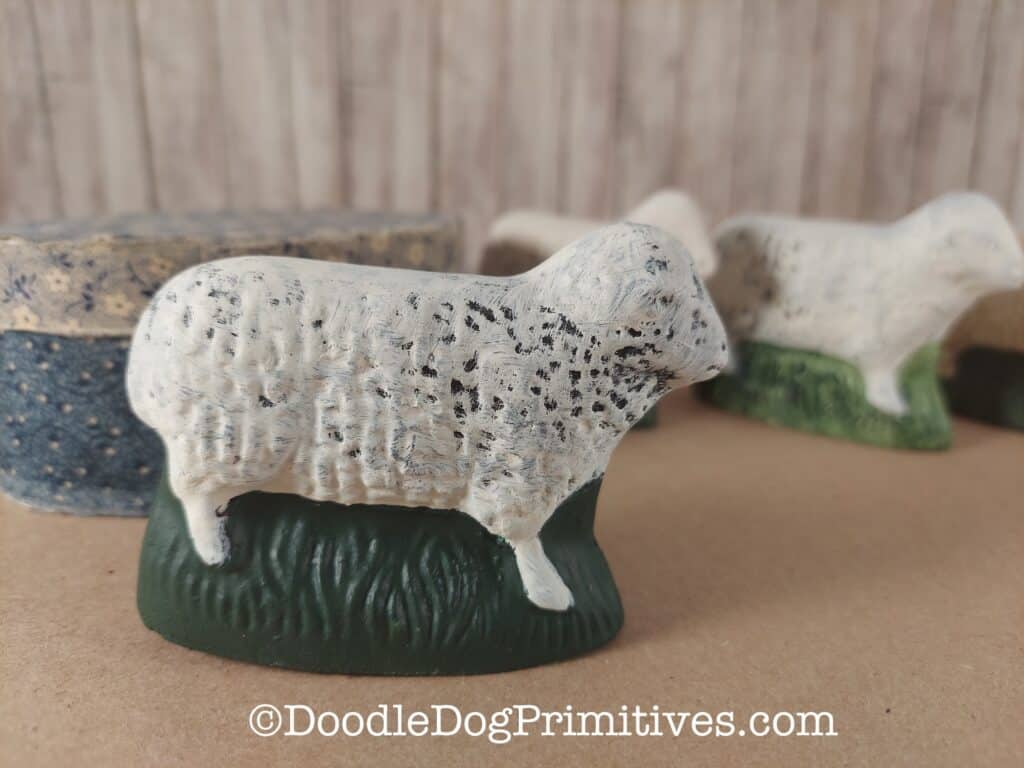
This sheep was painted in a similar fashion. I painted the grass with FolkArt craft paint in the color Thicket. Then I applied a coat of Folk Art Burnt Umber to the sheep and then covered it with a thin coat of Vintage White applied with a stiff brush.
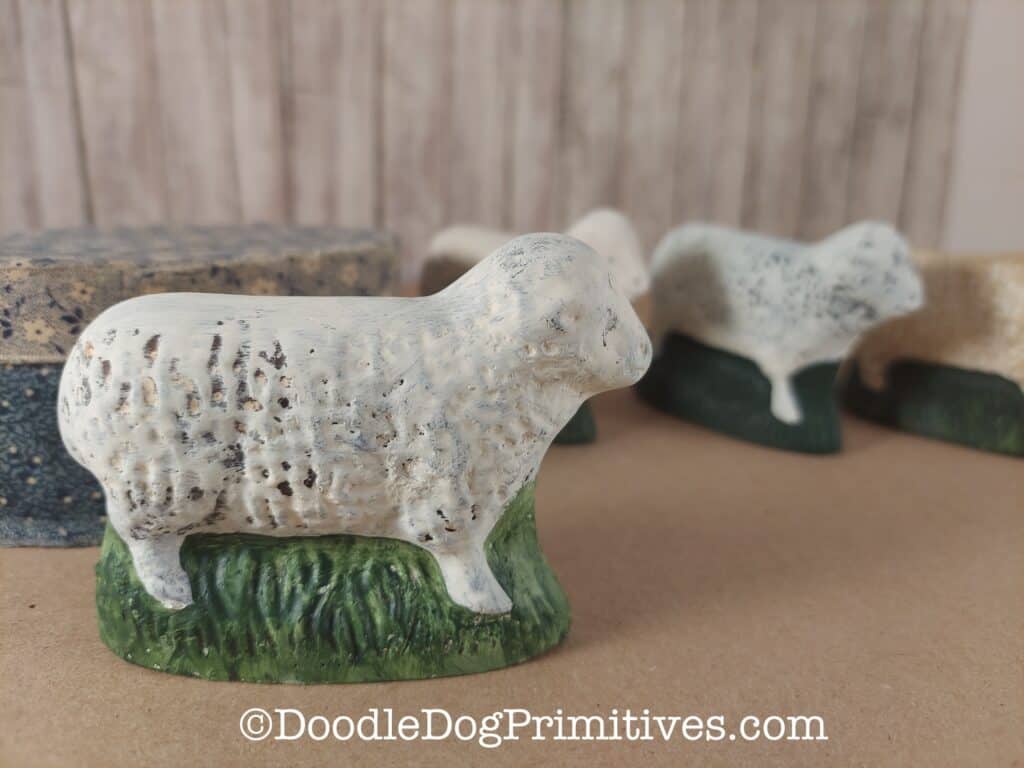
For this first sheep, I painted the grass with FolkArt craft paint in the color Thicket. I painted the sheep with Folk Art Vintage White and I added black dots for the eyes with a toothpick. Then I used some Folk Art Home Decor Antique Wax over the top.
Be sure to Pin this Chalkware Tutorial:
