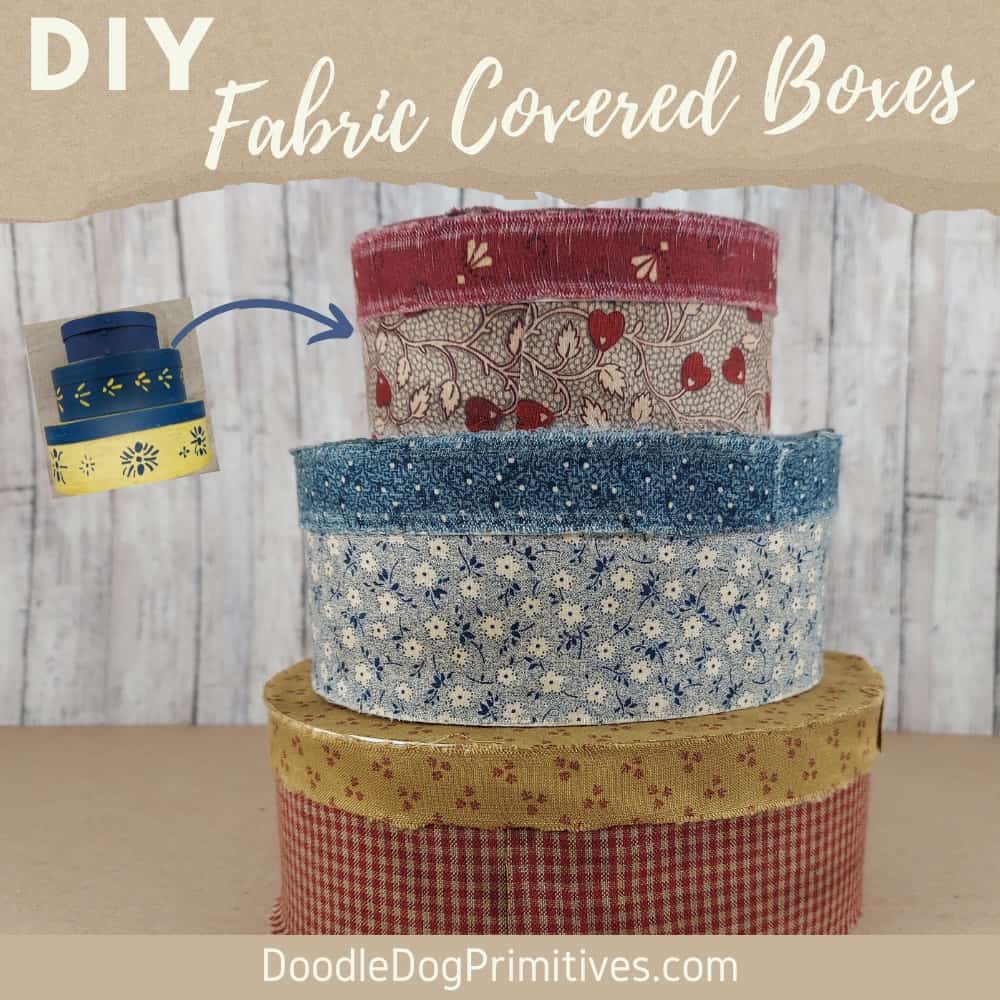
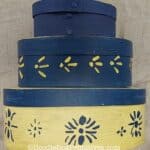
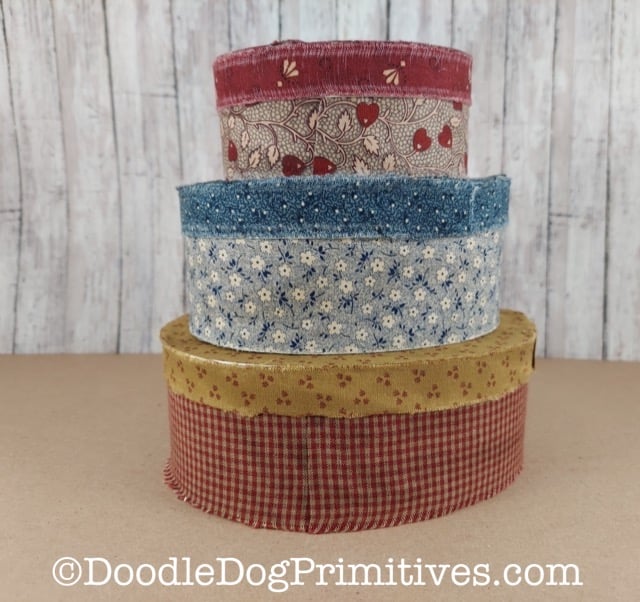
Last summer, I snagged these stackable oval wooden boxes. Now, the paint job is definitely not in my colors, but I loved the quality of the boxes. In this post, I will show you how I covered the boxes with fabric to give them an entirely new look. I think you are going to love this thrift flip!
You could also use paper mache boxes to create the same look. Really, it doesn’t matter what is underneath since they will be covered with pretty fabric.
Learn from my mistake and choose boxes that don’t have super snug lids. The lids on on my boxes were already hard to close. After covering the boxes with fabric, it is VERY difficult to put on the lids. That’s ok though. I had planned to put them up on a shelf anyway and not use them for storage anyway.
Watch the DIY Video:
This post may contain affiliate links for your convenience, which means if you make a purchase after clicking a link I will earn a small commission but it won’t cost you a penny more. For more information, please visit our Privacy Policy.
Paint the Boxes:
With this method of covering boxes with fabric, some of the box will show around the edges. Also, the old paint could show through lighter fabrics. So I painted the boxes before adding the fabric.
I painted them with Apple Barrel Antique White craft paint. It took 4 coats of paint to get the old paint completely covered.
Let the paint completely dry.
Choose Fabrics to Cover Boxes:
I chose two coordinating fabrics for each box. One fabric for the base and one for the lid. I made sure all 6 fabrics looked good together and fit in with my color scheme for the sewing room where I planned to display the boxes.
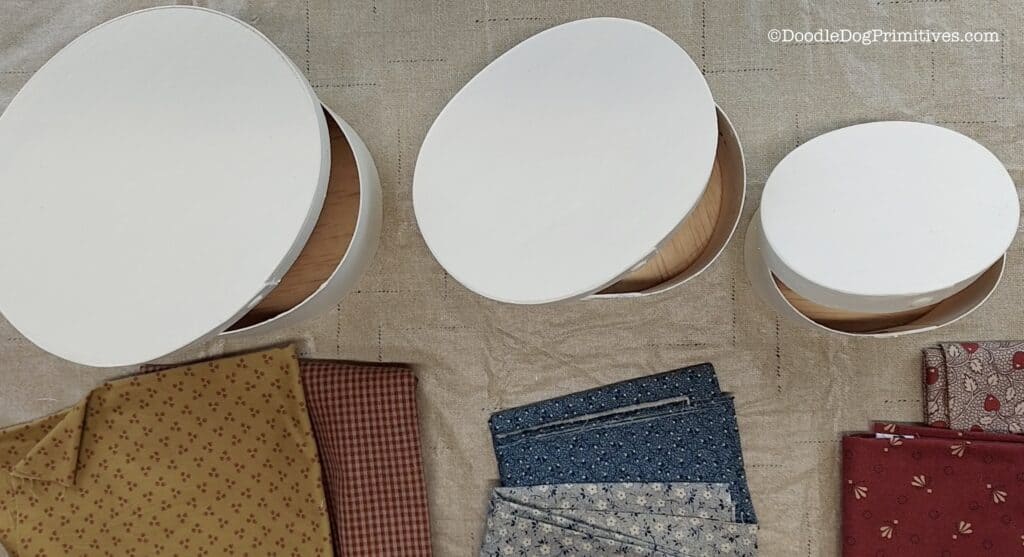
I was able to use fat quarters for my boxes as they aren’t terribly large. Be sure to measure your boxes to make sure you have enough fabric.
Cut the Fabric:
I chose not to cover the bottom of the boxes so for each box, I needed two strips of fabric and one oval.
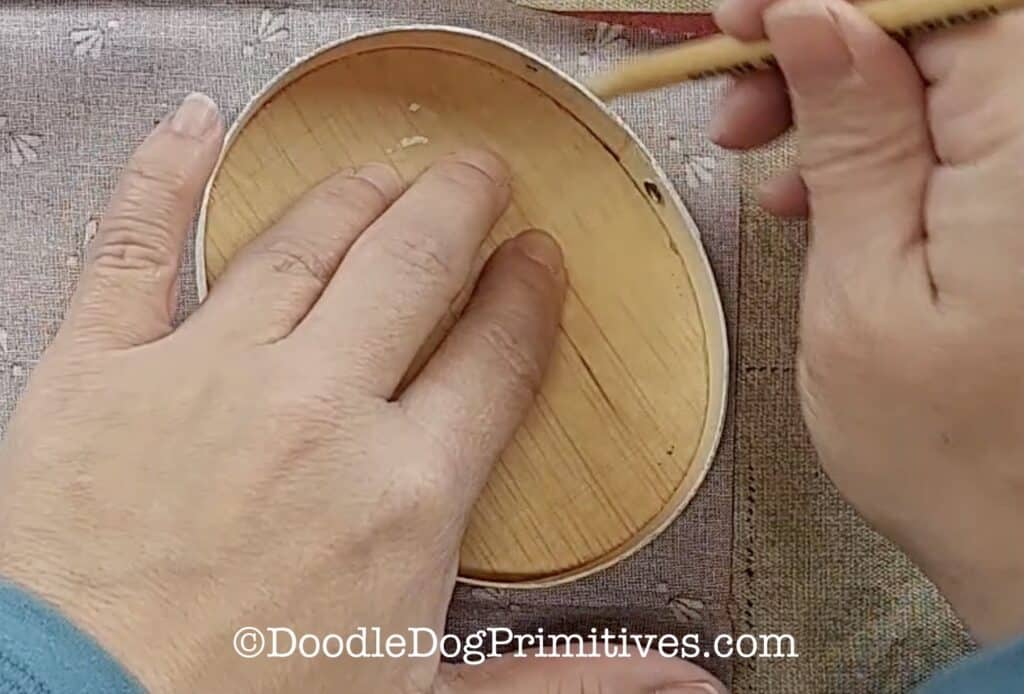
To cut the oval to cover the top, place the lid on the fabric and trace around it. Cut out the oval.
For the strips, measure the height of the box and the box lid. That will be the width of the two fabric strips. Measure the distance around the box and the box lid and then add 1/2″ to the measurement. That will be the length of the strips. (The lid will be bigger around!) I just made sure my fat quarter was long enough and tore a strip the entire width of the fabric and cut the length after I glued it onto the box.

I chose to tear the strips to give the boxes a primitive, country look. The raveled edges also helps to cover up the corners of the box.
After you have the fabric prepared, press it with an iron if needed.
Cover the Boxes with Fabric:
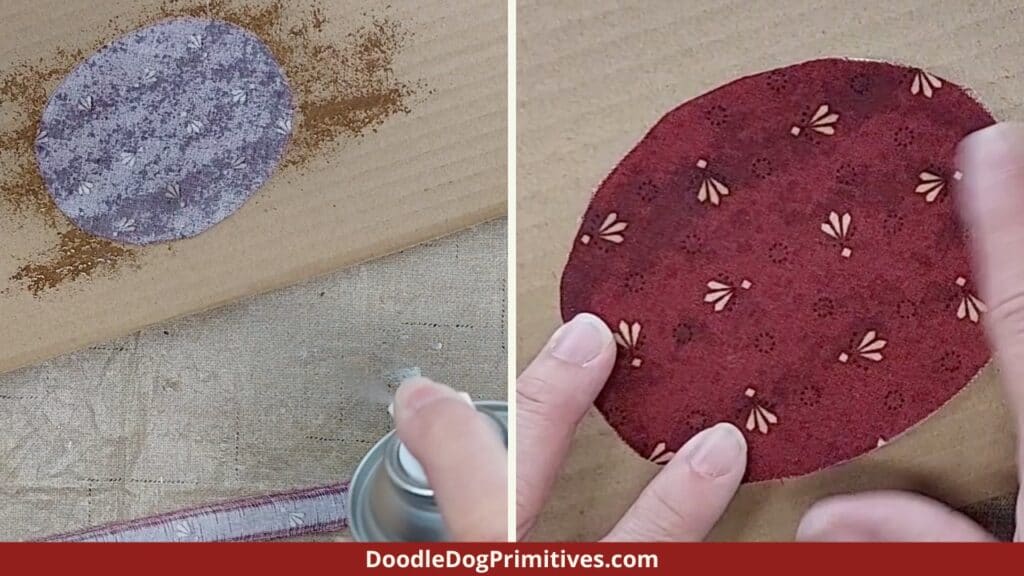
I used Aleene’s Tacky Spray to adhere the fabric to the boxes. Use the spray on adhesive in a well ventilated area. It will stink! It is also a good idea to protect your work surface from overspray. I put down a plastic tablecloth I use for painting and then a piece of cardboard.
Follow the directions on your spray adhesive to attach the fabric to the boxes.
I attached the top oval first. I sprayed the back side of the fabric with adhesive and then placed it on the lid and smoothed it out with my fingers. I will cut off any excess fabric on the oval later after everything is dry.
Then I sprayed the strip for the lid with adhesive and placed the end of the strip at the overlap of the wood on the box. Place the strip all the way around the box lid, smoothing the fabric as you go. Leave about 1/2″ overlap and cut off any excess fabric. (I used my craft scissors for this so I didn’t get any glue on my good fabric scissors!)
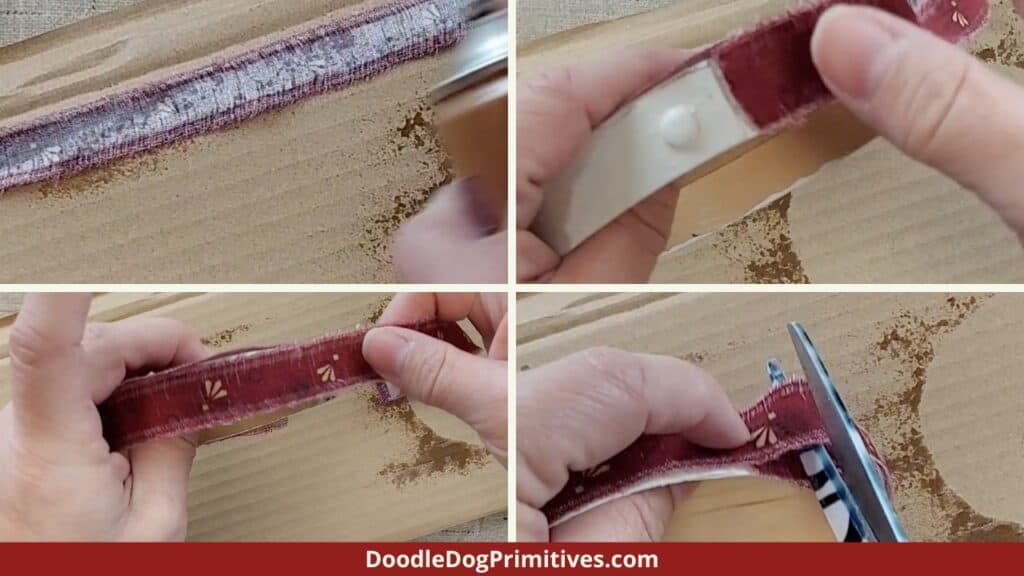
Attach the strip onto the bottom of the box in the same manner. Set aside to completey dry.
If your fabric isn’t long enough and you need to use more than one strip, that’s ok. Just overlap the edge of the second strip about 1/2″ on top of the first strip. I had to do that with my biggest box.
A word of caution: This project made my fingers very sticky and it wouldn’t come off with just soap and water! I had to use petroleum jelly (Vaseline) to remove the adhesive from my hands.
You can use scissors, an x-acto knife or fray the edges of the fabric oval if it has any overhang.
Pin this Craft Tutorial:
