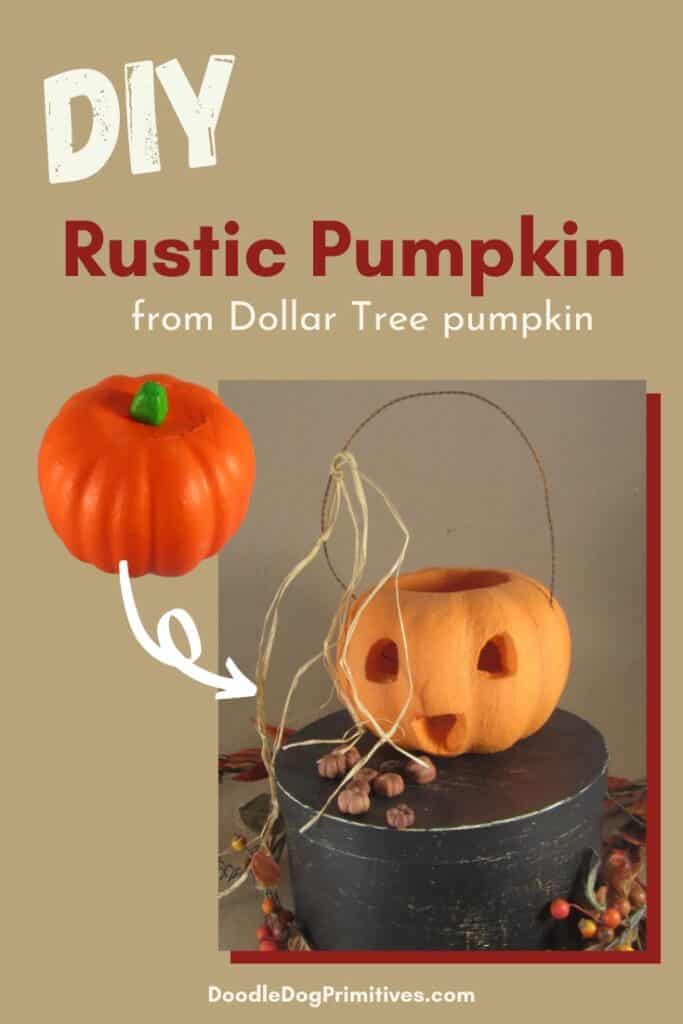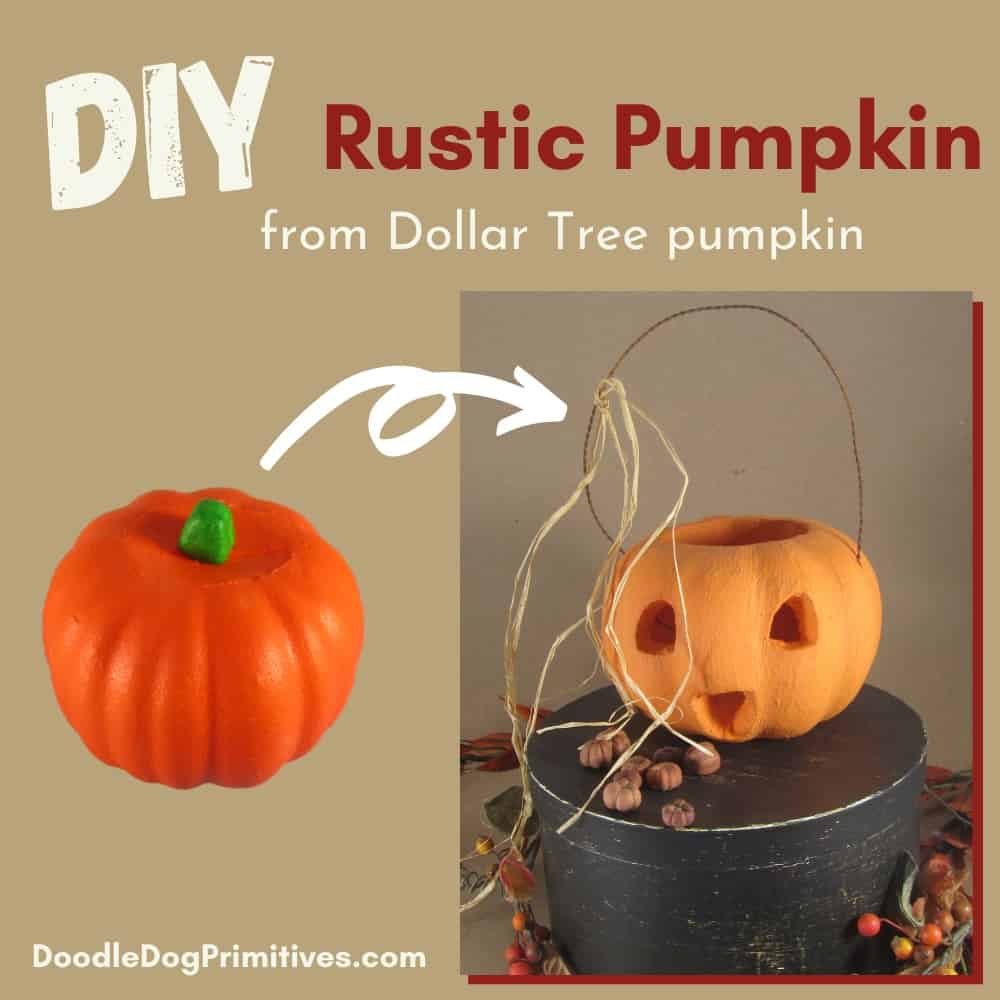
I am excited to show you how to DIY these rustic pumpkins. They are made from Dollar Tree foam pumpkins!
My goal was to recreate the look of antique paper mache jack-o-lanterns without the huge price tag that often comes with true antiques!
These primitive jack-o-lanterns are easy to make and just take a few supplies.
This post may contain affiliate links for your convenience, which means if you make a purchase after clicking a link I will earn a small commission but it won’t cost you a penny more. For more information, please visit our Privacy Policy.
Supplies for Rustic Jack-o-Lanterns:
- Foam pumpkin (Dollar Tree)
- X-Acto Knife I used one from this set
- Orange craft paint
- Paintbrush
- Spackling (Dollar Tree)
- Johnson’s Paste Wax
- Minwax Paste Finishing Wax – Special Dark
- Rubber gloves
- Soft cloth rags
- Rusty twisted wire
- Wire cutters
Watch the Video:
Carving the Pumpkin:
The foam pumpkin from Dollar Tree has a distinct “groove” around the top which shows where to cut out the opening.
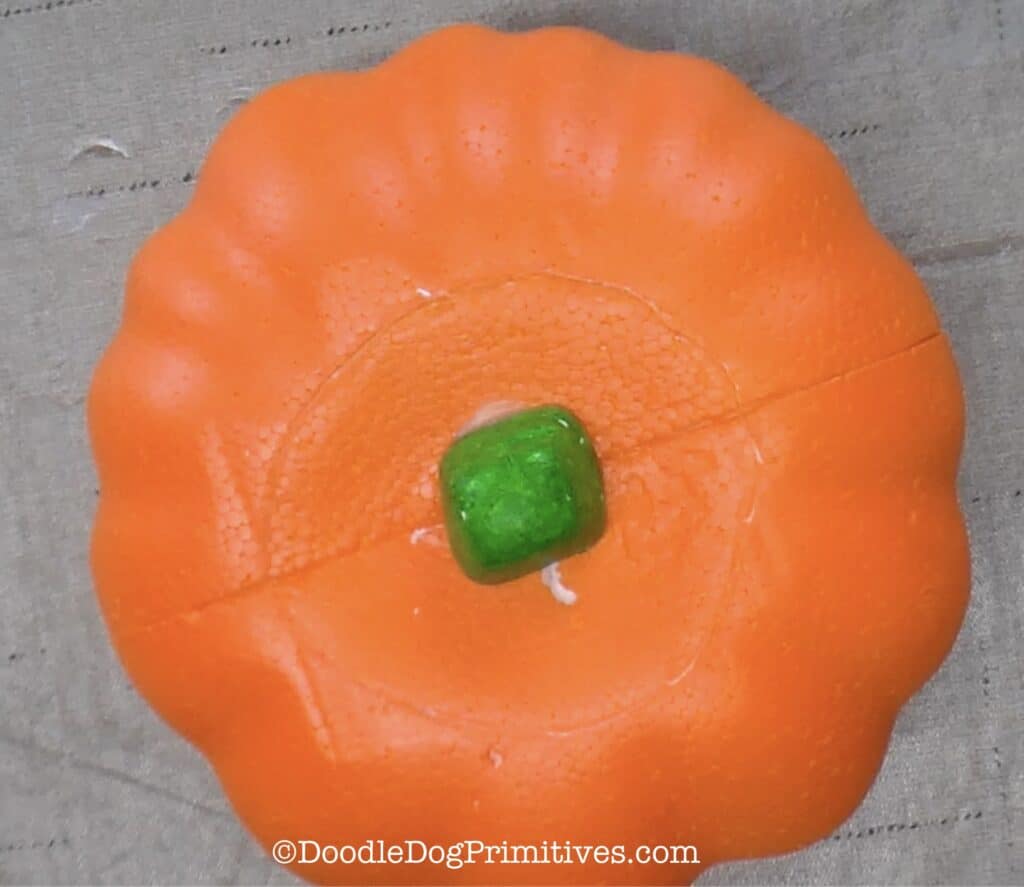
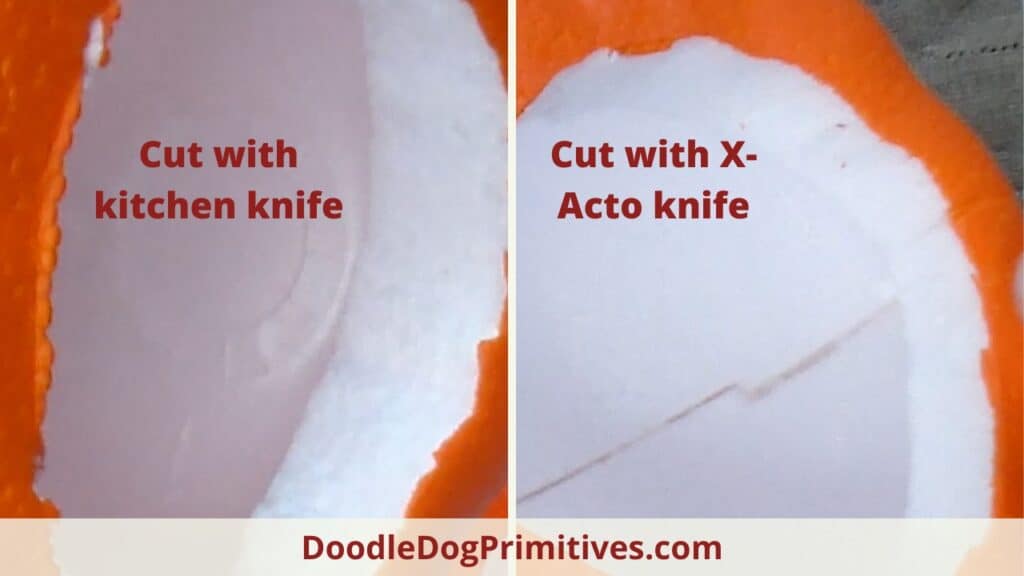
Use an X-Acto knife to cut all the way around the groove to remove the top.
(The inside of the pumpkin is hollow.)
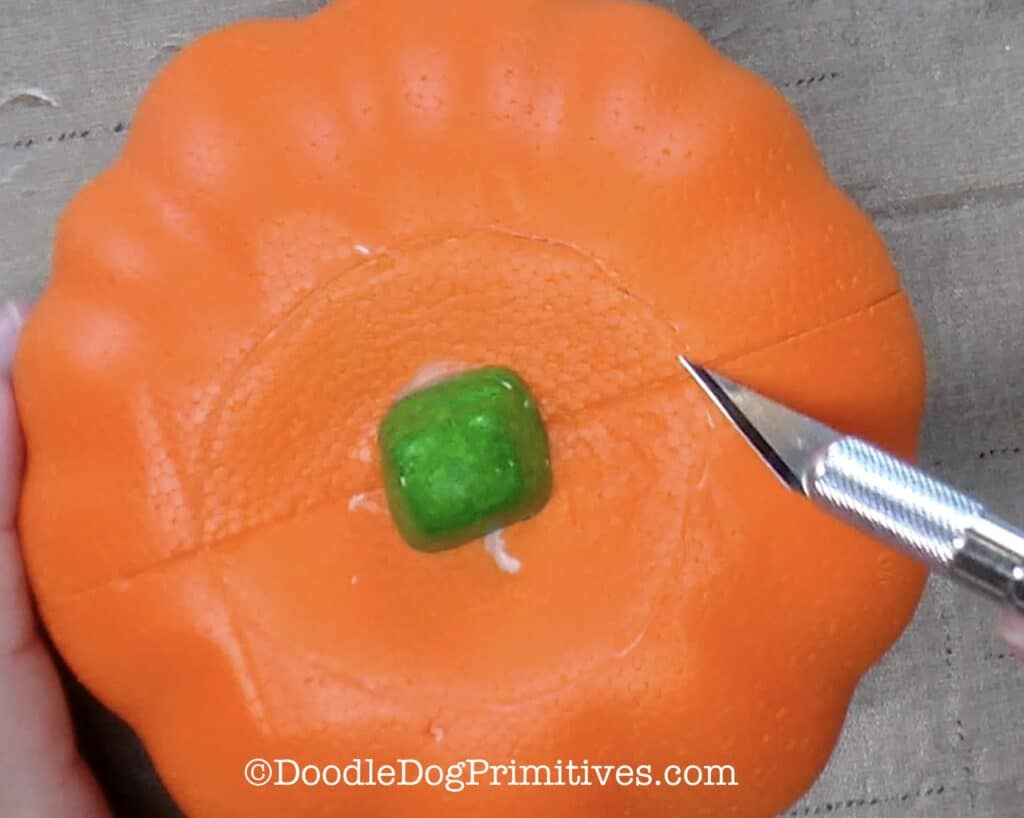
If you don’t have an X-Acto knife, you can cut with a kitchen knife,
but I found the kitchen knife didn’t create as smooth of a finished edge as the X-Acto knife did.
The pumpkin is symmetrical on either side of the seam.
It has smaller ridges close to the seam leading up to a large ridge right in the middle.
I am going to use the large ridge for the jack-o-lantern’s nose.
Use a pencil to draw the pumpkin’s eyes and mouth.
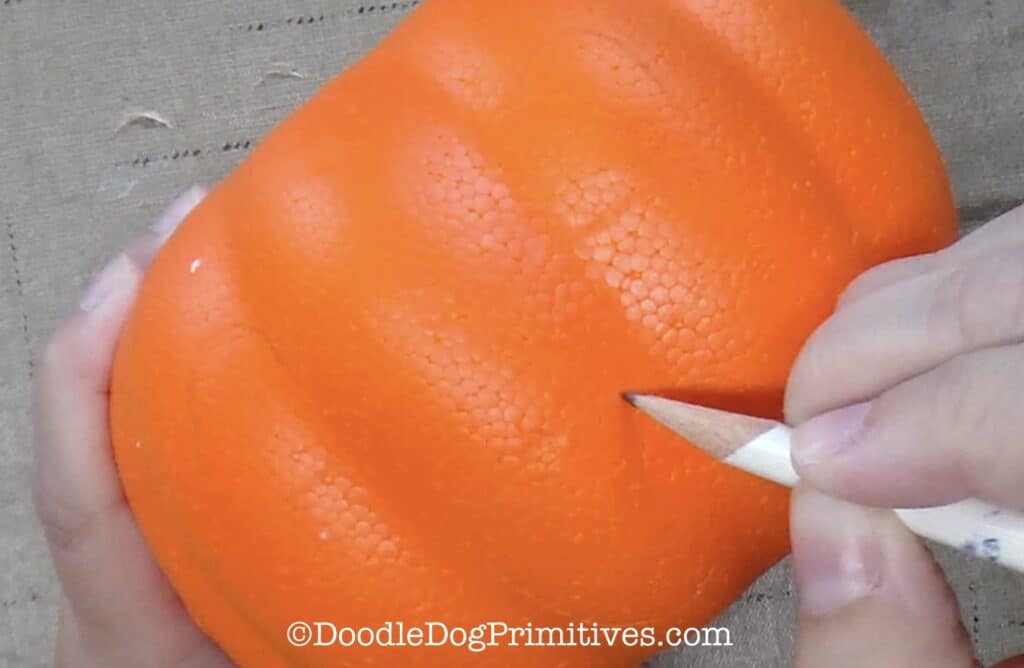
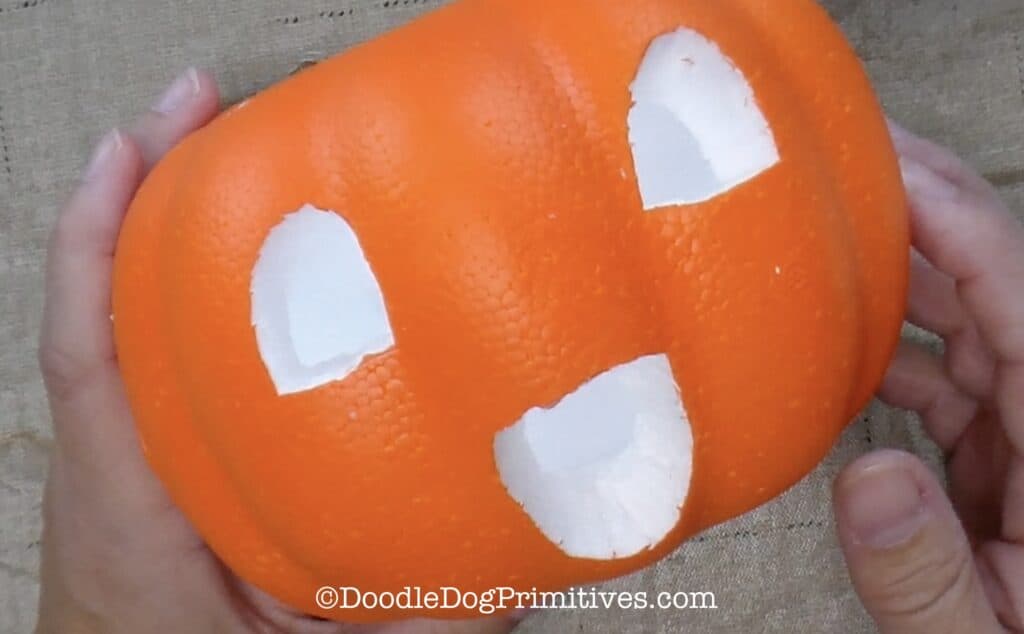
Use the X-Acto knife to carve the eyes and mouth.
Paint the Jack-o-Lantern:
If you paint the pumpkin with plain paint, it will look like a painted foam pumpkin.
But if you add texture to the paint, it looks so much more like a paper-mache pumpkin.
A cheap & easy way to add texture to the paint is to mix equal parts paint and spackling.
(They have spackling at the Dollar Tree in the hardware section.)
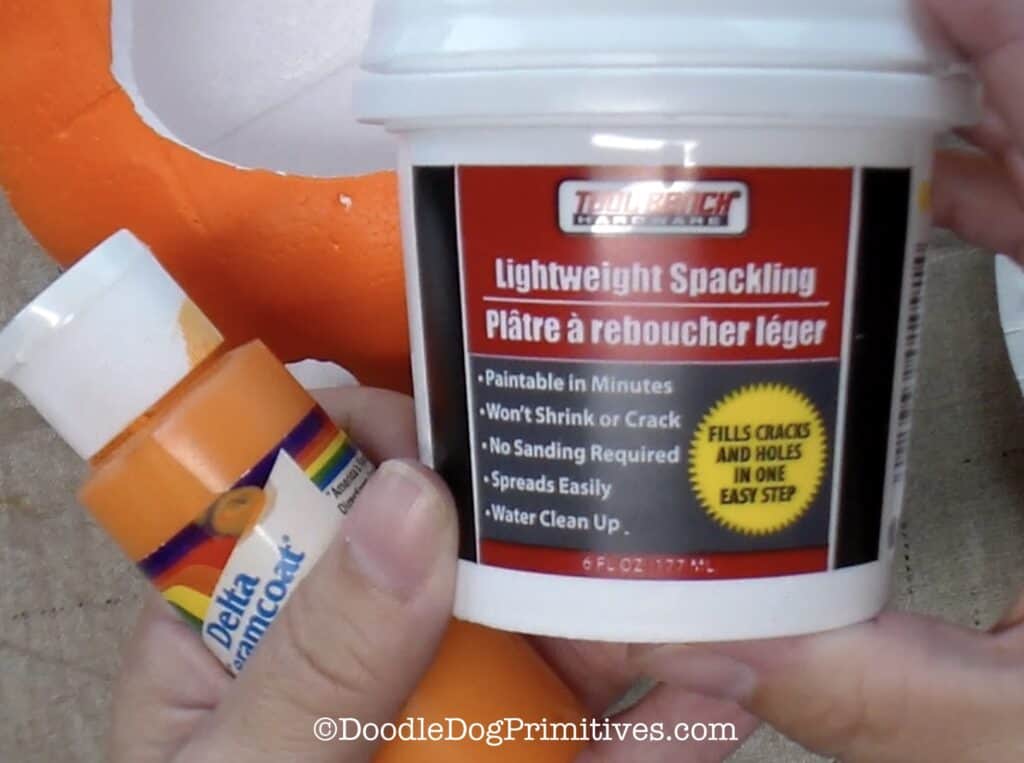
Mix equal parts orange craft paint and spackling together until the mixture is smooth.
Paint the inside and outside of the pumpkin with this textured paint mixture.
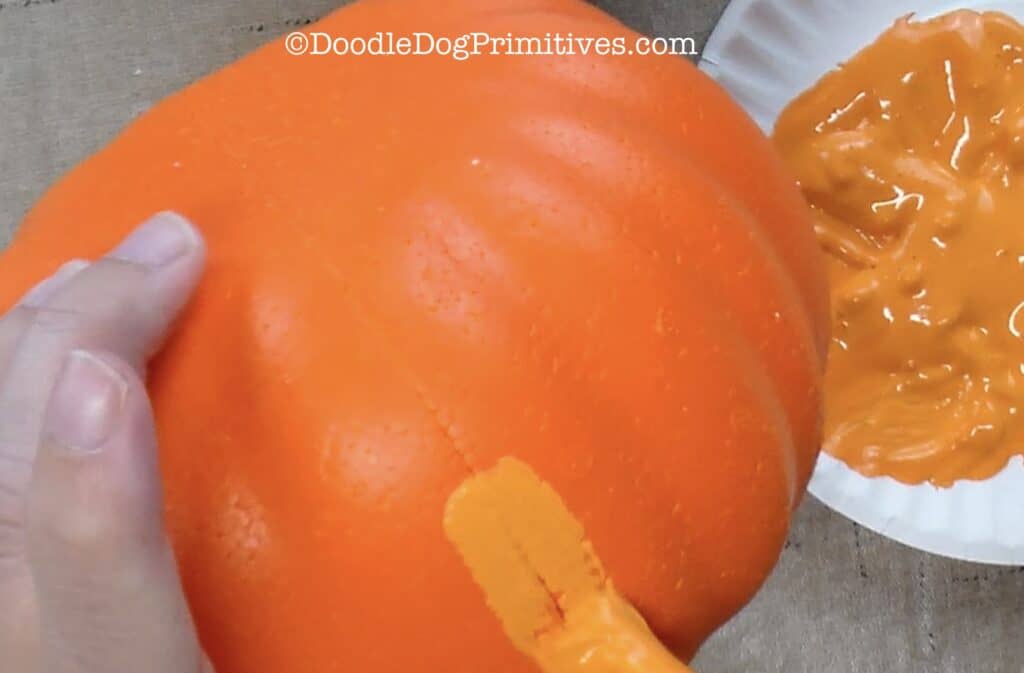
Make sure you get the seams coated well.
The texture of the paint will fill in the groove from the seam.
Let the paint dry. Apply a second coat if necessary.
(I needed two coats to fully cover the original vivid orange color.)
Grunge the Pumpkin:
Use Minwax Paste Finishing Wax – Special Dark to add grunge to the grooves
and around the openings on the jack-o-lantern.
I also used it on the inside of the pumpkin.
Follow the directions on the can to rub on the wax and buff it off.
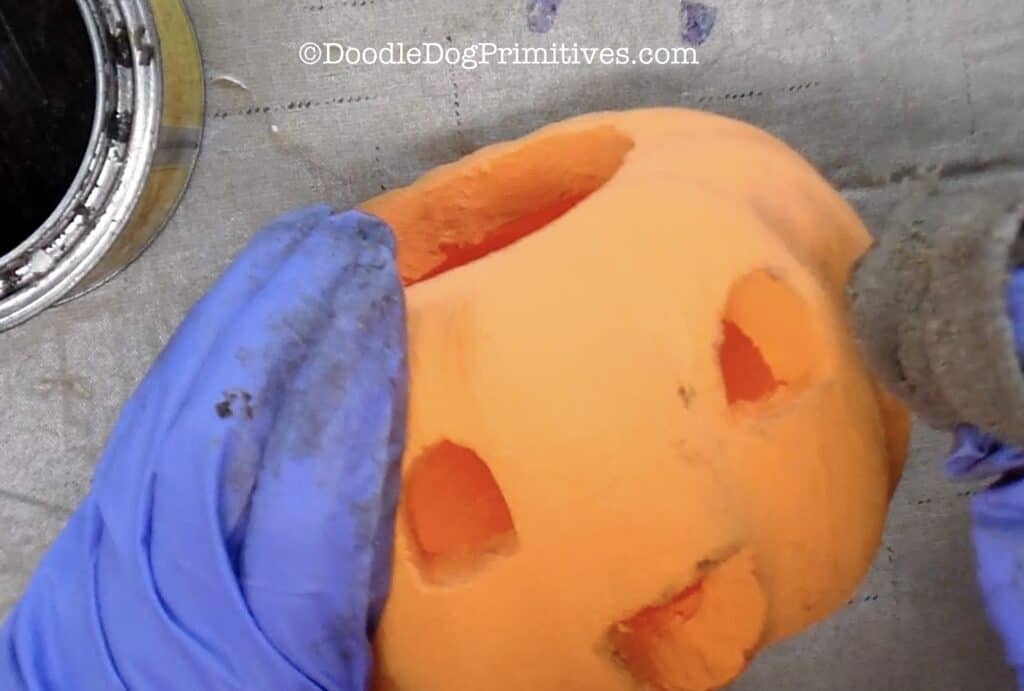
After the wax is dry, follow the directions on the can to add Johnson’s Paste Wax to the entire pumpkin
– both inside and out.
This will give it a nice finish and help seal the paint.
Finishing the Rustic Pumpkin:
I used rusty pre-twisted wire for the handle.
Use the wire to poke a hole through the pumpkin.
Poke about one inch of wire through into the inside of the pumpkin and bend the wire so it will stay in place.
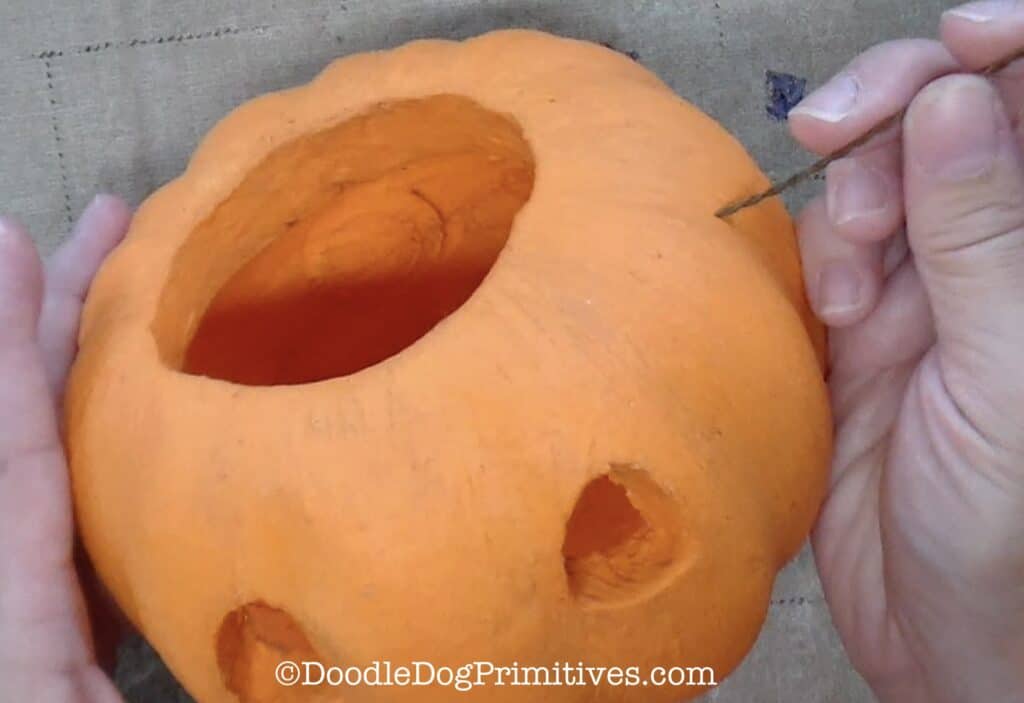
Decide how long you want the handle and cut off the wire about one inch longer.
Poke the second end of wire into the pumpkin and bend the wire to keep it in place.
Make sure you make the holes symmetrical in the pumpkin!
I also added a raffia ribbon to the handle.
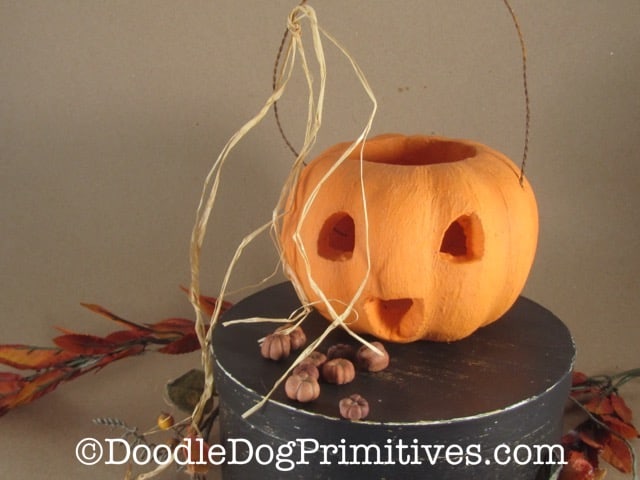
I hope you enjoyed this tutorial!
You might also like our Halloween punch needle pattern or rug hooking pillows.
Blessings~
Amy
Be sure to pin this DIY Rustic pumpkin tutorial:
