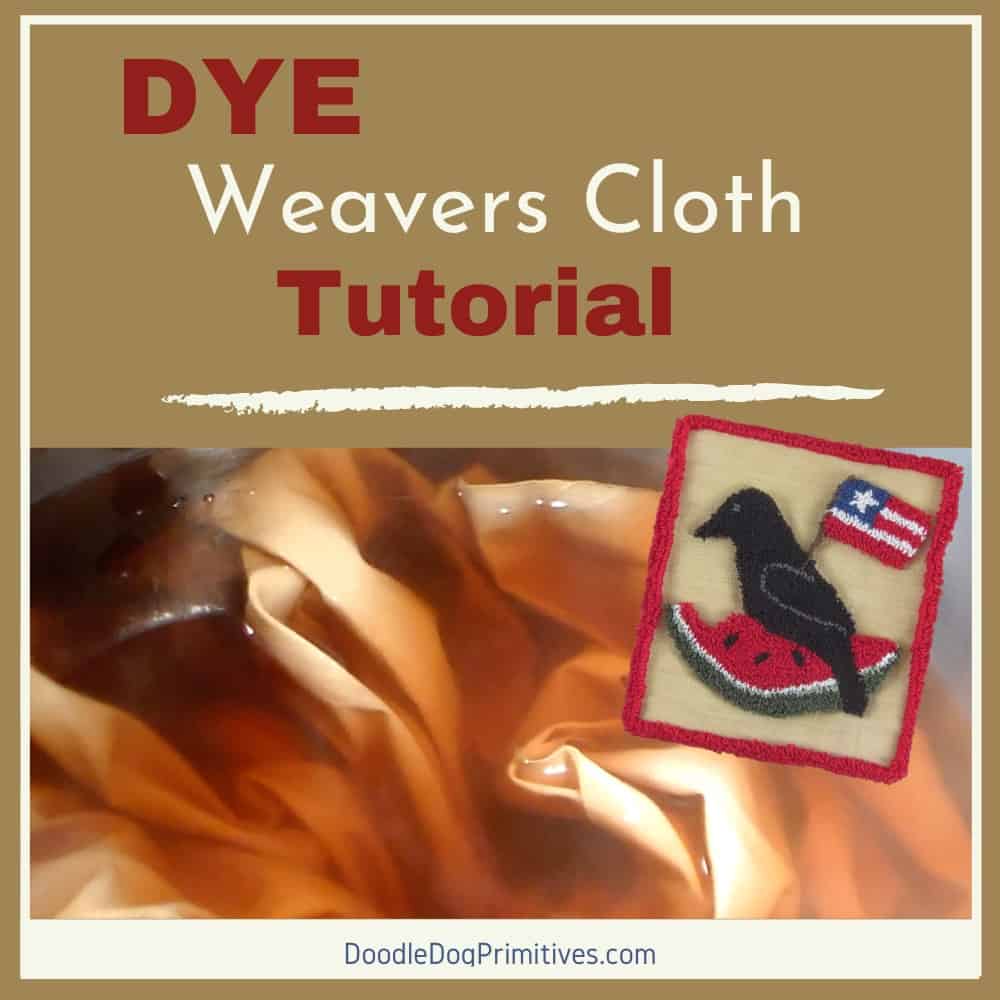
Hand dyed weavers cloth makes an amazing background for your punch needle projects. Find out how to dye weavers cloth in this punch needle tutorial.
I used some of my hand dyed weavers cloth in this summertime watermelon and crow punch needle project.
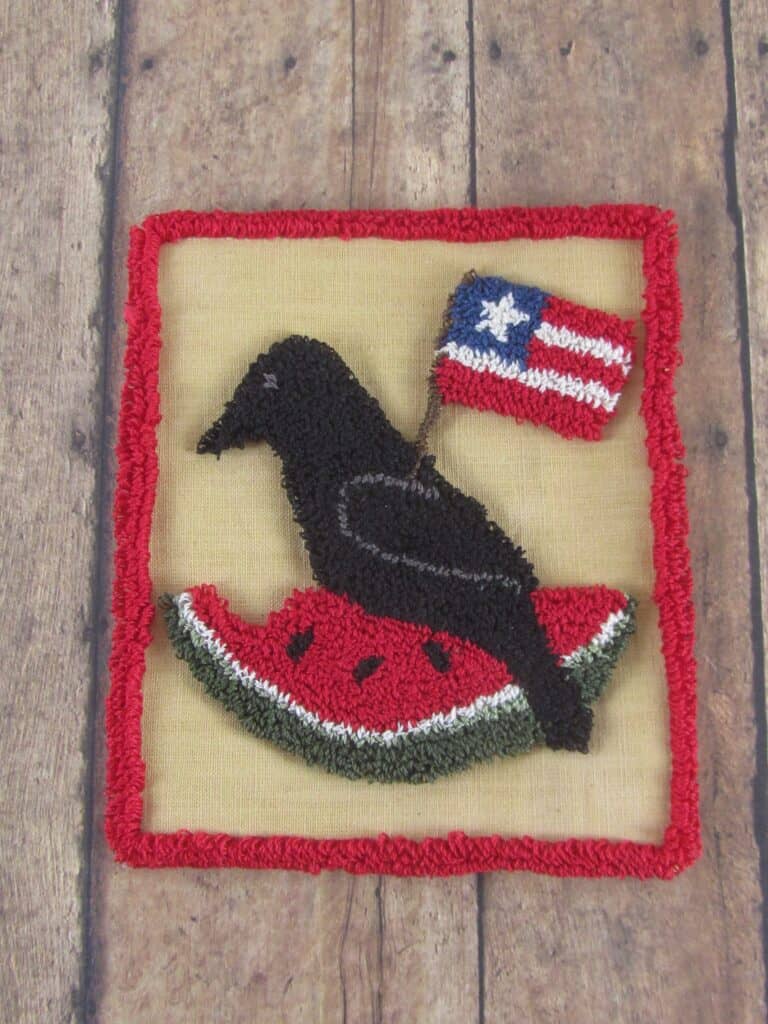
I punched the subject of the project – and a border around the edge
but left the background unpunched so it could showcase the hand-dyed fabric.
You can also punch onto weavers cloth that is fused onto cotton fabrics for an interesting background.
This post may contain affiliate links for your convenience, which means if you make a purchase after clicking a link I will earn a small commission but it won’t cost you a penny more. For more information, please visit our Privacy Policy.
Supplies to Dye Weavers Cloth:
- Good Quality Weavers Cloth
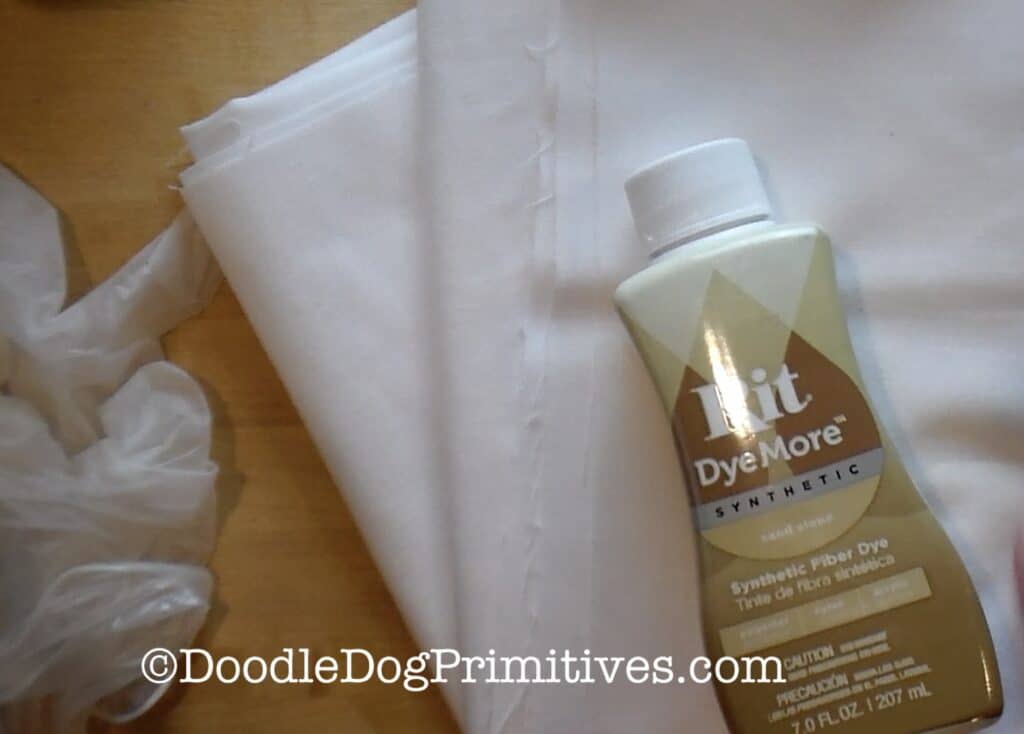
- Rit DyeMore
- Stainless Steel Stock Pot
- Stainless Steel Spoon
- Gloves to protect your hands
- Liquid Dish Soap – I used Ivory
Watch the Video:

Dyeing Safety:
After using the stainless steel stock pot and stainless steel spoon for dyeing the weavers cloth
it is not safe to use them for food.
I keep my dyeing equipment separate and clearly labeled.
You will also want to wear some good quality gloves to keep your skin safe while touching the dye.
Be sure to also protect your clothing, countertops and other surfaces from the dye.
Choosing the Dye:
Weavers cloth is a blend of cotton and polyester woven threads.
So, be sure to choose a dye that is suitable to use on polyester fabrics.
I chose to use Rit DyeMore because it comes in a variety of colors and is easily accessible.
Be sure to follow the manufacturer’s instructions with any dye you use.
Preparing the Weavers Cloth:
The weavers cloth will shrink a little bit in the dyeing process.
Be sure to allow for this shrinkage when deciding how much fabric to dye.
I started out with a piece of weavers cloth 40 inches long.
After dyeing, it measured 37 inches long.
The small amount of shrinkage does make the fabric weave tighter,
so it is a tad bit more difficult to punch in the dyed fabric,
but it is definitely still possible to punch!
Presoak the Weavers Cloth:
Soak the unfolded weavers cloth in some warm water with a little dish soap.
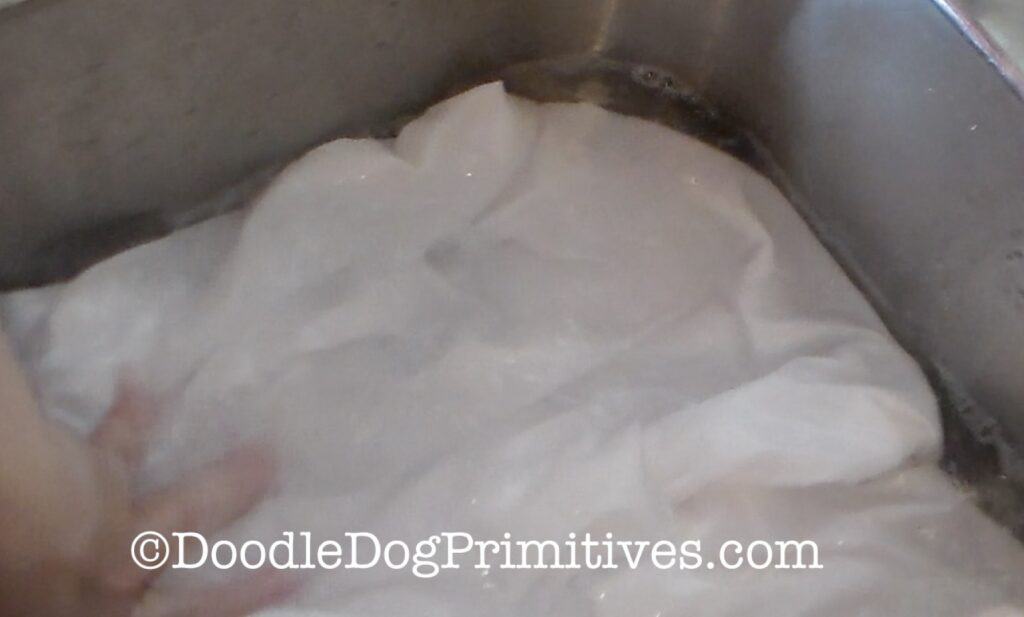
After the weavers cloth is completely saturated with water,
gently ring out most of the excess water and set it aside.
Prepare the Dye Bath:
Fill the stainless steel stock pot about 2/3 full of water and bring to a simmer.
Make sure you have enough water in the pot that the fabric can easily flow around in the water.
Shake the Rit DyeMore well and add to the simmering water along with a splash of dish soap.
Stir with the stainless steel spoon.
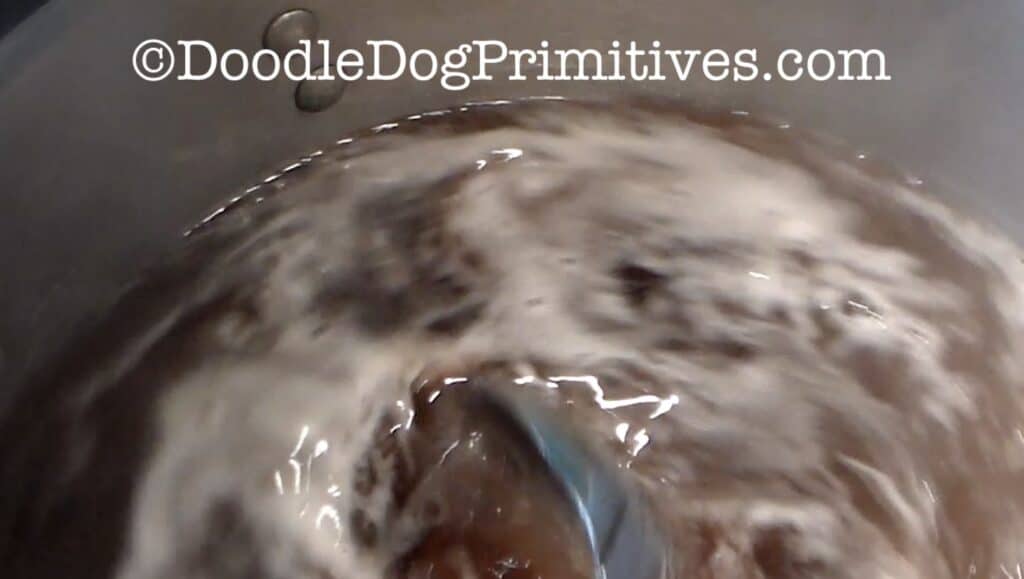
Dye the Weavers Cloth:
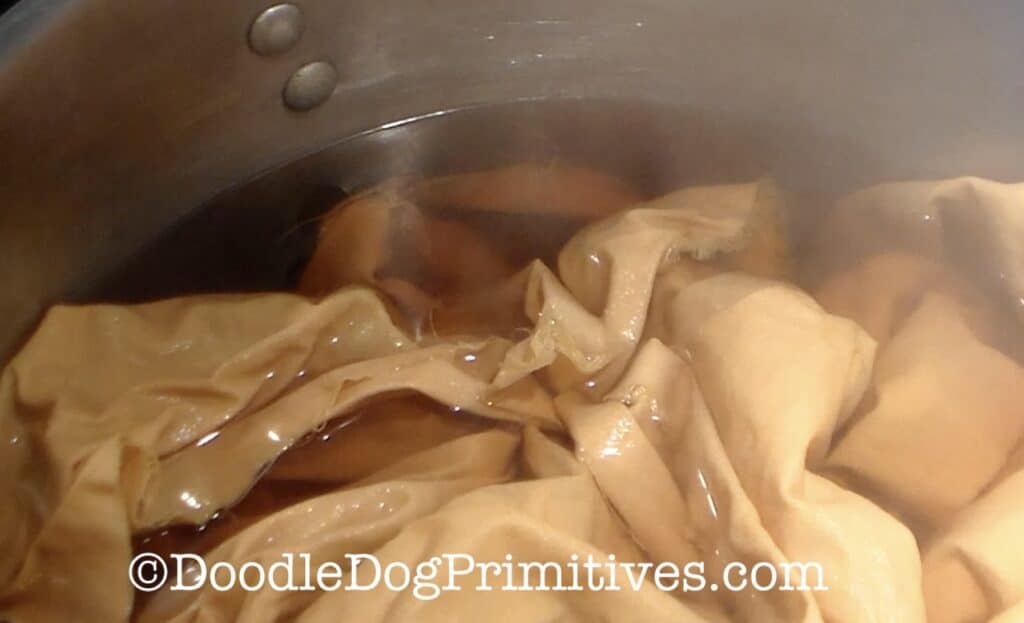
Completely unfold the wet weavers cloth and put it in the pot of dye.
Stir well.
The more you stir, the more solid of a color you will end up with on the weavers cloth.
If you want a mottled look, stir less frequently.
Simmer at least 30 minutes, stirring as needed.
When the dyeing process is complete,
turn off the heat and drain the water out of the pan.
Let the fabric cool.
Wear gloves to protect your hands in this next step.
Rinse the weavers cloth in warm water until the water runs clear.
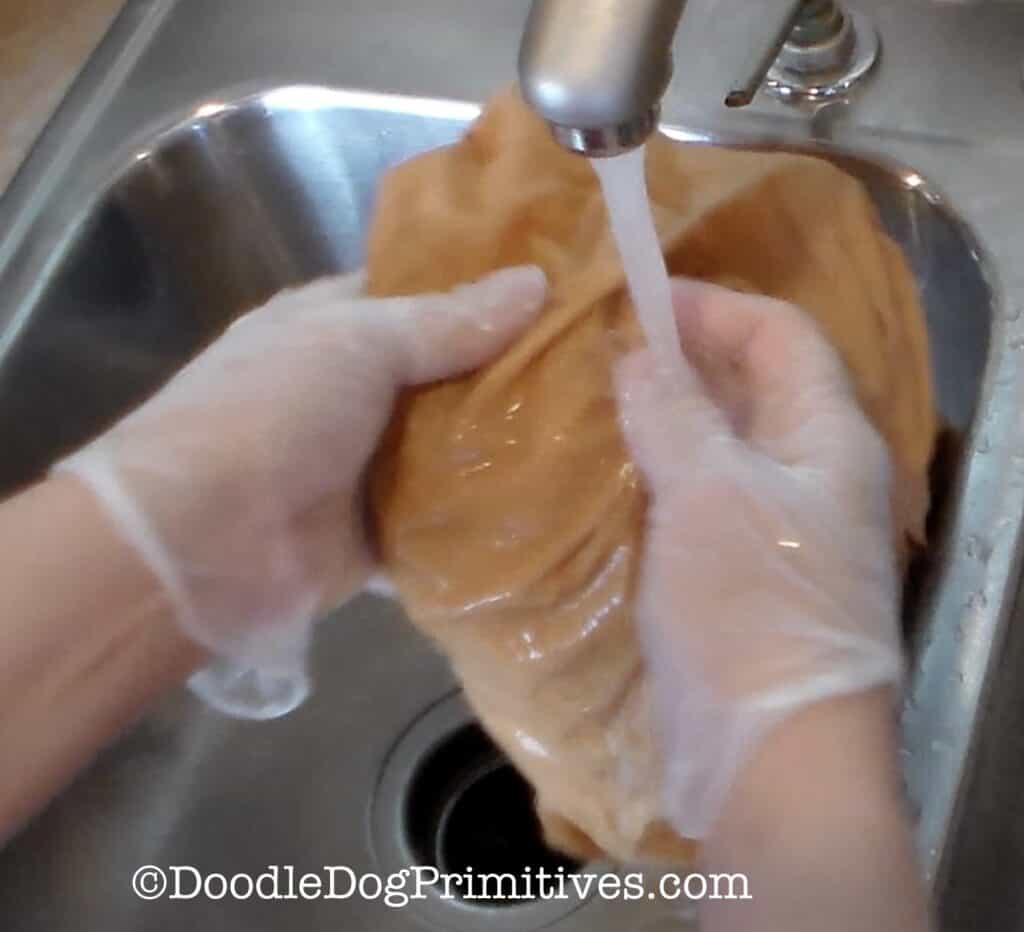
Squeeze out the excess water and hang up the weavers cloth to dry.
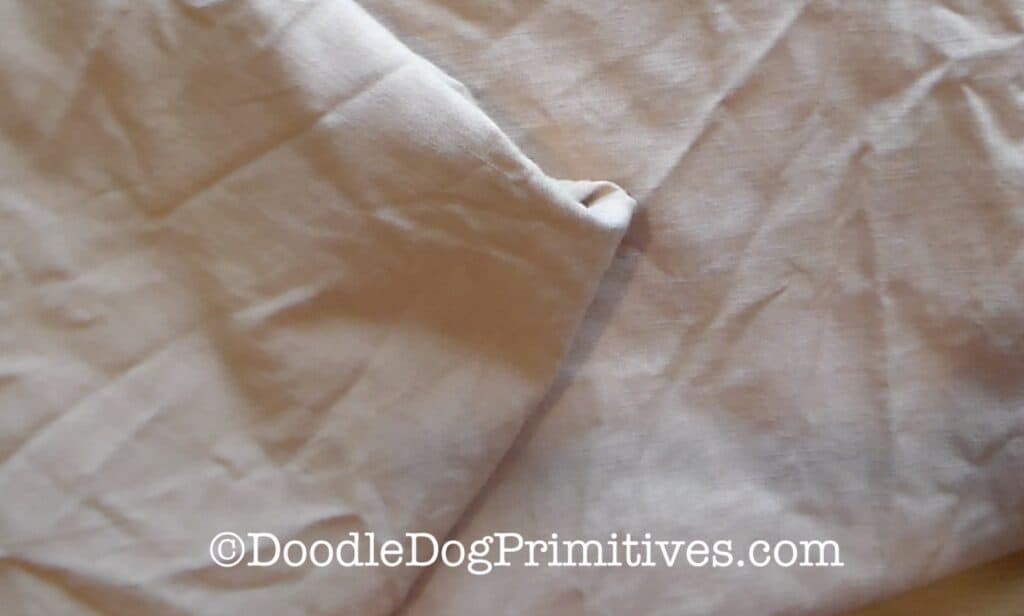
After the weavers cloth is dry, press it well before transferring your punch needle pattern and punching.
Have fun playing with colors and creating new things!
Blessings~
Amy
Pin this Punch Needle Tutorial:
