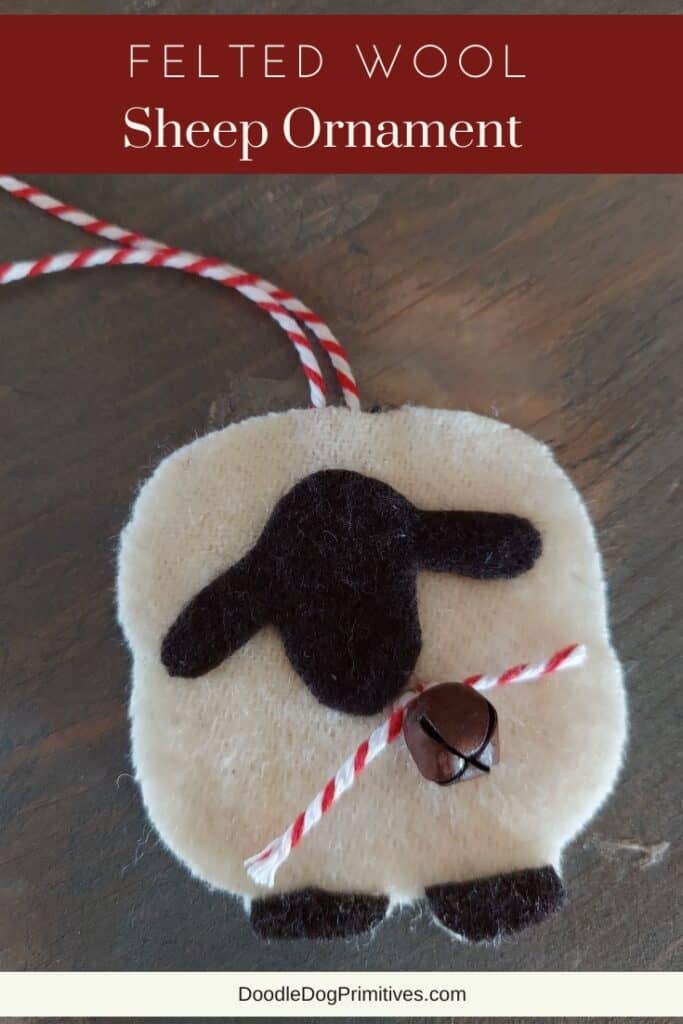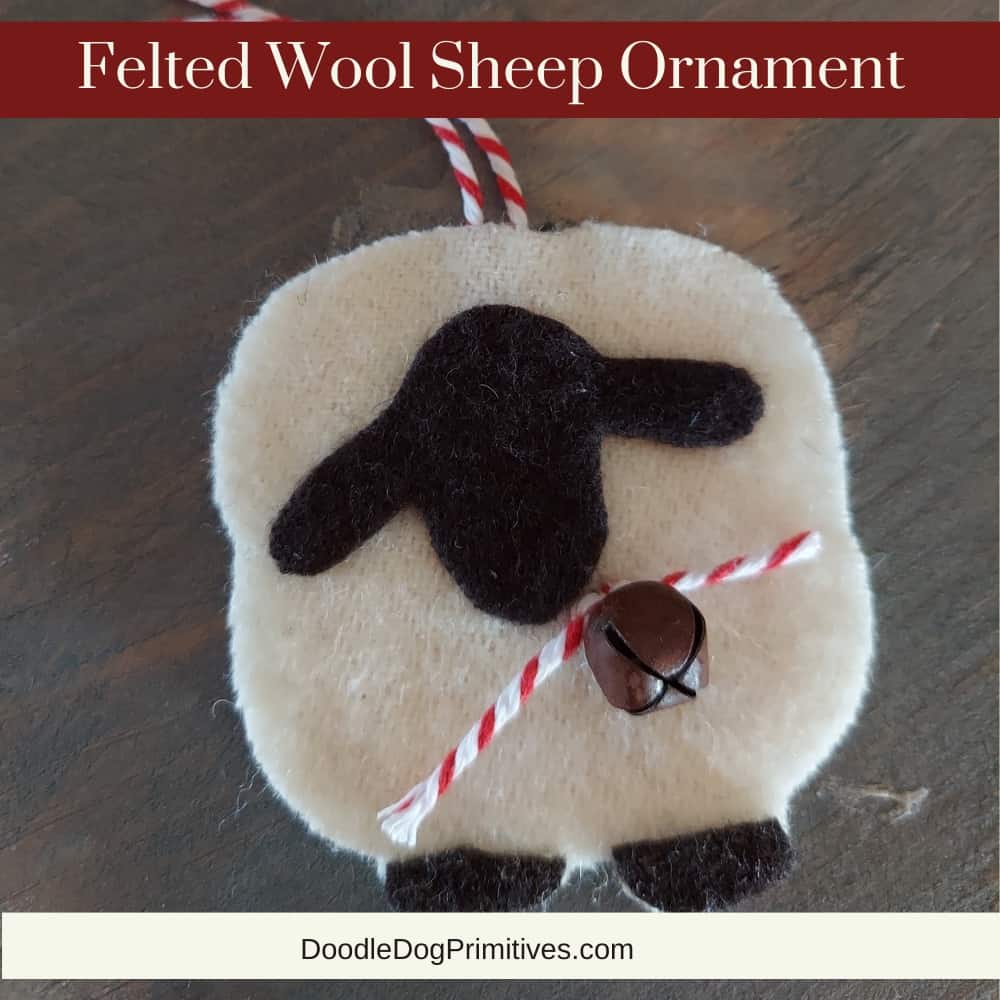
Last week, I shared a sheep pattern with you and showed how to make it into a punch needle lapel pin. In this tutorial, I am going to show you how to take the same pattern to make a felted wool sheep ornament.
This is a fast and easy craft and would be great for an ornament exchange, a gift topper, or to add to a card for a friend.
Watch the Video:
This post may contain affiliate links for your convenience, which means if you make a purchase after clicking a link I will earn a small commission but it won’t cost you a penny more. For more information, please visit our Privacy Policy.
Cut out the Sheep:
Snag a copy of the free sheep pattern and print it. Choose some felted wool to use for the sheep. You will need two contrasting colors. I used solid cream and brown felted wool from my scrap basket.
Trace the sheep onto some tracing paper or tissue paper. Trace the outline and the head and feet all separately.
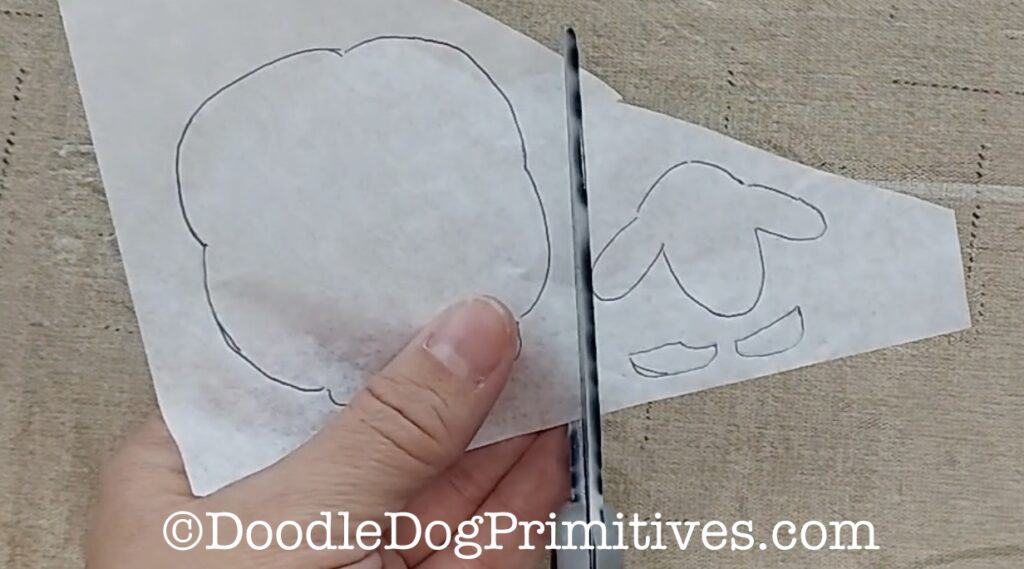
Cut two bodies (front & back), one head, and one set of legs.
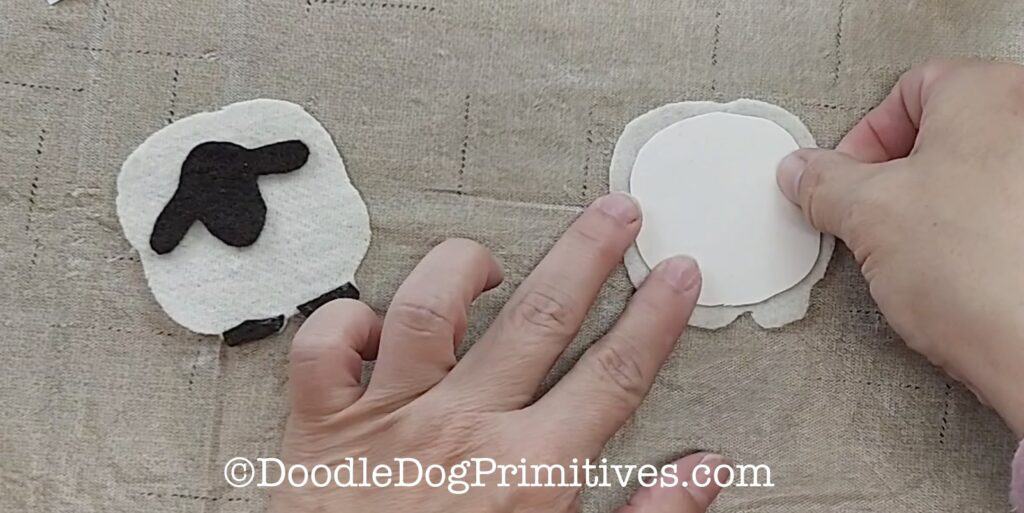
Using the sheep body pattern, cut a piece of thin cardboard (cereal box weight) a little bit smaller than the sheep’s body. This will go in between the ornament layers to keep it from being floppy.
Assemble Sheep Ornament:
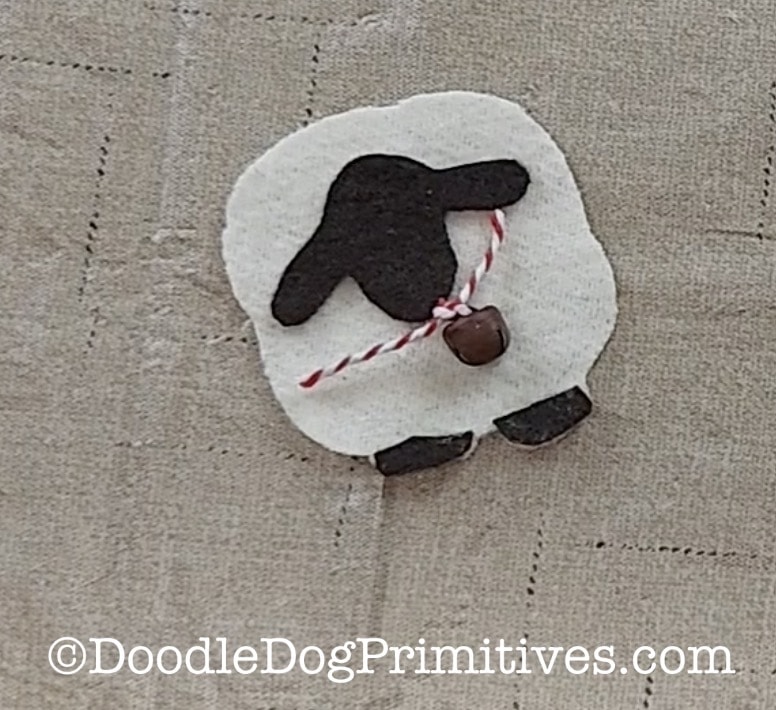
Layer the two felted wool bodies. Glue the legs and face onto the top.
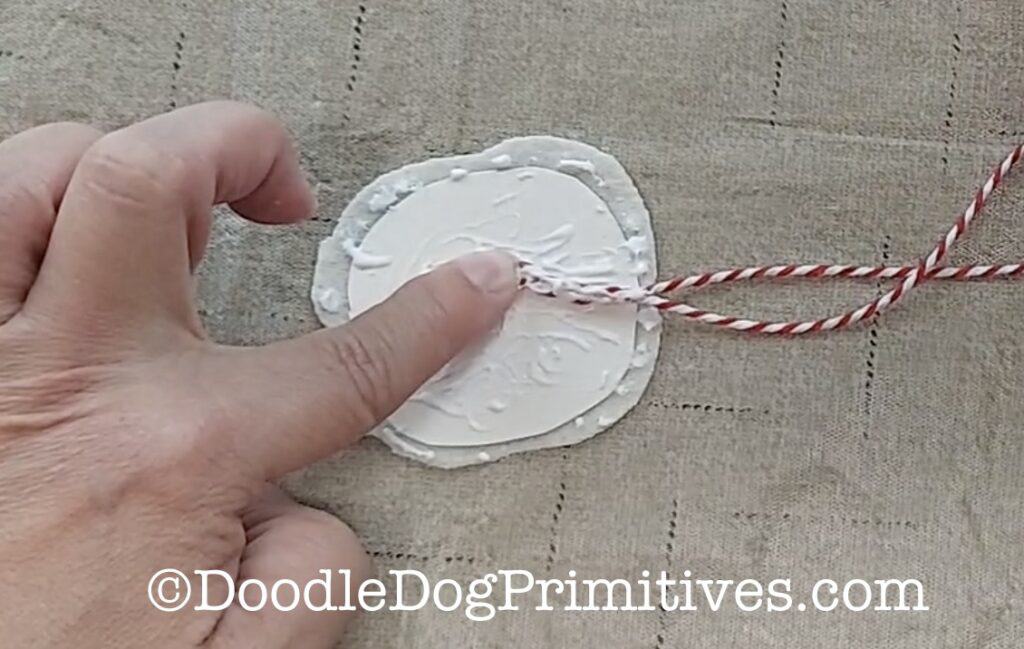
Glue the cardboard onto the bottom layer between the two layers.
Cut a four inch piece of red and white bakers twine. Thread the bakers twine onto a small rusty bell. Tie the twine in a knot and trim the ends of the twine. Tack this onto the top layer right under the sheep’s face. You could just use glue but I did use a needle and thread to make sure it stayed in place.
Cut another piece of baker’s twine twelve inches in length.
Fold it in half and place the two raw ends on top of the thin cardboard at the top of the sheep.
Glue the front of the ornament to the back.
Be sure to check out our other craft tutorials.
Pin this Christmas Craft Tutorial:
