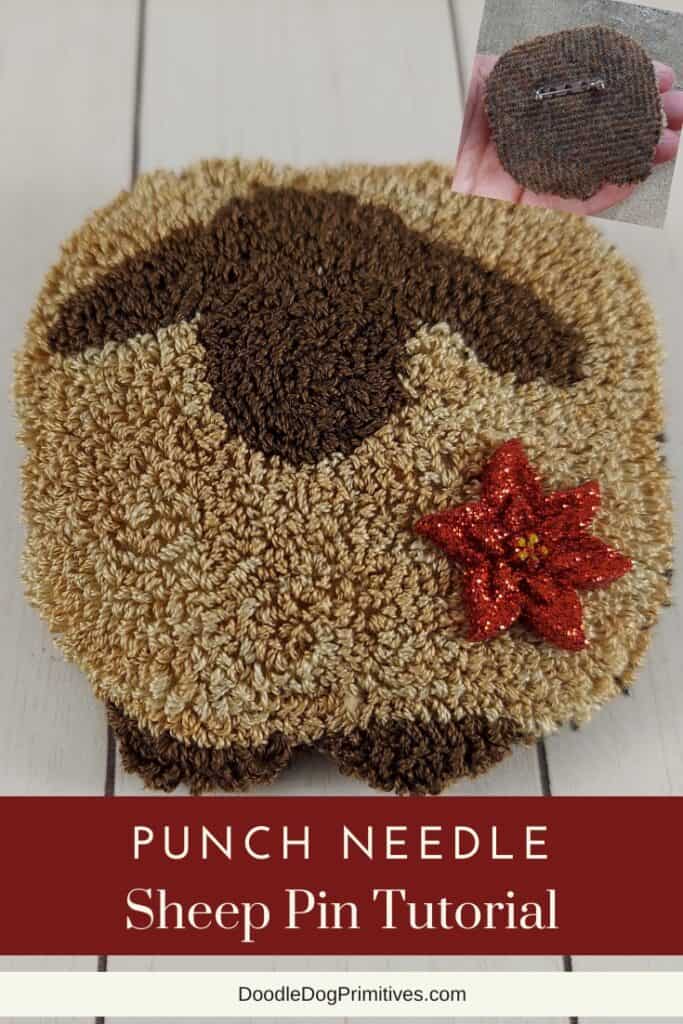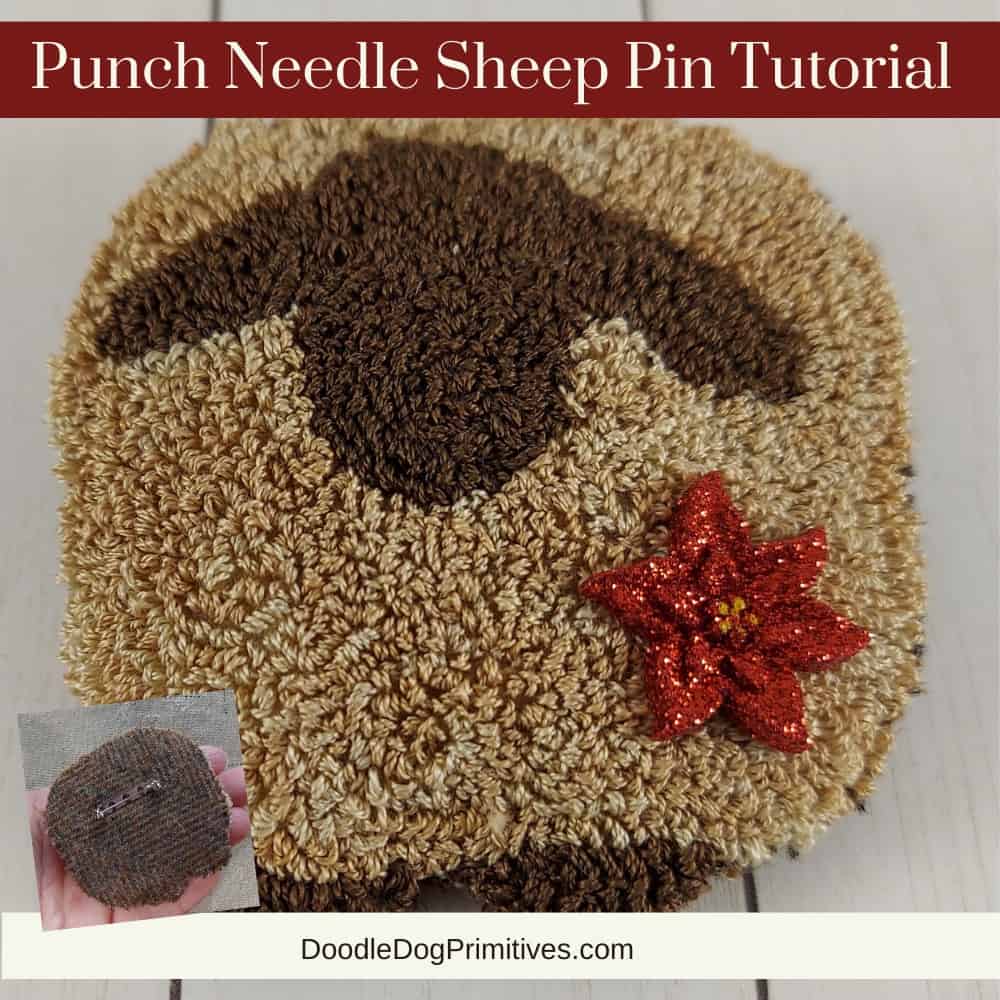
In this post, I will show you how I made a punch needle sheep pin to wear during the holiday season. This process is very similar to how I make punch needle ornaments and bowl fillers. I think you are going to love this sheep pin punch needle tutorial and free pattern.
Watch the Punch Needle Video:
This post may contain affiliate links for your convenience, which means if you make a purchase after clicking a link I will earn a small commission but it won’t cost you a penny more. For more information, please visit our Privacy Policy.
Prepare & Punch the Pattern:
Choose a pattern or you can grab a copy of my sheep pattern for free. Trace the sheep pattern onto weavers cloth and punch the pattern.
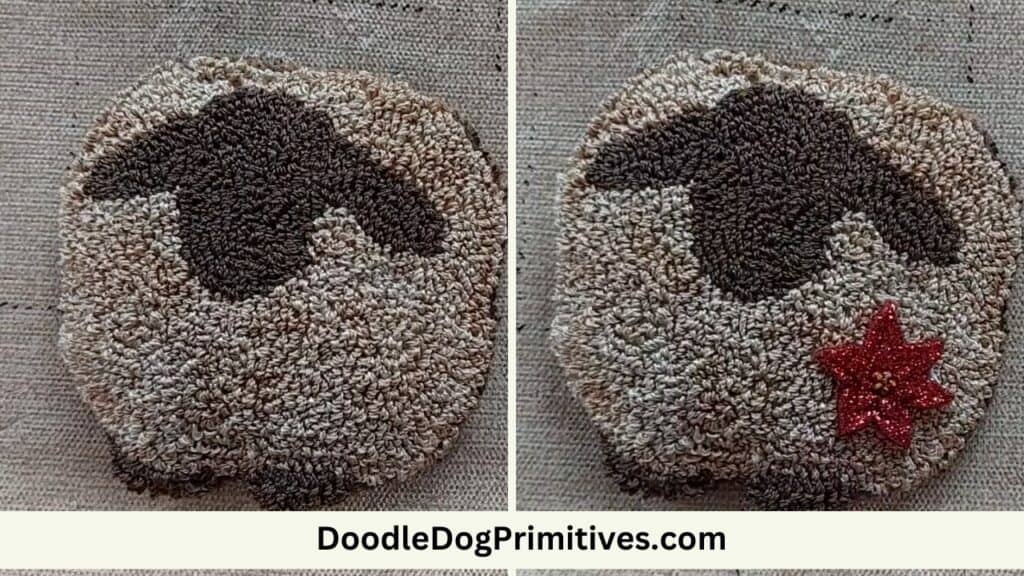
I used punching depth #1 on my SmartPunch Needle to punch my sheep pin with 3 strands of embroidery floss. I used DMC 3781 for the head and legs and some tea dyed DMC 612 for the body of the sheep.
If you do punch with a variegated or tea dyed thread, be sure to pay attention to the direction of your punches!
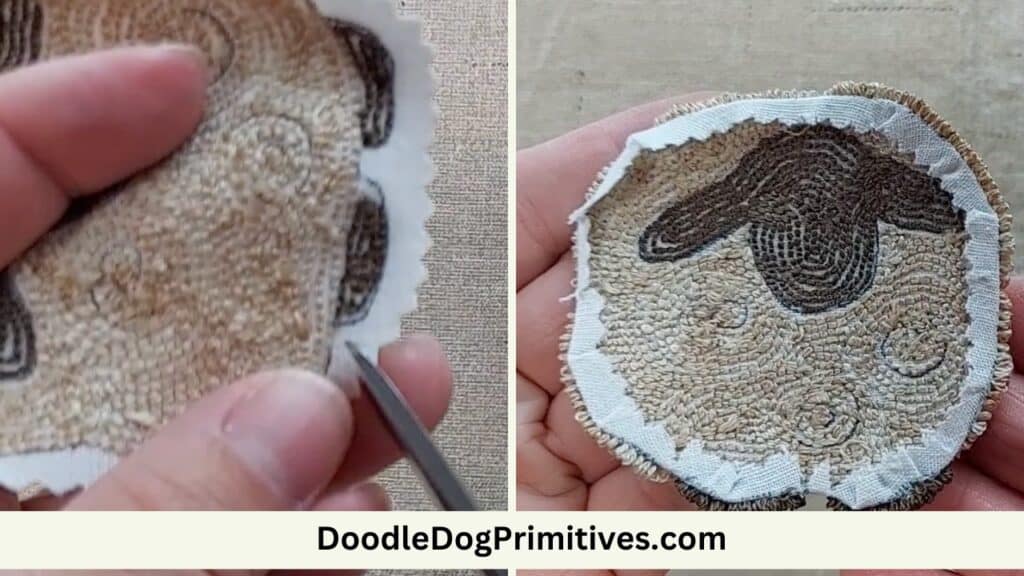
After it is completely punched, trim the weavers cloth to about 1/4″ all the way around the project. I like to use pinking shears for this so it doesn’t ravel.
With regular scissors, clip the inside curves so it is easier to fold the weavers cloth to the back. Don’t cut any embroidery floss but clip close to the outer row of punching.
Use an iron to press the empty weavers cloth to the back of the project so it isn’t visible from the front.
Prepare for the Backing:
Choose a coordinating felted wool for the backing.
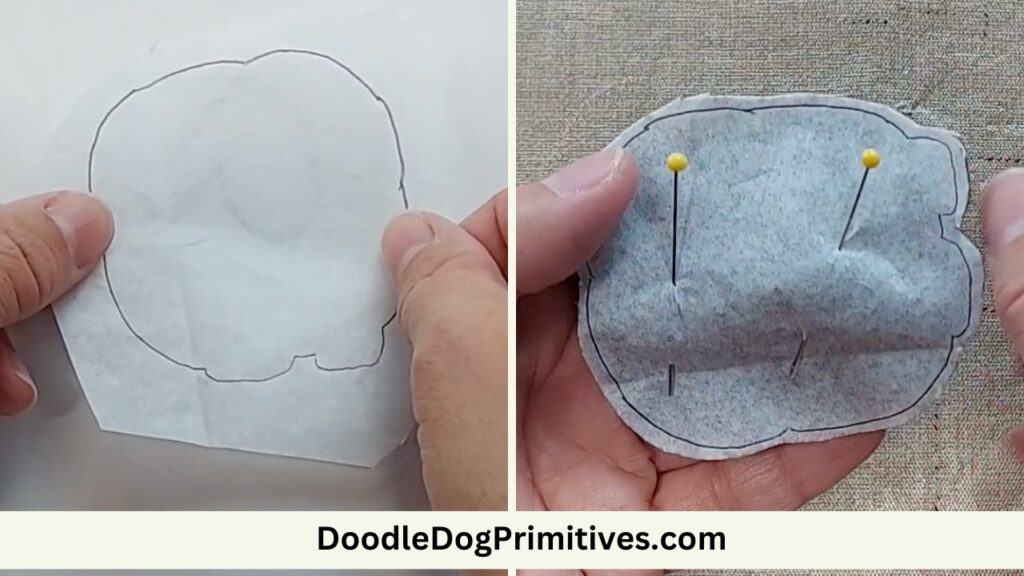
Trace around the outside of the punching pattern onto some tissue paper or other pattern paper.
Pin this pattern onto the felted wool and cut out the backing. I did cut my backing a tiny bit larger than the pattern just to make sure it would fit and then I did end up cutting it down a little bit at the top as I sewed it. Save the tissue paper pattern.
Stack the punched project and the felted wool backing, wrong sides together so you know which side is the outside of the wool. I almost sewed my pin back onto the wrong side of the wool! Sew a pin back onto the middle of the felted wool backing.
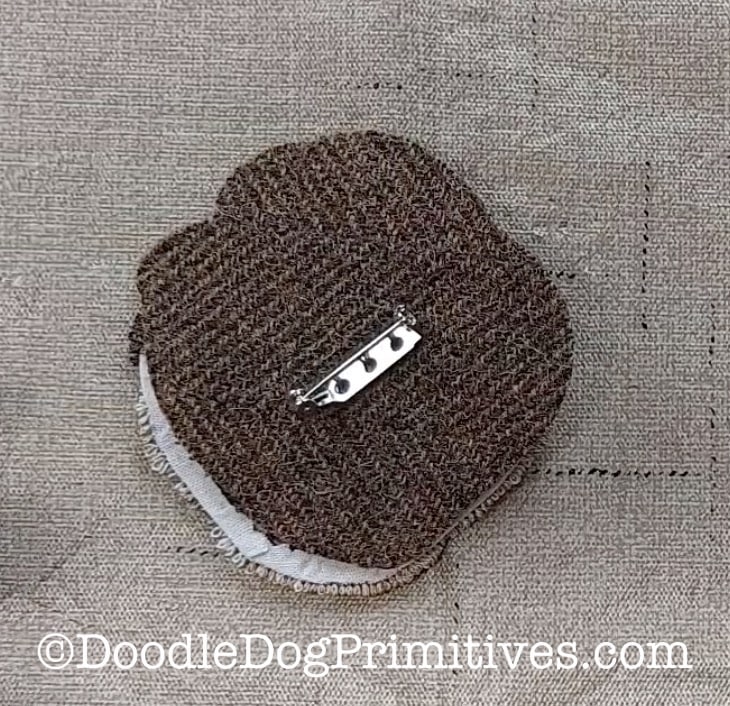
Using the saved tissue paper pattern, cut a piece of thin cardboard (cereal box thickness) a little bit smaller than the pattern. The shape doesn’t need to be perfect. I just cut a circular shape for mine. This is to place between the layers of the pin to keep it from being floppy.
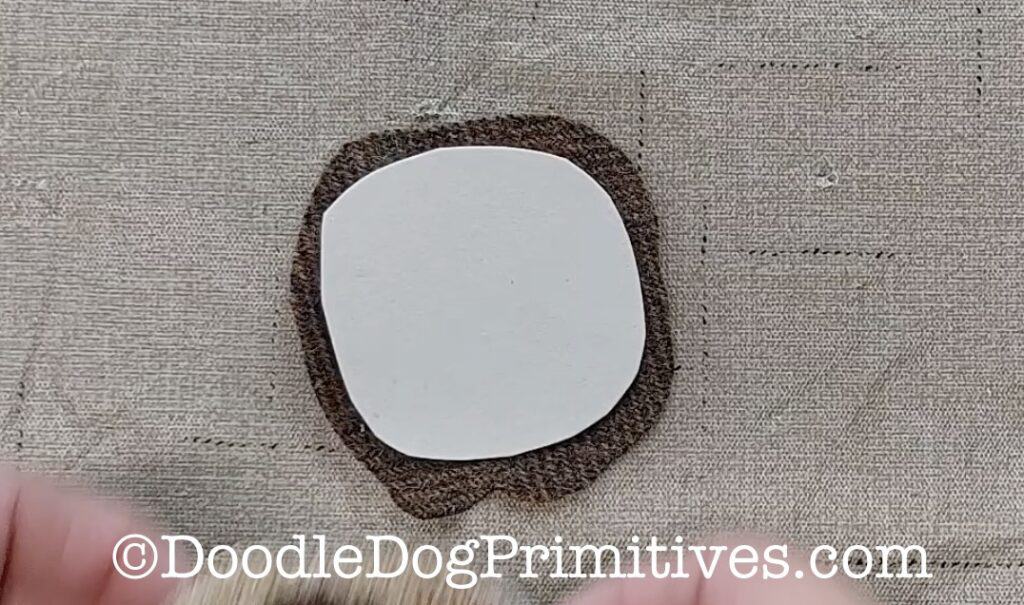
Sew on the Backing to the Punch Needle Pin:
Choose a thread that matches the felted wool backing. This will help hide the stitches.
Layer the punched piece and the felted wool, wrong sides together.
To attach the two layers, whipstitch the pieces together, catching the folded over edge of the weavers cloth and the edge of the felted wool, being careful to keep the punched loops out of the stitches.
This will bring the edge of the wool over to cover the weavers cloth.
I started on the bottom to line up the feet first.
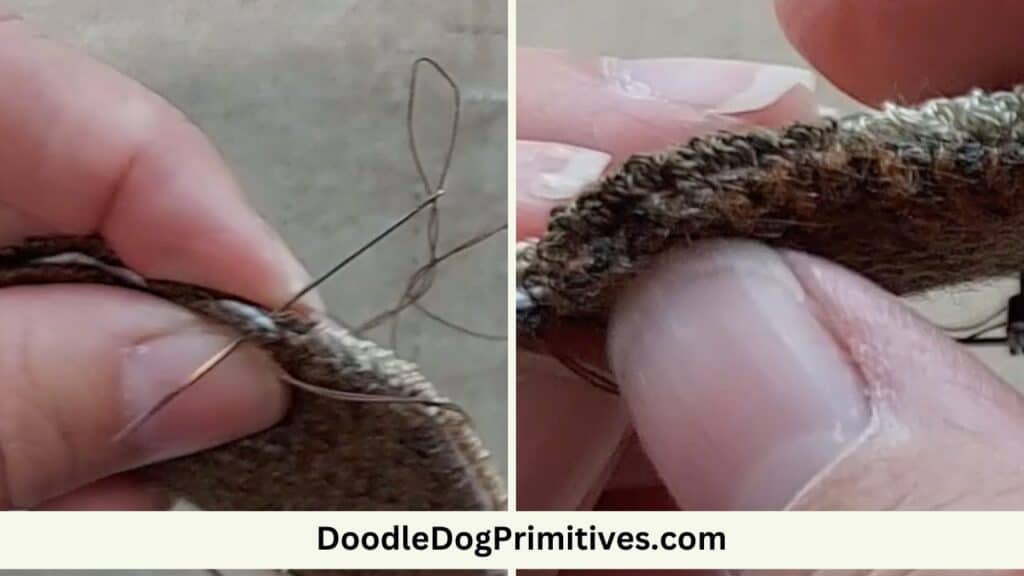
After you stitch 1/3 to 1/2 of the way around the punched project, you can insert the cut cardboard piece. I also added a small amount of stuffing on top of the cardboard.
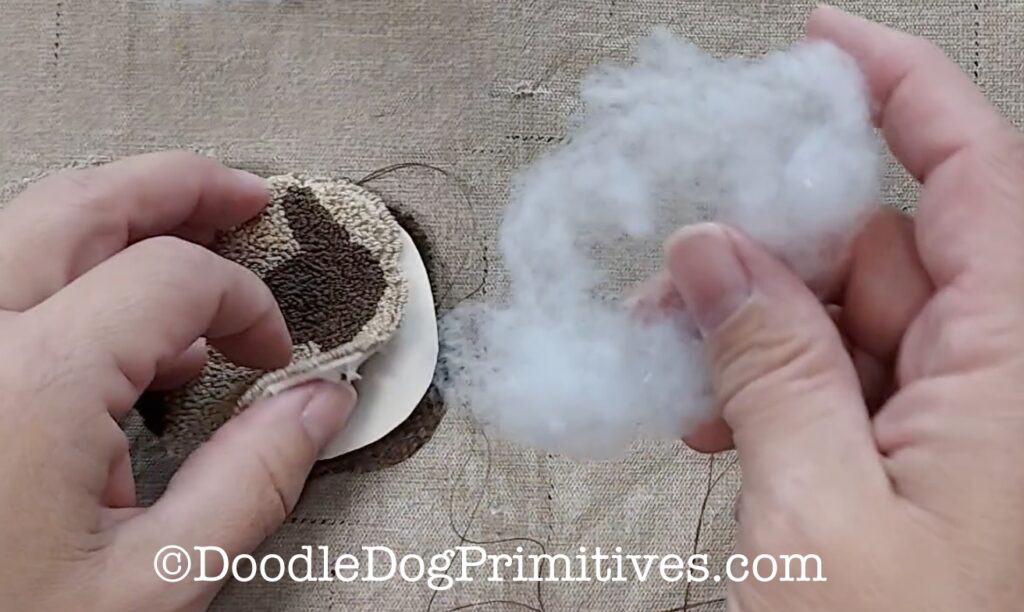
Finish stitching all the way around the pin. If needed, you can use a dowel rod to rearrange the stuffing before you completely finish sewing.
I added a small poinsettia flower (from Hobby Lobby) to my punch needle sheep pin to give it a Christmas look. To attach this, I used craft glue.
Be sure to Pin this Punch Needle Tutorial:
