I love making punch needle bowl fillers! In this post, I will show you how to finish punch needle bowl fillers by machine.
If you want to make your punch needle project
into a small pillow, bowl filler, or shelf sitter,
sewing it up with a sewing machine is a fast and easy way to finish it.
Prepare the Punch Needle Project:
After pressing and dyeing (if desired) the finished project,
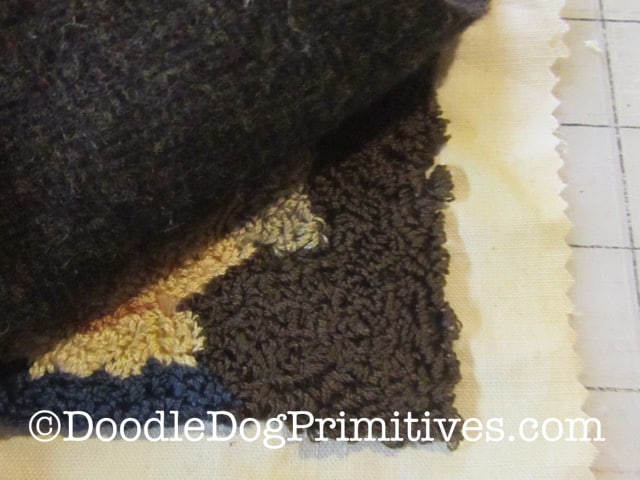
trim the edges of the weavers cloth so you have about 1 inch
all the way around the punched edge.
(I like to use pinking shears to reduce raveling.)
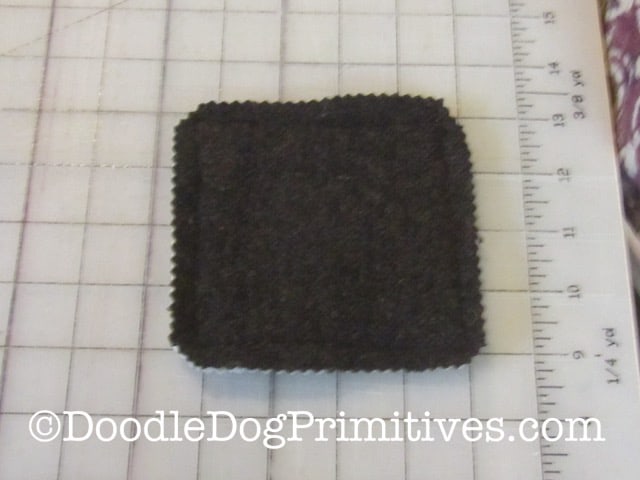
Cut a piece of backing fabric the same size.
I am using brown felted wool for the back of this pillow.
Layer the punched piece and the backing fabric, right sides together.
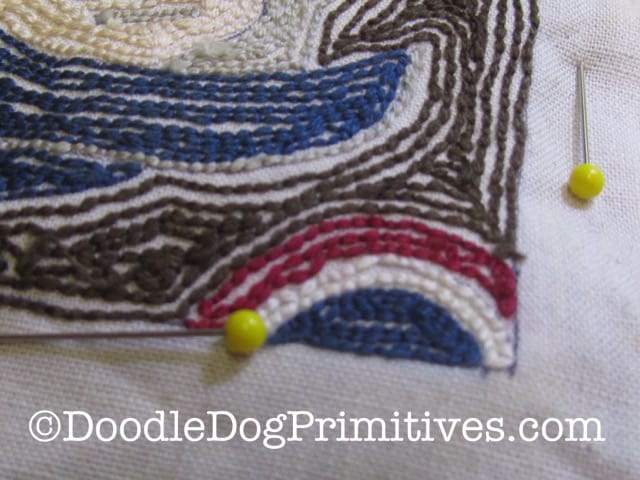
Pin it together, if you wish.
Have the punched piece on top so you can see its outline.
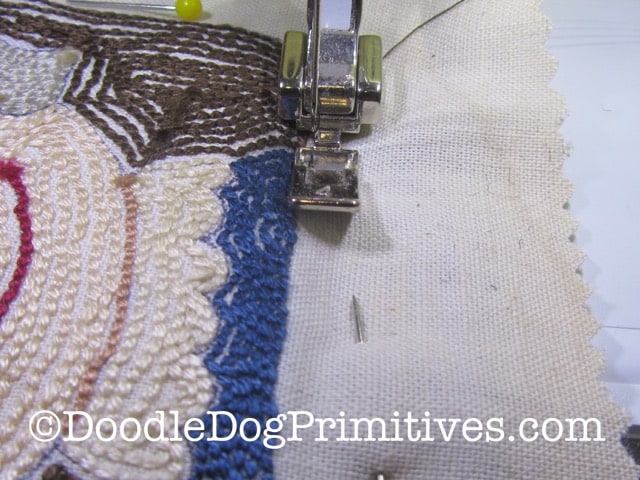
Sew the Punch Needle Bowl Filler by Machine:
Using a zipper foot, stitch all the way around the punched piece
as close to the edge of the punch needle stitching as possible.
Be careful to not get any of the floss loops in the stitching!
Don’t try to sew too quickly!
By going slow, you will have the opportunity
to make sure you are as close to the edge of punching as possible
AND keep the loops out of the stitching!
Finishing the Punch Needle Bowl Filler:
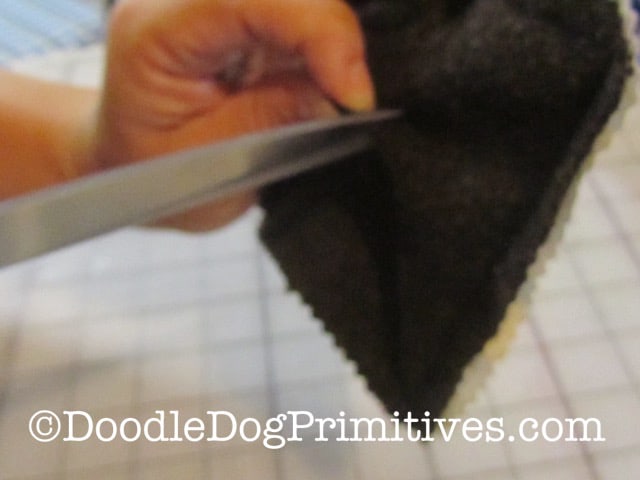
Trim the edges 1/4″ from the seam and clip the corners.
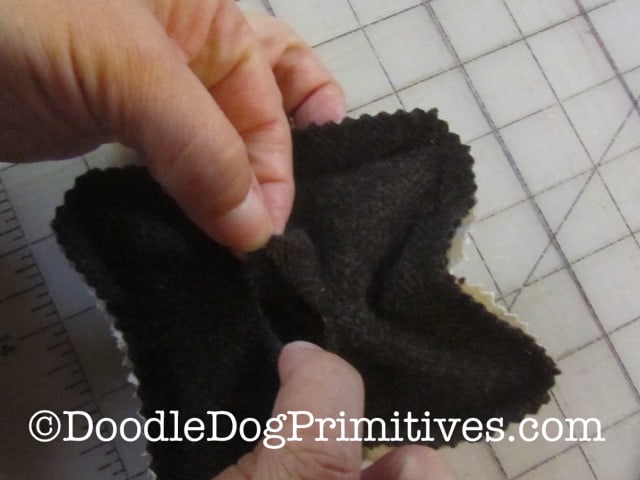
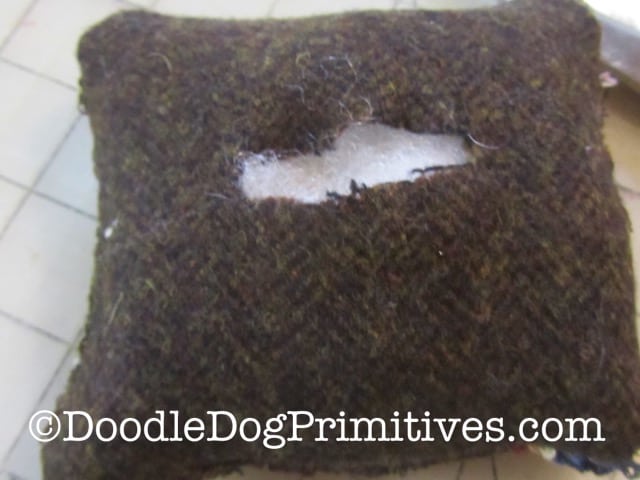
Carefully, cut a hole in the middle of the wool on the back,
being careful not to cut through the front needle punch layer.
This is for turning.
Turn and press using a pressing cloth.

Stuff with your desired stuffing material.
Whipstitch the opening closed using thread to match.
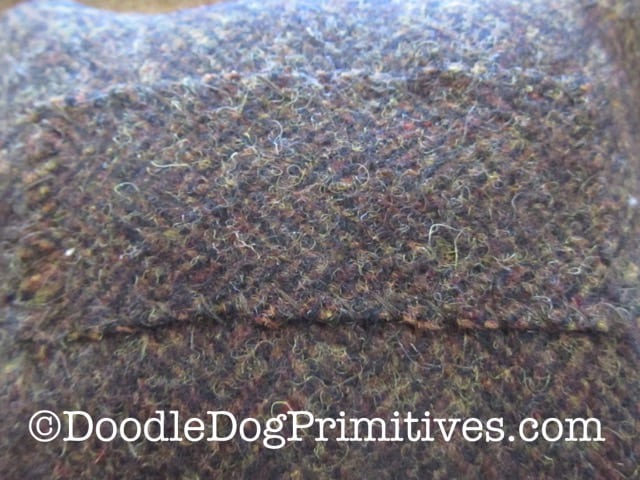
You can also cut a small rectangle or other shape
and sew it on over the closed hole.
Enjoy your finished punch needle pillow!
Backing Fabric Note:
I am using felted wool, which won’t ravel when I cut a hole in the back.
If you are using quilting cotton or a different type of fabric that will ravel,
don’t stitch ALL the way around.
Instead, leave a hole for turning and stuffing.
Then hand – sew up the hole.

I hope you enjoyed learning how to
finish punch needle bowl fillers by machine.
Find out how to finish punch needle bowl fillers by hand.
Blessings~
Amy
Pin this Punch Needle Tutorial for later!