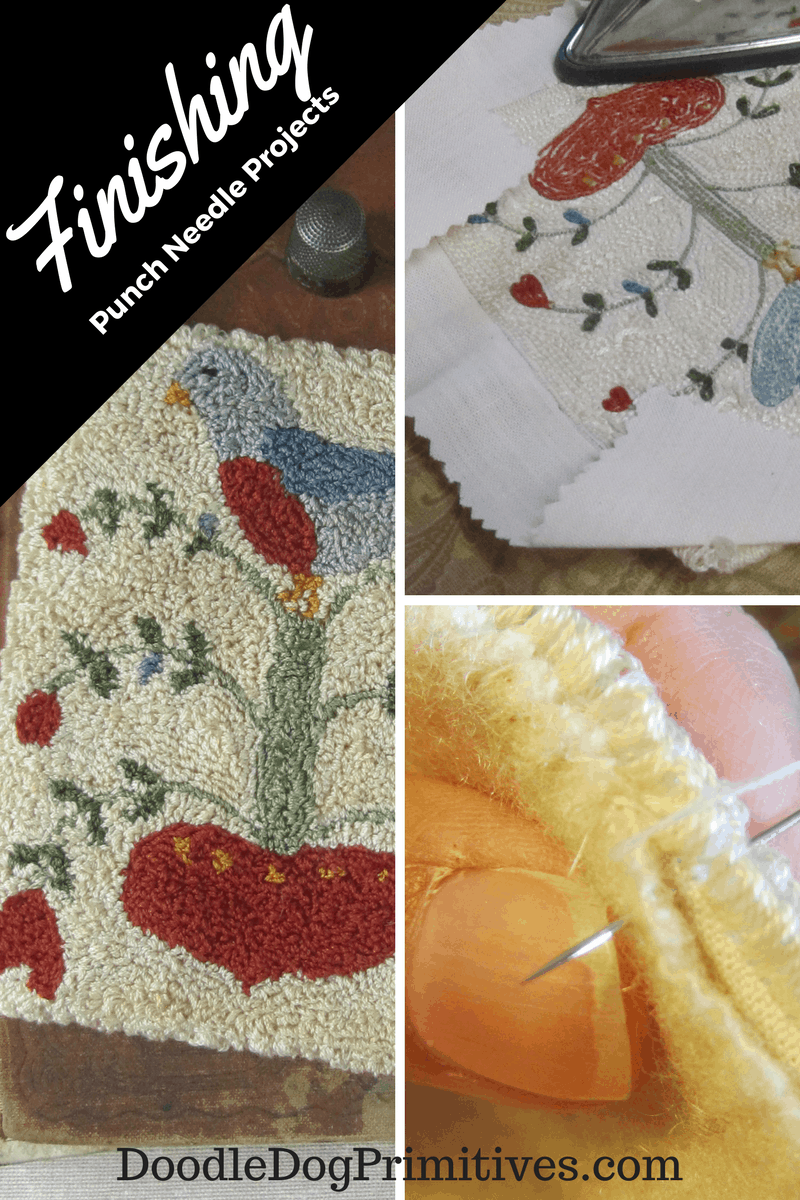
You finally got to finish a punch needle project.
But, now what?
Here’s one easy way to finish a punch needle project by adding a wool backing.
I am going to use this Bird Love Fraktur punch needle pattern for this demonstration.
Prepare the Finished Punch Needle Project:
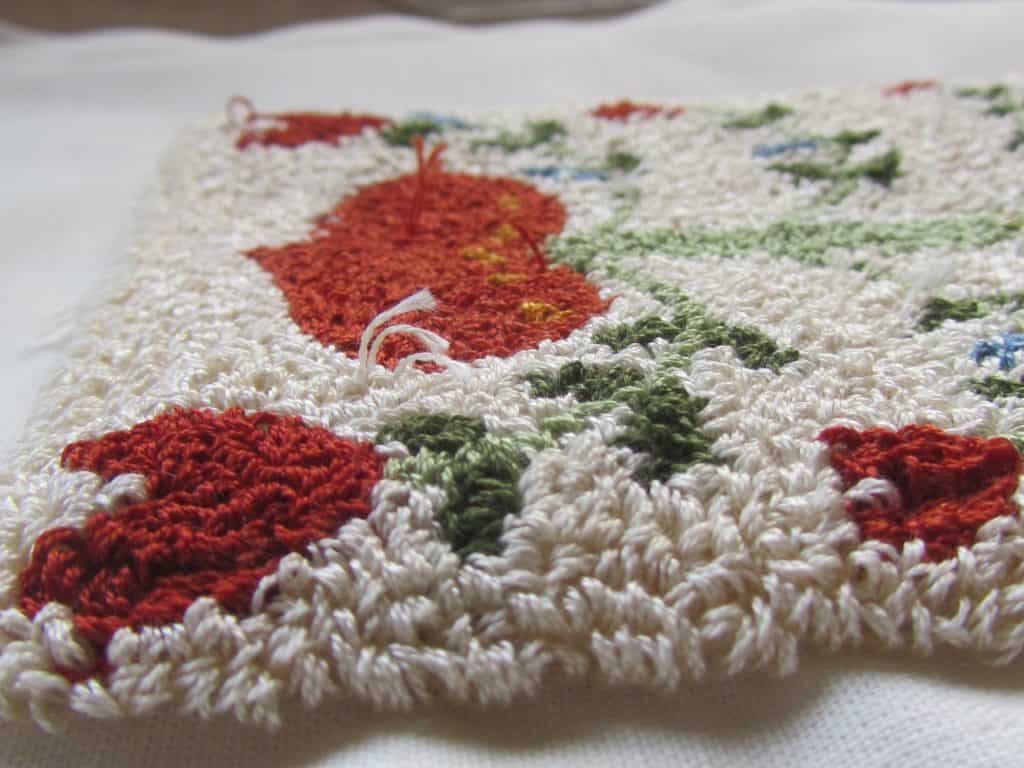
You will undoubtedly have little stray strings sticking up on the front.
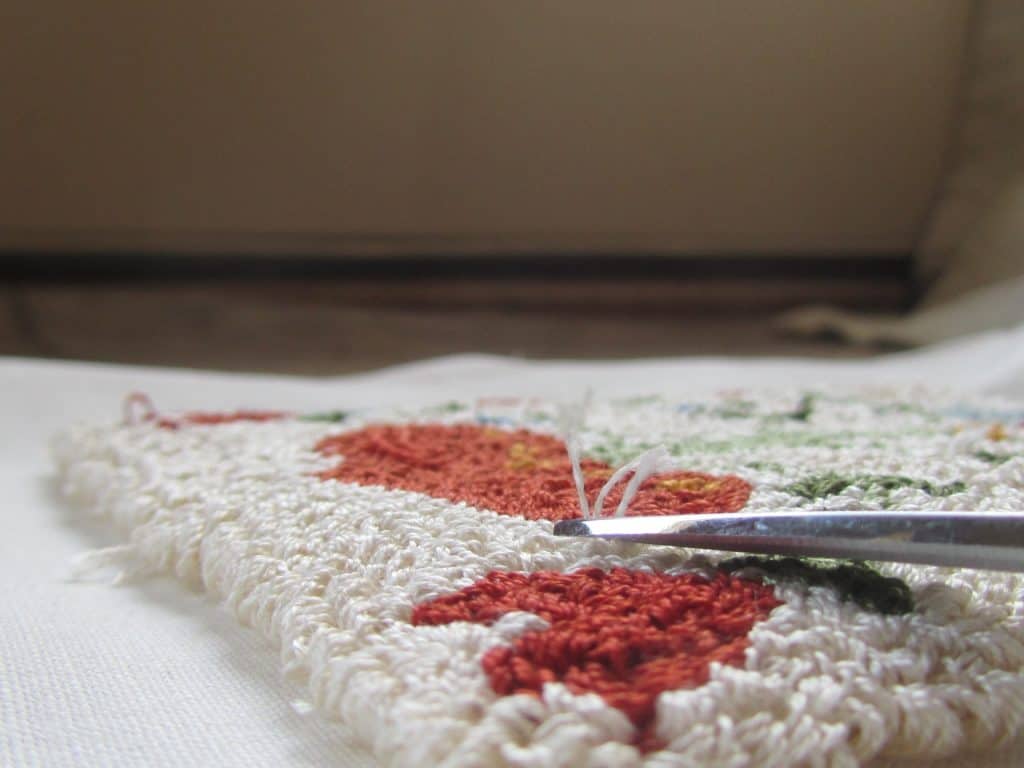
Just snip all of these off with your scissors level with the top of the loops.
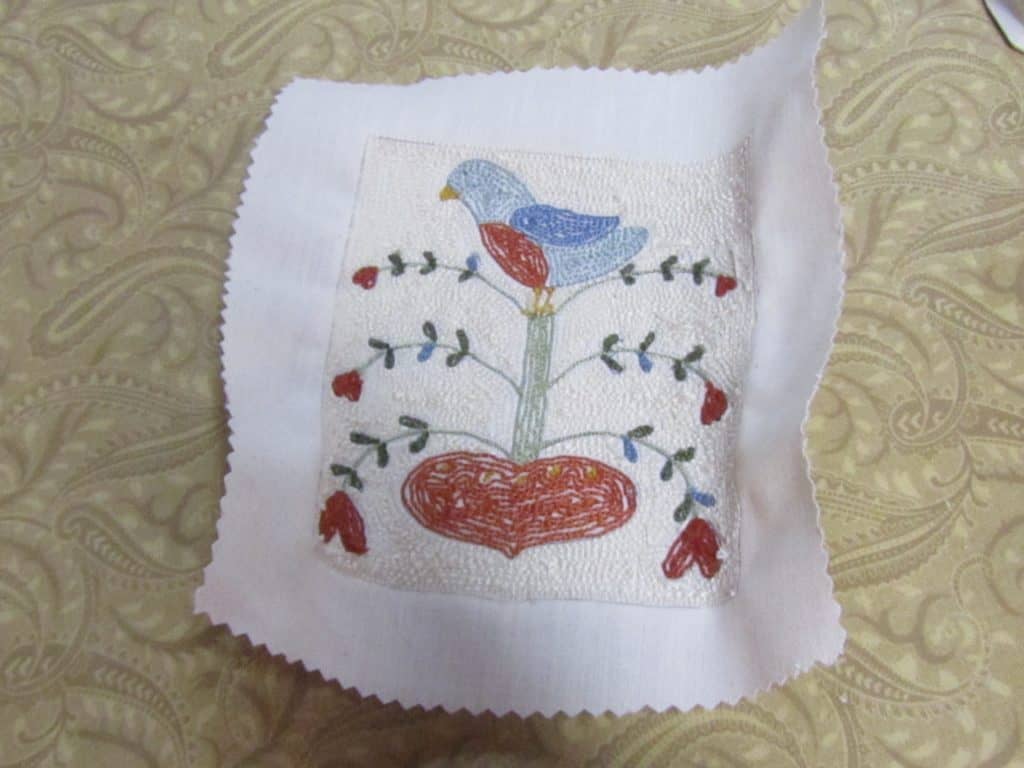
Then, cut the extra weavers cloth around the edges
until you have approximately a one inch border.
Press the project from the back.
Then, press the empty weavers cloth to the back.
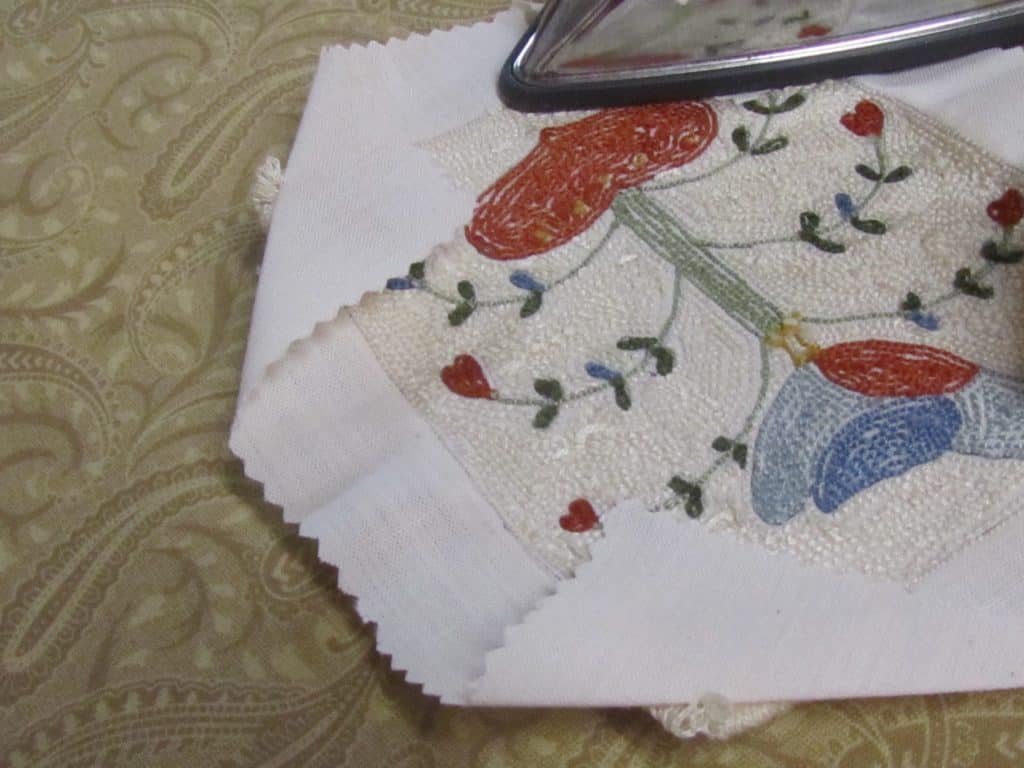
With a square project, I like to press the corners in first.
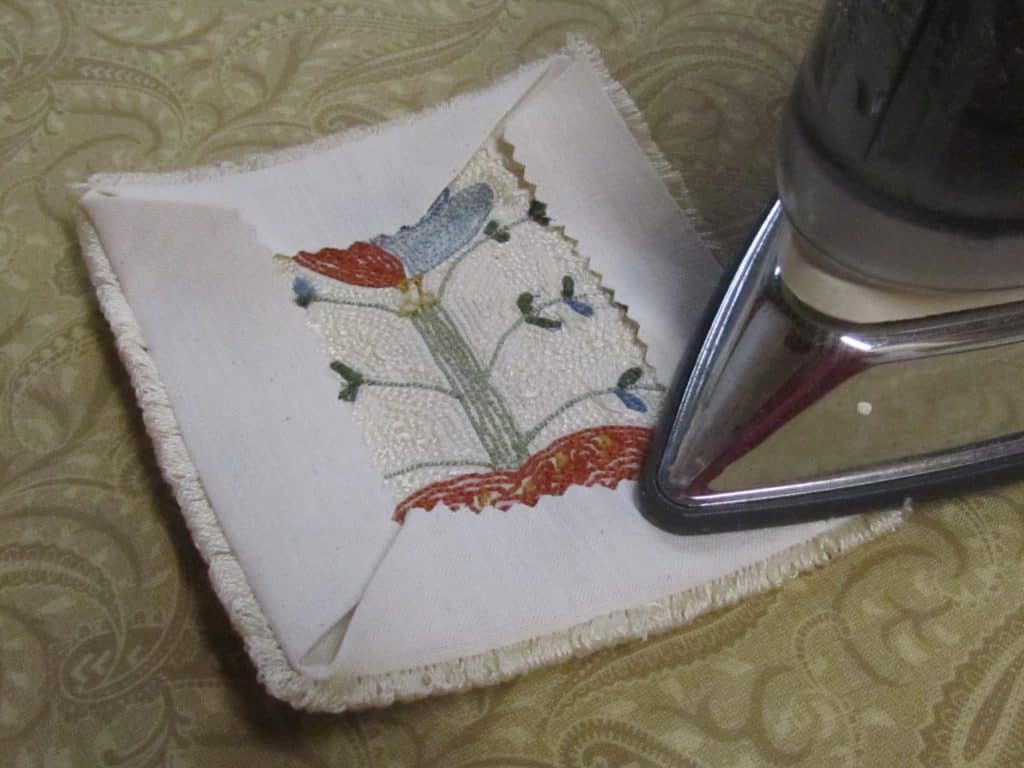

Then, I press in the sides.
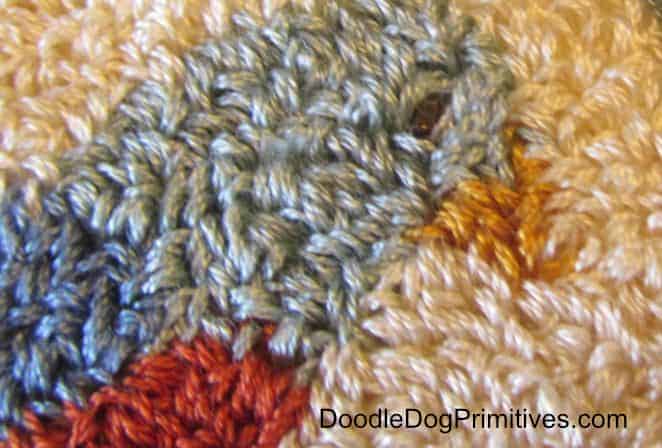
After pressing is the best time to add any extras you might want –
such as a bead for an eye.
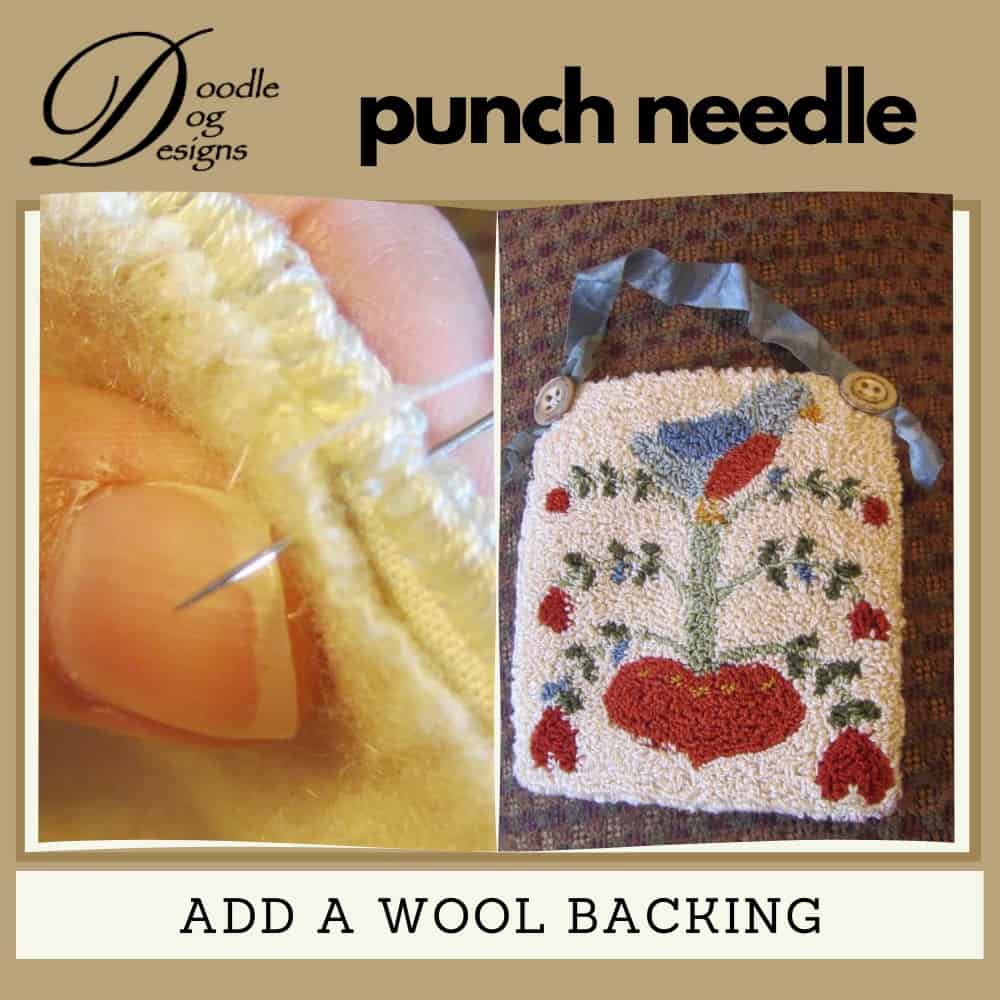
I am going to back this with a piece of felted wool.

I cut the felted wool piece to be the same size as the punched piece.
Pin the punched piece to the wool backing, wrong sides together.
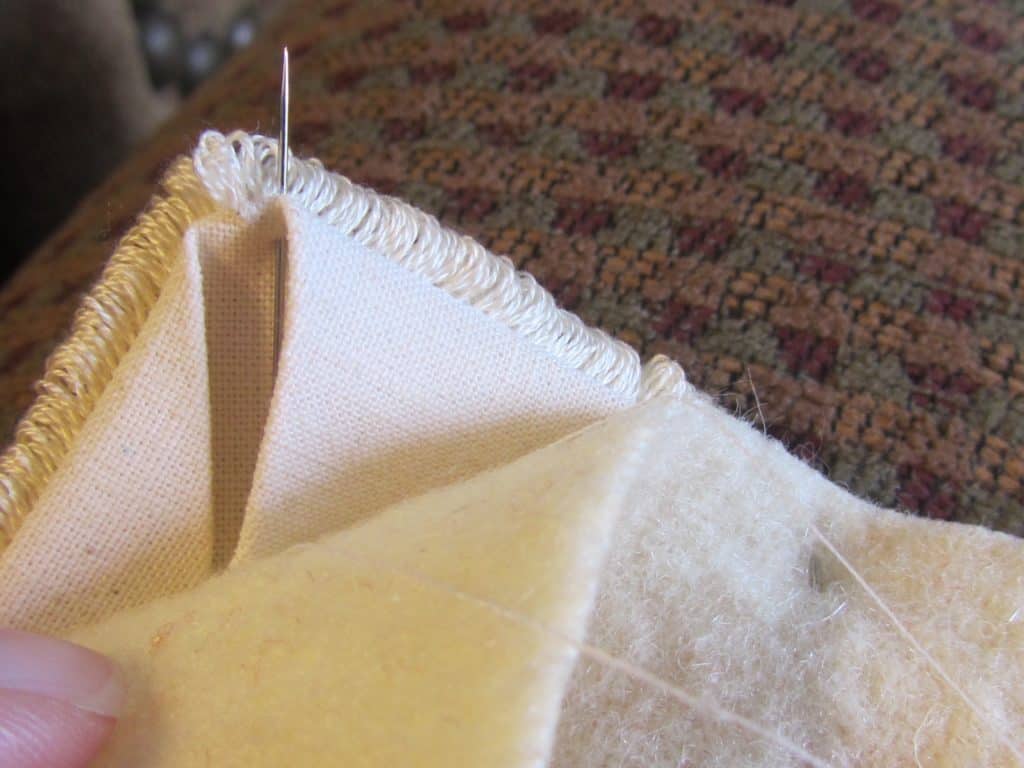
Start your thread underneath the folded over weavers cloth
and start whipstitching the wool to the weavers cloth.
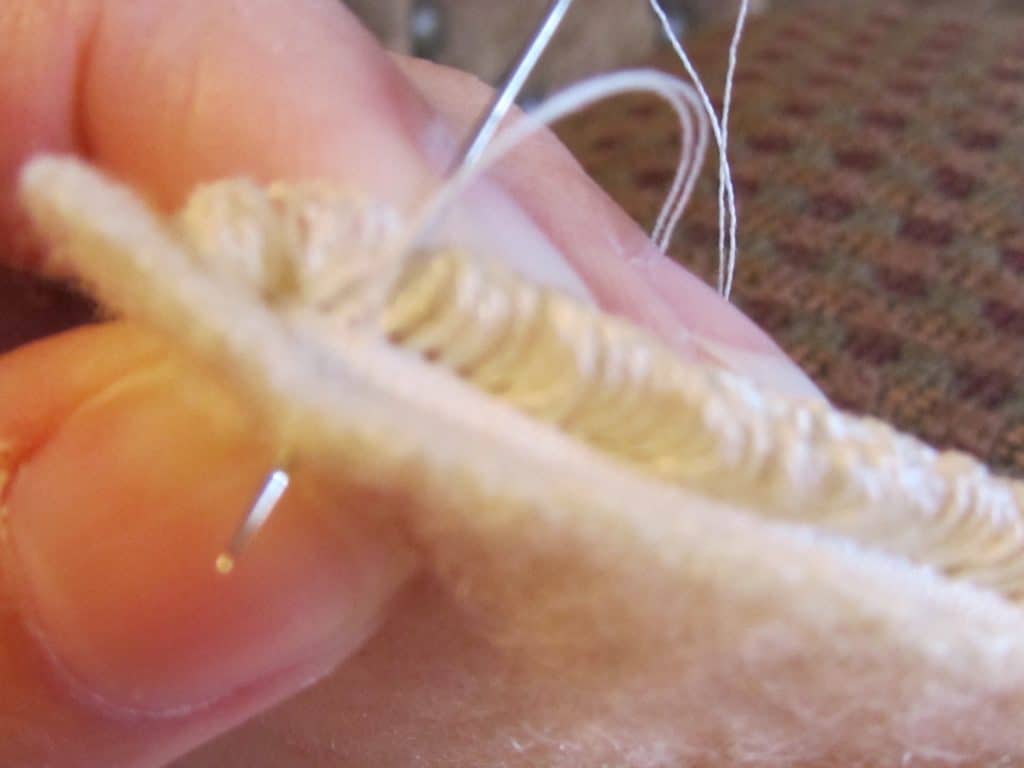
You want to make sure you catch the edge of the weavers cloth and the wool.
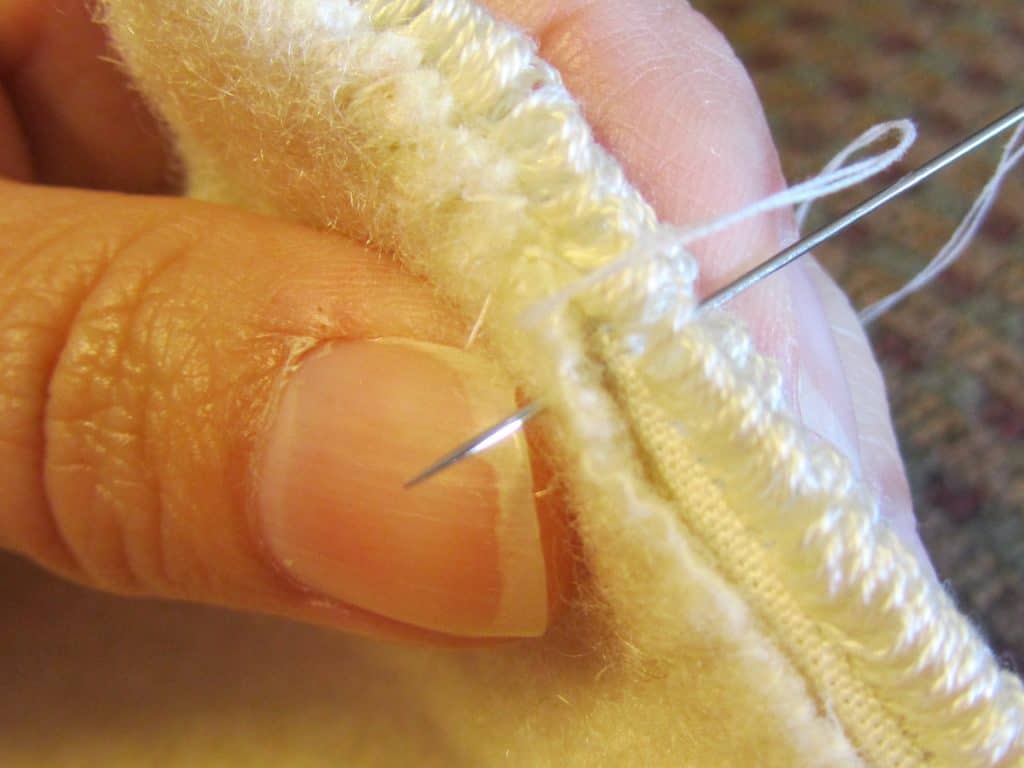
As you stitch, the wool will cover up the edge of the weavers cloth.
Stitch all the way around and tie off your thread.
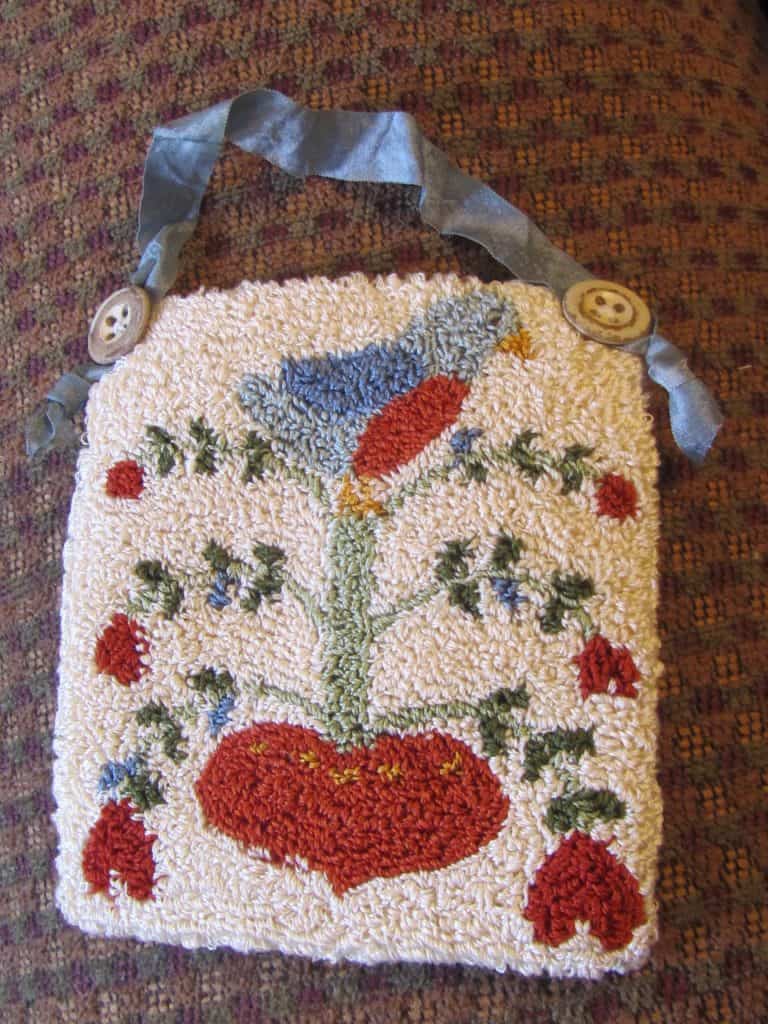
I wanted to be able to hang this project,
so I added some blue crinkly ribbon
and a couple of vintage buttons.
Now, this punch needle project is finished!
Blessings~
Amy
Be sure to pin this punch needle tutorial for later!