I have been working on getting some finished punch needle projects
ready for an upcoming show.
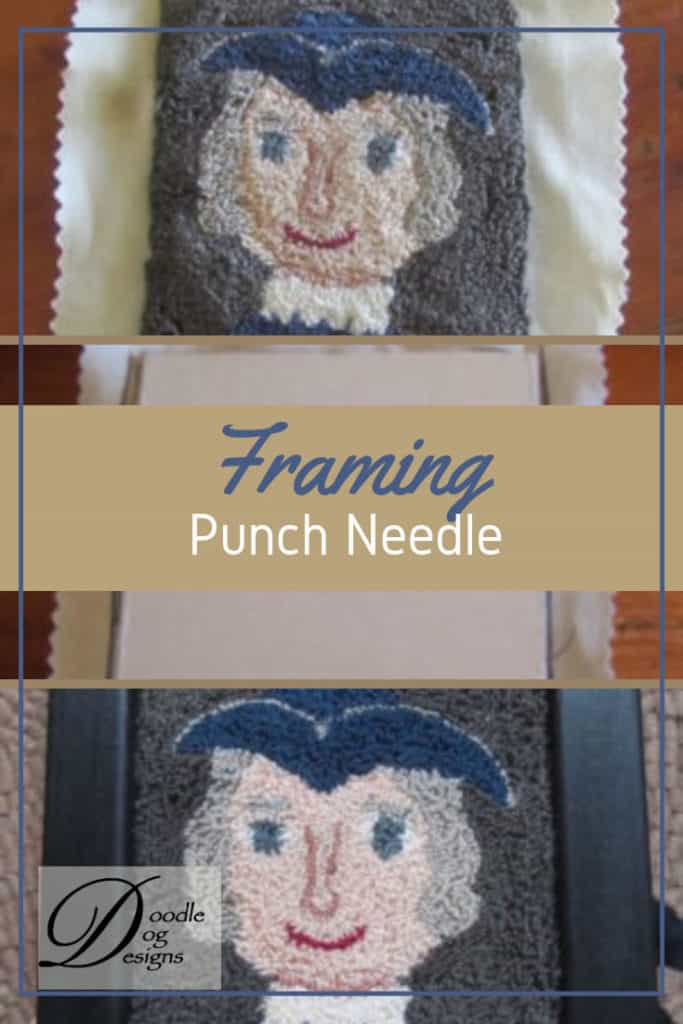
I wanted to show you how I framed this punched George.

This post may contain affiliate links for your convenience, which means if you make a purchase after clicking a link I will earn a small commission but it won’t cost you a penny more. For more information, please visit our Privacy Policy.
Supplies to Frame a Punch Needle Project:
- Frame
- Craft Glue
- Scissors
- Press on mounting board
- Glazier points
- Picture frame hanger

I find thrift stores and auctions to be a good source of frames.
The trick is to look at just the frame and ignore what is inside the frame.
How to frame a punch needle project:
Choose a frame where the front opening
is the same size as the punched part of your project.
I prefer to work backwards and create the project to fit my frame.
Cut the self-stick mounting board
to the size of the frame’s backside opening.
You want it to be a smidge smaller
so it will fit in the frame with the fabric wrapped
around the edge of the board.
The hardest part is centering your punched project on the self-stick board.
Position the punched project on the board before exposing the adhesive.
After centering, draw around the edge of the board with a marker
so it can be positioned correctly after exposing the adhesive.

Next peel the paper off the board to expose the adhesive.
Carefully lay the punched piece onto the board,
using your marks as a guide.
(Be sure to lay it on very lightly until you are sure it is in the correct position!)
After attaching the punched piece to the adhesive board,
turn the edges and glue them to the back side.
I find it easiest to turn in the corners first and then the sides.

When the glue is dry, put the punched piece into the frame

and keep it in place using some glazier points.

Be sure you have it turned the right direction
when you add your picture frame hanger!
If you want a more professional finish,
you can also glue on a piece of paper to the back of the frame.

Here’s George all finished and ready to hang!
I did the same process with this
modified version of my Liberty Lambs pattern.

For this one, I used some of the self-stick mounting foam boards.

The foam raised the design a bit and gives it a different look.
Check out 21 ways to finish a punch needle piece.
Blessings~
Amy

