Find out How to Finish a Punch Needle Project with Wool Fringe Edging.
In this post, I will show you how to add a wool fabric fringed edge
to your finished punch needle project.
This process also adds a wool backing at the same time.
It creates a loopy fringe type of edge out of felted wool
Supplies Needed to Add Fringe Edge:
To complete this project, you will need a finished punch needle project,
felted wool, scissors, a sewing machine, and basic sewing supplies.
I am going to show you the process with
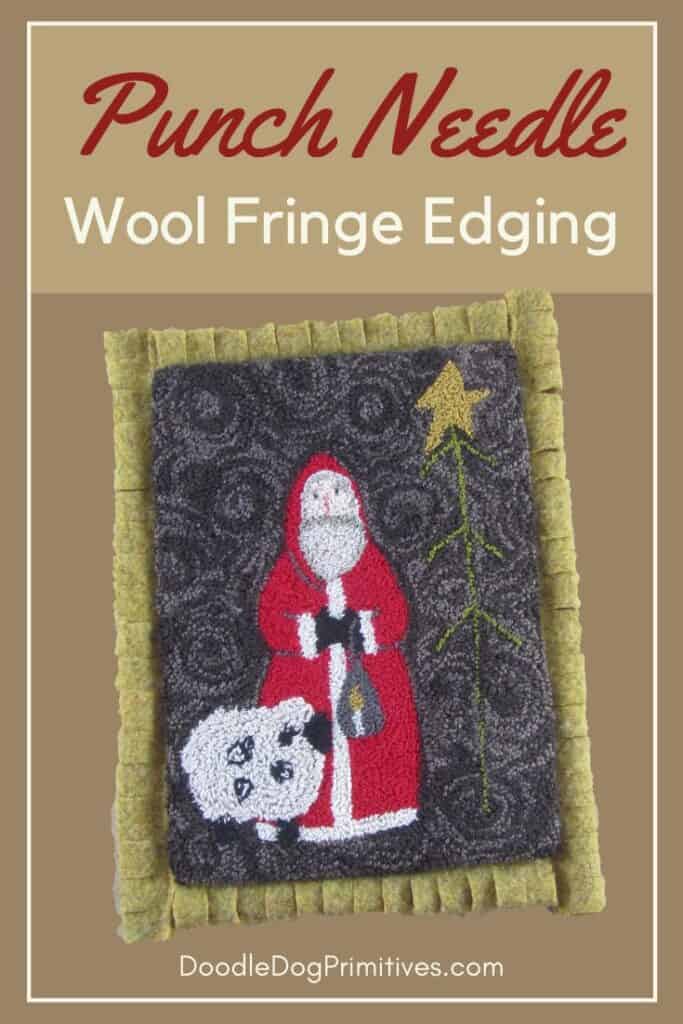
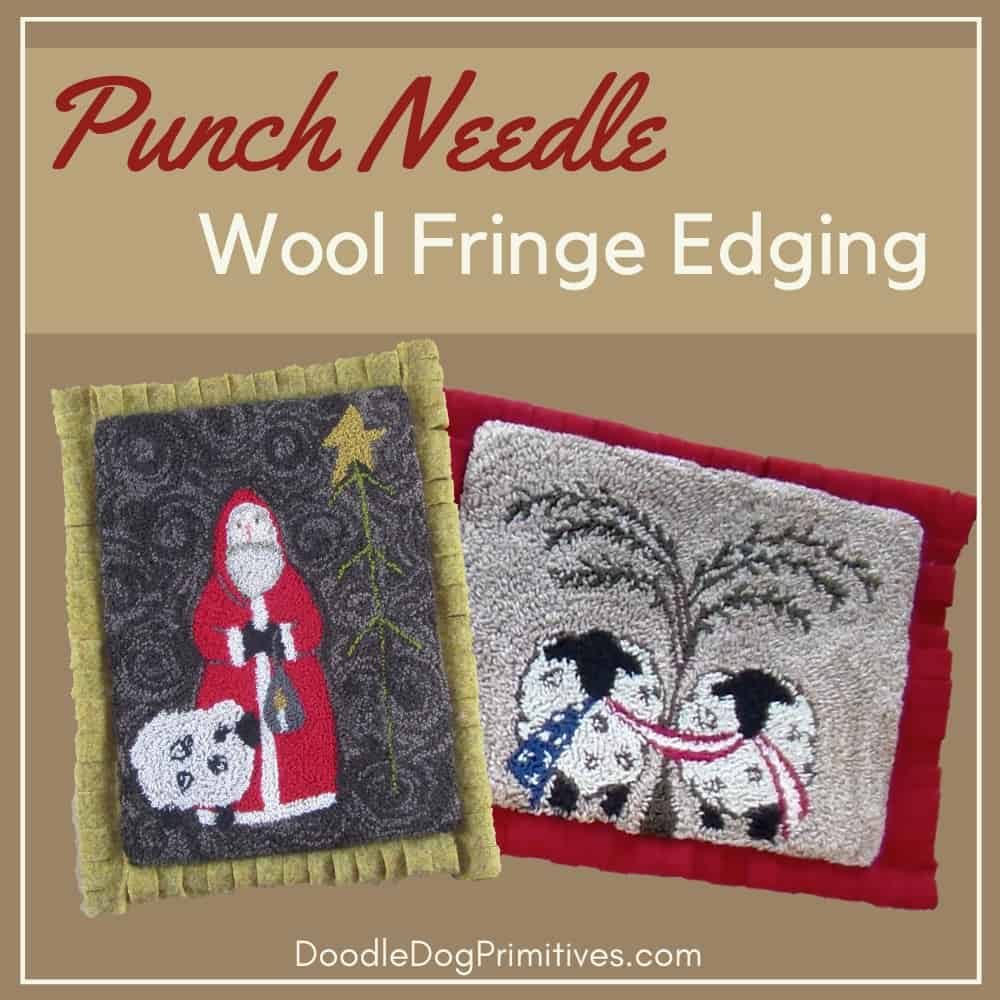
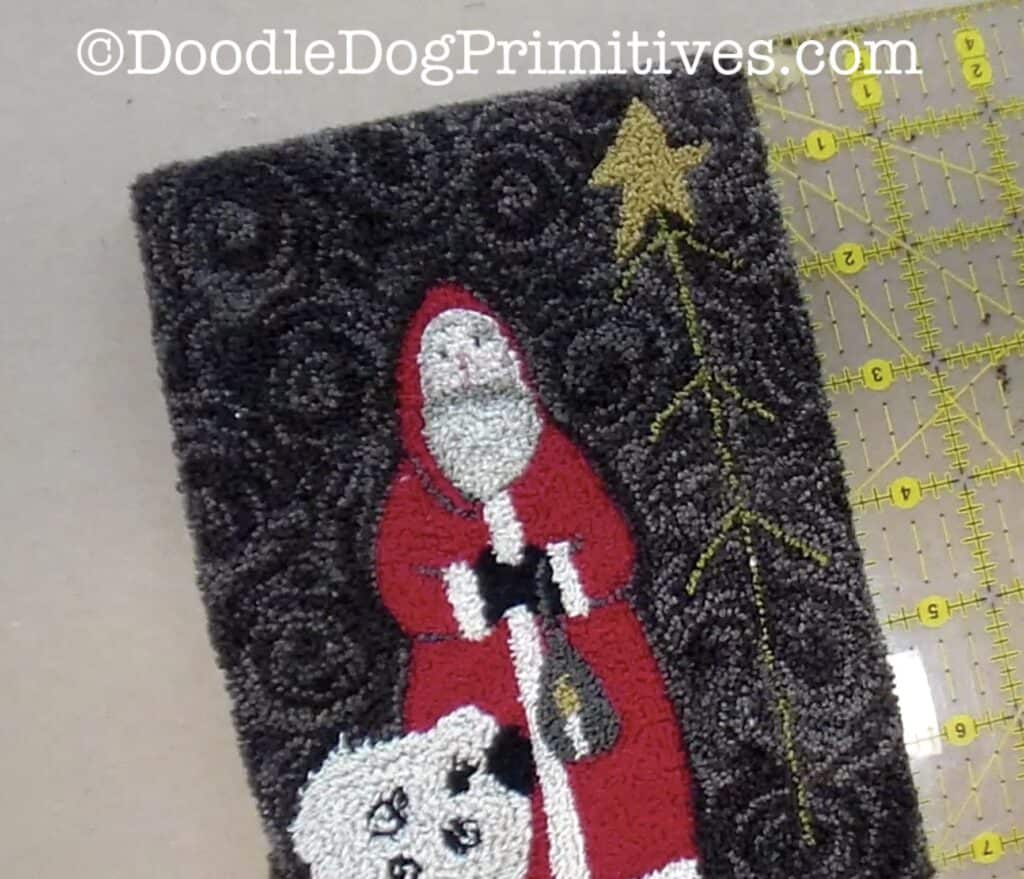
a finish of the “Midnight Clear” punch needle pattern.
Watch the Video:
Choose the Wool Color:
First, you need to choose a piece of wool to use.
I like to choose a color that is in the punch needle project
or a complementary color.
I tried the Santa on black, red, and gold.
I chose to use the gold wool.

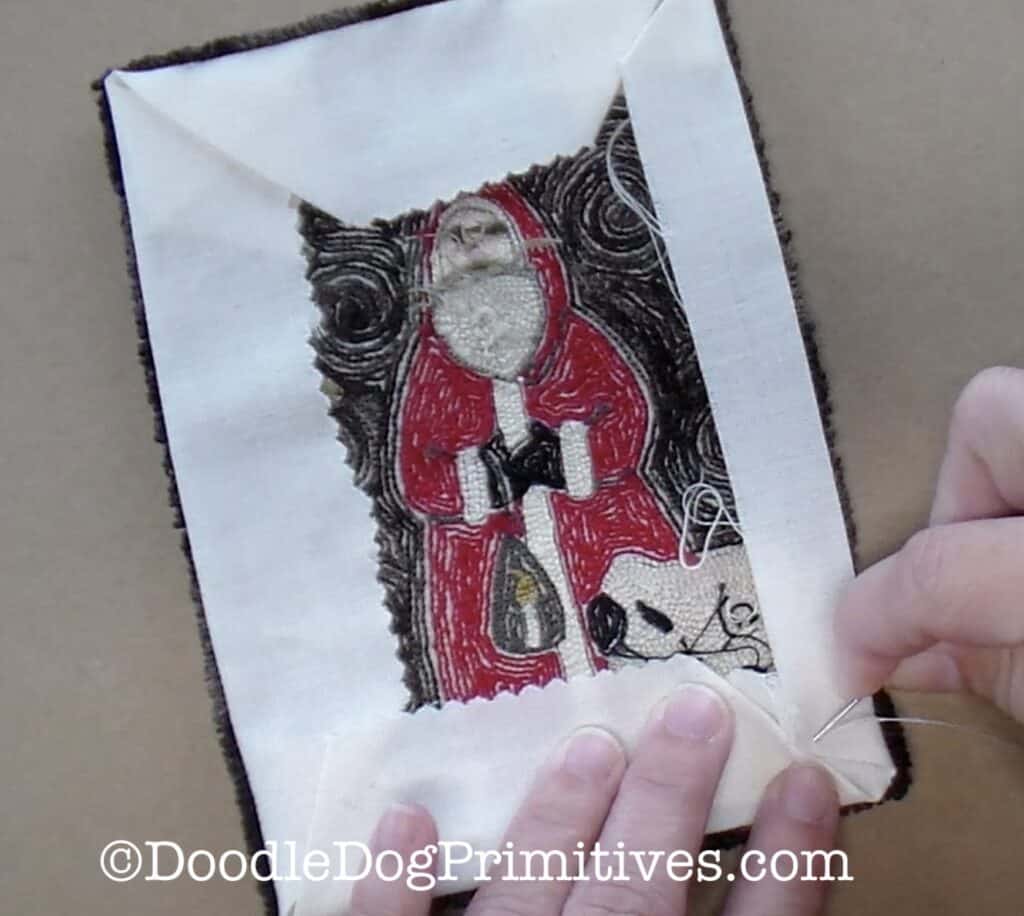
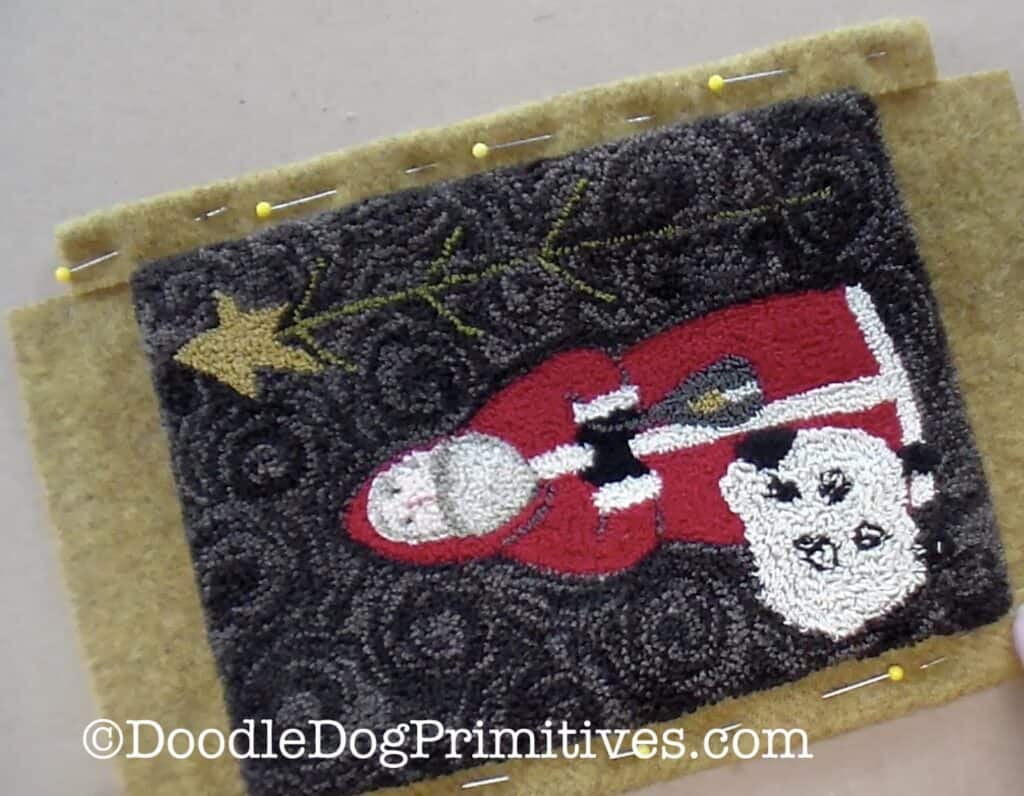
Prepare the Punch Needle Project:
Press the empty weavers cloth to the back.
Start by folder under each of the corners
and then fold over each of the sides.
On the back, sew the corners of the weavers cloth to each other
so the weavers cloth will stay.

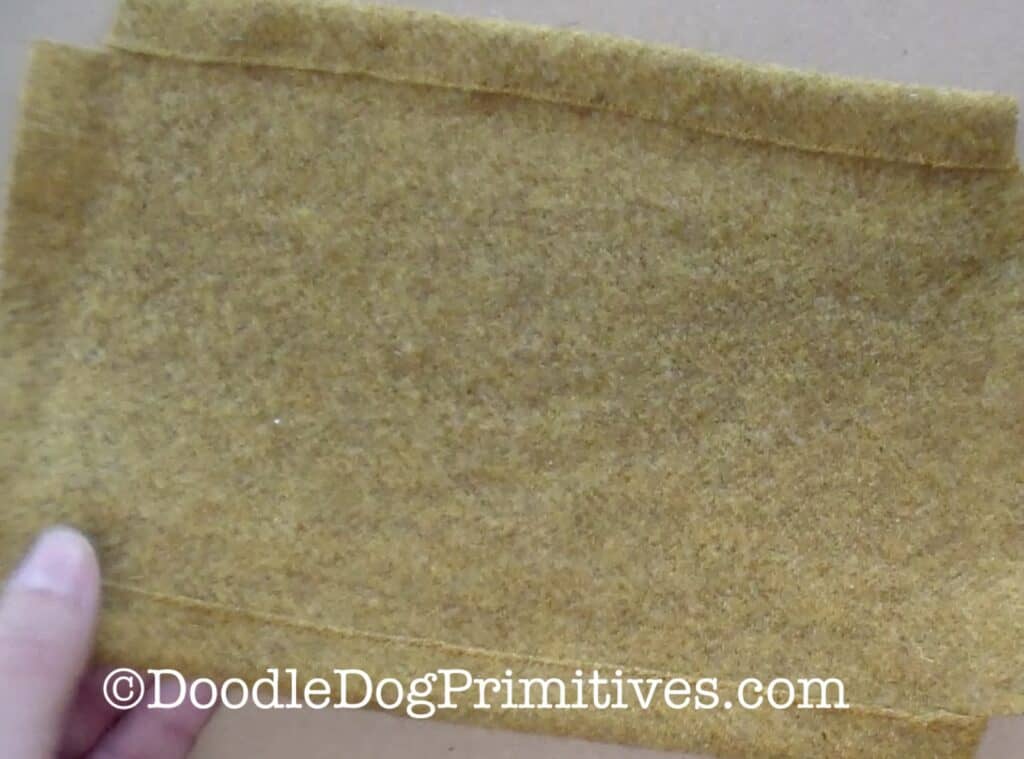
Cut the Felted Wool:
Measure the finished punch needle project.
This project measures 5 inches x 7 inches.
Then, decide how big you want your loops to be.
For loops the same size as I created,
add an extra one and a half inches to all four sides.
That will add three inches to each of the measurements.
So, I need a piece of wool 8 inches (5 + 1-1/2 + 1-1/2)
by 10 inches (7 + 1-1/2 + 1-1/2)
If you want to have smaller loops, use a smaller measurement.
For larger loops, use a larger measurement.
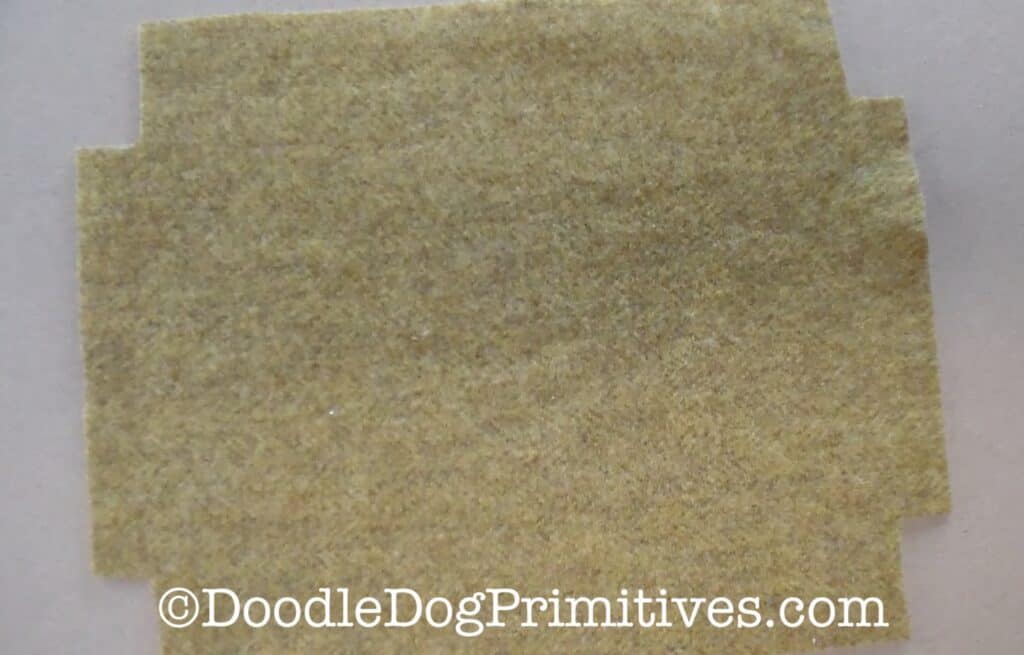
Cut a piece of felted wool to this size.
For this project, I will cut a piece of wool 8 inches by 10 inches.
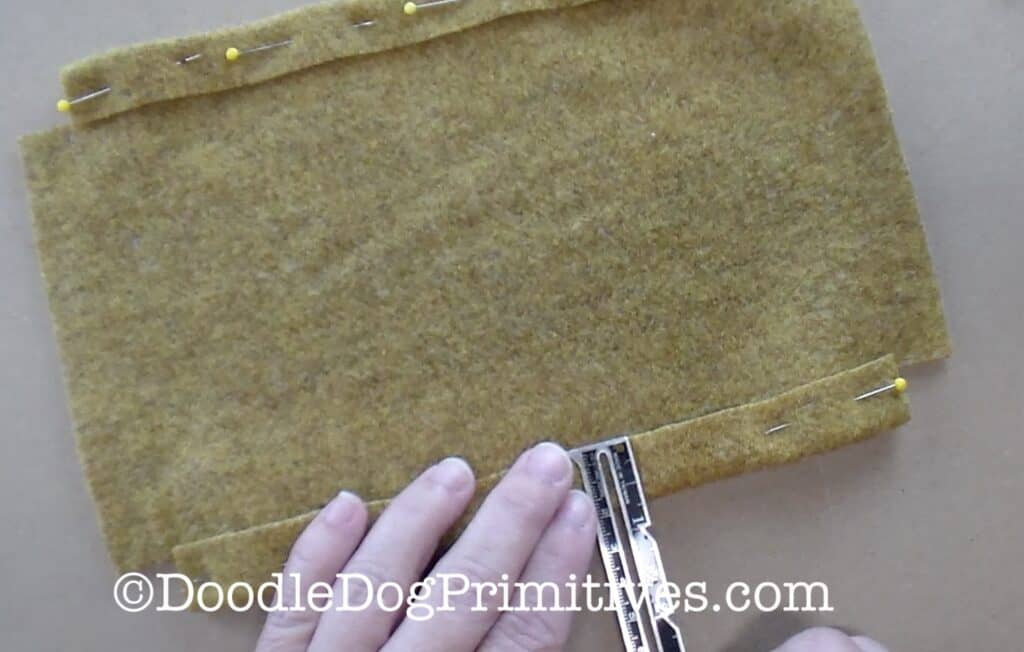
Cut out the Corners:
If you folded over each side of wool now to make the loops,
you would end up with an extra bulk at the corners.
So, you will have to cut a rectangle out of each corner.
The rectangle will be the same width as wool border on each side.
That is 1-1/2 inches in this example.
The other dimension of the rectangle is half of that – so 3/4 inch.
Cut a rectangle this size from each of the four corners.
Make sure you cut them all going in the same orientation.
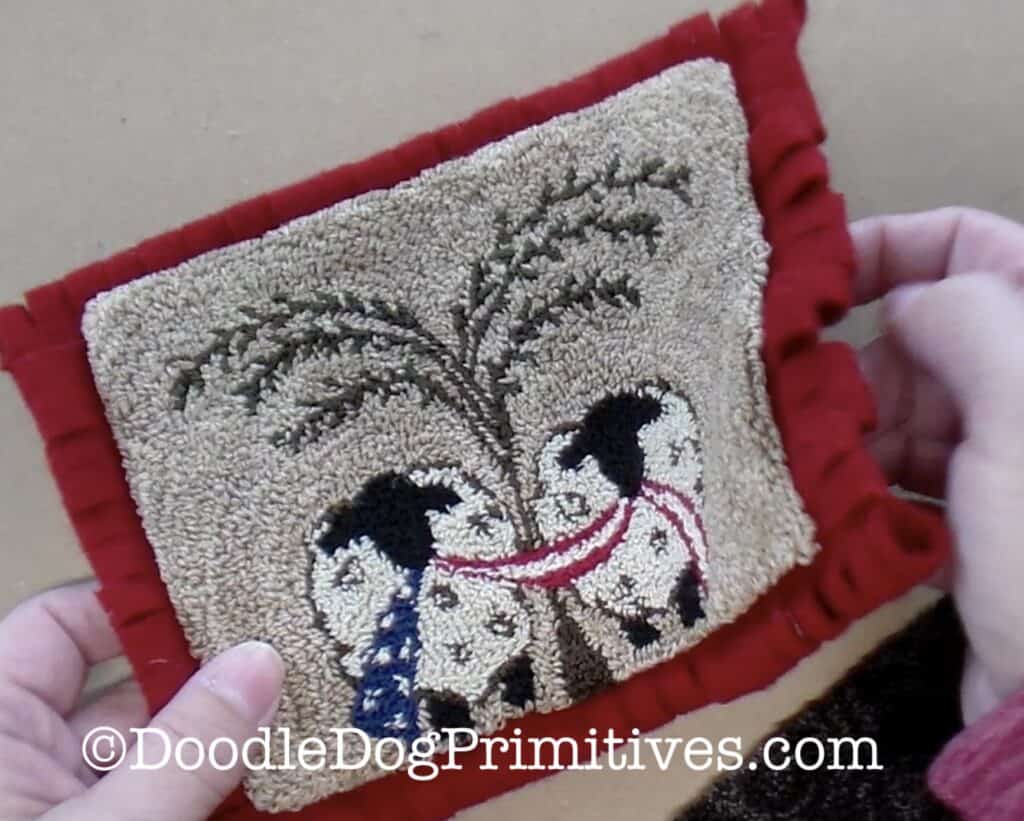
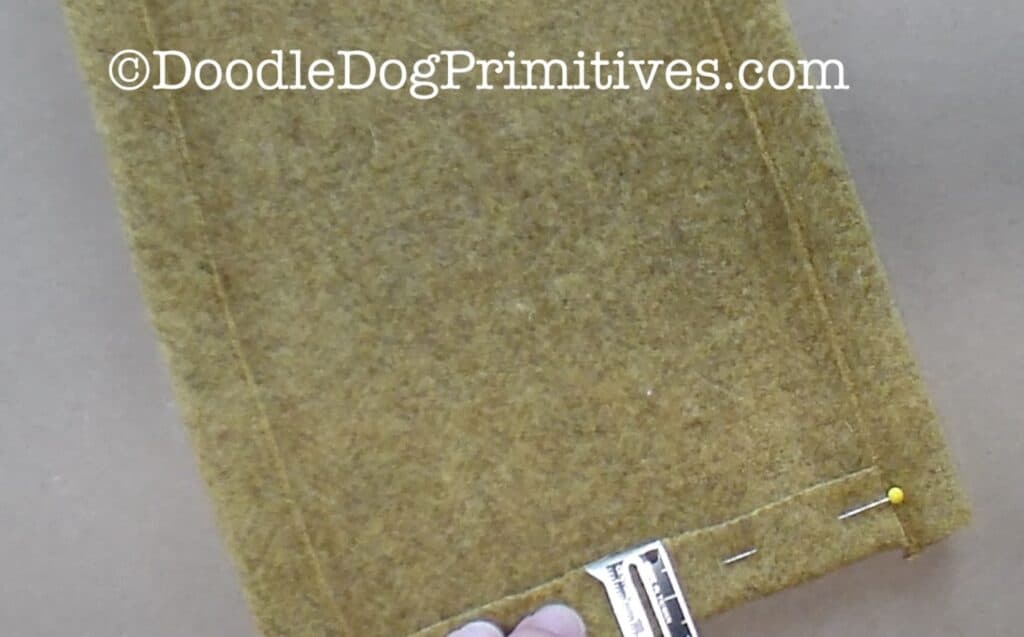
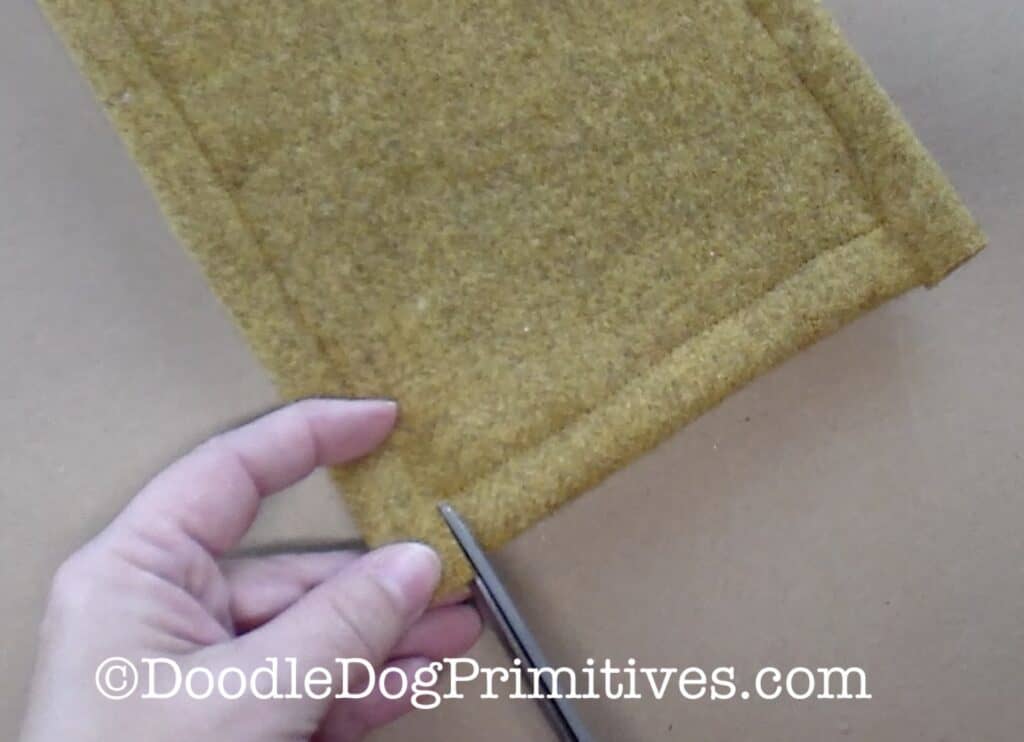
Sew the Wool:
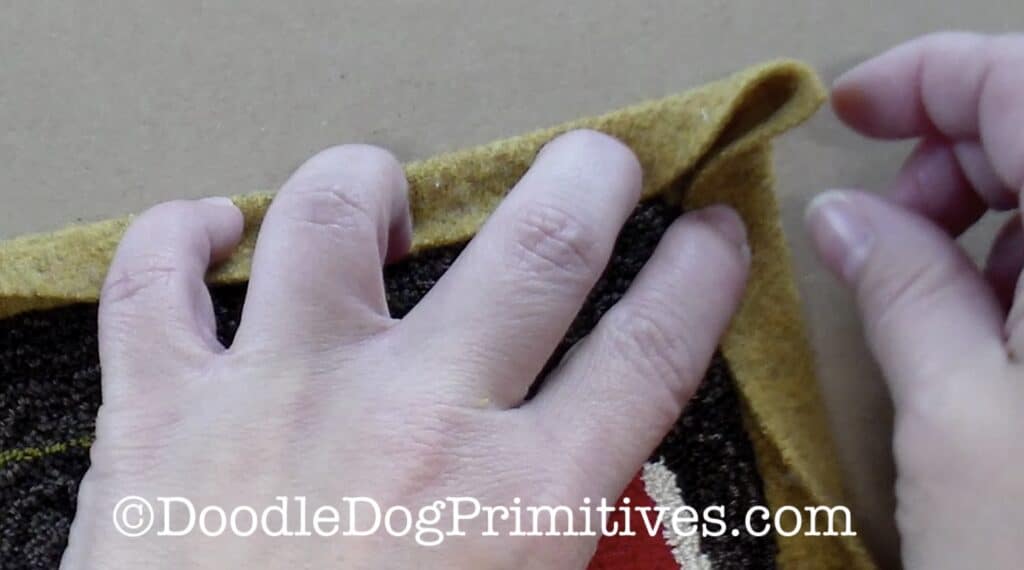
On a side with the longer jut out, fold over and pin the edge of the wool.
Fold it over the same length as the smaller of your rectangle measurements.
In this example, it will be folded over 3/4 inch.
Repeat on the opposite side.
Place your finished punch needle project on the wool.
You want to make sure the punch needle project
is going to cover up the raw edges of the wool.
Straight stitch with a sewing machine
as close as you can get to the raw edge of the wool.
Take the other two sides and fold them up the same amount
– 3/4 inch in this example.
The folded over edges should be square with the corners.
Check again to make sure the punch needle project
will cover up all over the raw edges of wool.
Straight stitch on these two pinned up sides
as close as you can get to the raw edge of the wool.
Attach the Punch Needle Project:
Place the punch needle project in the middle of the wool.
Tack it down with a needle and thread.
I tacked it on each corner and in one place along each long side.

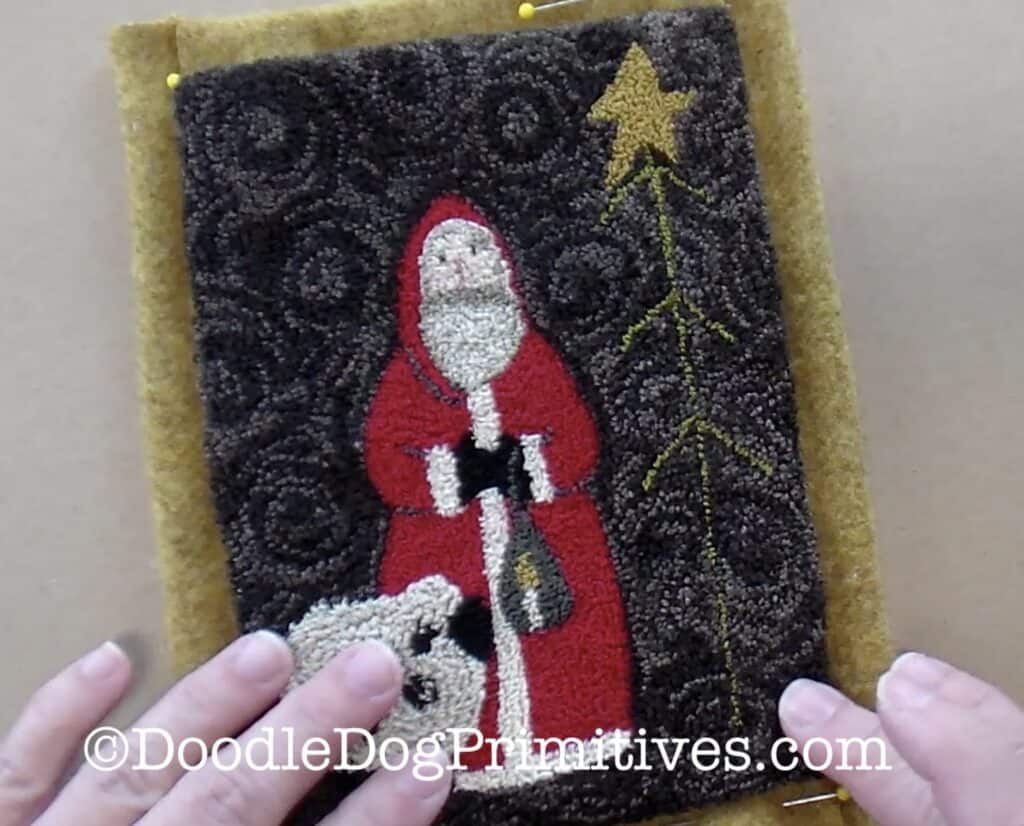
Cut the Wool Fringe:
Cut the fringe from the back side.
You want to cut all the way up to the stitching
but be careful NOT to cut through the stitching!
I cut every 3/8 inch or so.
If you want things to turn out perfect,
you will need to do some calculating and marking.
I like things to look primitive, so I didn’t worry about being perfect.
Make the first cut on one of the last two sides you sewed.
Cut right next to the stitching from the adjacent side.
Continue cutting fringe across.
I like to cut to the middle,
and then start cutting from the other side and work my way back.
That way, I can adjust my fringe widths to make sure
I don’t end up with a really narrow or really wide cut.
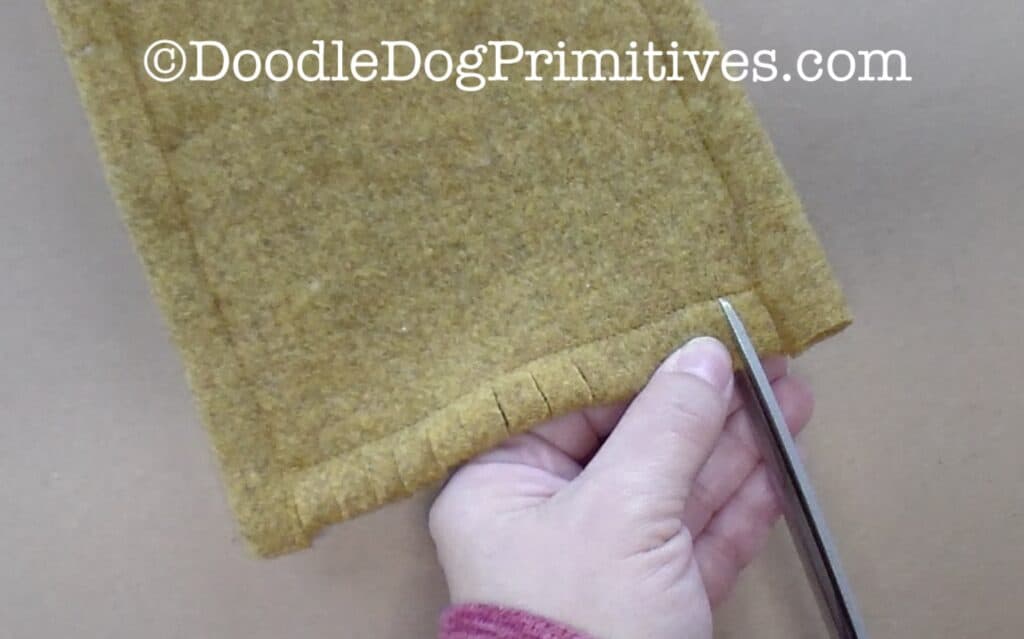
Continue cutting fringe all the way around.
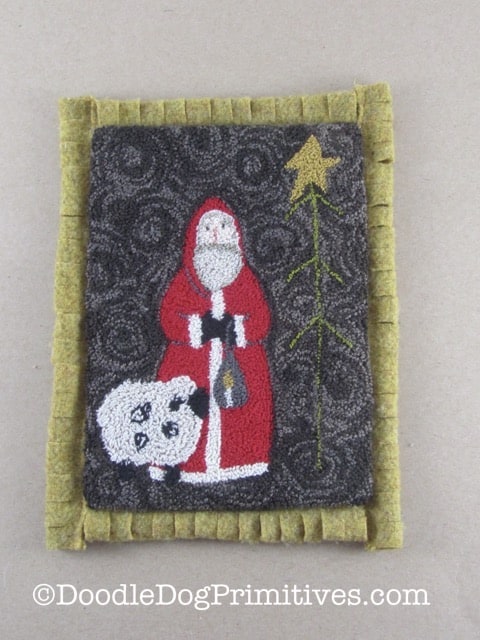
I hope you enjoyed learning
how to finish a Punch Needle Project with Wool Fringe Edging.
Blessings~
Amy
Pin this Punch Needle Tutorial: