I love to use natural walnut dye to make various shades of brown AND to tone down bright vivid colors of fabric. Find out how to make natural black walnut dye in this tutorial.
Natural black walnut dye is perfect for dyeing yarns, wool fabric,
and as an ink in your art projects.
Use a very light walnut dye to “antique” your punch needle projects.
Gather the Black Walnuts:
Gather some black walnuts from nature.
The more walnuts you gather, the more dye you can make.
If you don’t have black walnuts in your yard,
drive around and look for black walnut trees in your neighborhood.
Most people find the fallen walnuts to be a nuisance and would happily let you gather some if you ask.
Be sure to wear gloves when picking up the walnuts
– they can be quite messy and will stain your hands.
As black walnuts age, the husks start to turn black.
You can set aside the walnuts and let them turn black before cooking.
This will speed the cooking time.
Or you can go ahead and cook them like I did.
(I don’t have much patience!)
For best results, wait until the husks are starting to get soft.
Watch the Video:
Warning:
This dye can really stain whatever it touches!
Be sure to wear old clothes, gloves, and protect your kitchen surfaces!
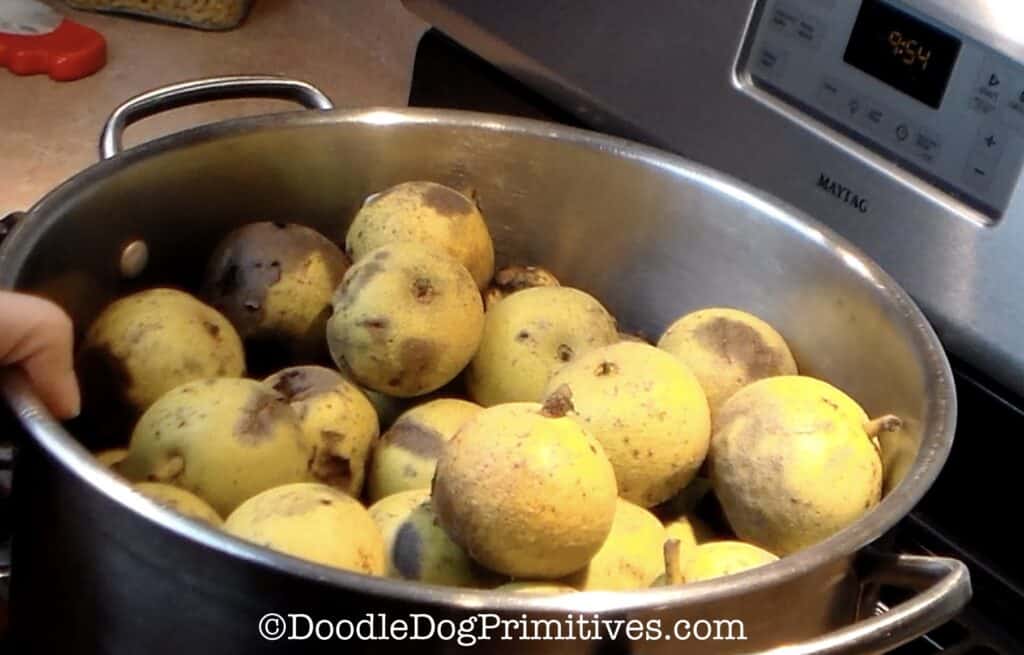
Cook the Walnuts in a Dye Pot:
Put the black walnuts in a stockpot you use exclusively for dyeing. A stainless steel pot is best.
Cover the walnuts with water and cook over high heat until the water starts to simmer.
Turn down the heat and let the water simmer.
Stir occasionally with a stainless steel spoon used only for dyeing.
After the walnuts cook several hours, the husks will become softer
and you can use the spoon to carefully separate the husks from the nuts.
This will help reduce the cooking time as the dye is on the inside of the husks.

Take Samples of the Dye Strength:
After an hour or two of simmering, you can start to sample the dye strength.
Dip a little bit of the liquid out of the pot and put it on a paper towel.
I usually put my paper towel on an old ice cream tub lid
to give it some stability and keep the liquid off everything else.
This will give you an idea of the strength of the dye.
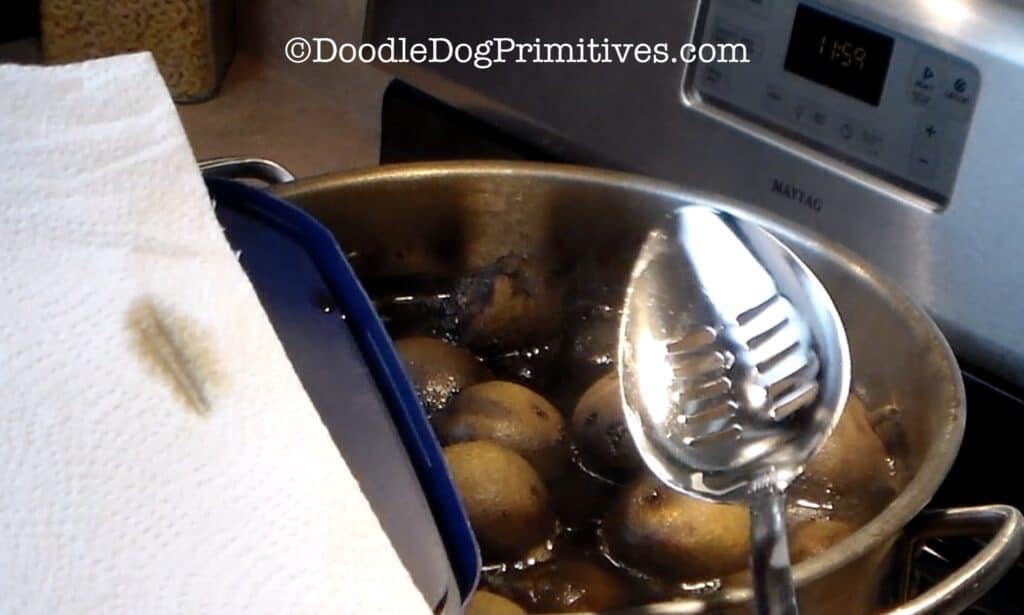
I took this sample after two hours of cooking.
The walnut dye is not very dark yet.
Keep Cooking:
Keep cooking the walnuts until the dye is the strength and color you want for your project.
Make sure to keep an eye on the liquid level in the pot so it doesn’t boil dry!
This is what my pot looked like after 5 hours of cooking.
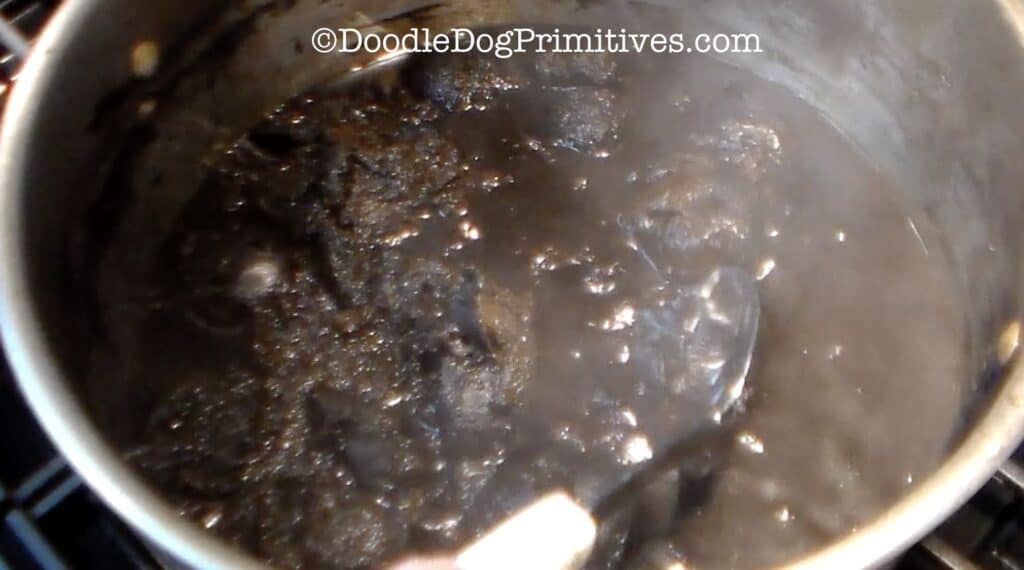
You can see that the husks are almost completely all separated from the nuts and the liquid dye is getting very dark.
I took samples of the dye color again at 3-1/2 hours, 5 hours, 5-1/2 hours, 6 hours, and 7 hours.
The dye keeps getting darker.

After 7 hours of cooking, the dye was the strength I wanted for my project.
Turn off the heat and allow the dye to cool slightly.
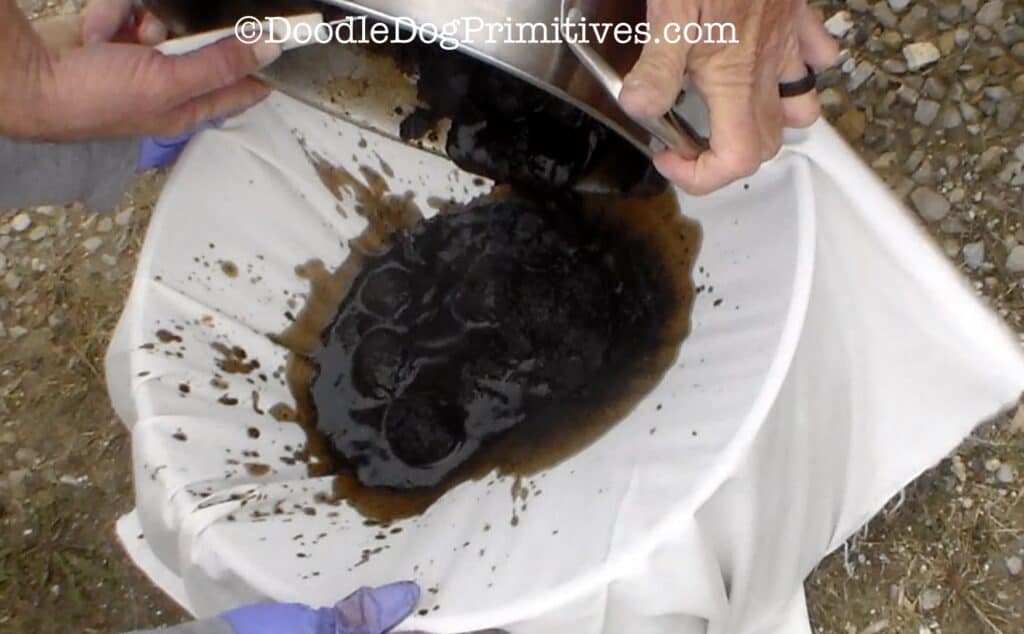
Strain the Walnut Dye:
It is a good idea to do this next step outside because it can splatter a lot!
Strain the walnut mixture into another pot used only for dyeing through an old sheet.
Be sure to wear old clothes and gloves!
Allow the dye to drain for a few minutes.
Carefully lift the sheet up and out of the pan.
You can squeeze the mixture to get more dye out if you want.
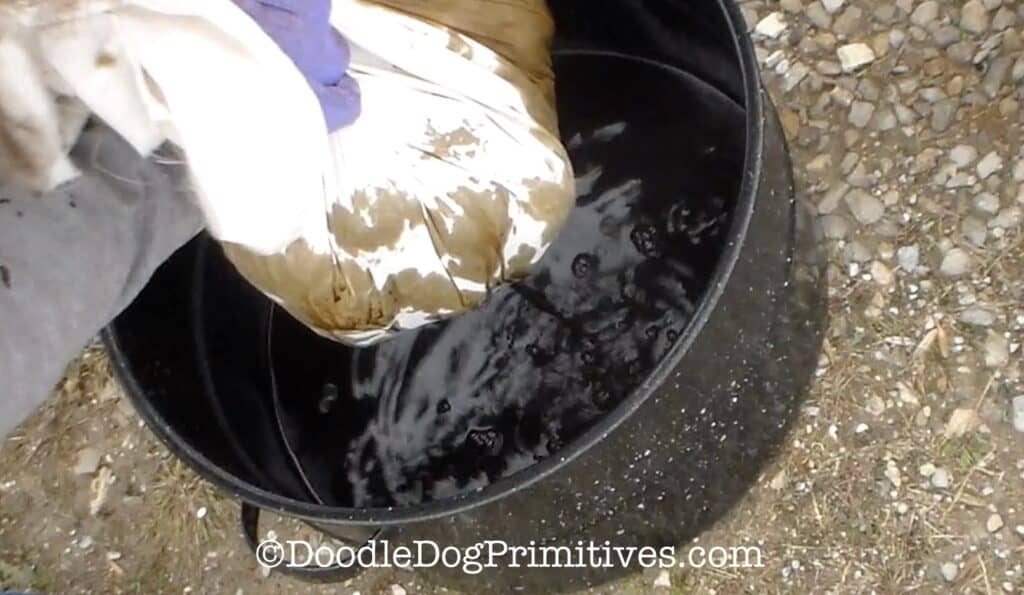
Properly dispose of the walnuts and husks.
Natural Walnut Dye:
At this point, you could use the dye as it is.
You could store it in a dark, cool place if you want to use it later.
Depending on what you are dyeing,
you can normally use the same walnut dye bath more than once
before all of the dye is exhausted.
You can sample the dye on a paper towel after using it to see how much color is left.
You could also simmer it down a little bit longer to make a dye concentrate.
With the walnut dye concentrate, you will have less liquid to store.
When you need to use some, you can take out a bit of the natural dye and dilute it to the desired shade of brown.
This is usually what I do so I don’t have so much to store.
Be sure to check out our other rustic craft tutorials!
Blessings~
Amy
Be sure to Pin this Natural Dye Tutorial: