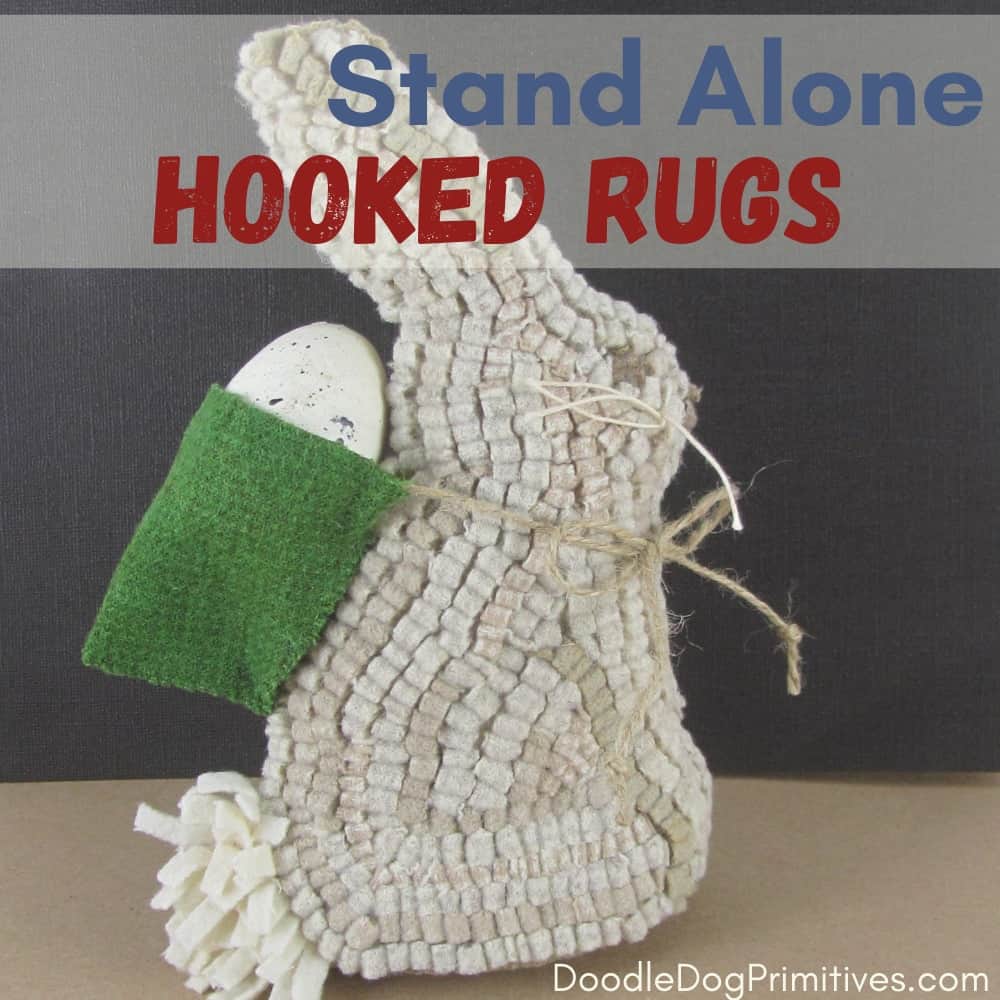
Today, I want to show you how you can create your own stand alone hooked rug projects. I love making stand alone rug hooking and punch needle projects because they are faster to finish since you don’t have any background to hook or punch. AND I don’t have to figure out how to display them since they can stand by themselves!
When choosing a rug hooking pattern to make into a free standing 3-D figure, make sure to choose one that is flat along the bottom. A pattern with curves along the bottom won’t work with this tutorial.

Having a flat edge along the bottom of the hooked rug will allow you to attach a piece of fabric to the bottom so it can stand on its own.
Watch the Video:
This post may contain affiliate links for your convenience, which means if you make a purchase after clicking a link I will earn a small commission but it won’t cost you a penny more. For more information, please visit our Privacy Policy.
Create the Hooked Rug Figure:
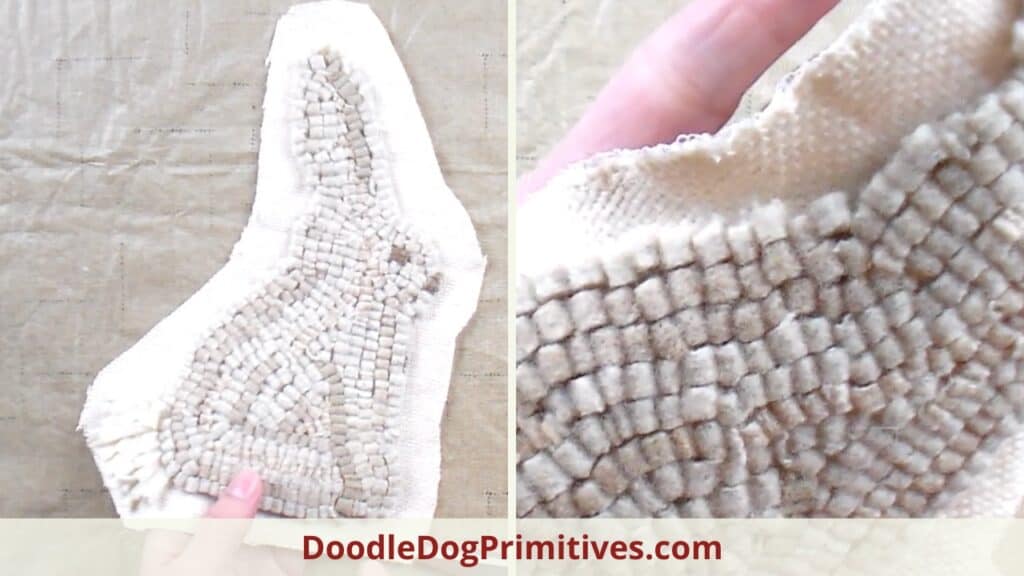
Hook the Rug, Press, & Stay Stitch:
I hooked the project onto monks cloth. Monks cloth is a softer foundation fabric that will make it easy to manipulate the figure as you work with it.
After you complete the hooking, steam press the rug and allow it to fully dry.
Stay stitch all the way around the edge of the hooked figure. I used a zipper foot on my sewing machine so I could get close to the hooked loops. Stay stitching is a straight stitch through one layer of fabric. It will help keep the fabric in the correct shape and avoid stretching that could distort the project.
Trim the Foundation Fabric:
Trim the monks cloth all around the hooked figure, leaving about one inch of empty foundation fabric on all sides.
Serge or ZigZag stitch the edges.
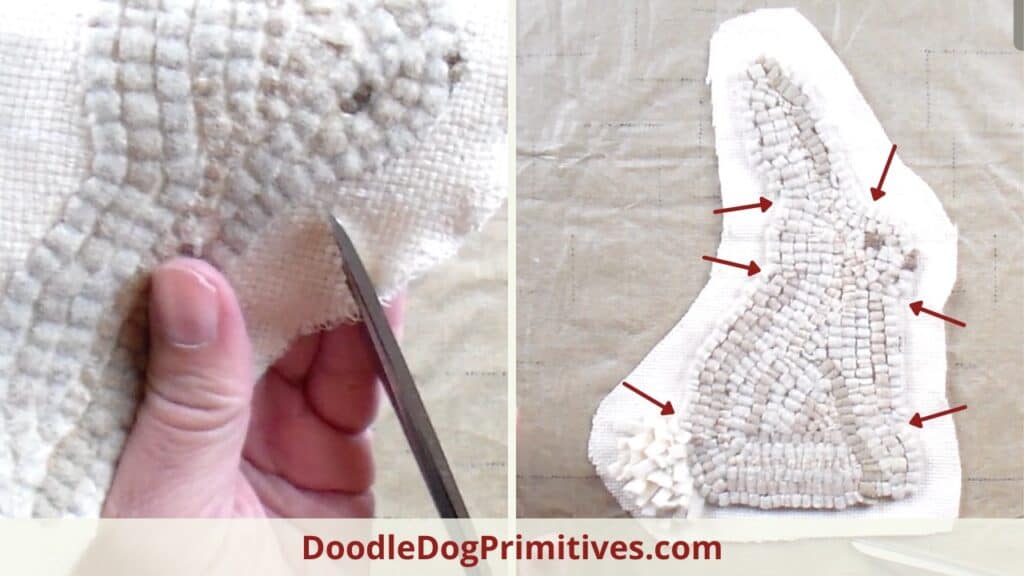
The next step is clip the inside curves of the figure. This is done to help the corners turn better when the extra foundation fabric is turned to the back of the project.
To clip the inside corners, use regular scissors and clip right up to the stay stitching.
To prevent these clipped raw edges from unraveling, the next step is to apply some fray check to the cut edges.
I used Aleene’s Stop Fraying. Follow the instructions on the bottle.
Apply some of the fray check to both sides of each clipped edge, rub it in on the front and back, and allow it to dry thoroughly. I usually leave it overnight.
I put a piece of wax paper underneath to keep the mess off my table.
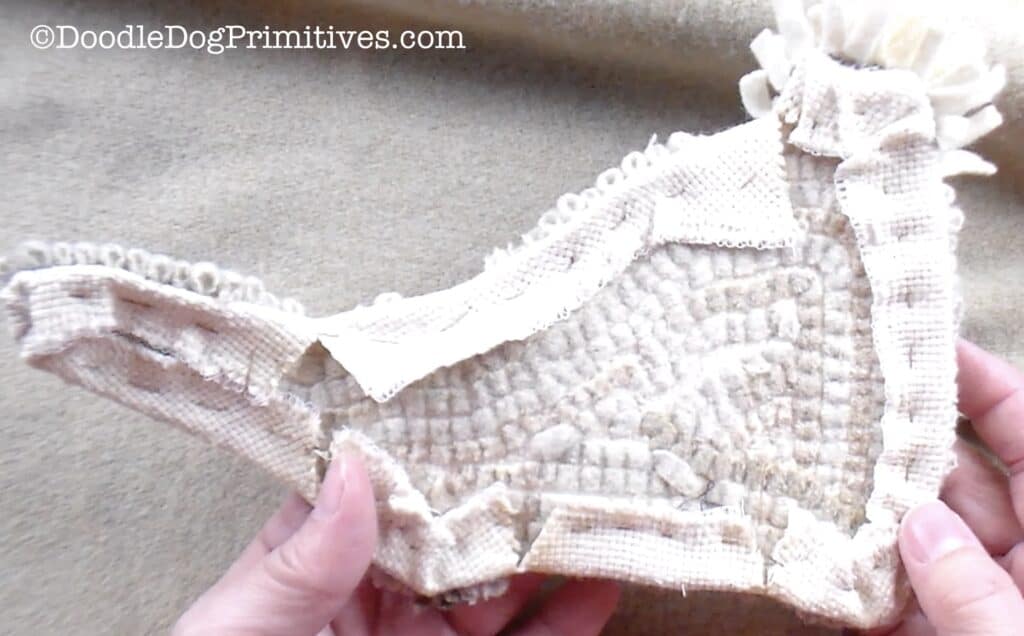
Turn the Foundation Fabric to the Back:
Turn the unhooked foundation fabric to the back of the project and baste to hold it in place. Because of the fray check, I don’t use an iron. I just finger press it to the back of the hooked rug and then use a needle and thread to tack it down.
The Backing:
I use felted wool for the backing and bottom of the project because it doesn’t ravel.
Place the hooked rug project on top of the felted wool to use as a template for cutting the backing.
When cutting the wool, angle the scissors so you will cut a slightly larger piece of wool than the hooked rug.
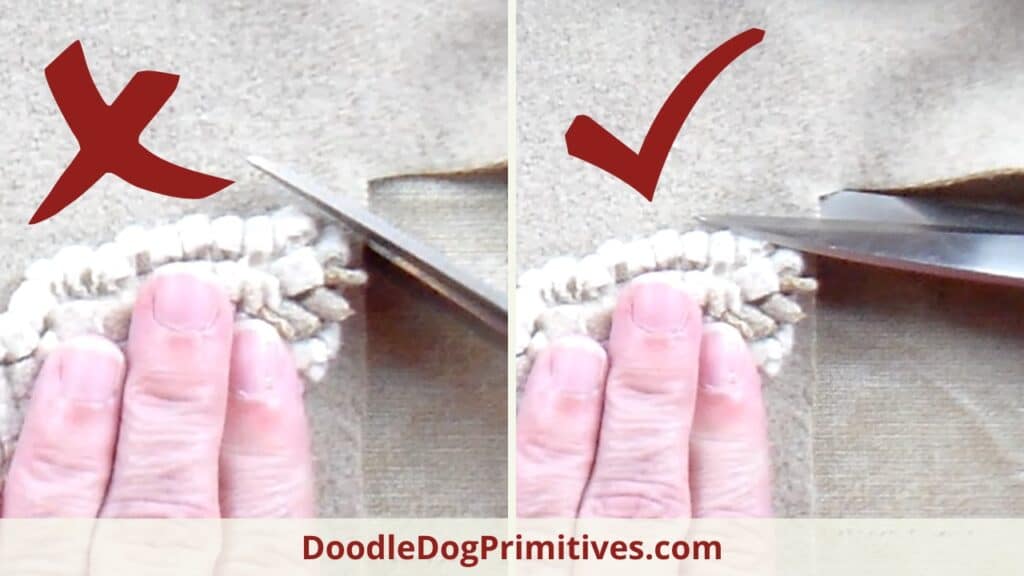
Cut a backing piece of wool the same shape as your hooked rug and just slightly larger.
Wrong sides together, pin the wool backing onto the hooked rug.
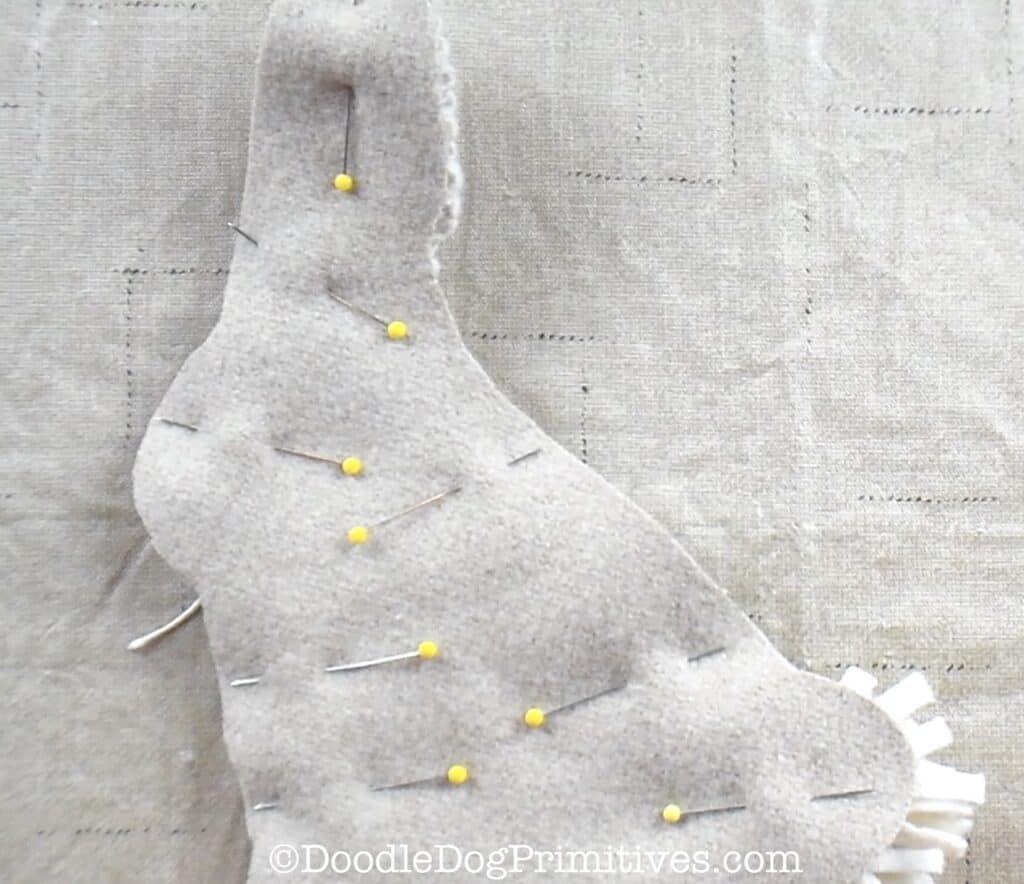
Choose a thread that matches the wool backing fabric. Use a whipstitch to sew the backing to the hooked figure, leaving the entire bottom unsewn.
As you stitch, catch the folded over edge of the foundation fabric and the edge of the wool. Make your stitches close together or you can end up with gaping holes.
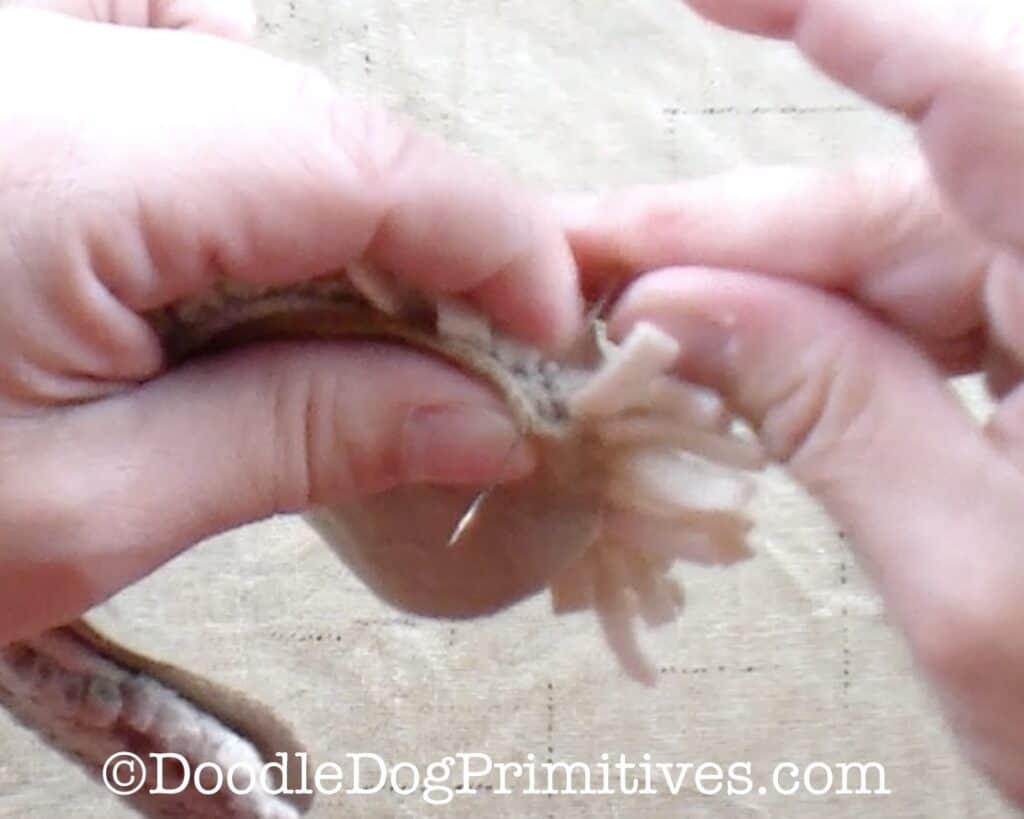
Continue stitch all the way around the sides and top, leaving the bottom completely open.
Stuffing the Hooked Rug Figure:
Stuff the figure with fiber fill to about 1/2″ from the bottom.
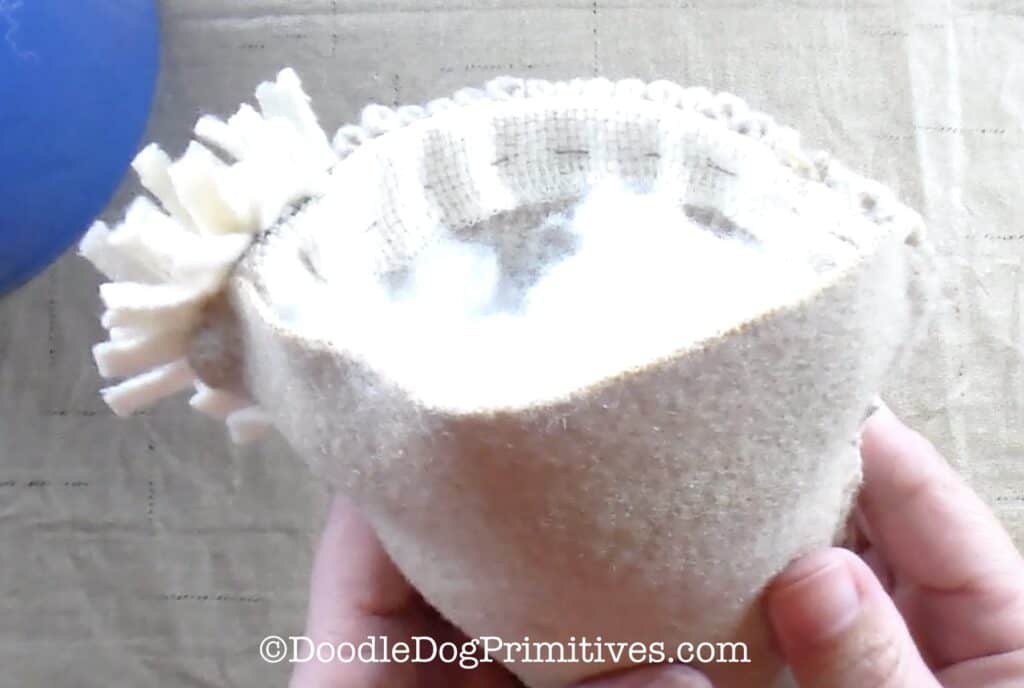
Notice that the bottom naturally formed an oval shape.
Place the figure upright onto a piece of tracing paper or tissue paper and trace around the bottom edge.
This won’t be a perfect oval, but it will give you an idea of the size of oval needed.
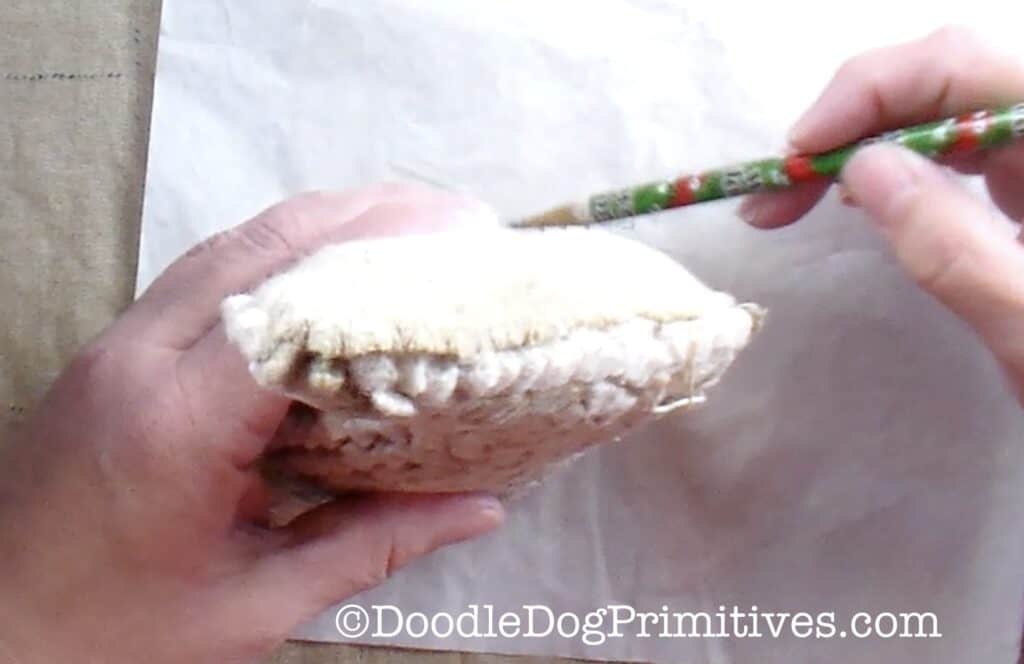
Use your pencil to make your tracing into a nice, neat oval. It is better if the oval is too large as you can trim it down later if needed.
Use the oval as a pattern to cut a bottom for the figure from felted wool. I used the same wool as I used for the backing.
Place the oval onto the bottom of your project to make sure it will fit. It should fit or be just a little too big.
In order to make the figure stand up on its own (and not topple over) you need to add weight to the bottom.
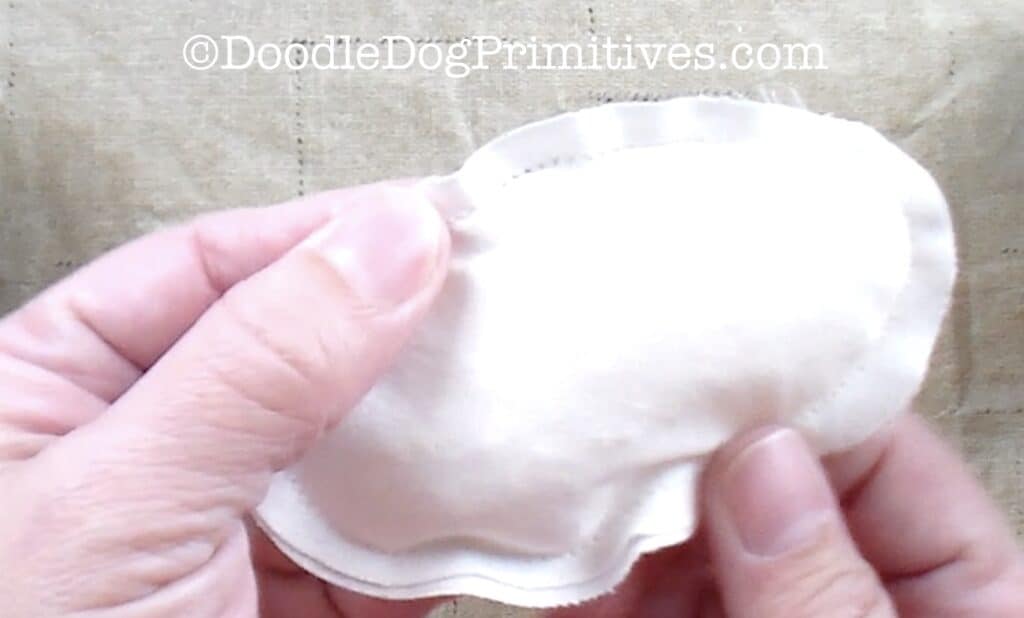
You could just pour in some stuffing pellets. I prefer to make a flat sack to hold the weight because it will be easier to sew on the bottom without having to worry about pellets falling out!
To make the sack, use the same pattern you used for the oval bottom to cut out two pieces of muslin or other cotton fabric.
Sew the two pieces together, using a 1/4″ seam and leaving an opening for filling.
Fill the bag with stuffing pellets and then sew the opening closed.
Place the weighted bag in the bottom of the figure. You can add more stuffing underneath the bag if needed.
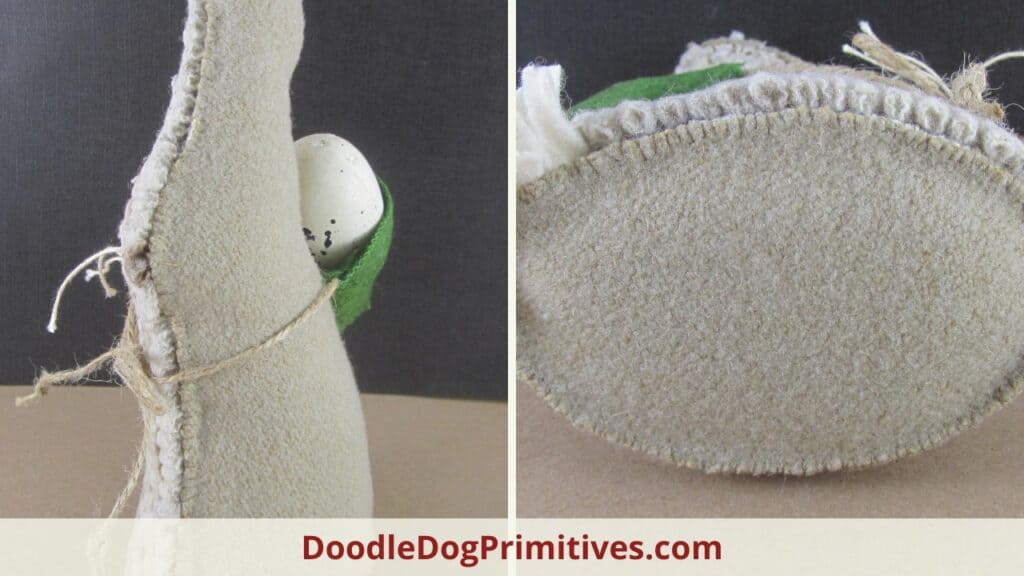
Attach the Bottom:
Place the wool oval onto the bottom of the figure. Whipstitch the oval to the hooked rug figure in the same way you attached the backing to the project.
As you are sewing, if you notice that the oval is too large, you can trim it with your scissors.

Now you can stand your project up all by itself!
Be sure to check out our other rug hooking tutorials.
Blessings~
Amy
Be sure to Pin this Hooked Rug Tutorial
