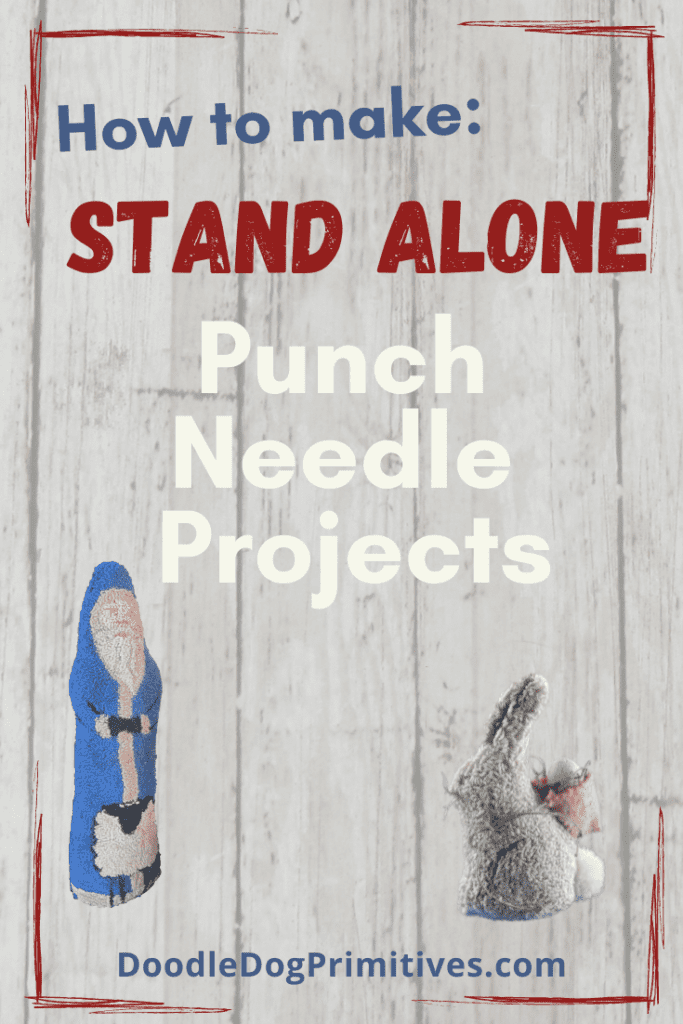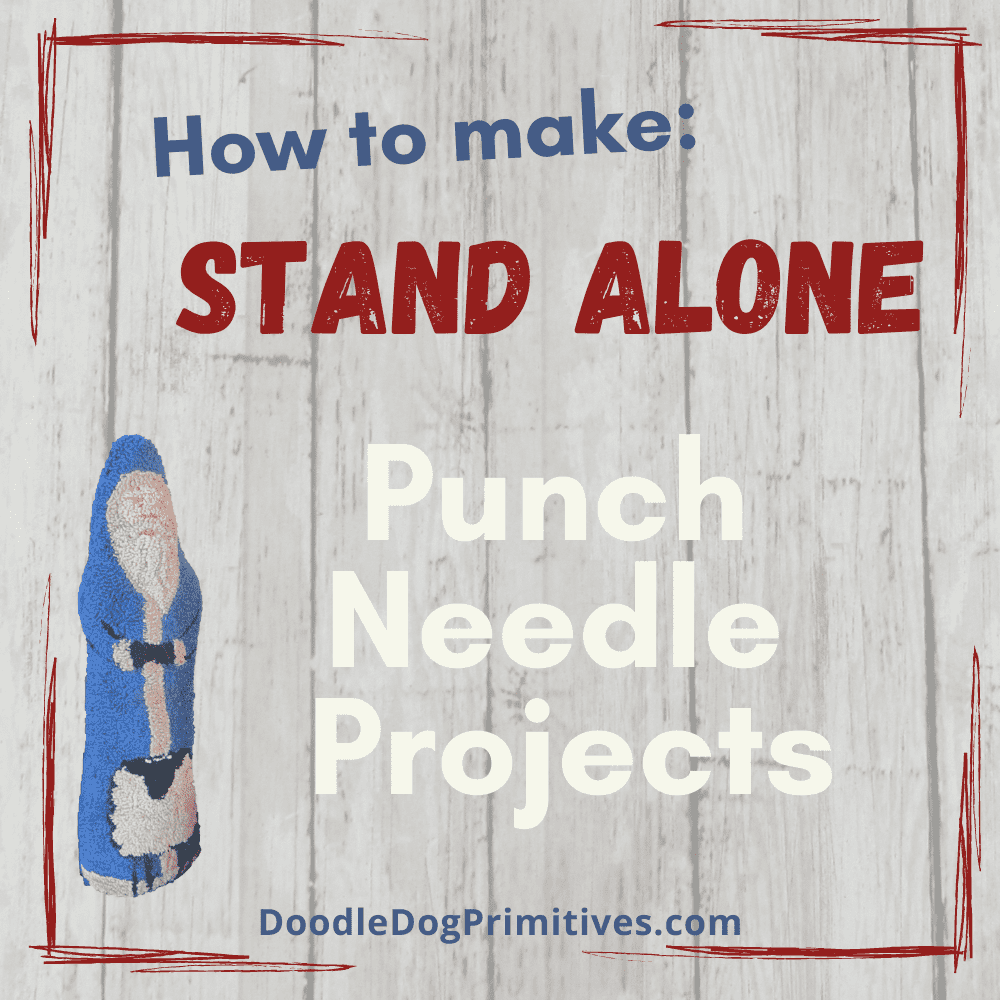
This punch needle tutorial will show you how to make stand alone punch needle projects
– even if the pattern wasn’t designed that way.
A punch needle pattern that has a straight edge across the bottom will work with this method.
With this finishing technique,
you will create a flat bottom for the project
and stuff the bottom part with a heavier stuffing such as stuffing pellets.
This post may contain affiliate links for your convenience, which means if you make a purchase after clicking a link I will earn a small commission but it won’t cost you a penny more. For more information, please visit our Privacy Policy.
Supplies for Stand Alone Punch Needle Projects:
- Punch needle project
- Felted wool
- Sewing thread to match the wool
- Basic sewing supplies
- Tracing paper
- Stuffing
- Stuffing pellets or kitty litter
Watch the Video:
Prepare Wool Backing & Bottom
When finishing punch needle projects with this method, use a backing fabric that will not ravel, such as felted wool or a high quality felt.
Trace around the outside of the original punching pattern onto a piece of tracing paper or tissue paper.
Use this as a pattern to cut a backing from the felted wool.
The backing will the same shape and size as the finished punched piece.
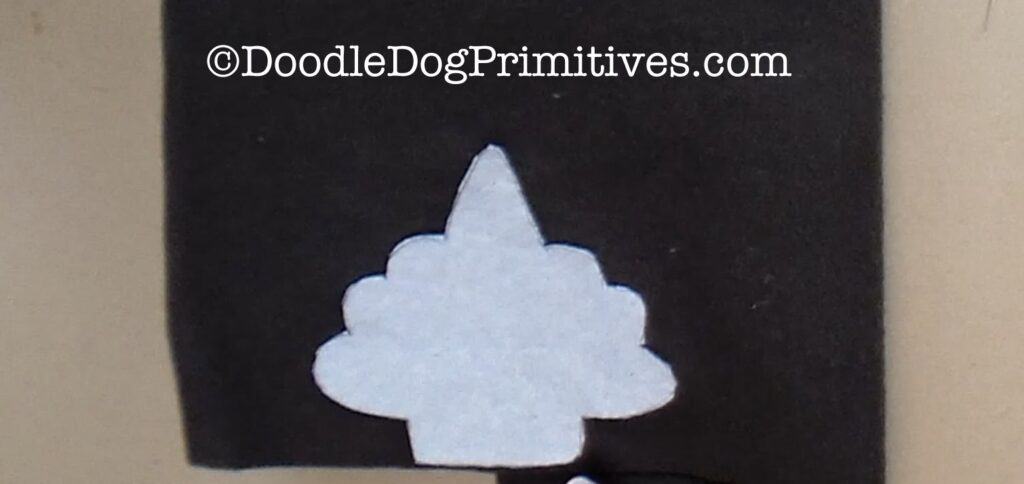
Draw an oval on the tracing paper just a little bit wider than the bottom of the punch needle pattern.
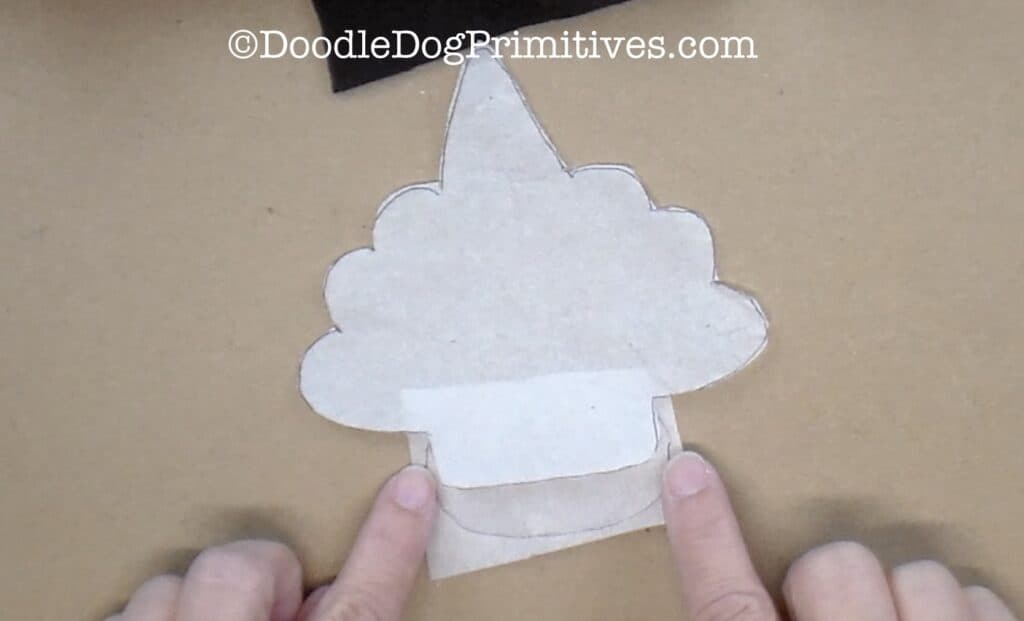
If the oval ends up being too big, it can be cut down later.
If it is too small, you will have to cut another one so err on the side of making the oval too big.
Cut the oval out of felted wool.
Prepare Punched Piece:
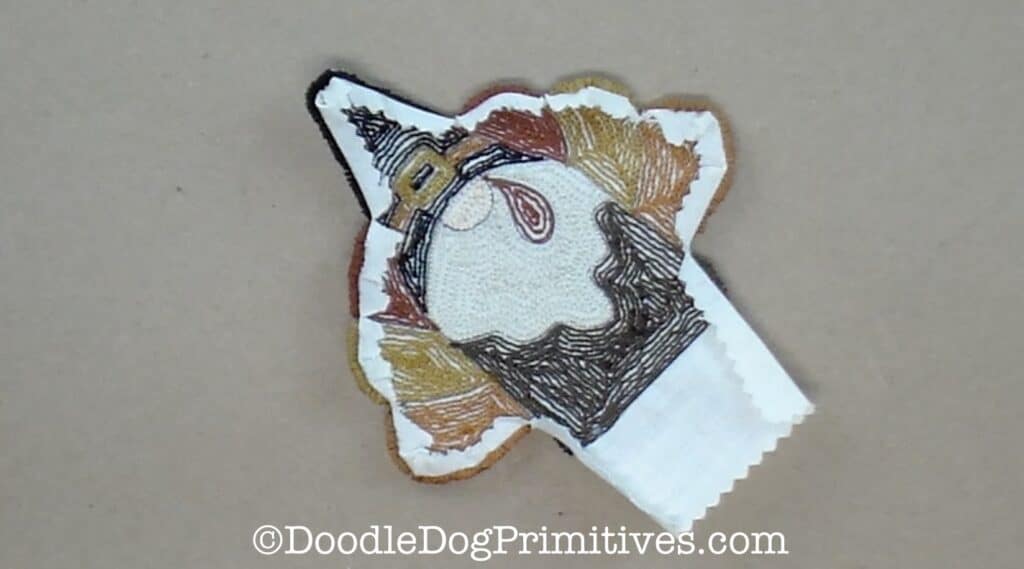
Trim the empty weavers cloth to 1/4″ all the way around the punched piece EXCEPT on the bottom.
Leave around 1″ excess weavers cloth on the bottom.
I like to use pinking shears for this so the weavers cloth won’t ravel.
Clip inside corners and press the empty weavers cloth on the top and sides to the back of the project.
Attach Wool Backing:
Layer the punched piece and felted wool backing, wrong sides together.
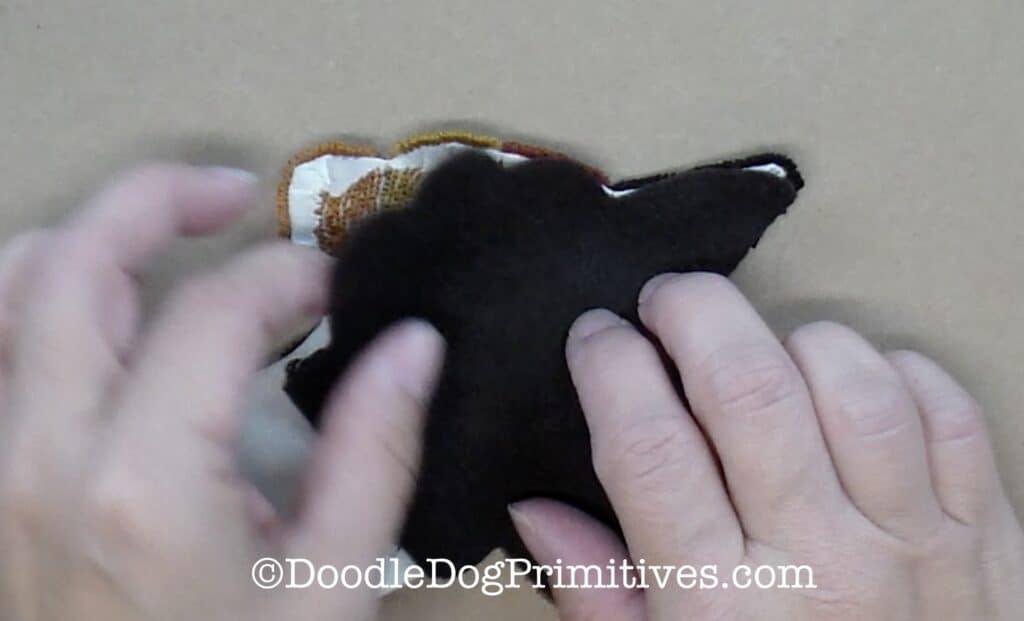
You can pin them together if you want.
I find it is easier for me to just hold them together with my hands as I sew.
Use a thread that matches the backing.
This will help hide the thread on the back and the loops of the punched piece will hide the thread on the front.
Whipstitch all the way around the sides and top of the punched piece, leaving the bottom open.
Start with the knot in the thread under the folded over edge of the weavers cloth at the bottom of one side.
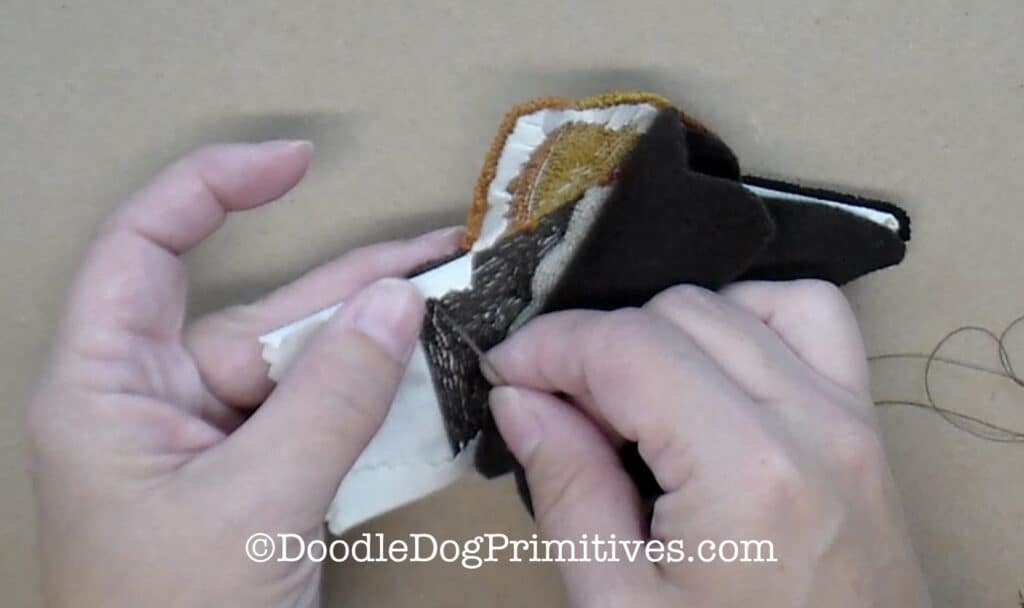
Hold the punched threads back with your thumb and catch the edge of the weavers cloth
and the edge of the felted wool with the needle.
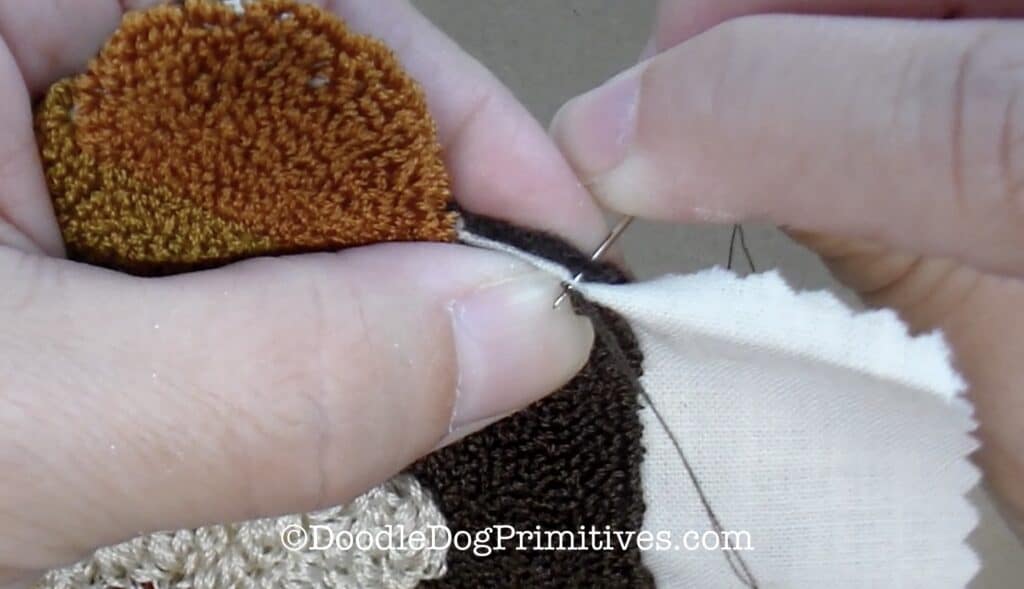
Continue whipstitching around the punched project, leaving the bottom open.
This is the same method I use to hand sew bowl fillers and punch needle Christmas ornaments.
Stuff the 3D Punch Needle Project:
Stuff the finished punch needle project with stuffing, leaving the bottom 1/2 inch or so unstuffed.
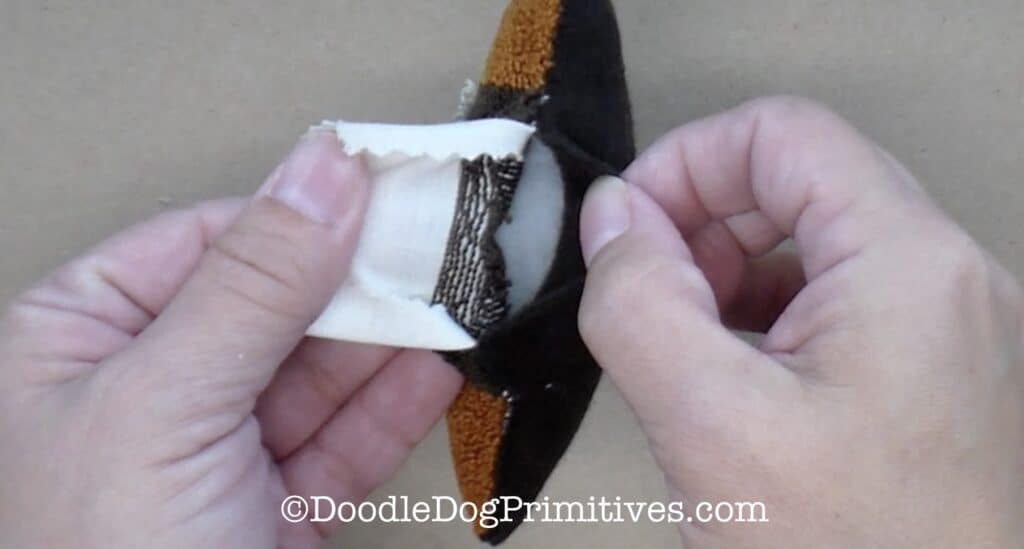
Add Flat Bottom to Punch Needle Project:
Fold the excess weavers cloth on the bottom of the punched piece to the inside of the sewn project.
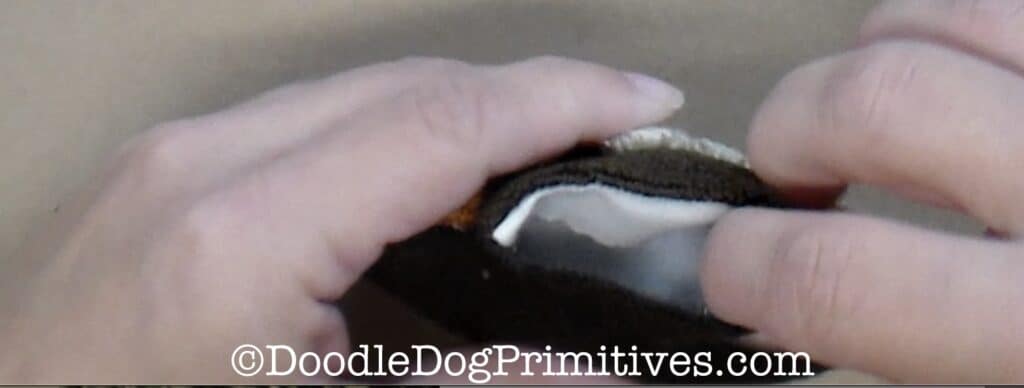
Check the wool oval that you cut earlier to see how it fits on the bottom of the project.
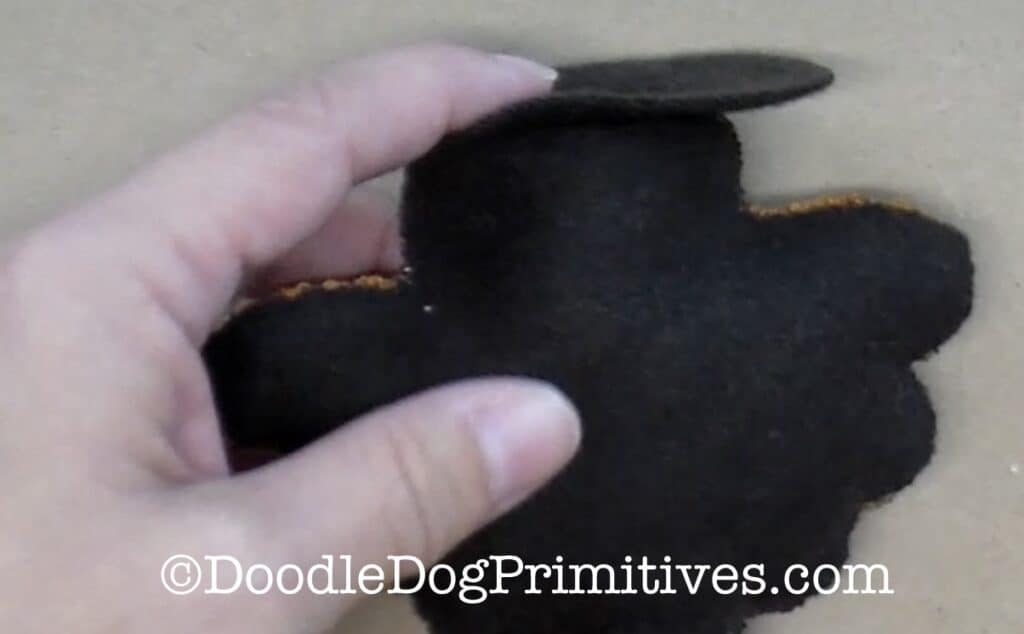
As you can see in the photo above, mine is too long.
Cut it down to the correct length – if it is still too wide, that is ok.
You can cut it down some more after beginning sewing.
If you are using one of DoodleDog Designs’ patterns that is designed to stand on its own,
the pattern sheet will come with the correct sized oval.
But if you are transforming another pattern into a stand alone project,
you will have to figure out the correct oval bottom size.
Whipstitch one side of the bottom oval to the front half of the punch needle figure
in the same way you attached the backing.
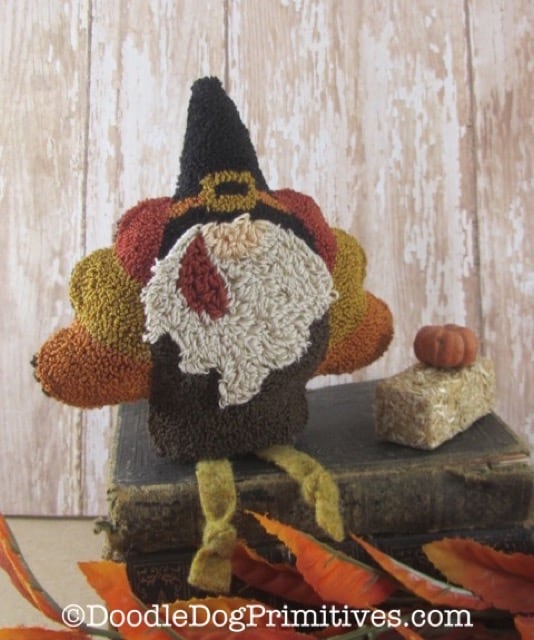
(If your figure has legs as the gnome turkey does, add them while sewing the bottom oval to the front of the project.)
When you get to the other side of the front of the punched piece,
you should be at about the middle of the end of the oval.
I am not, so my oval is too wide.
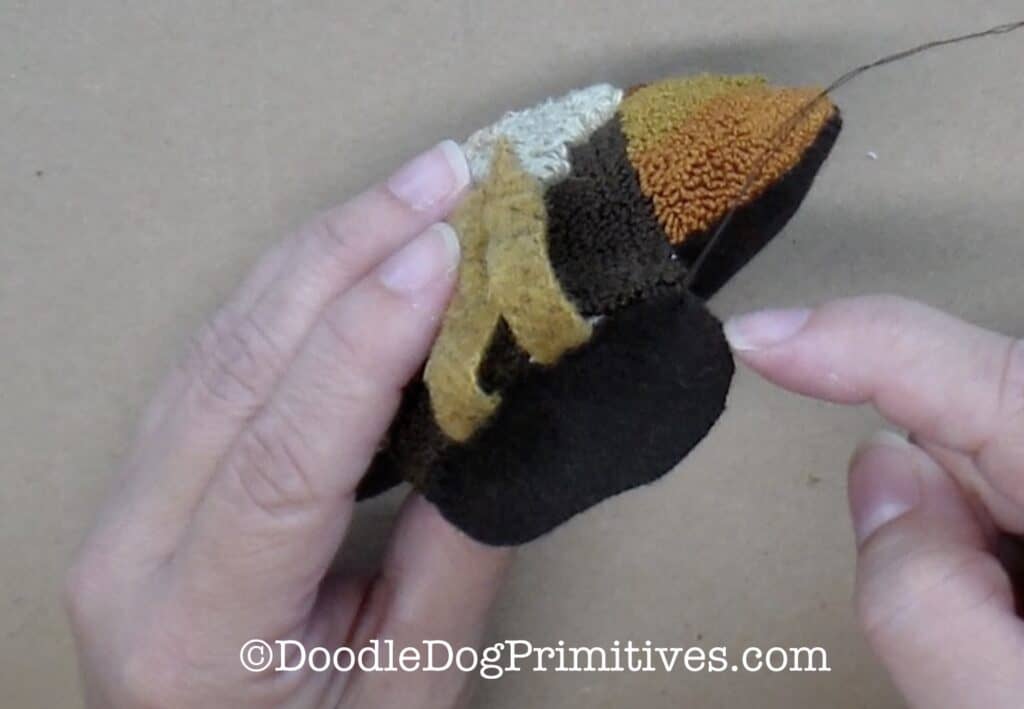
I am going to trim off some of the oval until the wool bottom fits nicely inside the hole in the bottom of the project.
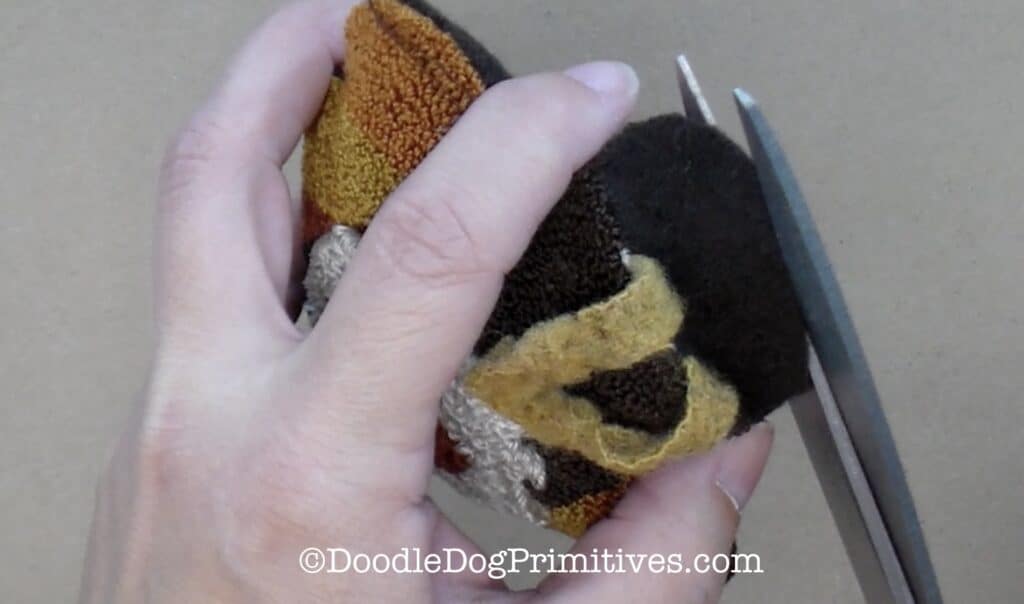
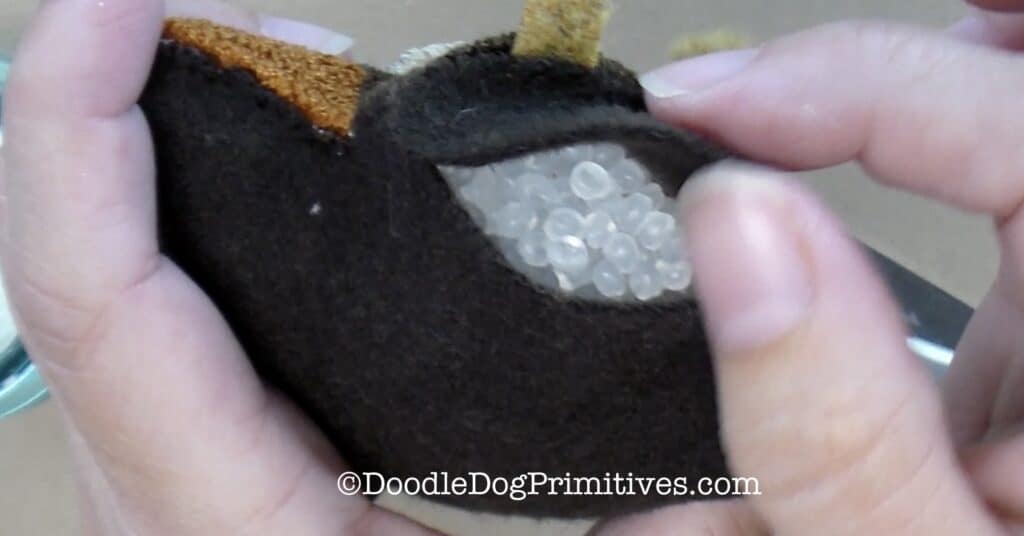
Fill the bottom of the figure with stuffing pellets right up to the very edge of the bottom.
The stuffing pellets will give the bottom of the punch needle 3D figure weight so it can stand / sit on its own.
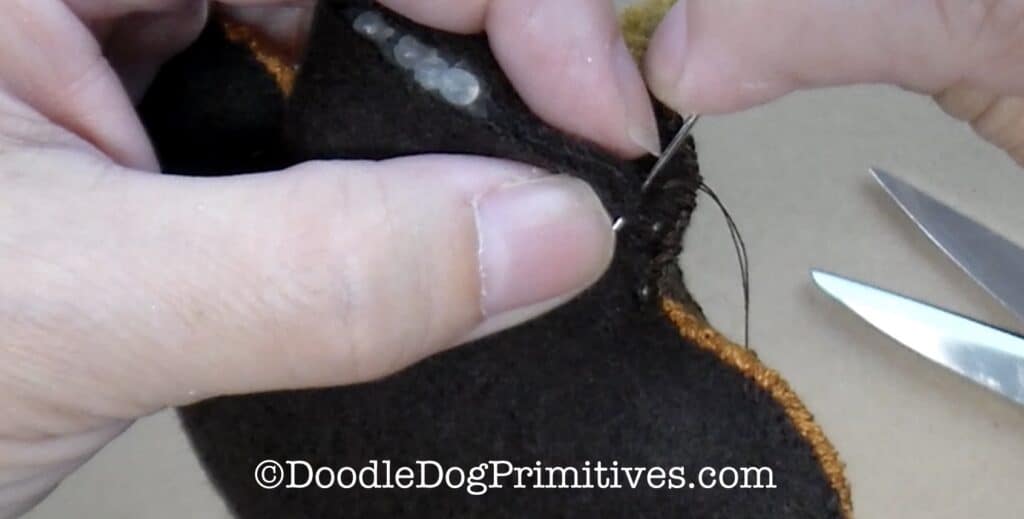
Whipstitch the bottom oval and the wool backing together the rest of the way around the bottom of the project.
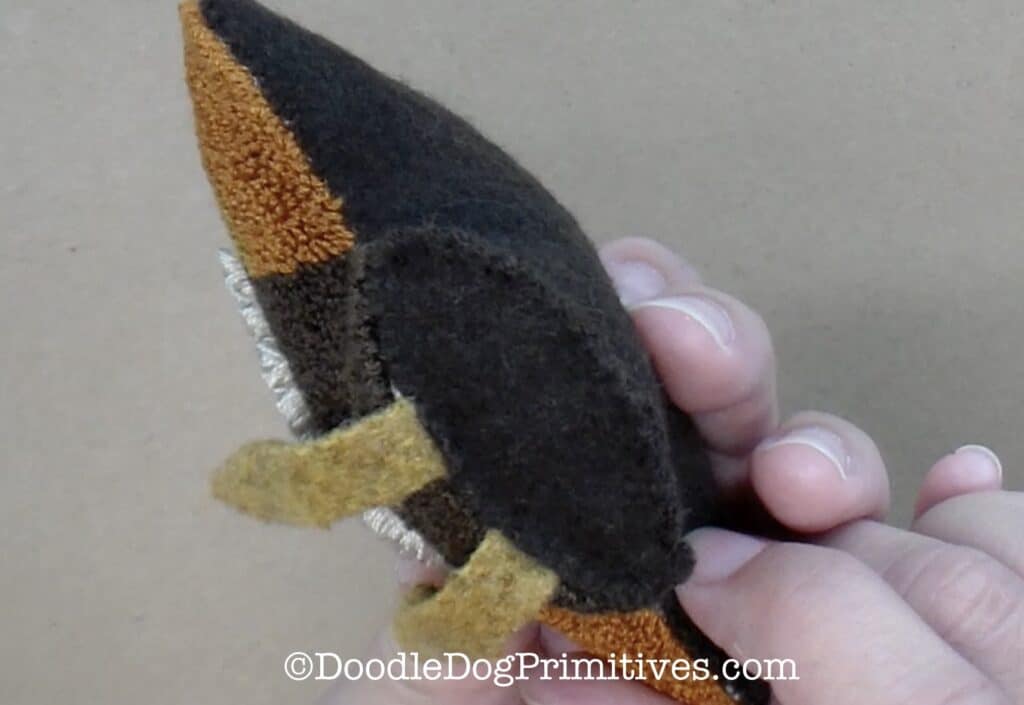
When you are all finished, your punch needle project will have a flat bottom so it can easily stand all on its own!
Be sure to check out our other punch needle tutorials.
Blessings~
Amy
Be sure to Pin this Punch Needle Tutorial:
