Choosing a punch needle frame:
You can use a no-slip hoop, a no-slip lapstand, or a punching frame.
Anything else, and the weavers cloth will not stay tight enough to punch.
Punching Frame:
A punching frame or rug hooking frame is a wooden frame with metal gripper teeth on all four sides.
Once you get the fabric tight on this frame, it will stay tight.
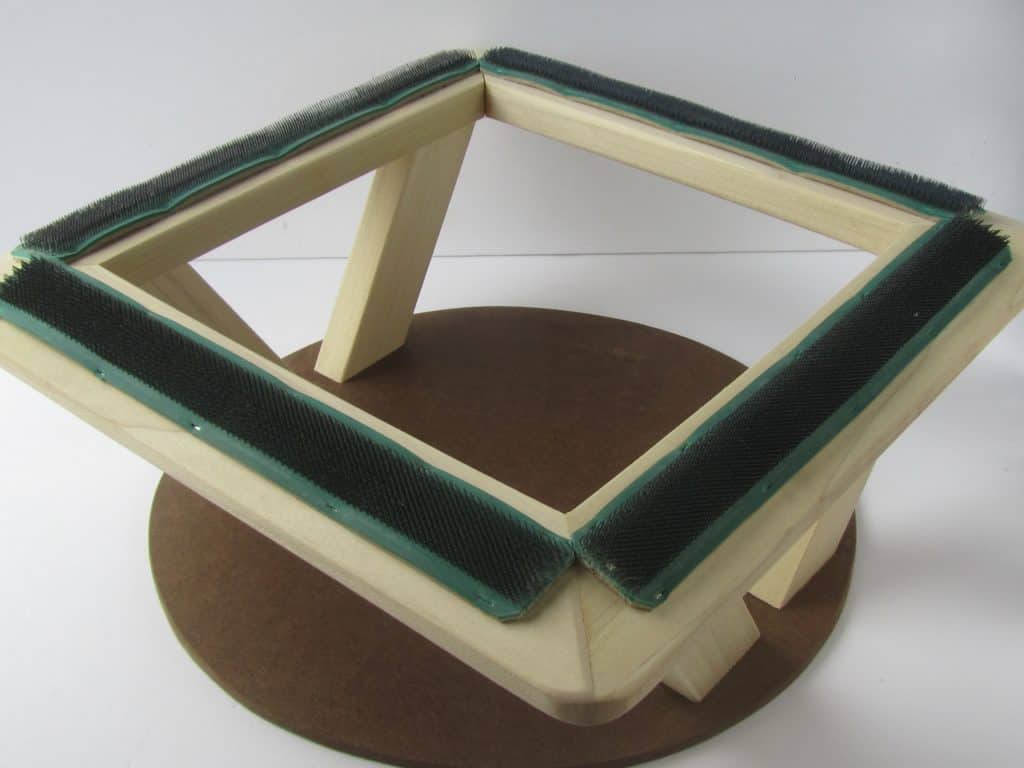
The punching frame is the best option, but also the most expensive.
If you are handy with a saw or know someone who is,
check out my woodworking plans for a gripper frame.
No-Slip Hoop:
A no-slip hoop has a lip all the way around the edge on one piece
and a groove all the way around on the other piece.
The lip and groove fit together and help keep the fabric from slipping.
It will still slip some and have to be re-adjusted occasionally.
I recommend the Morgan No-Slip hoops.
No-slip hoops are the most economical punch needle frame.

No-slip Lapstand:
A no-slip lapstand is two locking hoops made together into a lapstand.
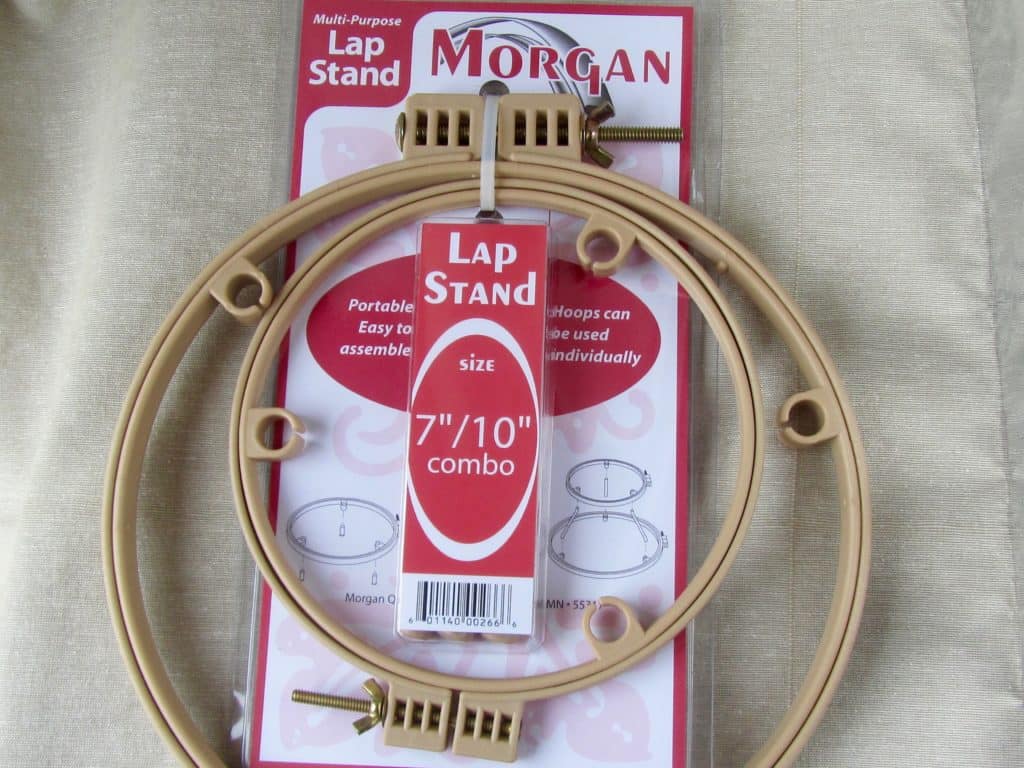
This is helpful because you can set the lapstand in your lap or on a table
and have both hands free to punch.
You can flip it and use the smaller or larger hoop;
whichever works best for your project.
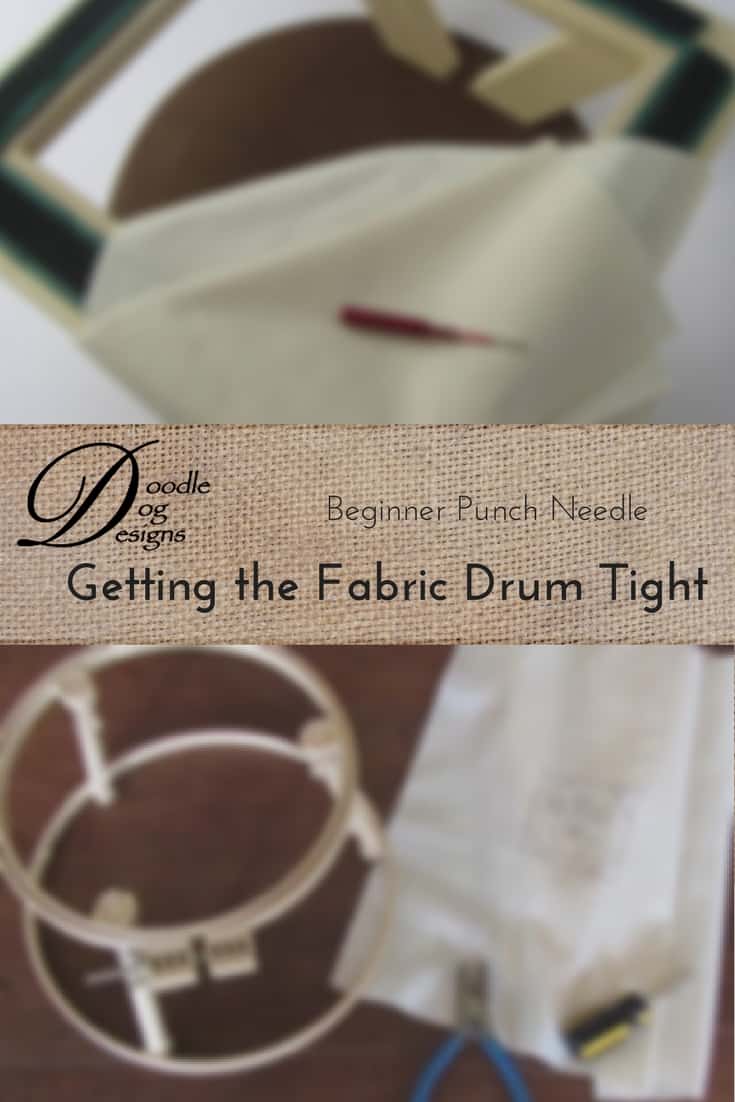
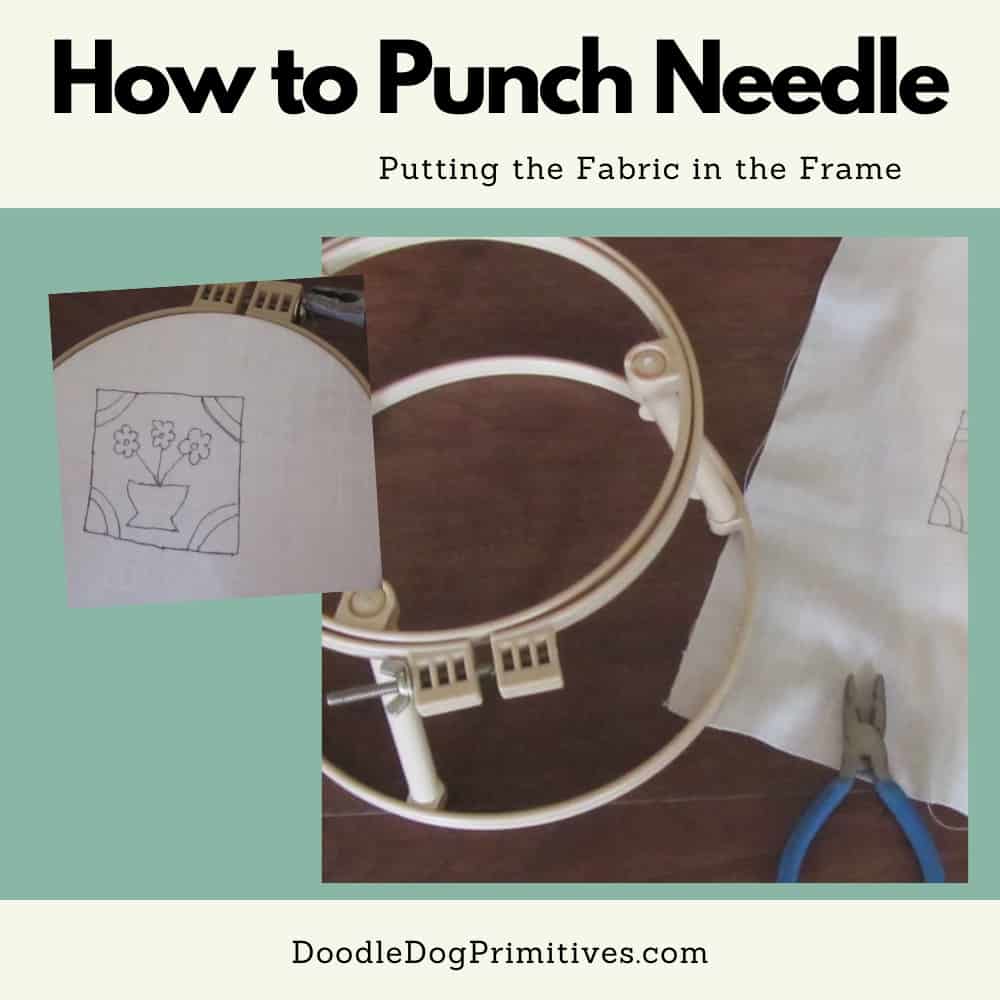
Putting the Fabric in the Frame:
Learn how to get the fabric drum tight in a gripper strip frame.
Learn how to get the fabric drum tight in a no-slip hoop.
Blessings ~
Amy