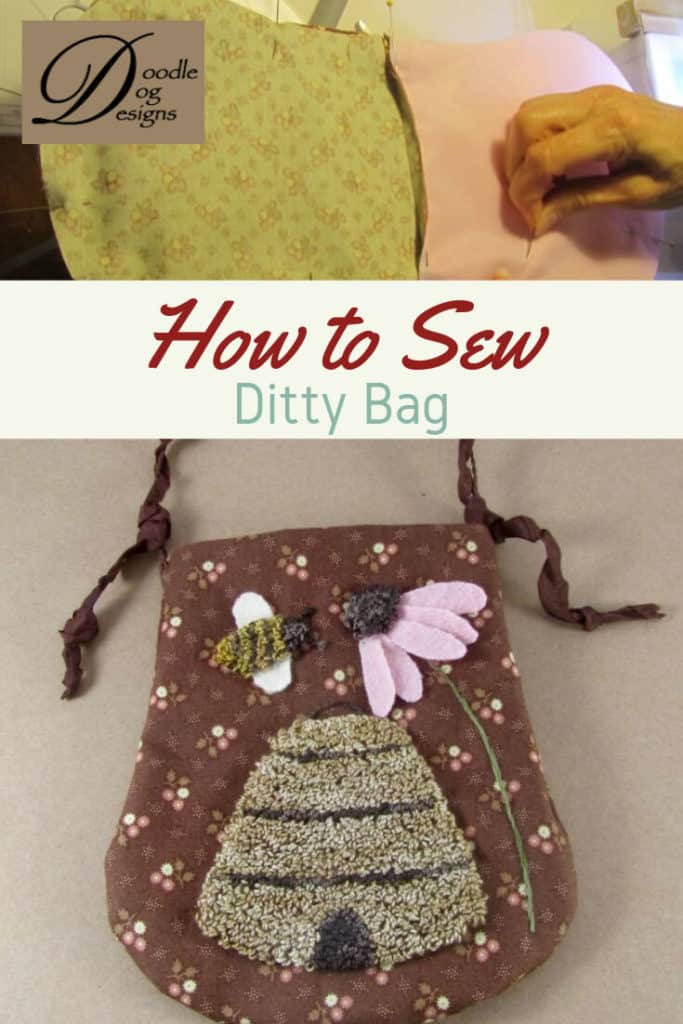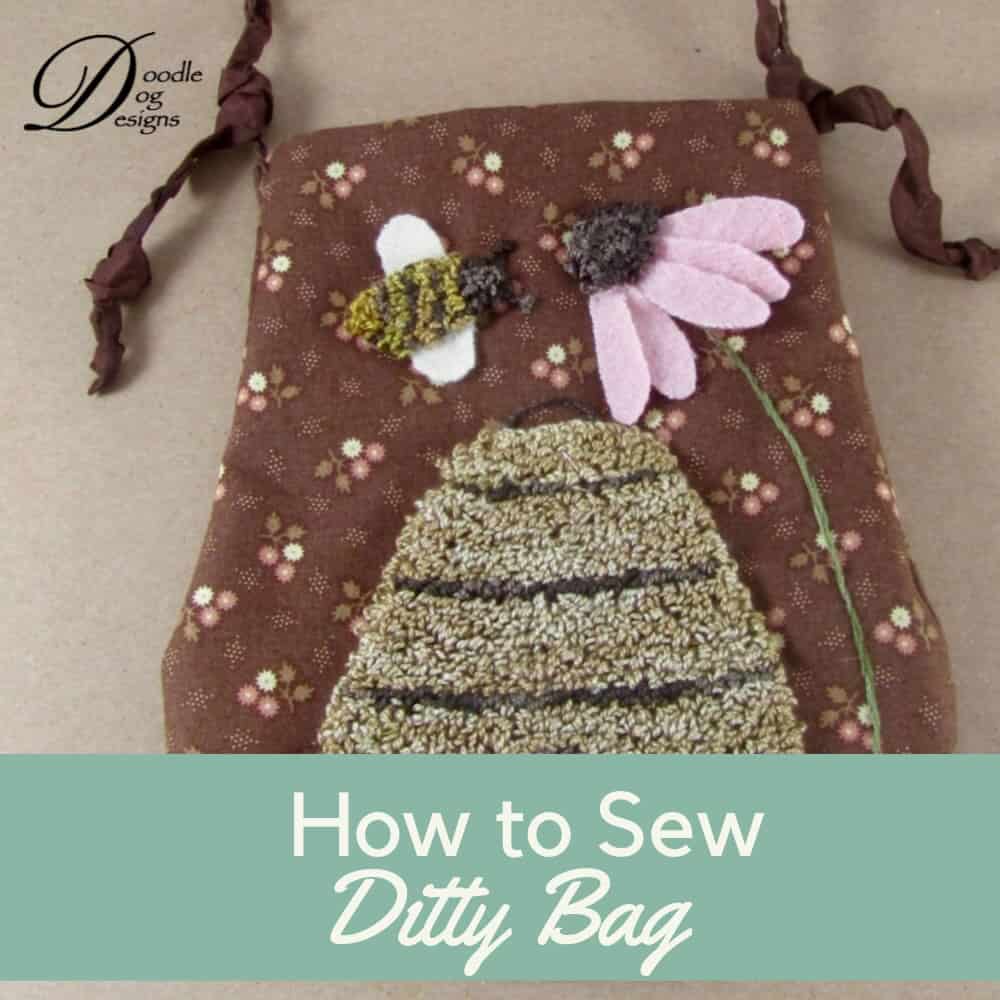
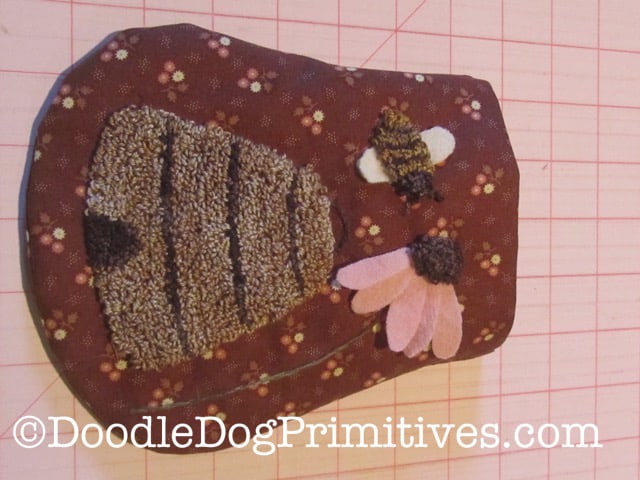
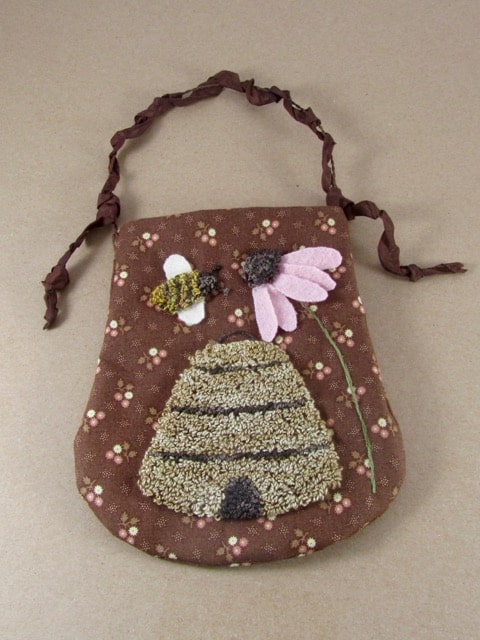
My newest punch needle pattern is a mixed – media piece
with punch needle, embroidery, and felted wool
all together on a ditty bag.
In case you haven’t made one before, I wanted to show you how to sew a primitive ditty bag:
This post may contain affiliate links for your convenience, which means if you make a purchase after clicking a link I will earn a small commission but it won’t cost you a penny more. For more information, please visit our Privacy Policy.
Supplies to Sew a Ditty Bag:
- Cotton Quilting Fabric
- Basic Sewing Supplies
- Rusty Twisted Wire
- Crinkly Ribbon
Cutting the Fabric:
Using the ditty bag cutting pattern provided,
cut out two lining pieces and one back piece.
This example uses a pink fabric for the lining
and a brown print for the front and back.
Center the decorated front piece onto the same pattern and cut.
Sewing the top seams:
Use a 1/4” seam allowance for sewing.
With the right sides together,
sew a lining piece to the front punched piece along the top straight edge.
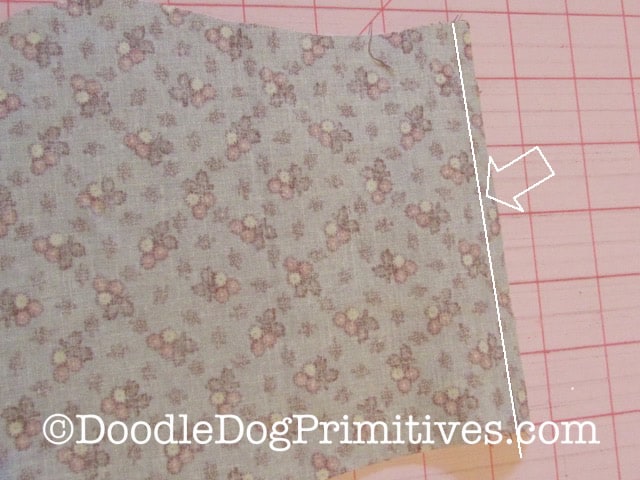
With the right sides together,
sew a lining piece to the back along the top straight edge.
Press the seams toward the lining.

Sewing the front to the back:
Right sides together,

sew the front to the back,

leaving an opening at the bottom of the lining for turning.
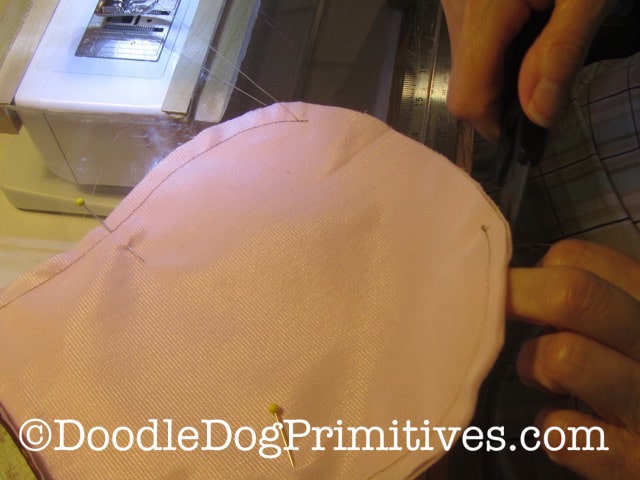
Clip the curves and turn right side out.

Stitch the opening in the lining closed.
Push the lining down into the bag.
Finishing up the Ditty Bag:
To finish, just add a handle.
For this bag, I used a rusty twisted wire
with crinkly ribbon wrapped around it.
Blessings~
Amy

