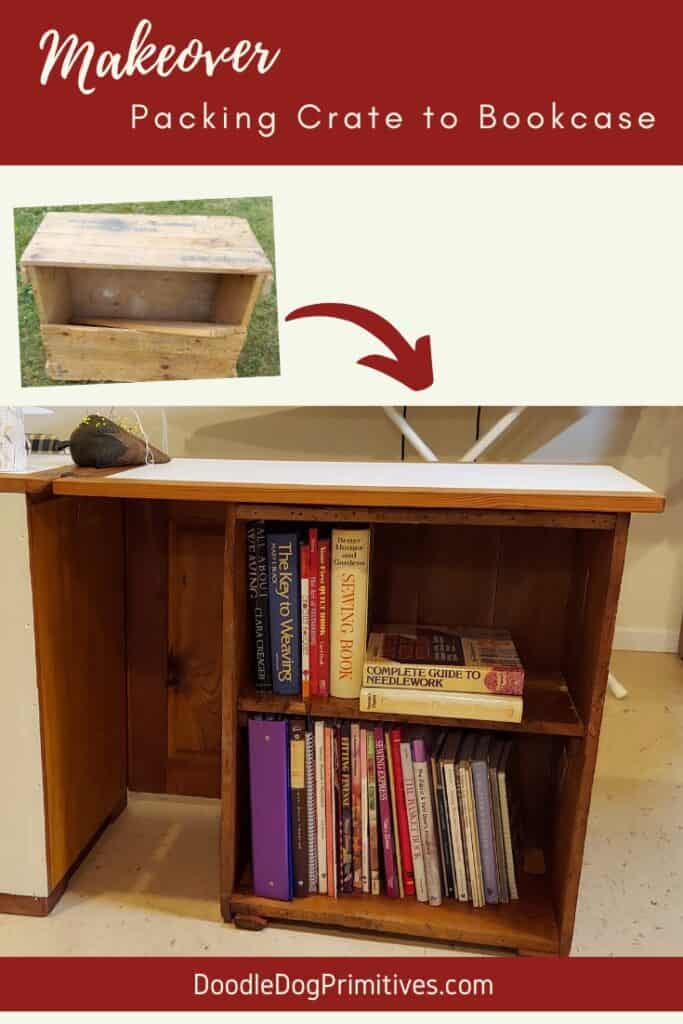
In this makeover post with video, I will show you how I turned an old shipping crate into a bookcase for my craft books. This was an easy and very useful upcycle to help organize my craft room.
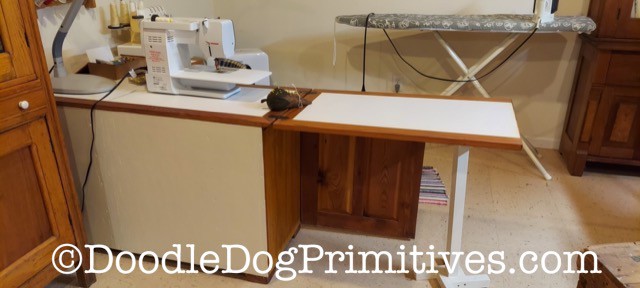
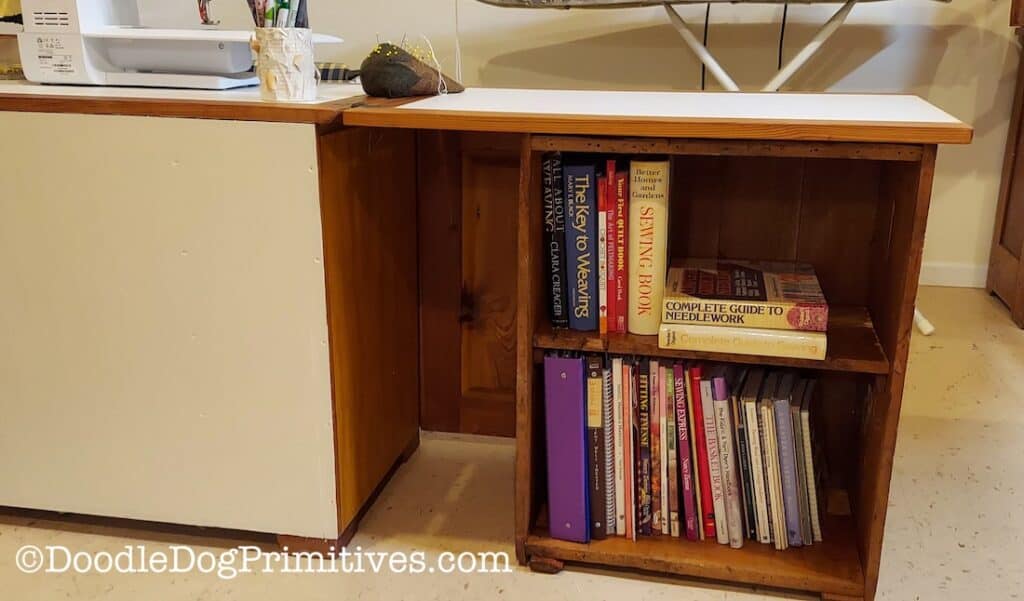
When my sewing table is opened up, there is a big empty space on the backside. I have been wanting to find a bookcase that will fit inside the opening where I can store my craft and sewing books.
When I found this wooden packing crate at an auction, I knew it would make the perfect rustic farmhouse bookcase. I was able to snag it for $5 and it is (almost) the perfect size to fit under the sewing table.

I will use the crate’s broken lid to make the bookcase shelf so I don’t have to add any other wood to complete the project.
Watch the Makeover Video:
This post may contain affiliate links for your convenience, which means if you make a purchase after clicking a link I will earn a small commission but it won’t cost you a penny more. For more information, please visit our Privacy Policy.
Remove Lid & Clean the Crate:

I took the shipping crate outside and removed the lid and loose nails.
Then I used Murphy’s Oil Soap to give it a good scrubbing before letting the crate thoroughly dry.
This gave me a chance to examine all of the writing on the crate. It looks like it originated in Colorado and was shipped to New York. It was then shipped to Missouri. I wonder what it contained!
Scape & Sand:
My goal with the sanding was to keep the original shipping addresses to maintain some of the character and charm from the shipping crate but remove the worst of the buildup of gunk from years of storage.
It looks like this old crate had been stored in somebody’s garage because there were some large chunks of paint on it. So we took a putty knife and scraped off the worst of the paint.
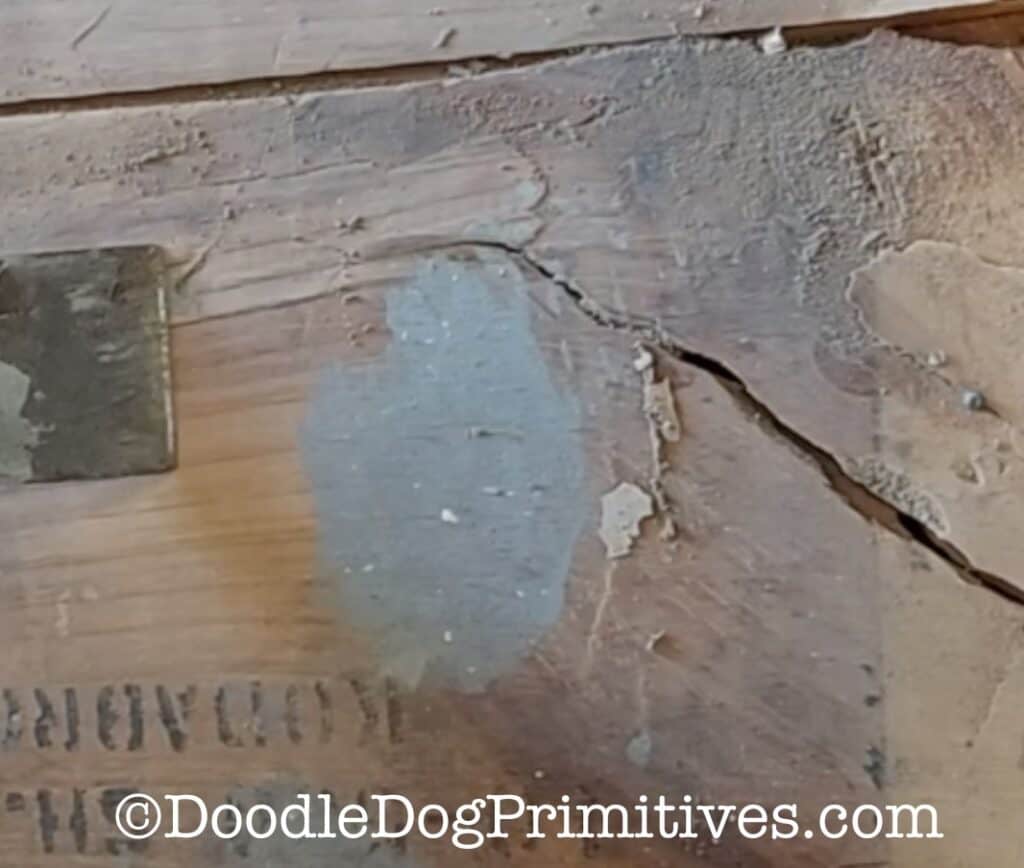
The next step was to sand using a hand held power sander on the painted areas. We didn’t sand all of the paint off. I just wanted it to not look like globs of paint.
Finally, we used a medium 100 grit sanding block and then a fine 320 grit sanding block to lightly sand the entire shipping crate.
Cutting the Shelf:
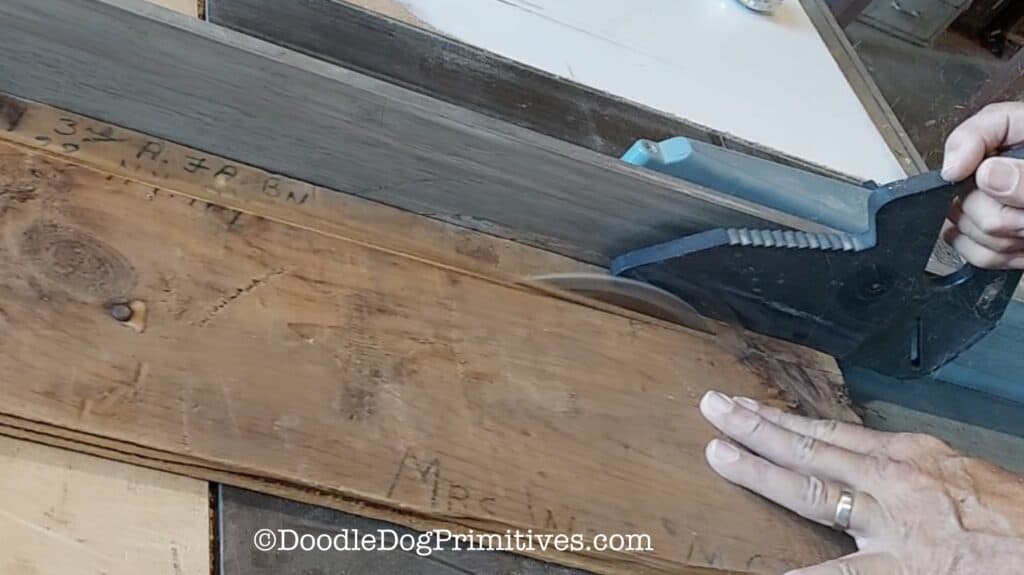
We used the crate’s front cover to make the shelf. I did this project in my Dad’s workshop, so we used his table saw to cut the shelf to the correct size. If you don’t have a table saw, a circular saw would also work well.
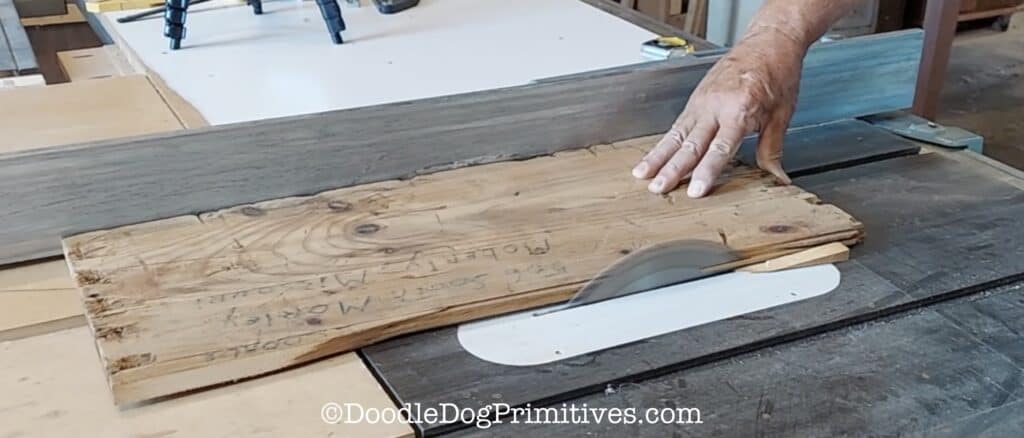
I chose to use the part of the crate’s top that had an address on it.
We cut braces for the shelf from the rest of the front of the crate. The braces measure one inch wide.
Assemble the Bookcase:
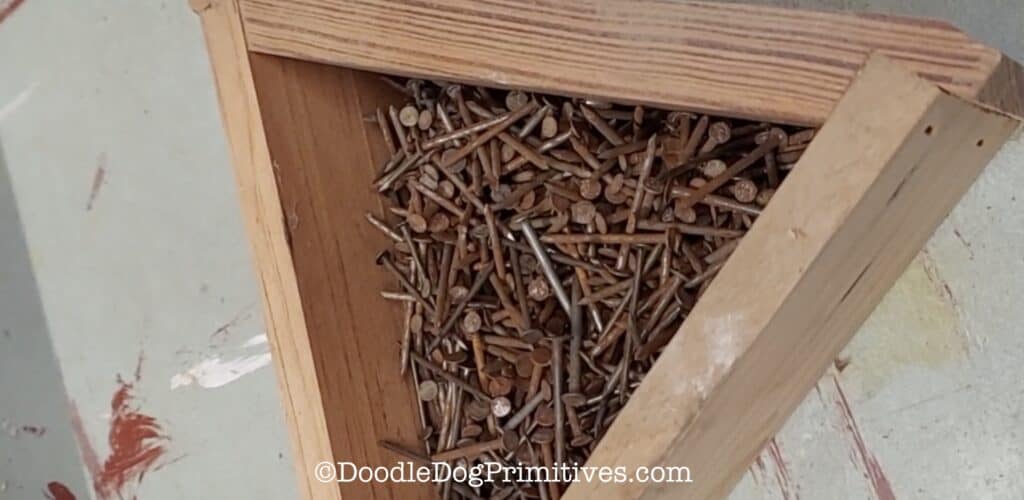
In my Dad’s woodworking stash, he had these rusty nails, can you believe it! They are perfect for assembling the bookcase.
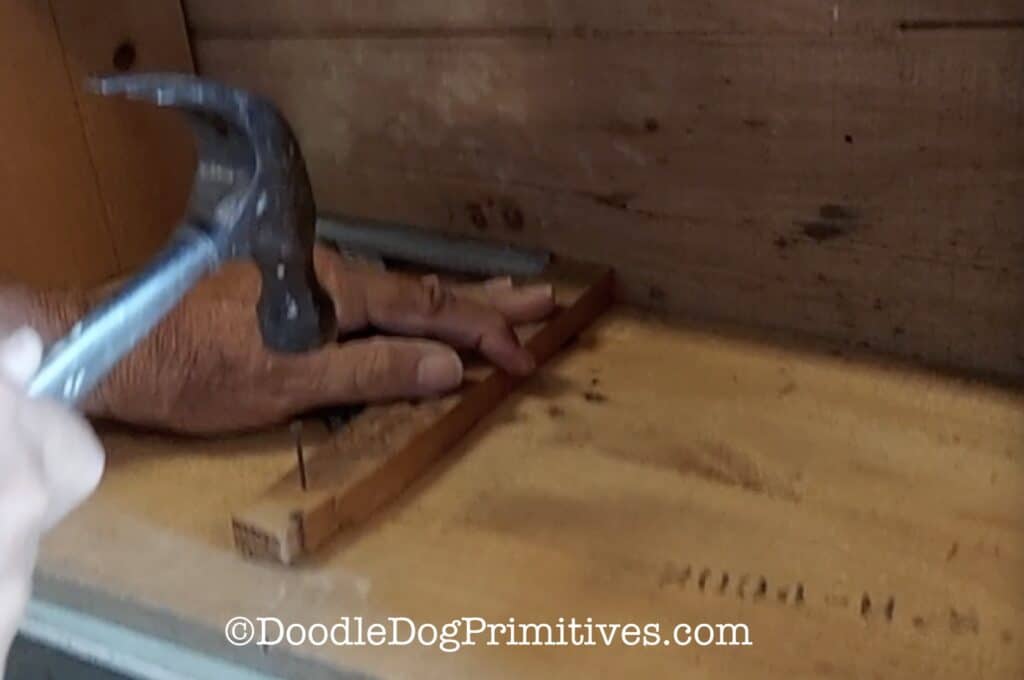
After measuring some of my craft books to see how tall the bottom shelf needed to be, we nailed the support boards onto the inside of the shipping crate.
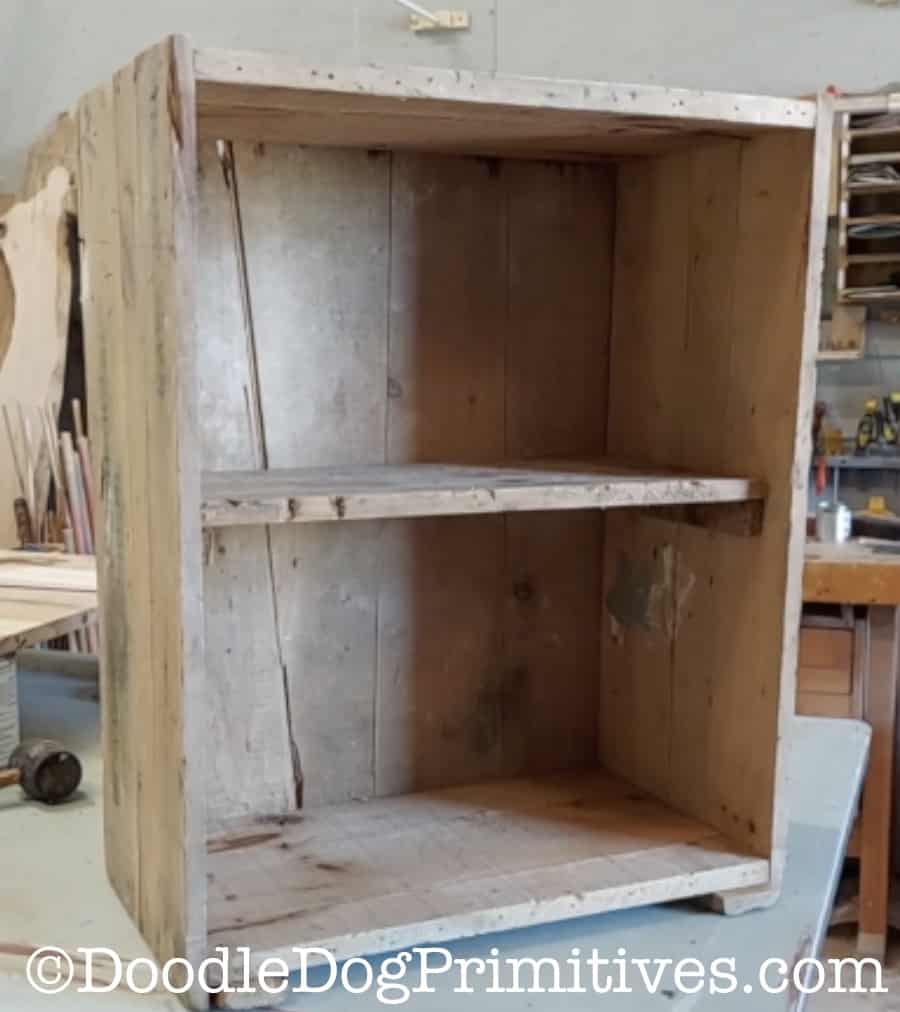
In order to make the bookcase fit under my sewing cabinet, we also had to remove the two top boards from the crate and cut down the side boards a little.
Apply Finish to Wooden Crate Bookcase:
The last step was to apply a clear satin varnish. I had some General Finishes Arm-R-Seal, so I used that on the project.
I applied two coats to the inside and outside of the bookcase, sanding lightly with steel wool between coats.
I waited two weeks after applying the final coat of varnish before bringing it inside and putting books on it. I wanted to make sure the varnish had plenty of time to cure so the books wouldn’t stick.
Be sure to check out our other home decor and primitive craft tutorials.
Blessings~
Amy
Pin this Makeover:
