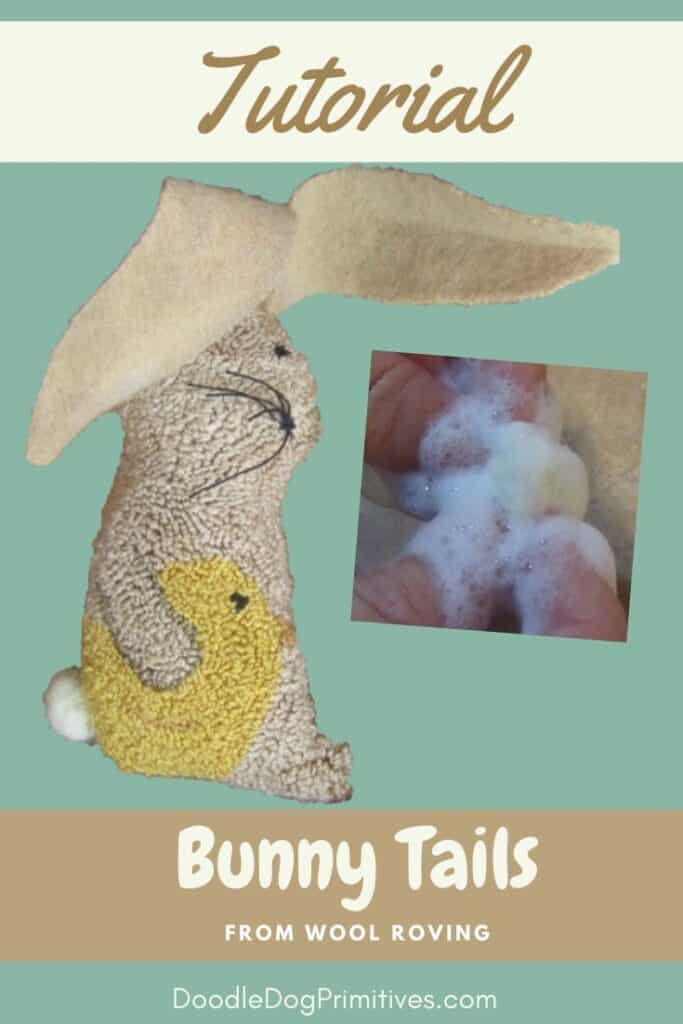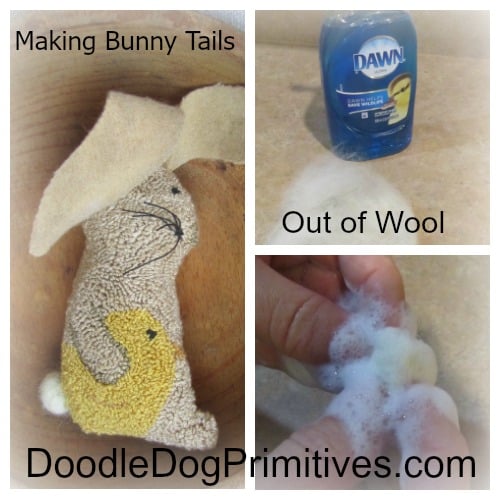
Sometimes, I punch tails onto my bunnies, and other times I make bunny tails separate and then attach them.
In some patterns, I make bunny tails from yarn pom poms and for some patterns, such as Bedtime Bunny & Hide & Seek Bunny, I felt tails from natural colored wool roving.
This post may contain affiliate links for your convenience, which means if you make a purchase after clicking a link I will earn a small commission but it won’t cost you a penny more. For more information, please visit our Privacy Policy.
Make Felted Wool Bunny Tails:
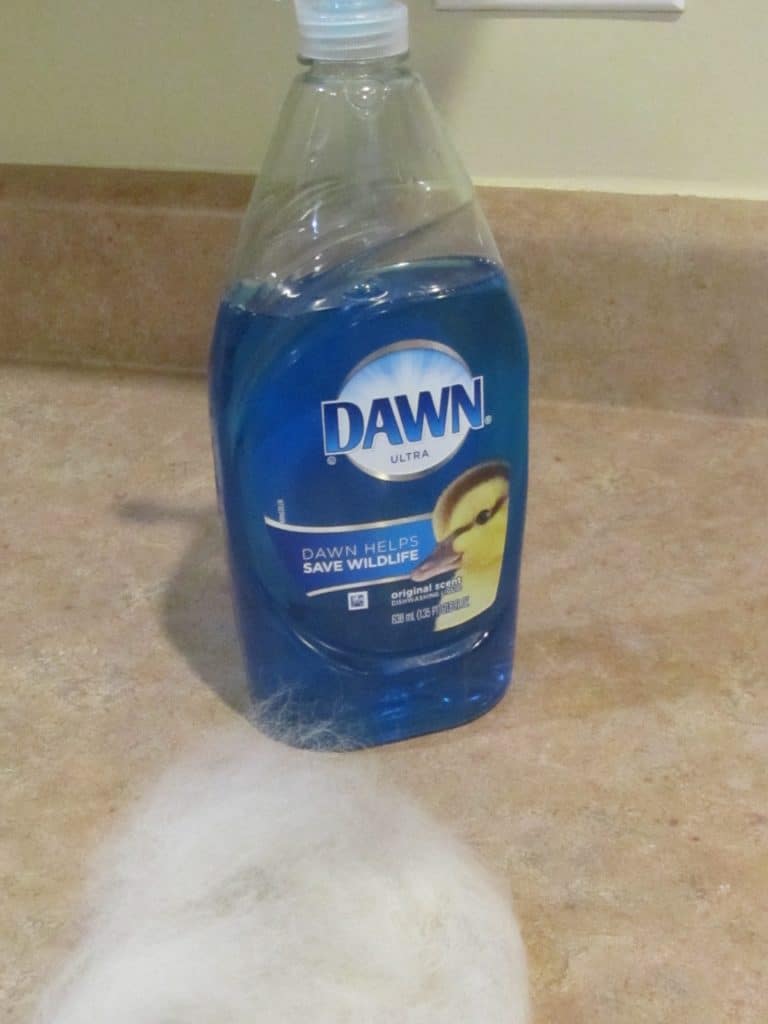
To make tails out of wool roving, start with a small piece of cream colored wool roving and some dish soap.
Don’t cut the wool roving, separate it by grabbing onto the end of the roving and pulling. It will pull out a length of the wool fibers.
The more wool you start with, the larger the finished tail will be. If the tail is too small, you can add more wool. If it is too large, you can keep felting it until it becomes a hard ball in order to make it smaller. Once it is hard, it probably won’t felt any more.
Roll the roving into a ball.
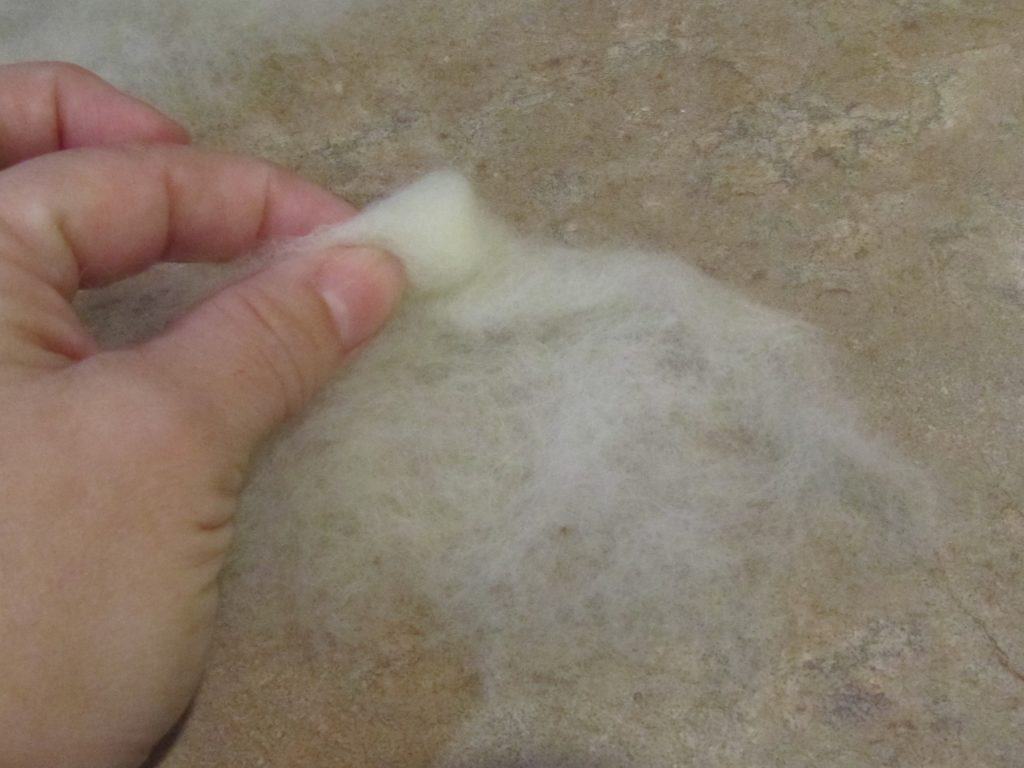
It will shrink in this process, so start your ball bigger than you want the finished tail.
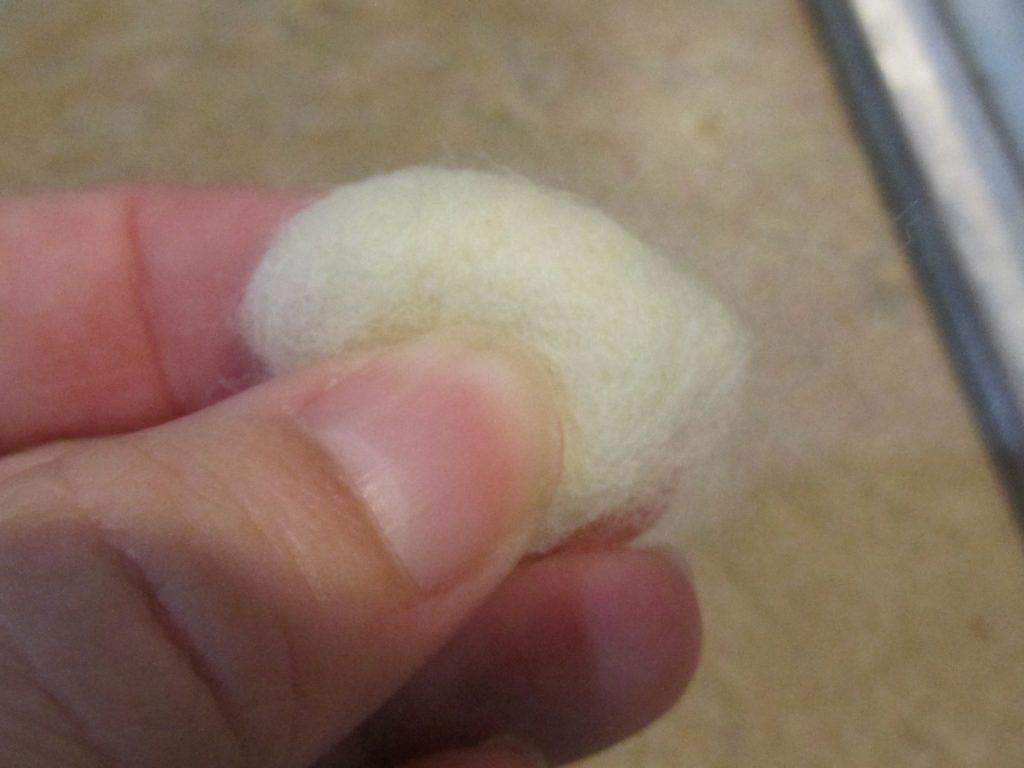
Dip the ball into hot, soapy water.
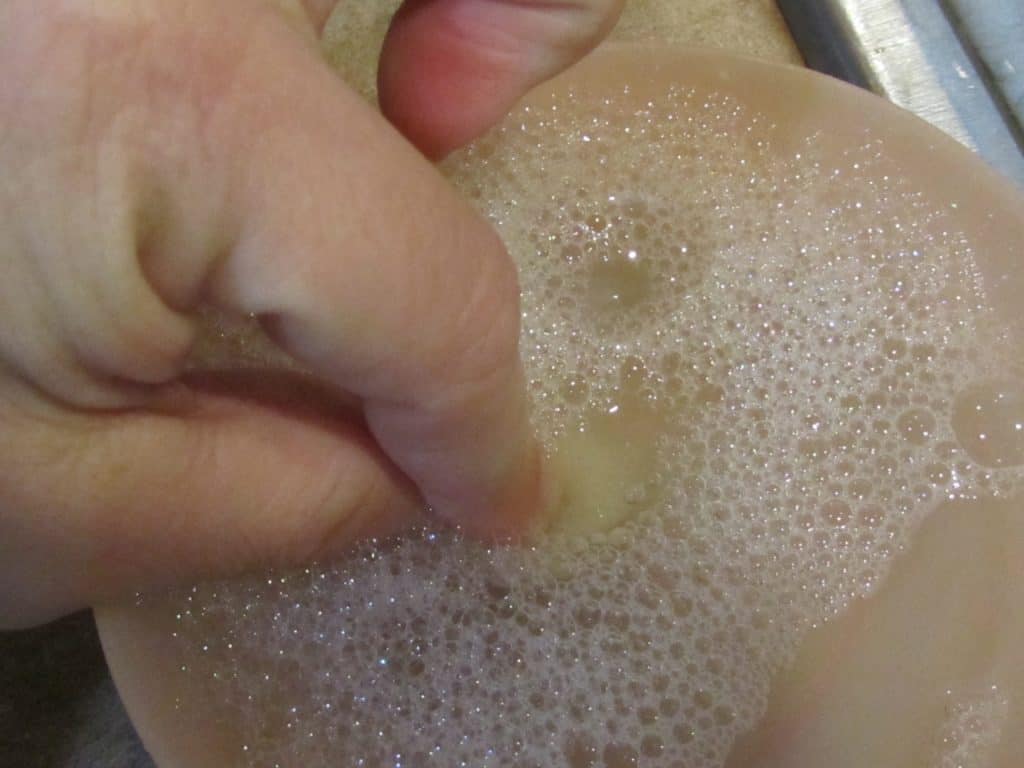
Now, using your fingers, start squishing the ball together.
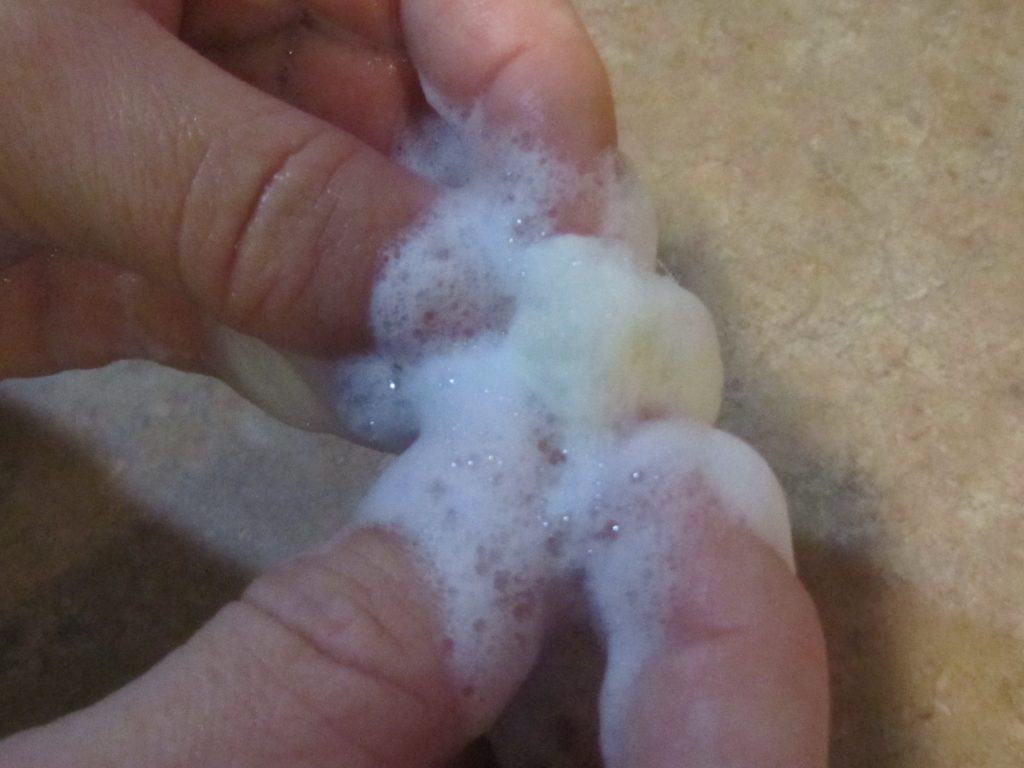
It will start to get firmer, just make sure you are keeping it in a round shape.
When it is firm enough, start to roll it around between your palms.
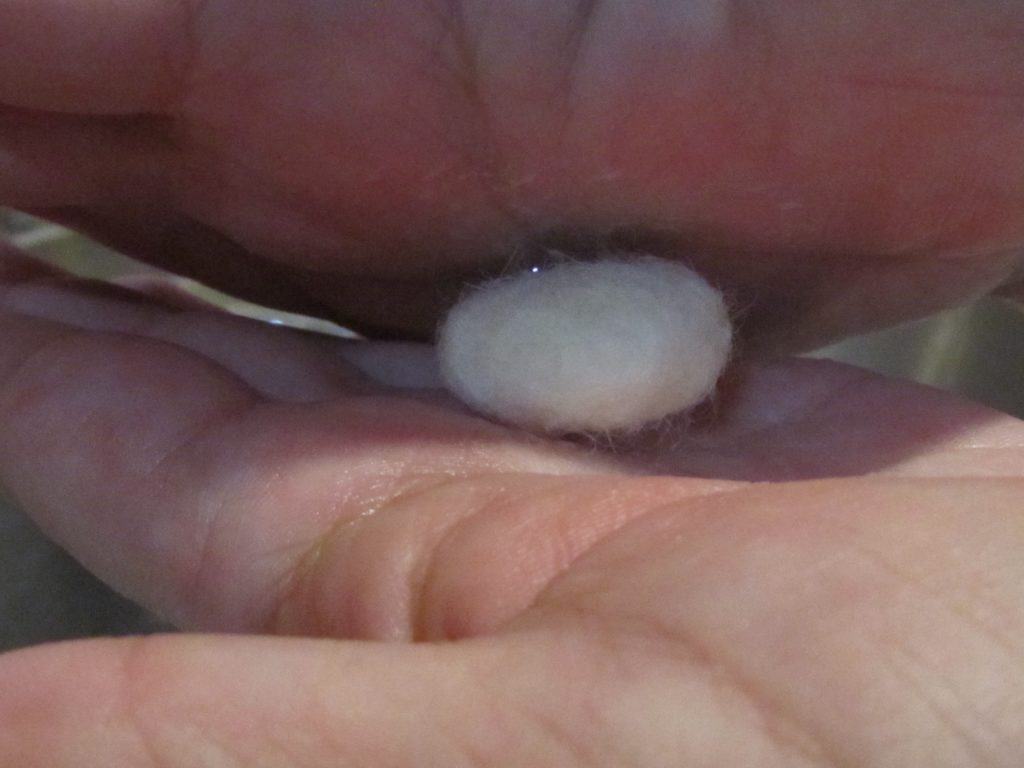
Just keep rolling until you get it the size you want.
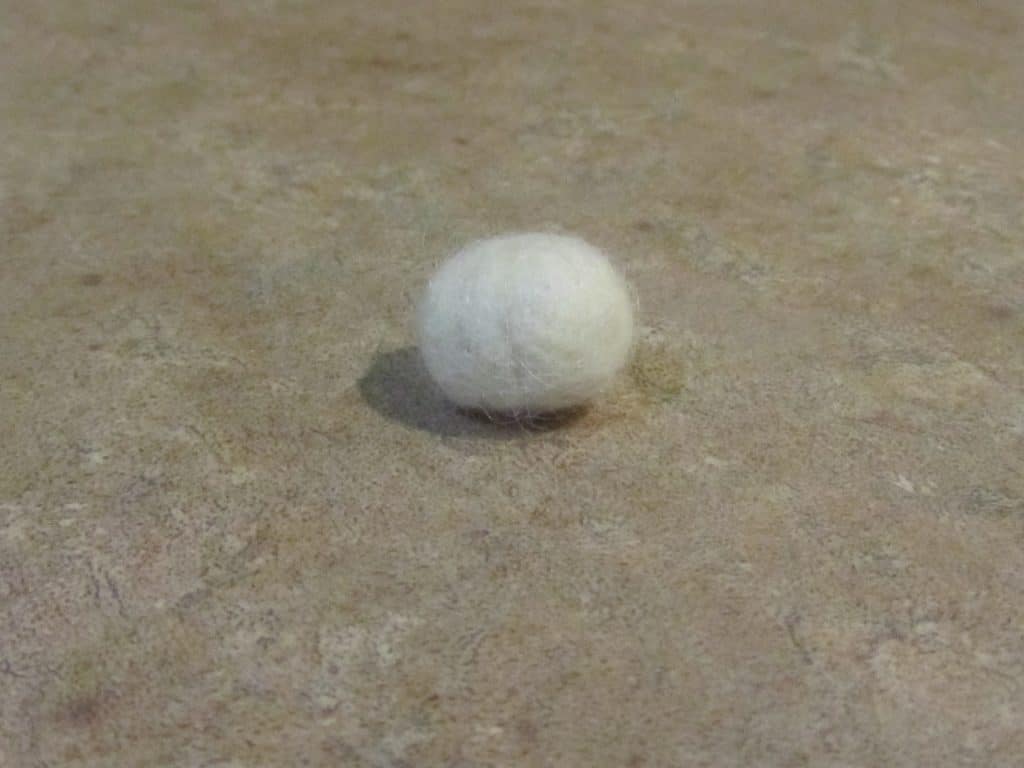
If it is too small, you can wrap more wool roving around the ball.
Let it dry.
Then, you can sew it onto a bunny for a tail.
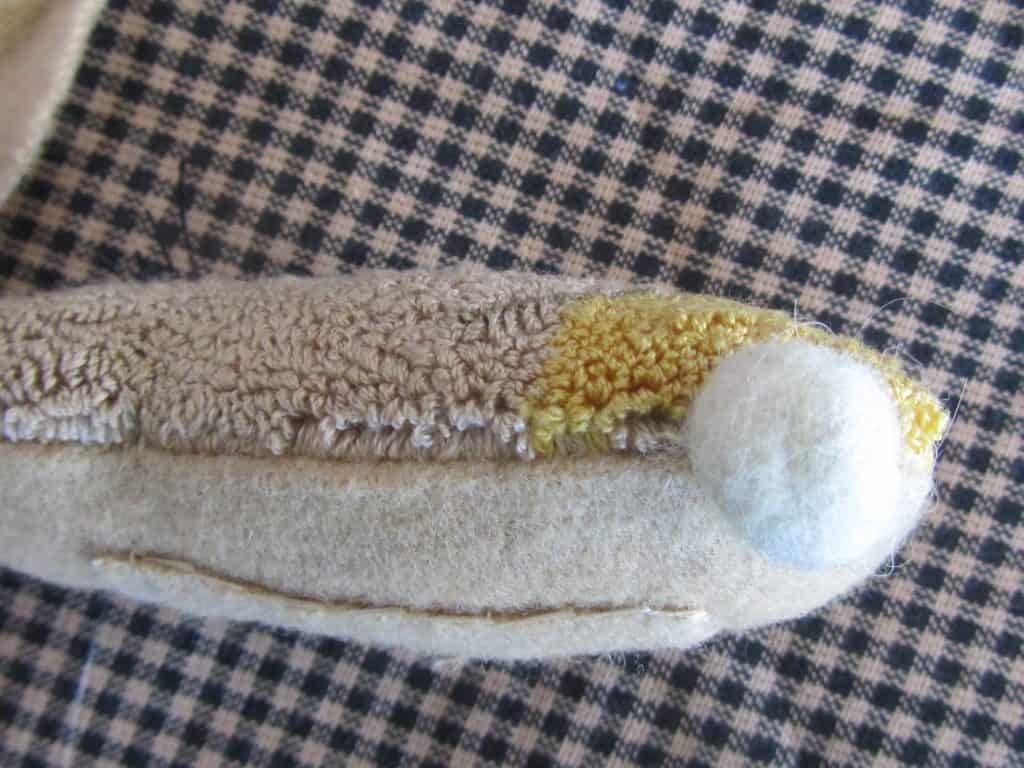
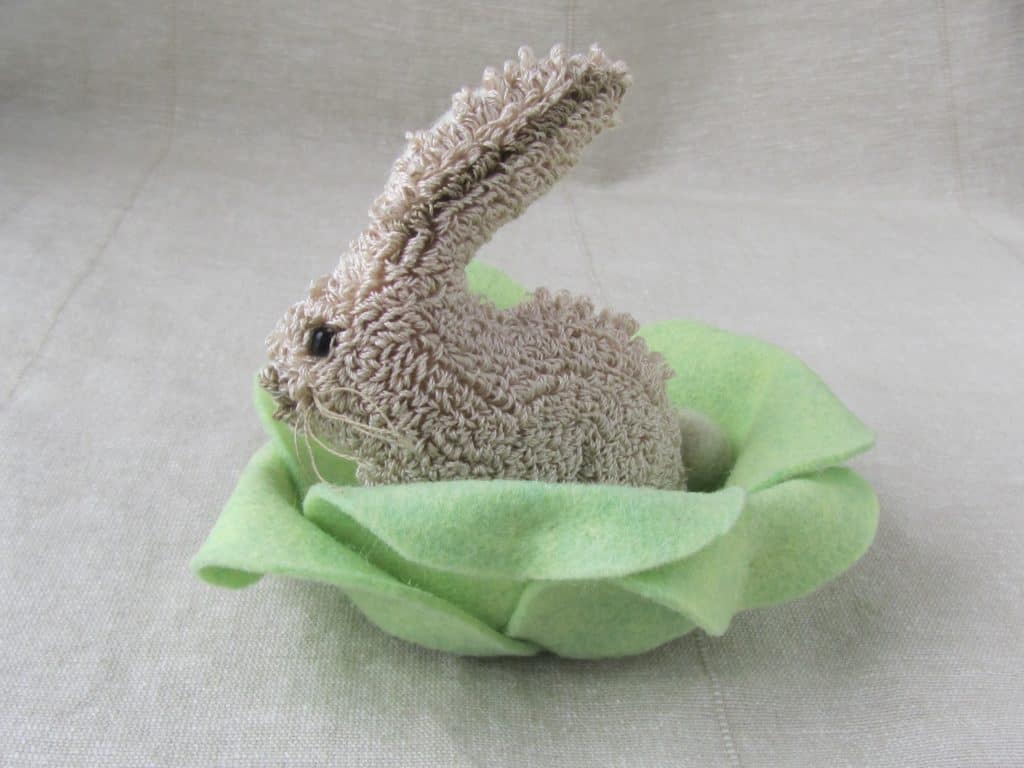
This bunny pattern uses this type of tail.
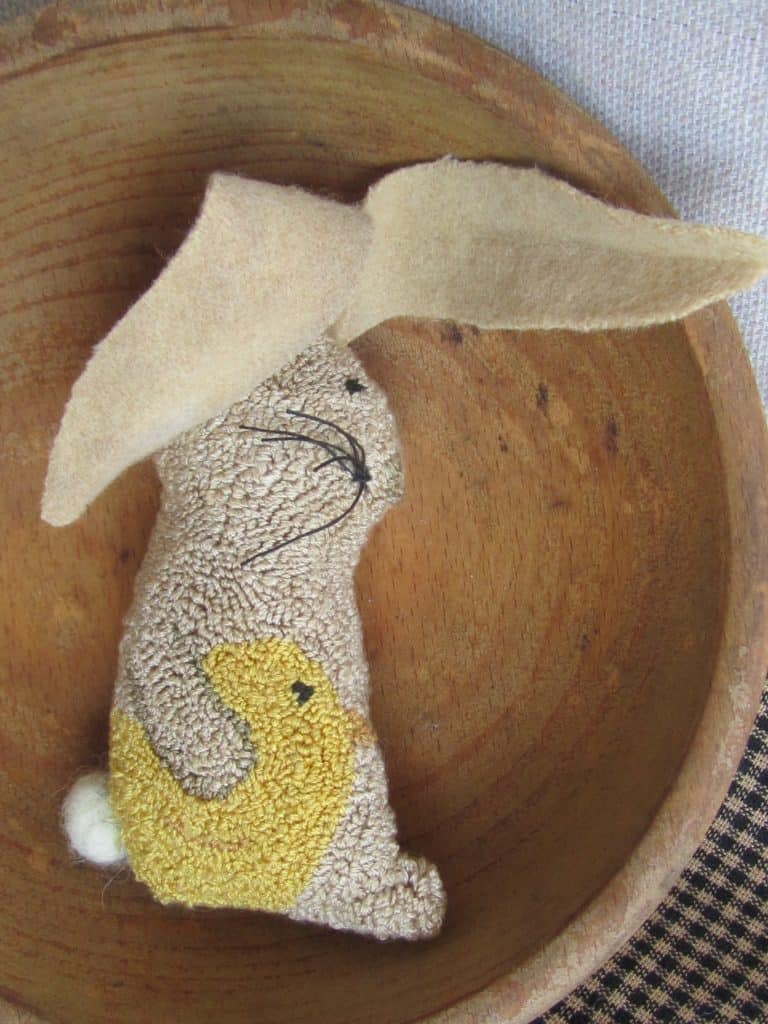
It is fast and easy to make a bunny tail like this for a punch needle or other crafts.
Blessings~
Amy
Pin this Felting Wool Tutorial:
