Whether you do punch needle, cross stitch, or embroidery, you are bound to end up with lots of partial skeins of embroidery floss. These can be difficult to keep organized. I don’t always accomplish it, but I do like to keep my craft supplies organized so they are easy to find when I need them.
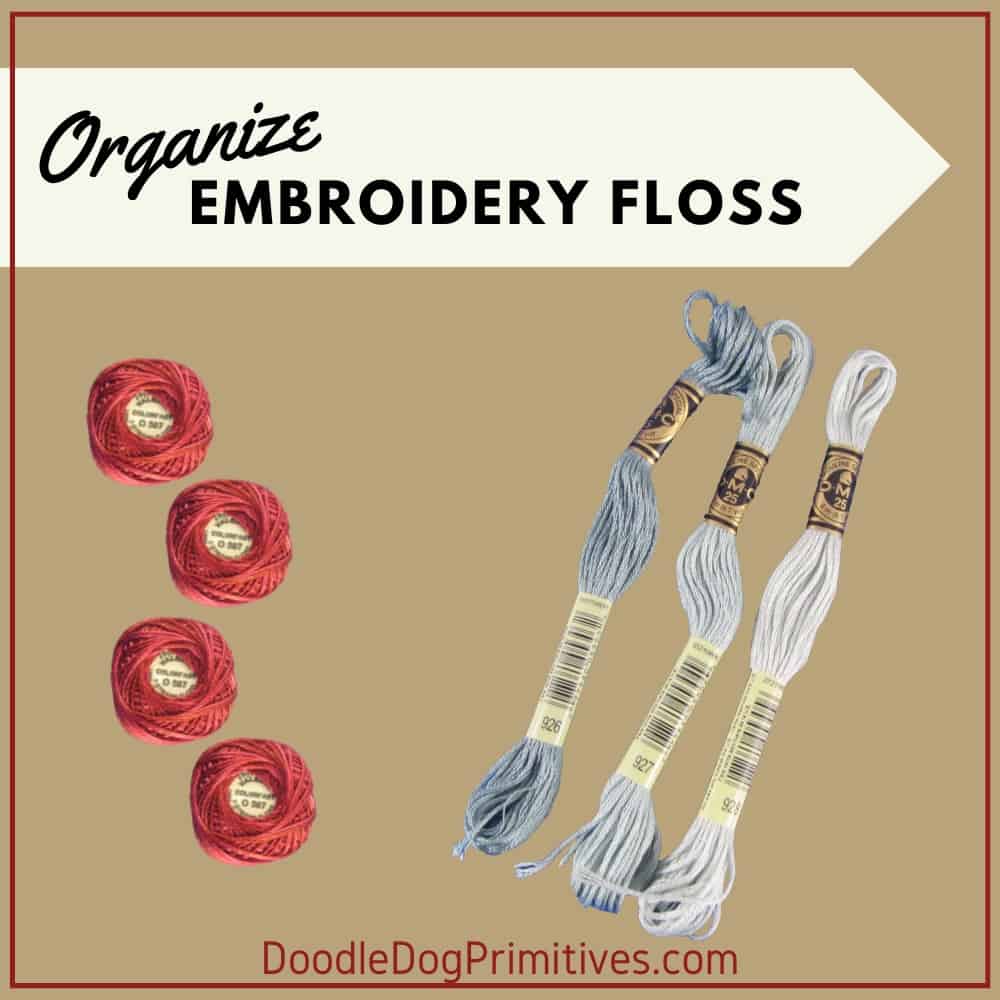
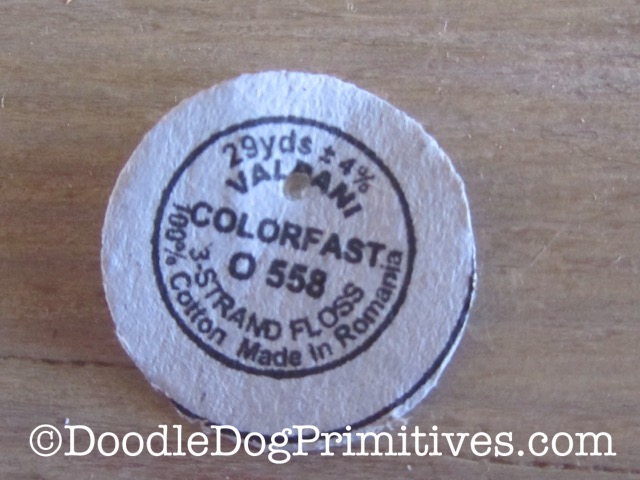
DMC embroidery floss and other skein style floss can get unruly after you remove the labels and start using it. With Valdani balls of floss and pearl cotton the cardboard labels fall out of the balls making it hard to keep track of the color numbers.
Here are a few ways I have found to organize embroidery floss.
Watch the Video:
This post may contain affiliate links for your convenience, which means if you make a purchase after clicking a link I will earn a small commission but it won’t cost you a penny more. For more information, please visit our Privacy Policy.
Organizing Embroidery Floss:
Floss Cards:
If you are working on a project, using a floss card is a great way to organize your floss. You can keep all of the colors you are using together and organized.
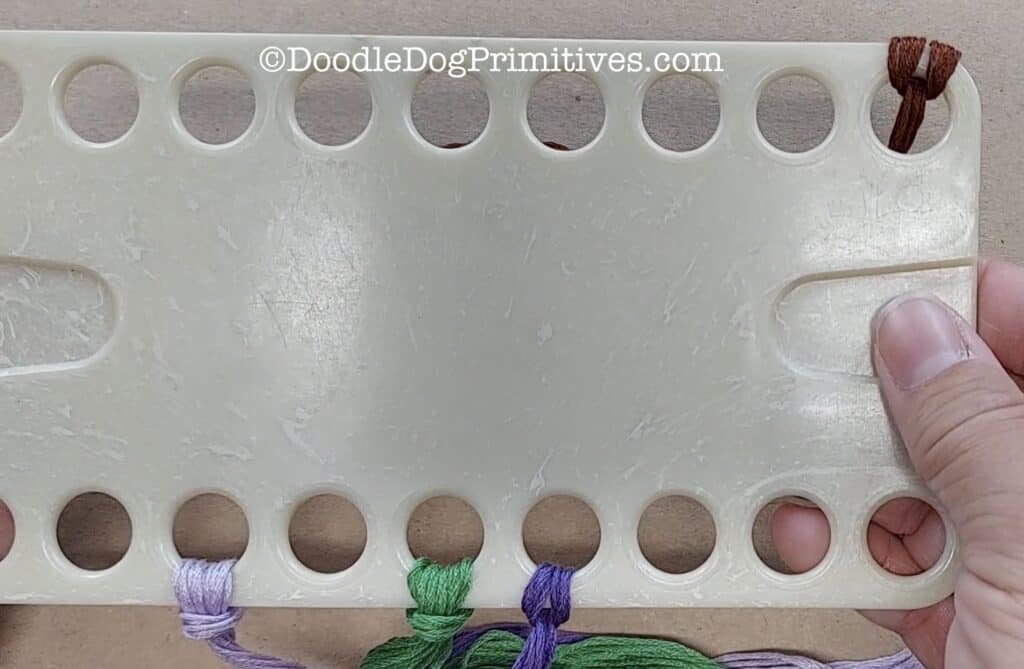
This was my preferred method of organizing during a project back in my cross stitch days.
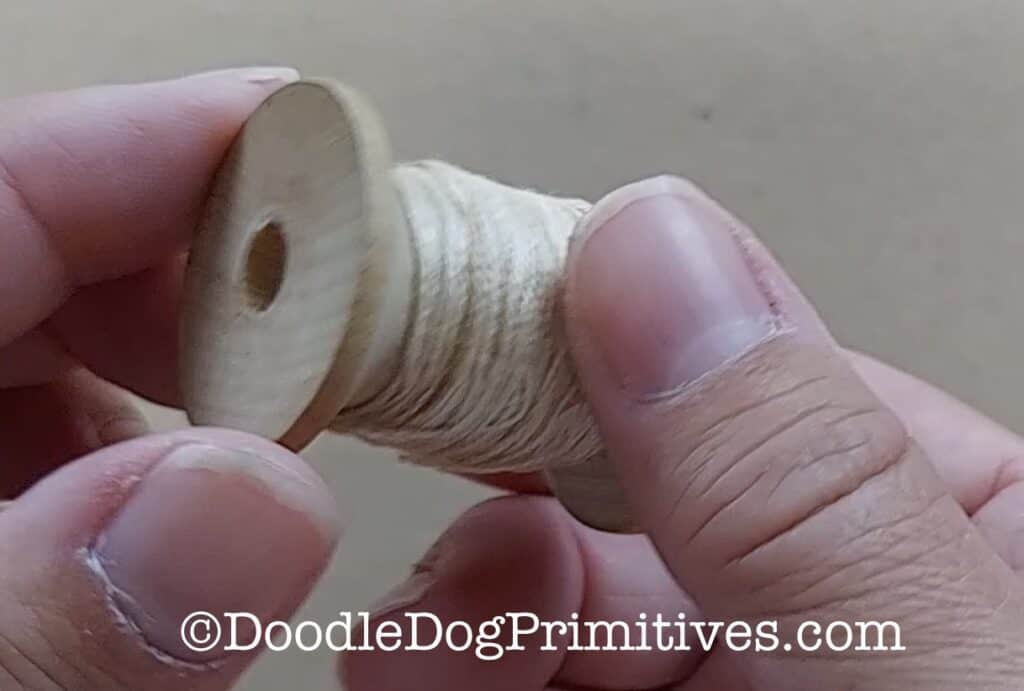
Wind it up on Spools:
You can use an empty thread spool to wind up the floss. This is a very attractive way to store the floss, but the spools are bulky so it is not the most practical method if you have lots of floss.
Wind it up on Floss Bobbins:
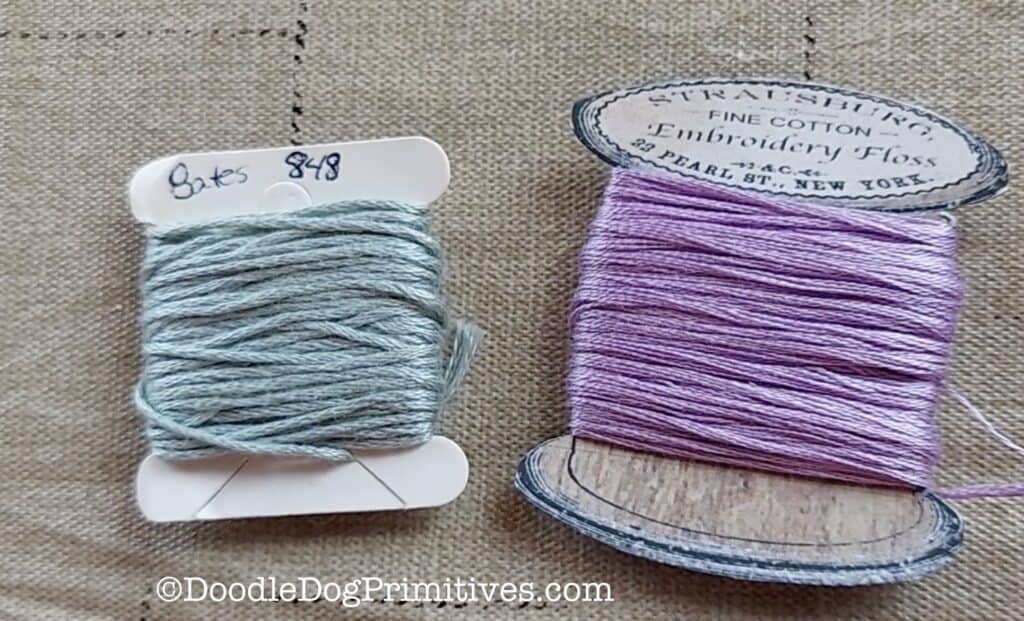
I much prefer to wind my leftover embroidery floss on an embroidery floss bobbin and write the color number on the edge.
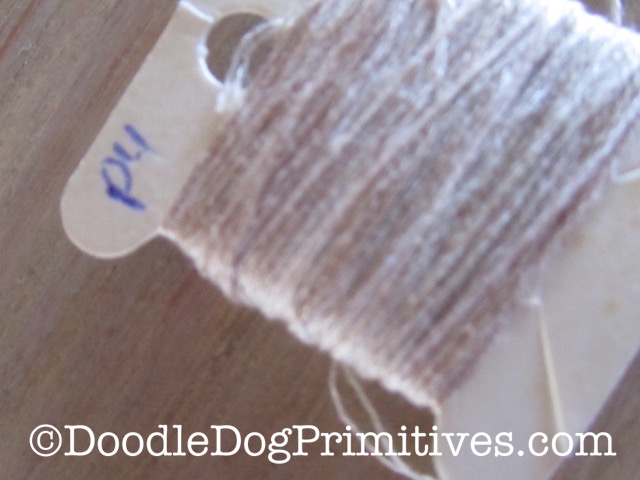
You can use plain floss bobbins or these printable spool style bobbins. Just wind on the floss and write the color number on the bobbin.
The plain floss bobbins come in plastic or paper.
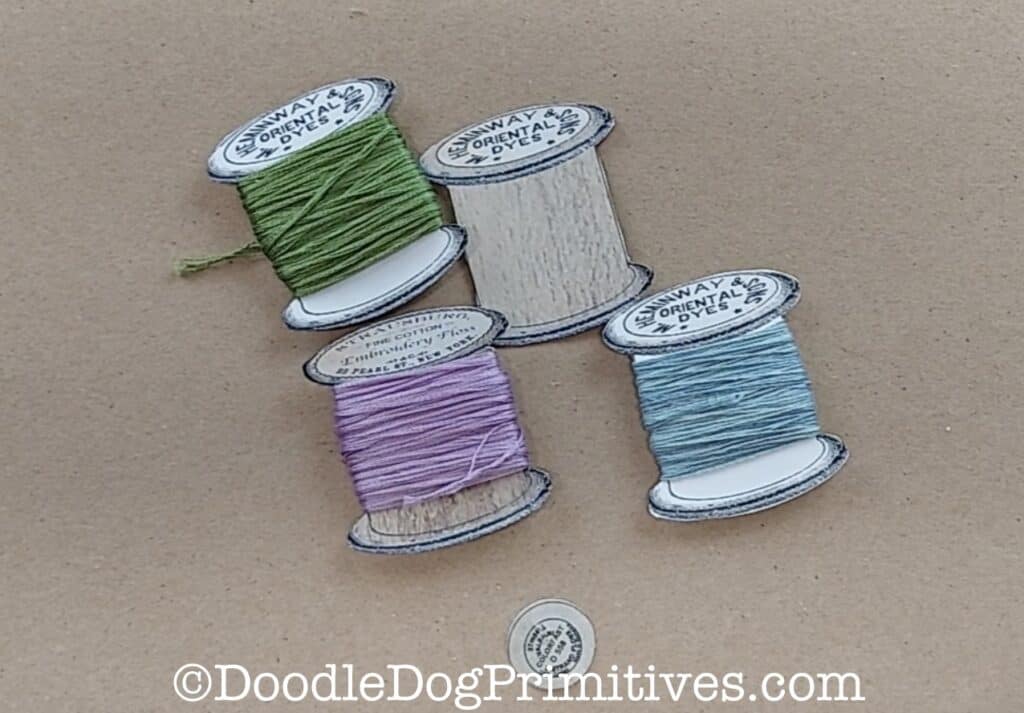
These spool style bobbins are a printable pdf file. This is perfect if you have lots of floss because you can just print more bobbins as needed!
The spool bobbins are slightly larger than the plain floss bobbins, allowing you to wind on a bit more floss.
It comes with two files. One prints the floss bobbins in white and the other prints the floss bobbins with a wood grain look.
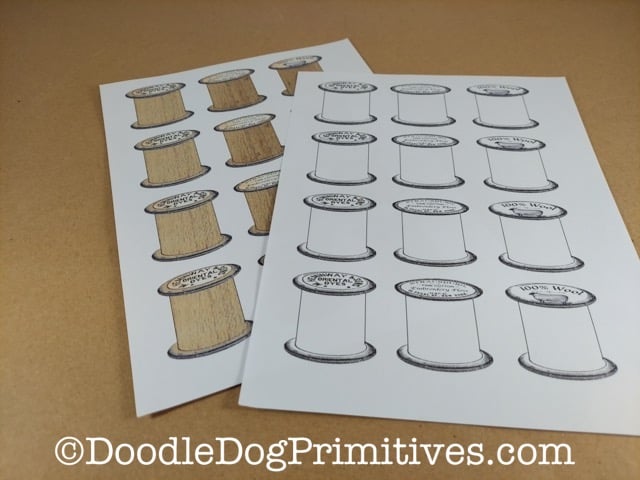
Print the spools on cardstock paper and use right away or you can glue them onto thin cardboard (cereal box) for a sturdier floss bobbin.
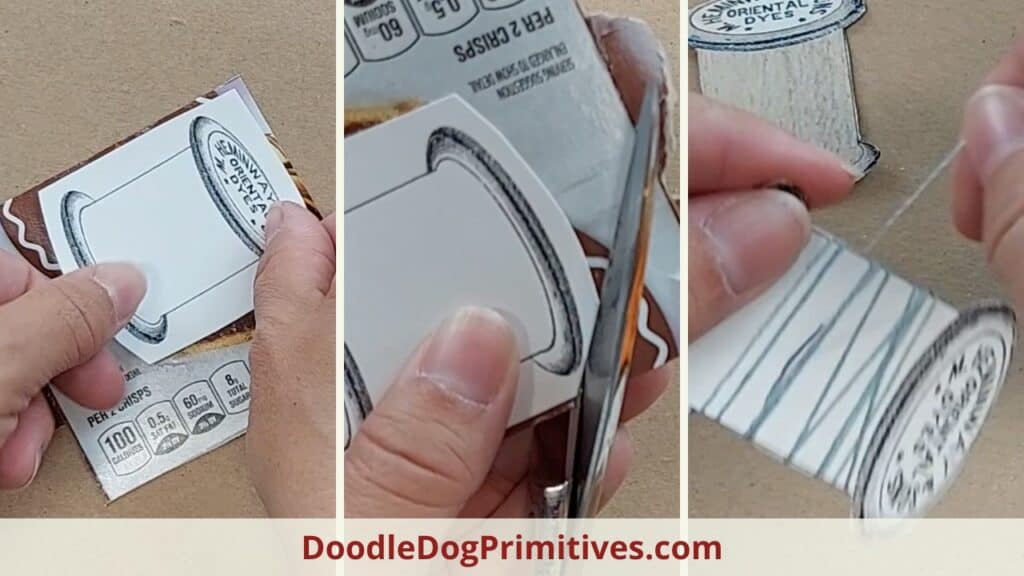
You can write the color number on the bottom or the back of the bobbin.
Organizing Valdani Floss:
The Valdani floss balls look so neat and pretty when they first come home from the store.
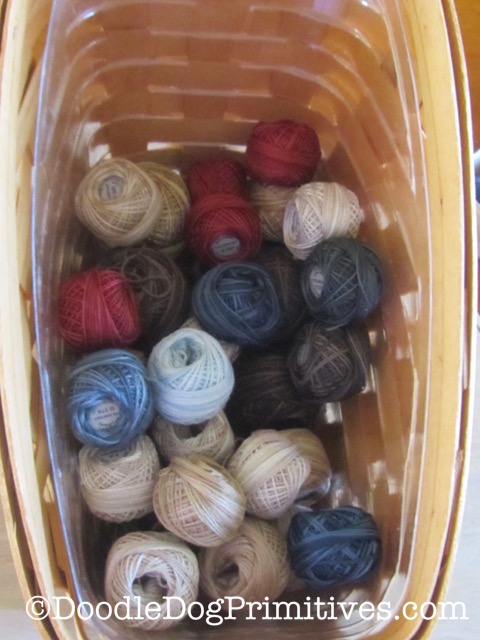
And then I use them, and they end up looking like this…
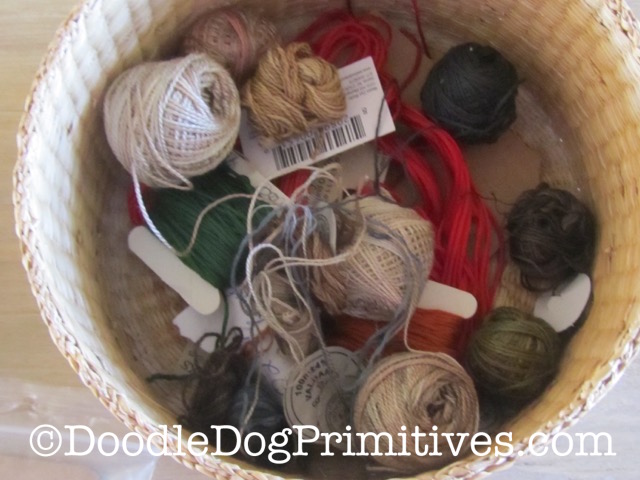
It is a tangled up mess and impossible to know what color number each ball is.
I have found three different ways to keep the Valdani floss neat and organized so I know what color each ball of floss is.
Fold-over Method:
Fold the Valdani paper label in half and push it down into the middle of the ball of floss.
This is the easiest, but the least effective because sometimes the label will fall out, making it difficult to determine the color number.

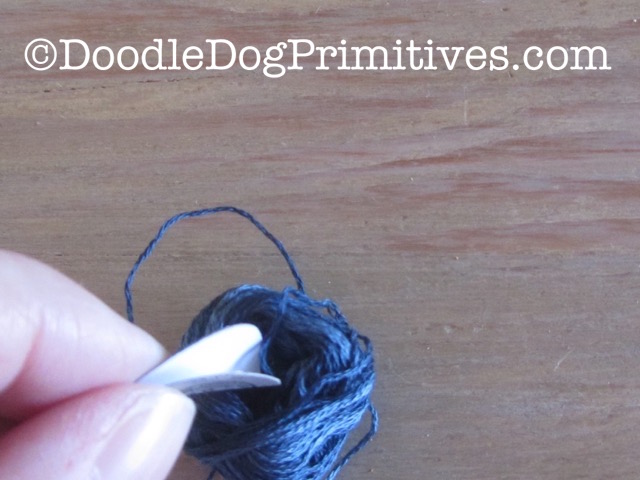
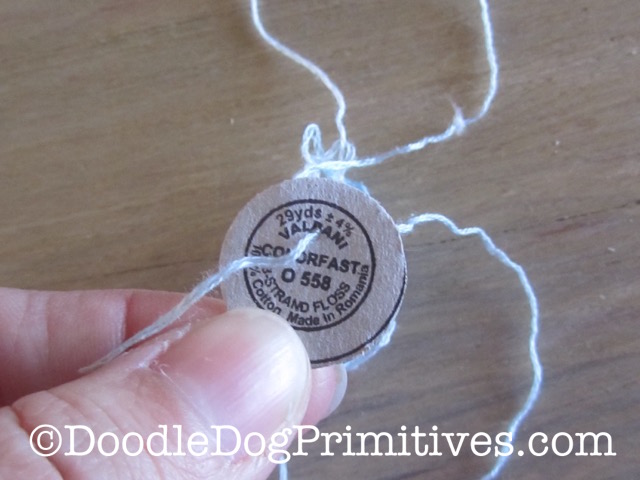
Stick-a-hole-in-it Method:
A better method is to poke a hole in the cardboard label near the top. Be careful not to poke the hole through the color number! You can use a sharp pencil for this.
Thread the end of your ball of Valdani floss through the hole.
Draw the label up close to the ball and wrap the extra floss around the ball to keep the label on tight.
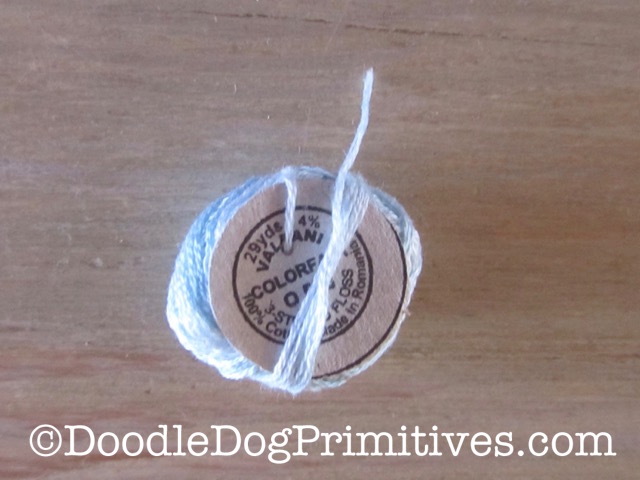
This method works pretty to keep the balls of Valdani floss together with the labels but it is not incredibly attractive.
Bobbins:
The third method of storing Valdani floss is to wind it onto wooden spool or floss bobbins – see above.
I hope you found this helpful. Be sure to check out our other punch needle tutorials.
Blessings~
Amy
Pin this Organizing Post:
