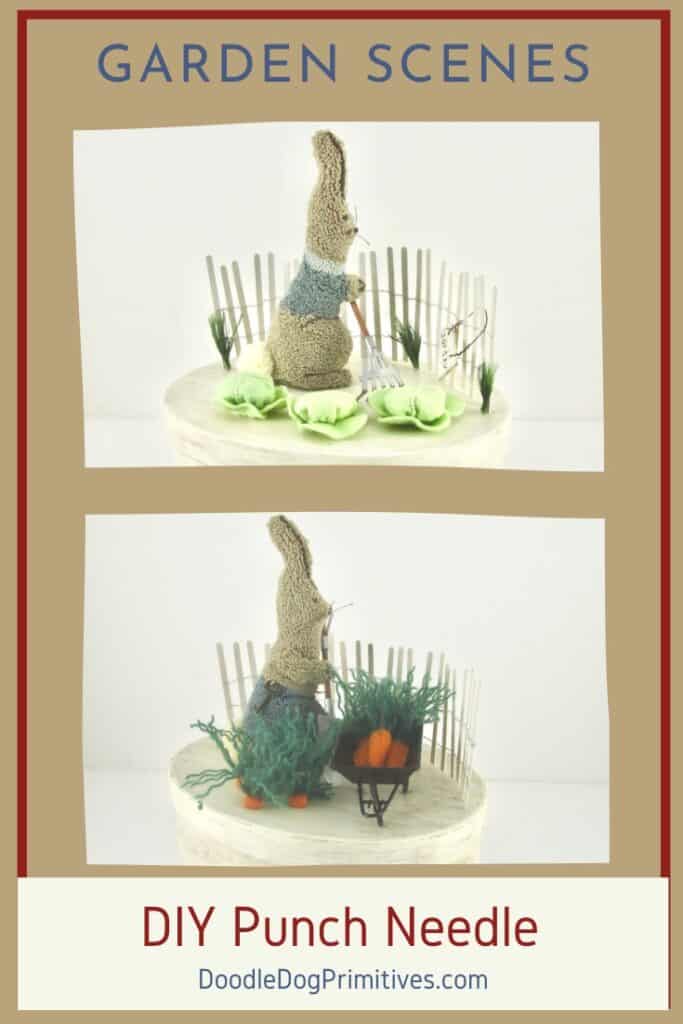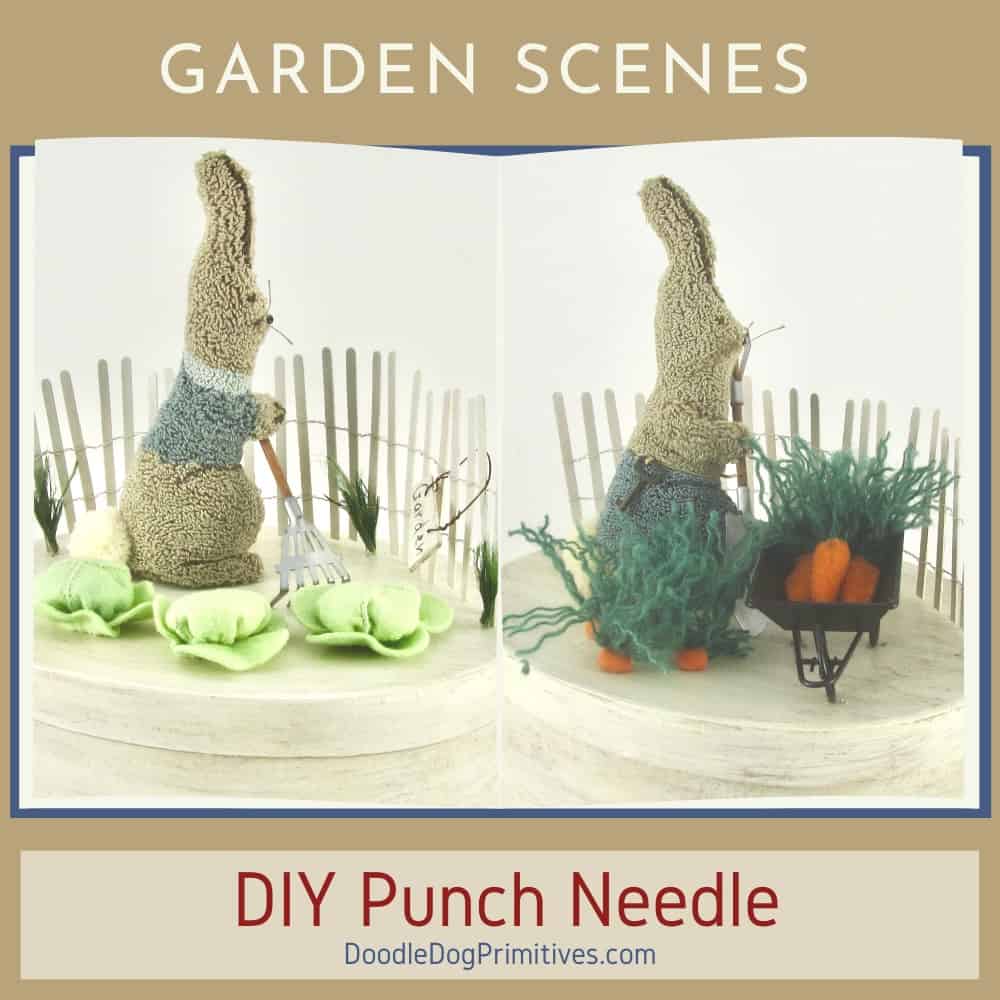
In this post, I am going to show you how to assemble these two punch needle garden scenes.
We will start with the cabbage garden scene.
This post may contain affiliate links for your convenience, which means if you make a purchase after clicking a link I will earn a small commission but it won’t cost you a penny more. For more information, please visit our Privacy Policy.
Supplies for Cabbage Garden Scene:
Supplies Used:
- 9-1/2″ wide finished oval paper mache box
- Finished punch needle bunny
- Mini garden sign
- Craft Glue
- 10″ length of mini fence
- Jute
- 3 Wool felt cabbages
- 5″ Mini rake
- Thin wire
- Crushed walnut shells or stuffing pellets
- Green craft paint
- Drill
- Basic sewing supplies
Watch the Punch Needle Garden Scenes Video:
Prepare the Box and add the Fence:
Finish the paper mache box as desired.
I painted a light coat of brown paint followed by a light coat of cream paint.
I then sanded to create a distressed look
and applied a thin coat of dark wax.
The next step is to add the fence to the box.
Find out how to build the fence in this post.
Drill small holes near the bottom of both end fence posts
and two other evenly spaced fence posts.
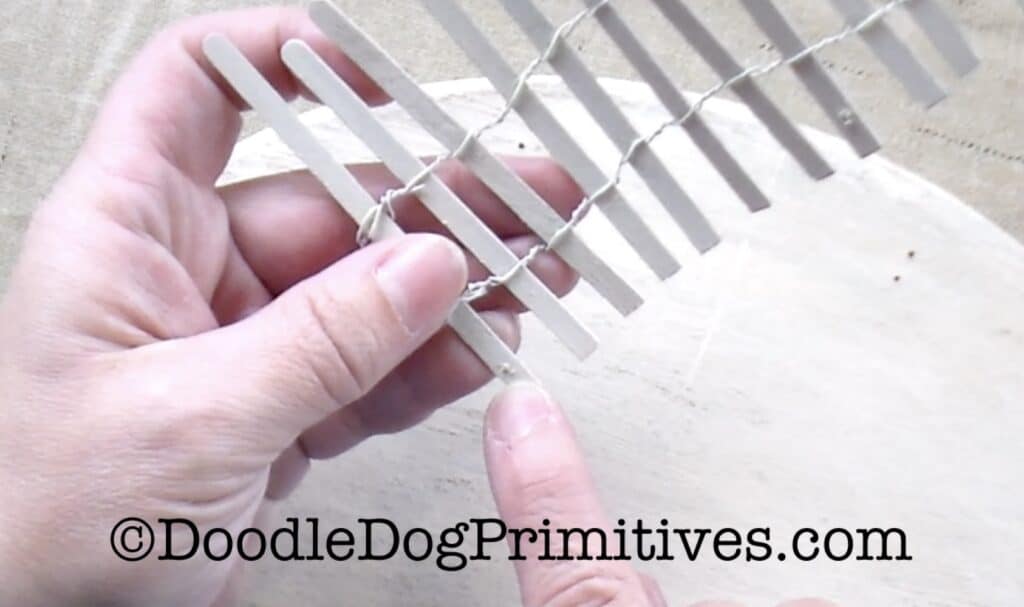
Decide where you want the fence to be placed on the box.
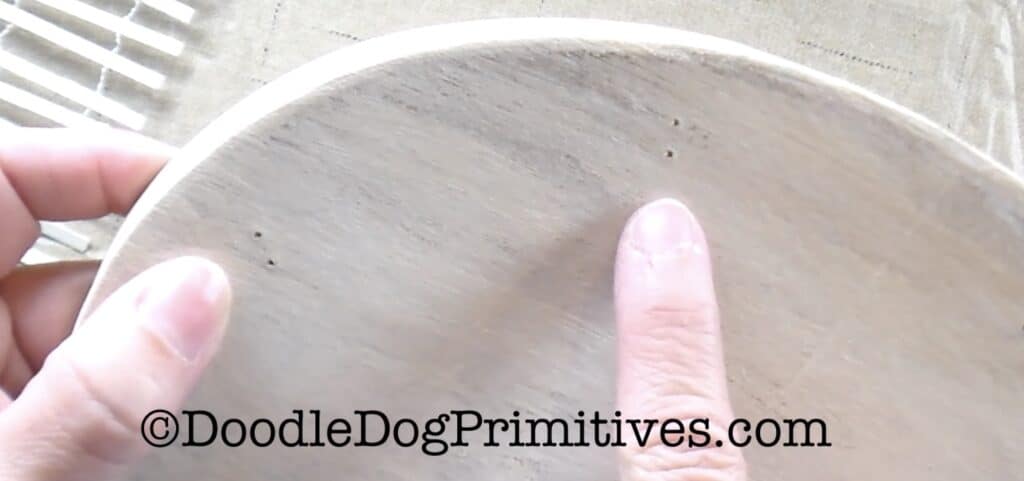
Draw pencil marks on both the front and back of the fence
right under each fence hole.
Drill holes in the paper mache box lid on each mark.
Cut four pieces of thin wire, each about 3-4 inches long.
Poke one of the wires through a hole in the fence.
Fold the wire in half and poke the two wire ends
into the corresponding holes in the box lid.
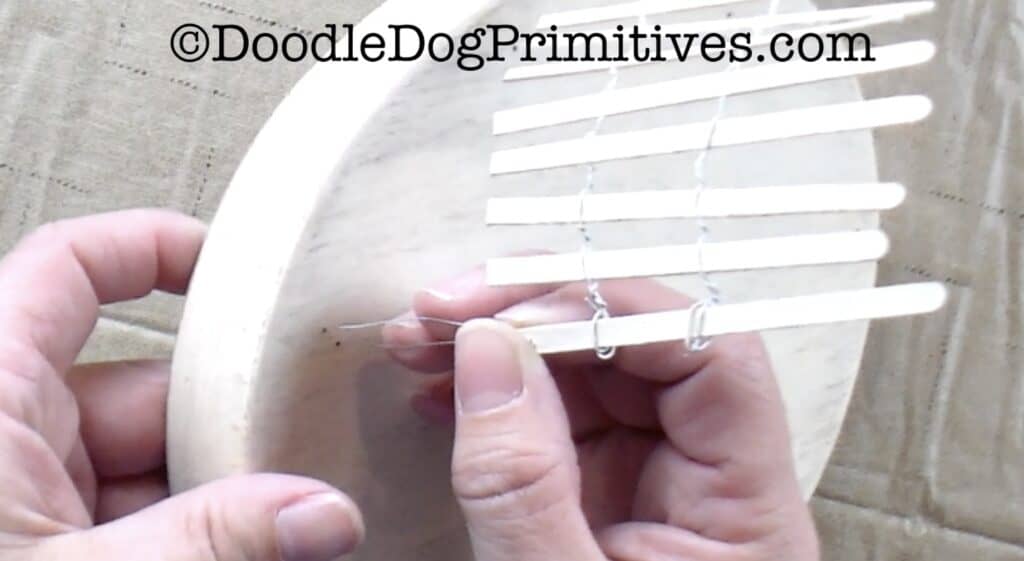
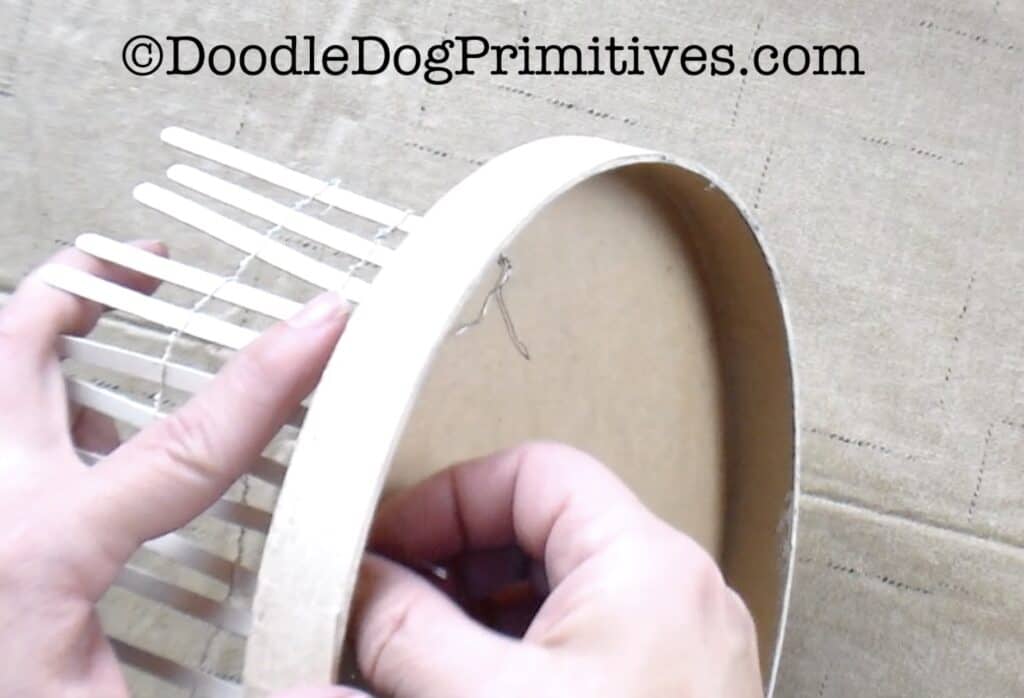
Making sure the fence is upright,
pull the wire tight on the back of the box lid
and twist the wire several times to hold the fence in place.
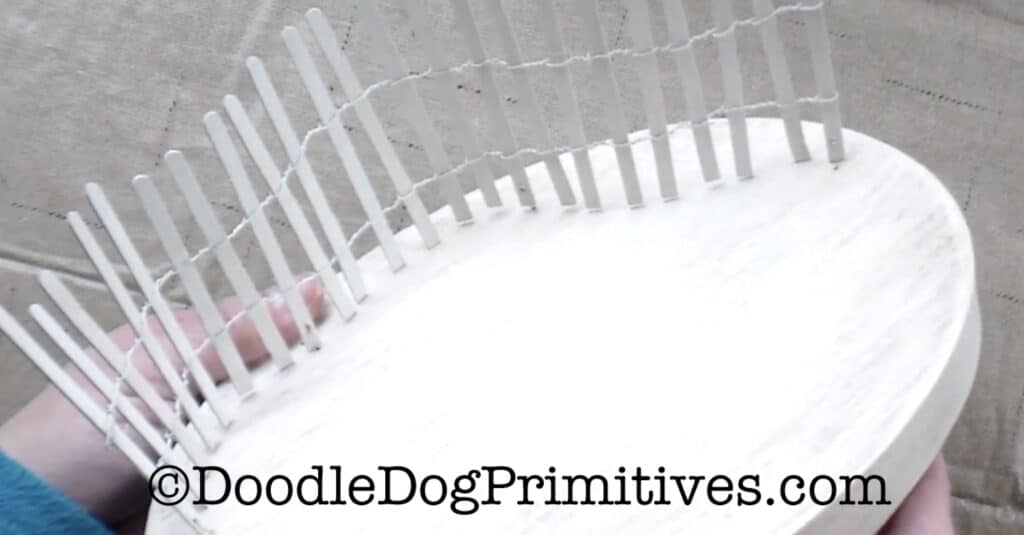
Repeat with remaining wires.
Arrange Cabbage Scene:
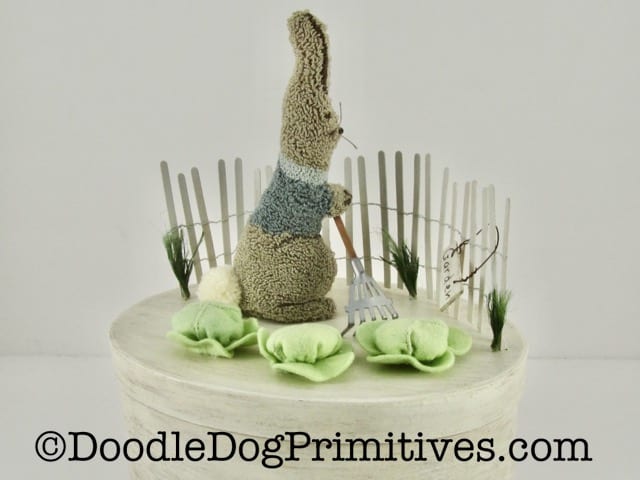
In the cabbage scene,
I used this finished punch needle bunny,
a small garden sign,
(I made this by painting a small – 1-3/4″ x 1/2-3/4″ board white, stenciling the word ‘Garden’, and adding a rusty wire hanger.)
a small rake,
(You can find small garden implements like this in the miniature or fairy garden section of hobby stores.)
and three small cabbages that I made by following these directions.
(I used wool felt and started with a 3″ diameter circle for the center of the cabbages.)
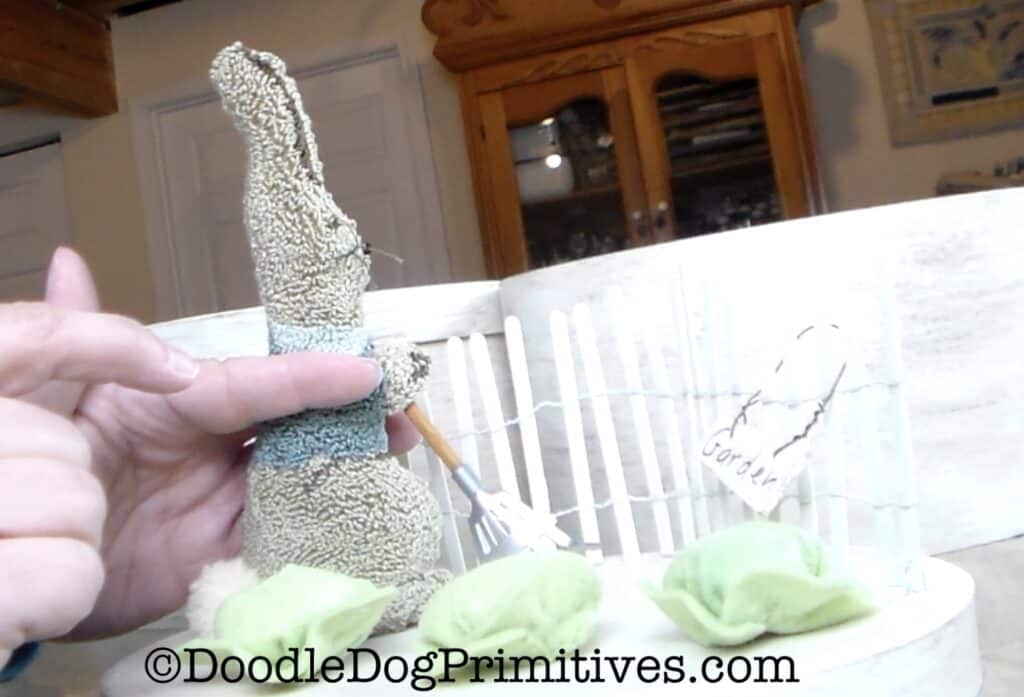
Move the items around on the top of the box
until you like the arrangement.
Attach the Rake to the Bunny’s Hand:
Use a needle and thread to sew the rake to the back of the bunny’s hand.
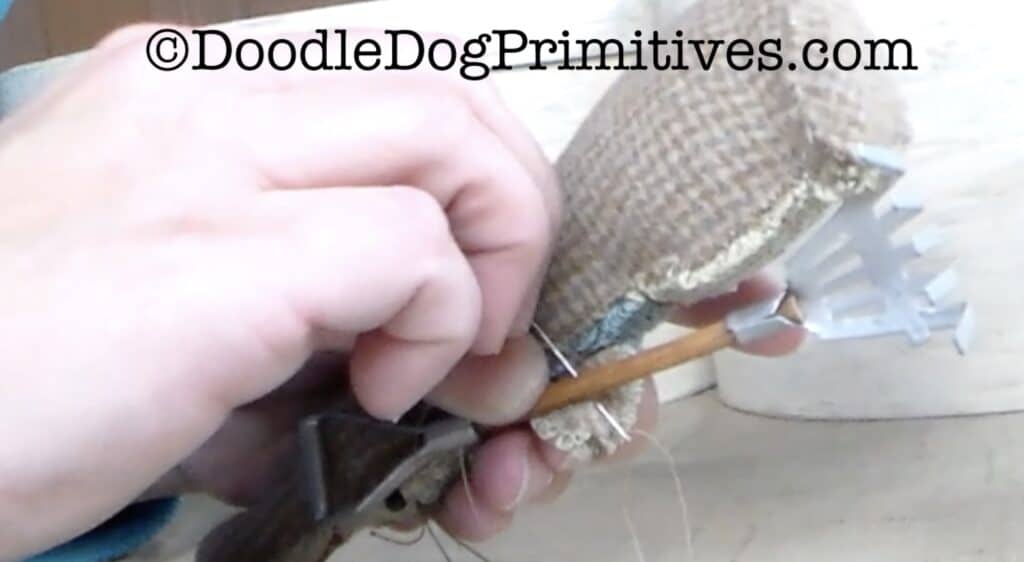
Add a little bit of glue on the back of the bunny’s hand
to keep the rake in place.
Attach Cabbages and Bunny to box:
Glue the bunny and the cabbages to the box using a tacky craft glue.
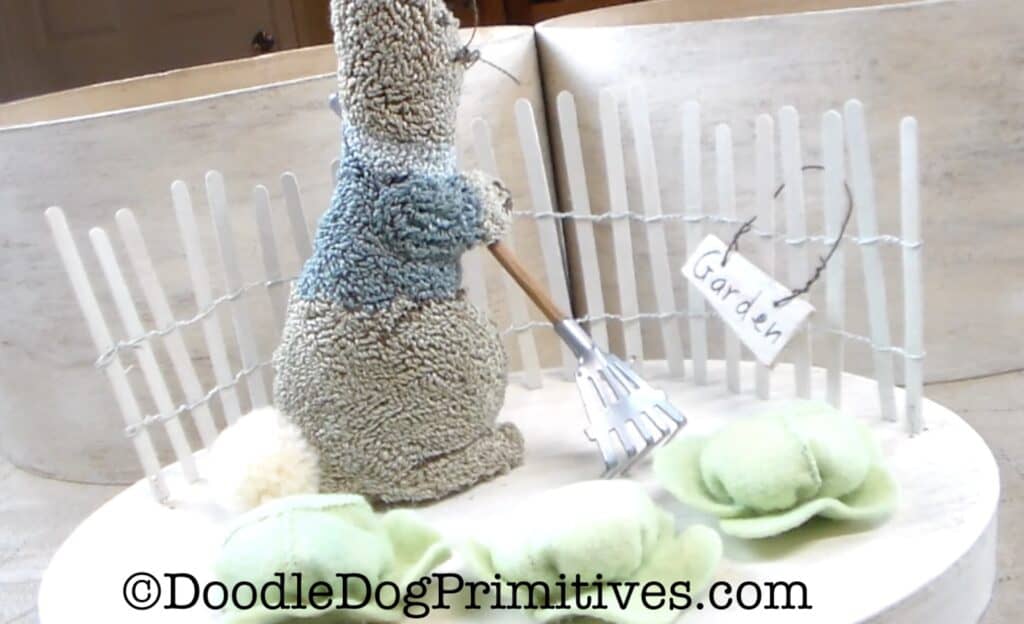
After I had everything glued together, I realized it looked a little pale
so I decided to make some sprigs of grass to put around the fence.
Making the Grass Sprigs:
Tie overhand knots into a 12″ piece of jute
at random intervals ranging from 1/2″ to 1-1/2″.
Cut below each knot so each piece of jute has a knot and a length of string.
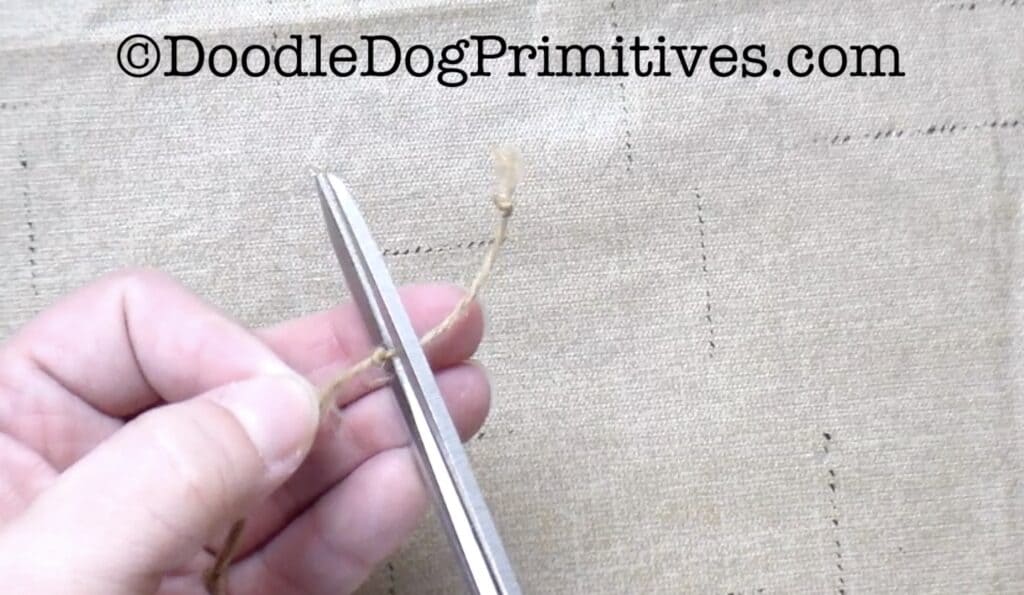
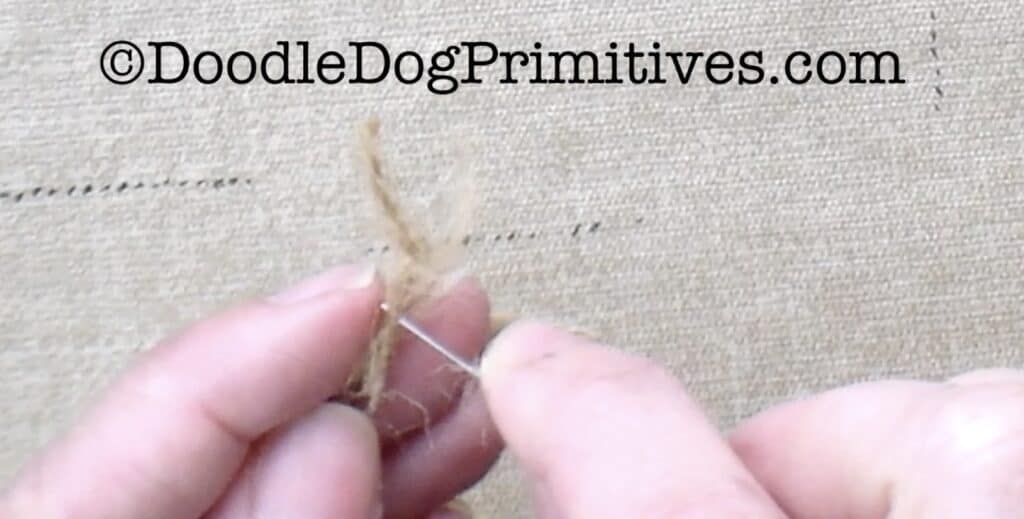
Use a needle or pin to untwist the strings in each piece of jute.
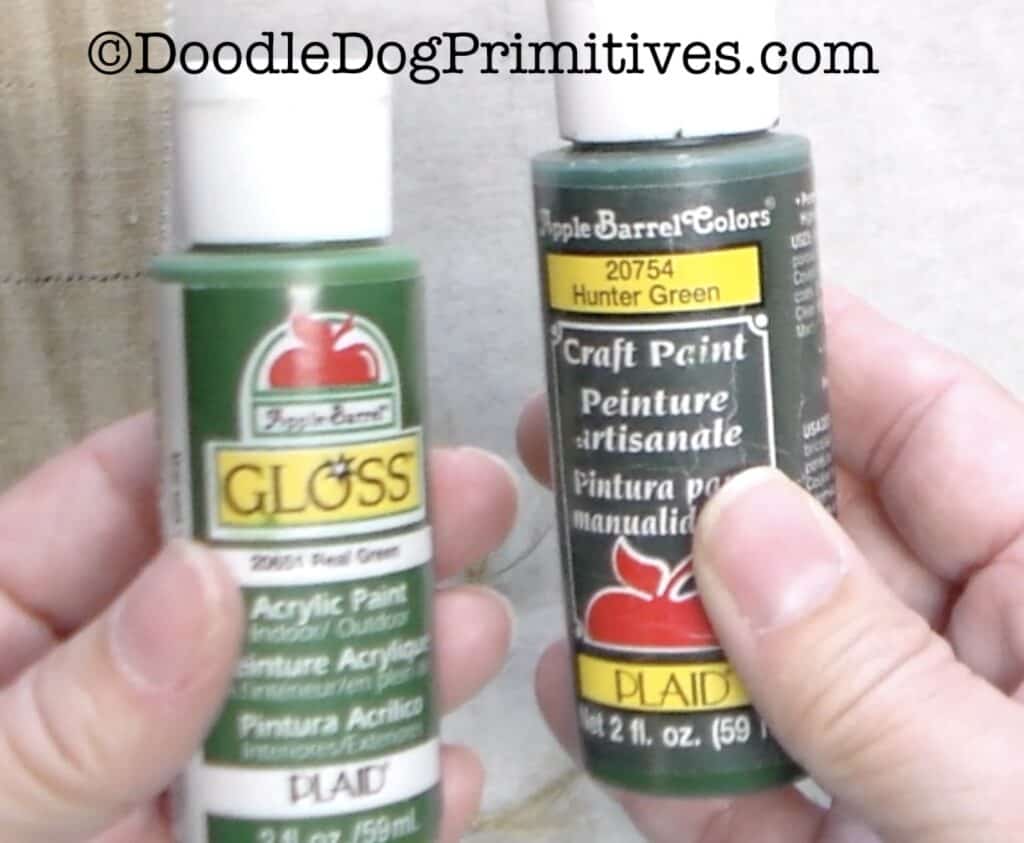
To paint the grass, you will need a dry stiff paint brush
and some green craft paint.
I used two different colors of green.
Dab the paintbrush into the craft paint, blot it off onto a paper towel
and then lightly paint the untwisted jute strings.
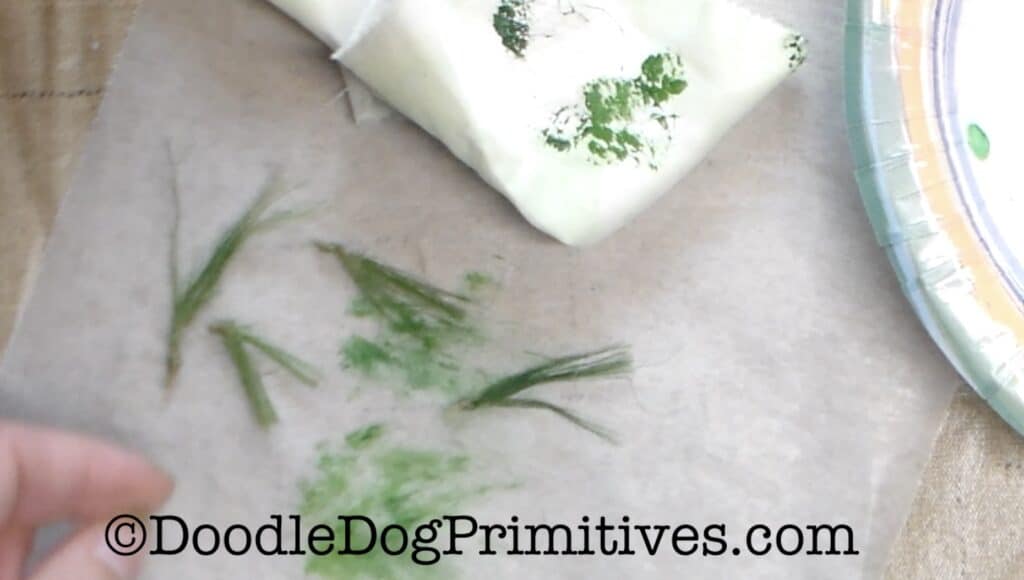
After the paint is dry,
bundle up a few sections together to create a nice grass arrangement.
(You might have to separate the strings again if the paint globbed them together.)
Cut off the knots and dip that end into some craft glue.
Massage the glue into the string to make sure it gets around all the strings.
Squeeze the glued end together to make sure all of the grass stays together.
Set aside to dry.
Repeat to make a total of three grass clusters.
Apply glue to the bottom and along one side of a cluster of grass.
Place the grass in the front of one of the end fence posts.
Press the glued side up against the fence.
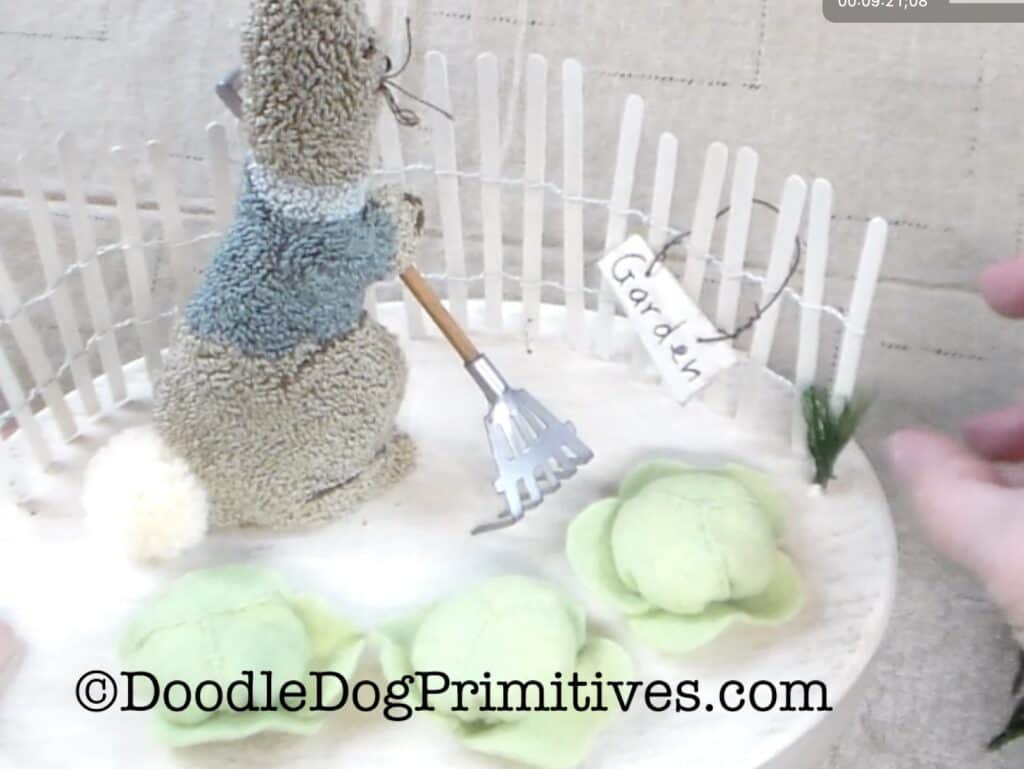
Repeat to add another cluster of grass
at the other end of the fence and one in the middle.
Add Weight to the Bottom of the Box:
When the lid is added to the paper mache box, it will be slightly top heavy.
So, I created a weight to add to the bottom of the box.
Trace the outline of the box onto a folded over piece of fabric.
Cut out two ovals along the traced line.
Sew a 1/4″ seam all the way around the oval, leaving an opening for filling.
Fill with a heavy stuffing such as
crushed walnut shells, stuffing pellets, or kitty litter.
Sew hole closed.
Glue this weight into the bottom of the paper mache box.
Glue Top onto Box:
I don’t want people opening the box and unwinding the wires,
so I glued the box lid onto the paper mache box.
Put glue around the rim of the lid and then place the lid onto the box.
Make sure the seam of the box is towards the back
when you place the lid onto the box.

Now, let’s make the carrot garden scene.
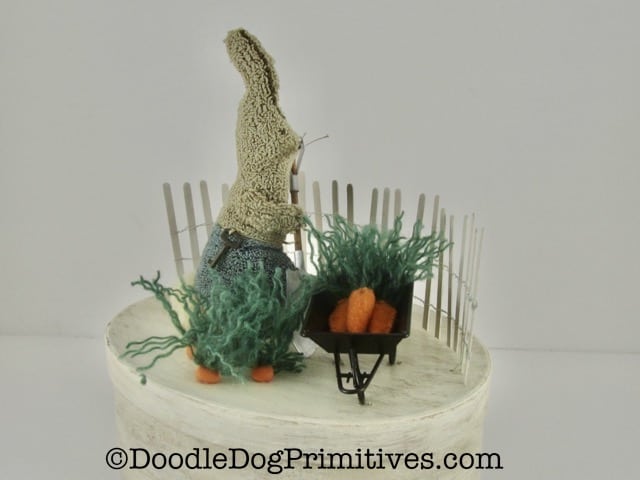
Supplies for Carrot Garden Scene:
Supplies Used:
- 9-1/2″ wide finished oval paper mache box
- Finished punch needle bunny
- Old key
- Craft Glue
- 10″ length of mini fence
- Thin Jute
- Green yarn
- 5″ Mini shovel
- Thin wire
- Crushed walnut shells or stuffing pellets
- Small wheelbarrow
- Orange wool
- Orange Sculpey clay
- Stuffing
- Drill
- Basic sewing supplies
Follow the instructions above to prepare the box and add the fence.
Make the Carrot Tops:
Make three 1/2″ diameter balls out of orange Sculpey clay.
Flatten the bottom of each ball and leave the other side slightly rounded.
Use a wire to poke two holes through each ball
through the flat side and out the reverse side.
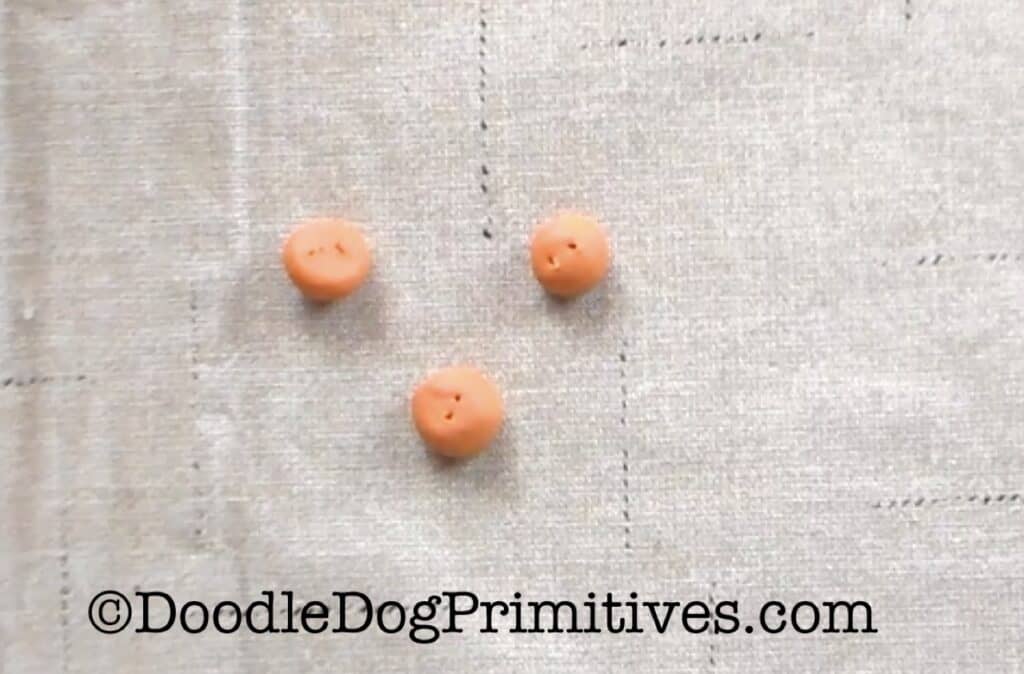
Bake as directed by the clay manufacturer.
Cut three pieces of green yarn about 5″ long and a piece of 4″ long thin wire.
Fold the wire in half and place it over the middle
of the three pieces of yarn.
Pull the ends of the yarn tight with one hand
while using the other hand to give the wire a twist.
This will hold the wire on the yarn.
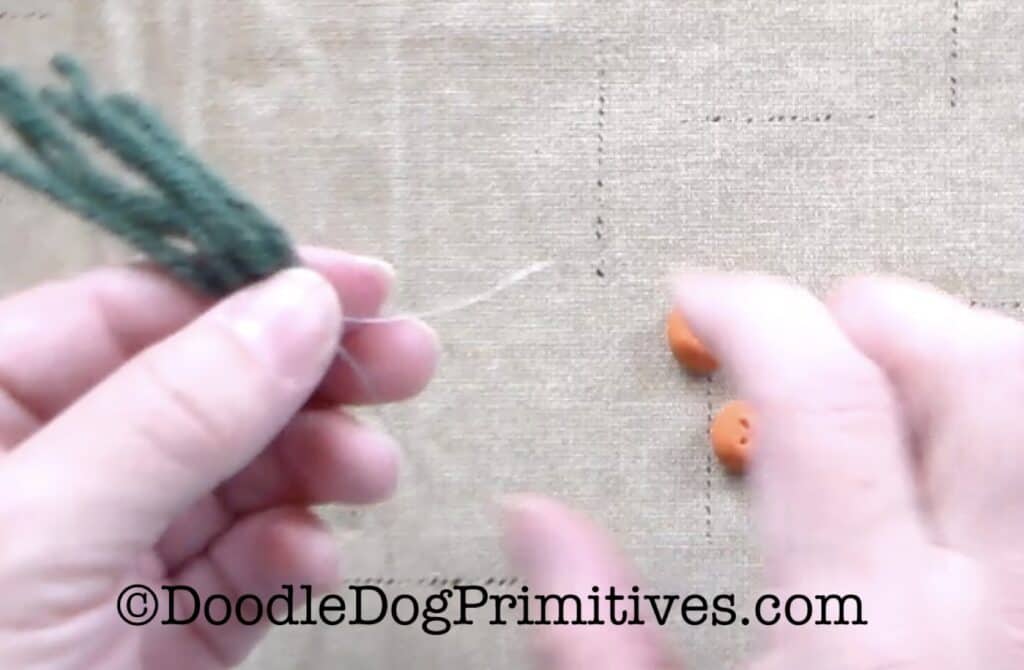
Poke each end of the wire through a hole in one of the clay carrot tops.
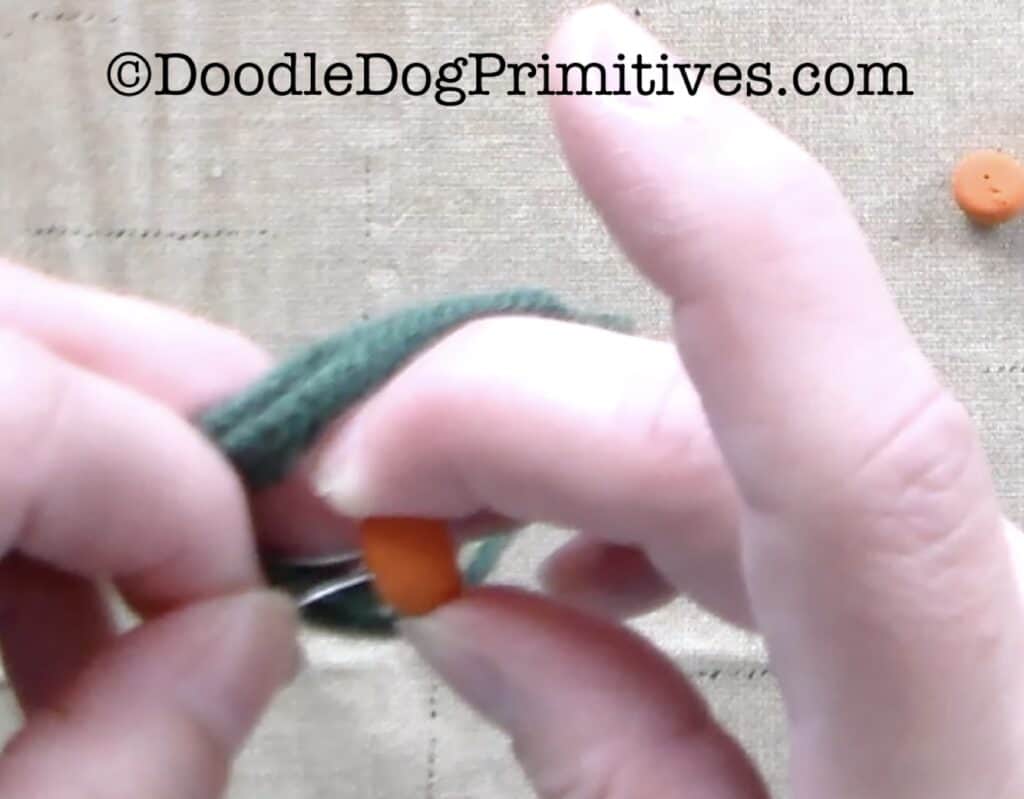
Use the wire to pull the yarn tight against the carrot top.
Twist the wire a single time on the bottom of the carrot top.
Separate the yarn into single ply yarn
to create a leafy look for the carrot.
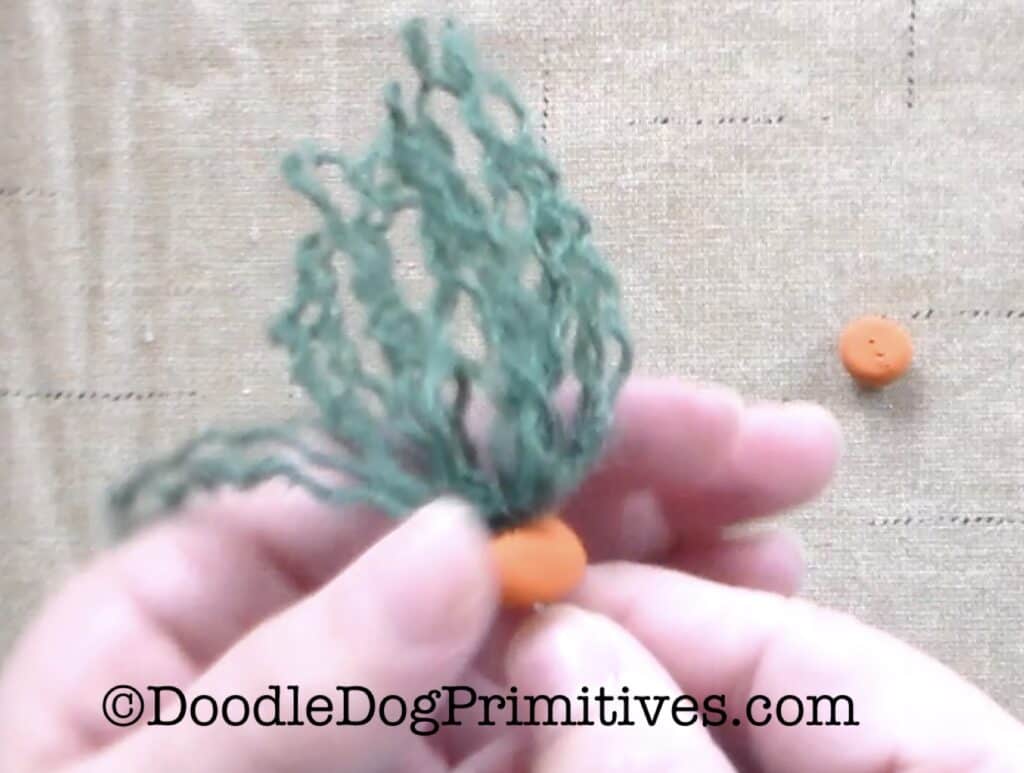
Repeat for other two carrots.
Prepare the Punch Needle Bunny:
This punch needle bunny was punched using this pattern
with a slight modification.
Instead of drawing the bunny’s shirt to punch,
I drew a line straight across the waist
and another line at the top of his hind leg.
I punched his pants the same color as the pattern uses for the shirt.
Then, I took an old key and tied it onto a piece of thin jute.
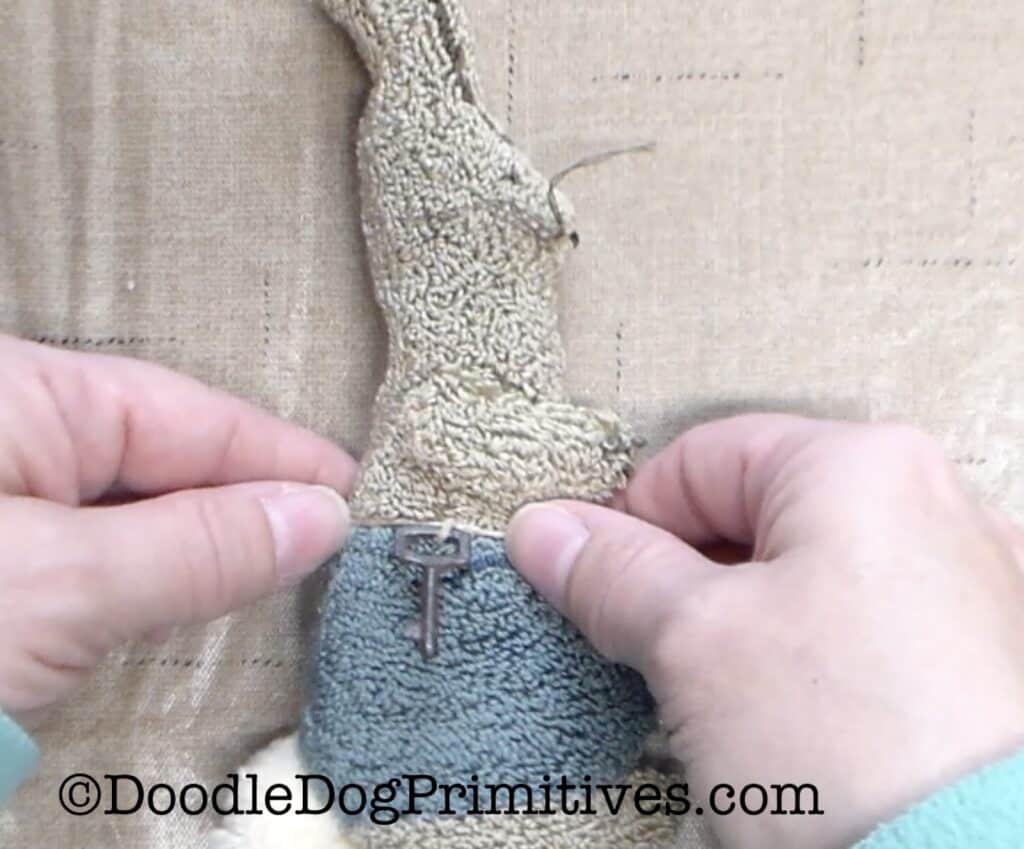
Place the jute along the upper edge of his pants like a belt
and tie it at his front waist.
Clip off the extra jute.
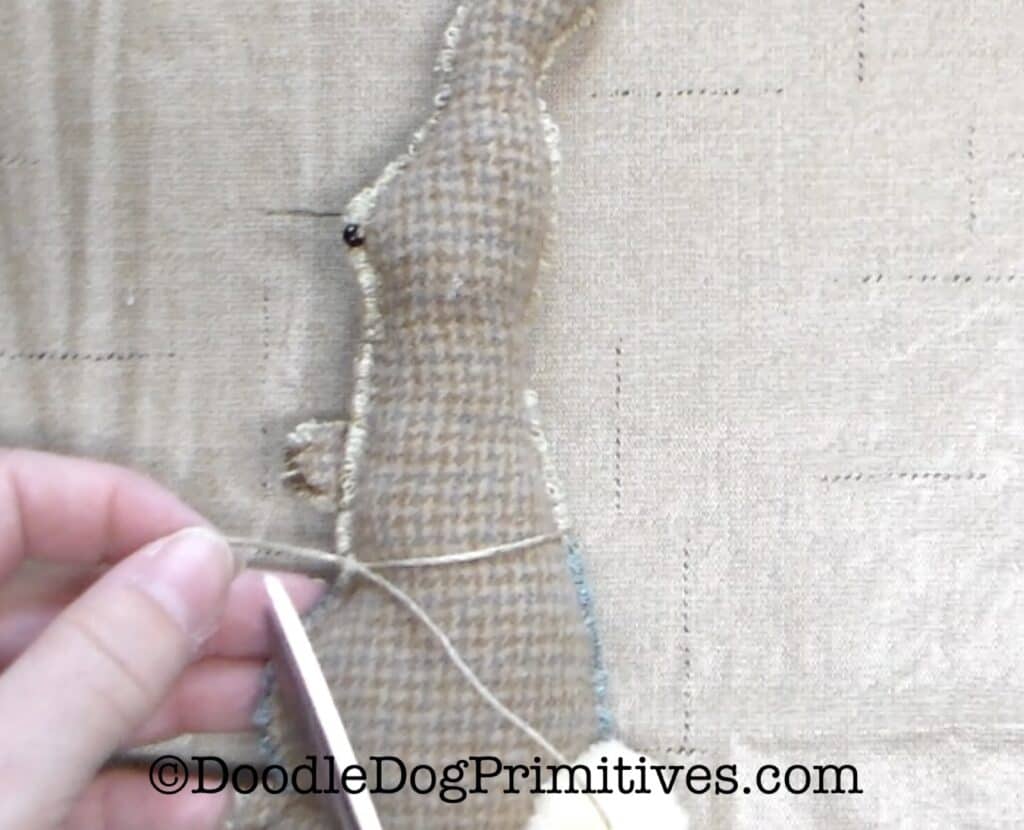
Attach the shovel to his hand in the same manner
as the rake was attached to the other bunny.
Wheelbarrow & Carrots:
I found this wheelbarrow in the fairy garden section of Hobby Lobby.
It was red and I spray painted it black.
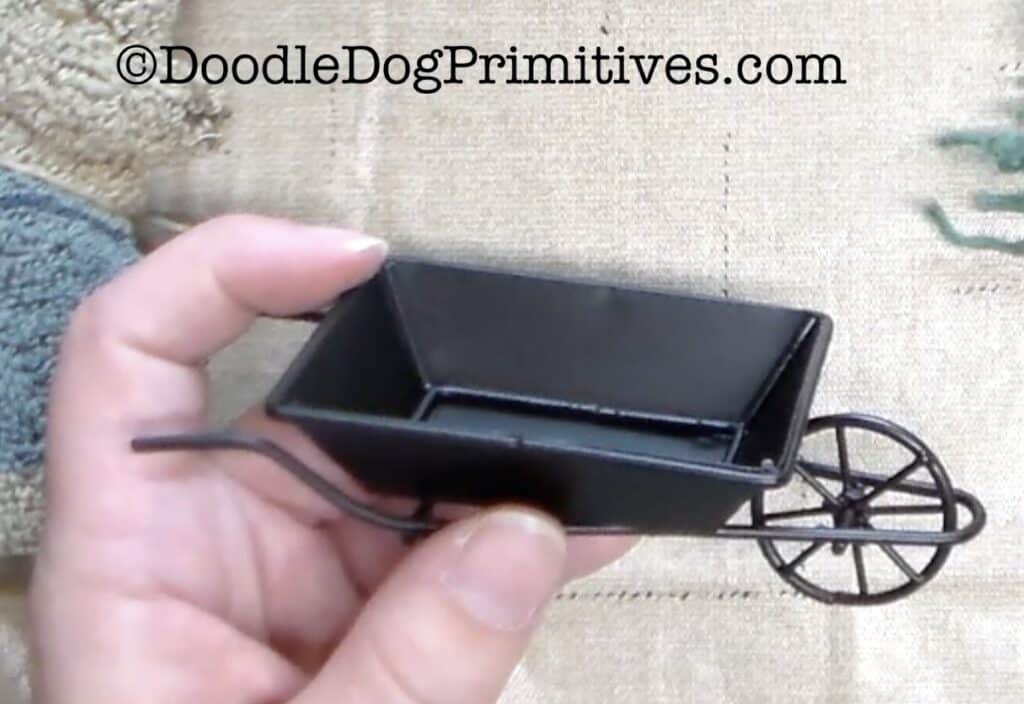
I made three carrots to fit into the wheelbarrow.
Cut three triangles out of orange felted wool, fold each in half
so the two wrong sides are together.
Use orange thread to whipstitch two sides together, leaving the top open.
Fill the carrot with stuffing almost to the top.
Cut pieces of green yarn 3” long.
Stuff one end of the yarn pieces into the top of the carrot.
Use a running stitch to gather the top of the carrot; sew the top closed.
Fluff out the ends of the yarn.
Glue the carrots into the wheelbarrow.
Clip the carrot top yarn if they are too long.
Assemble the Carrot Garden Scene:
Place all the pieces onto the top of the paper mache box
and arrange until you like the scene.
Place pencil marks on either side of each of the wheelbarrow’s legs
and its wheel.
Place two pencil marks under each carrot top.
Drill holes on each pencil mark.
Use wire to attach the wheelbarrow
in the same way you attached the fence.
Use the wire on the carrot tops to attach them
to the box lid in the same way.
Trim the carrot tops if necessary.
Glue the bunny onto the box lid.
Add a weight to the bottom of the box
and glue the box lid onto the box as described above.

I hope you enjoyed these punch needle garden scenes tutorial.
I would love to see what you create!
Blessings,
Amy
Pin this Punch Needle Garden Scenes Tutorial:
