• Skip to main content
  • Skip to primary sidebar
  • Skip to footer

DoodleDog Designs Primitives

Punch Needle & Primitive Crafts Patterns & Tutorials

  • Home
    • Blog
  • About
  • Free Patterns
    • Free Pattern Library
    • Primitive Sheep
    • Calico Cat
    • Key to My Heart
    • Jack-o-Lantern Patterns
    • Pumpkin and Crow
    • Tractor Wagon
    • Snow Cone Ornament
    • Snowman Bowl Filler
    • Blue Bird
    • Retro Christmas Tree
    • Chick Pin
    • Flowers
    • Horse Love
    • Turkey Make-do
    • The Key to My Heart – Rug Hooking
  • Tutorials
    • Introduction to Punch Needle
    • Punch Needle
    • Rug Hooking
    • Primitive Crafts
    • Home Decor
    • Sewing
    • Vintage Camper
  • Patterns
    • Punch Needle
    • Rug Hooking
  • Shop

How to Put a Punch Needle Project in a Tin

By Amy

Punch Needle Project in a Tin

Today, I am going to show you how to plan the pattern size, punch, and attach a punch needle project in a tin.


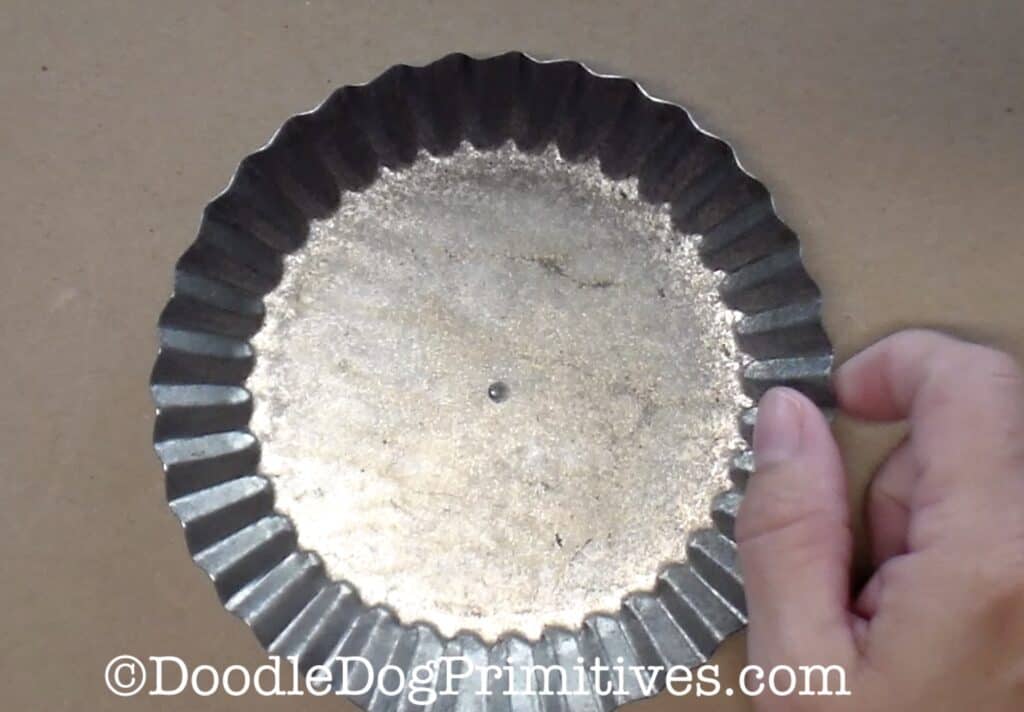
I came across this vintage tin at a flea market

and snagged it so I could put a punch needle project inside.

vintage tin

Planning the Punch Needle Pattern:

First, you want to determine how large to make the punch needle project. 

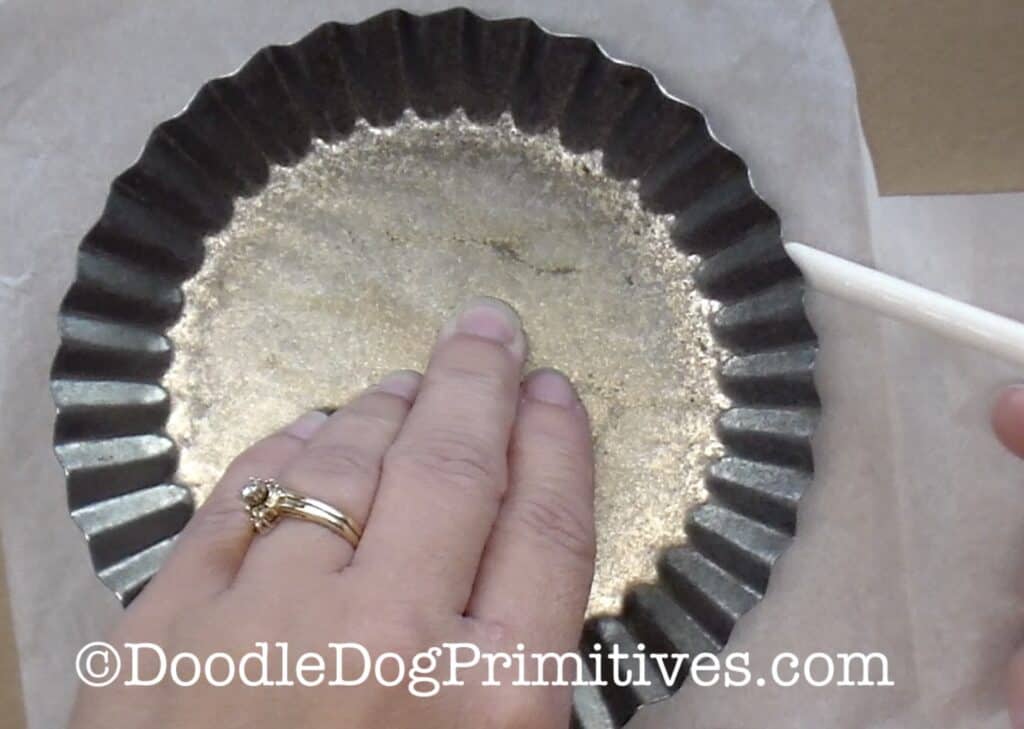
To do this, place the tin on top of a piece of tissue paper.

Trace around the bottom of the tin.

Trace around the bottom of the tin

Once you have the outline of the tin on tissue paper,

place the the tissue paper over the punch needle pattern you want to use.

I am using this Welcome Summer punch needle pattern.  

Place tissue paper over punch needle pattern

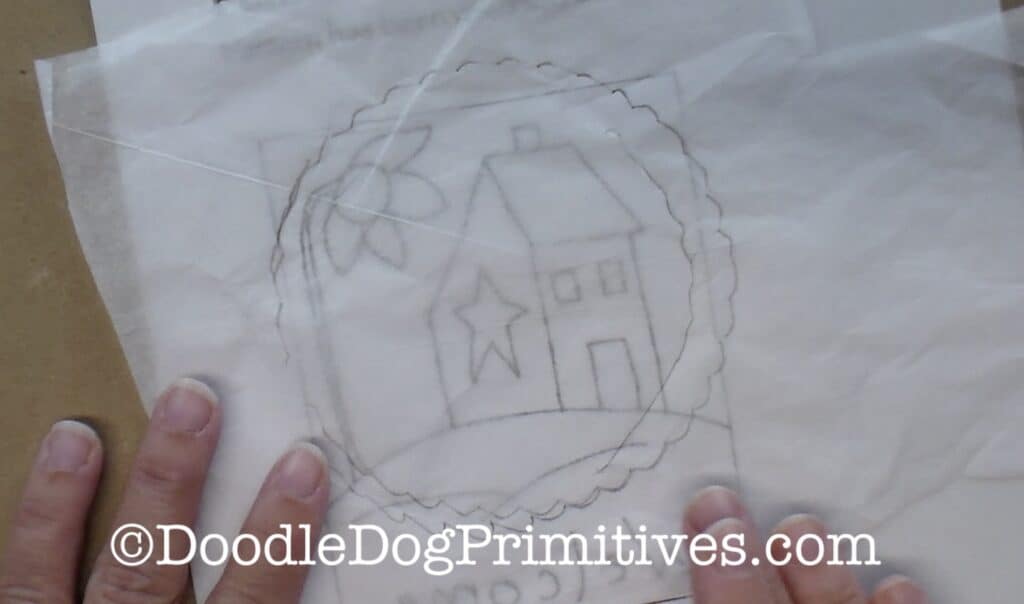
Move the tissue paper around until you have it placed

inside the tin outline like you want.  

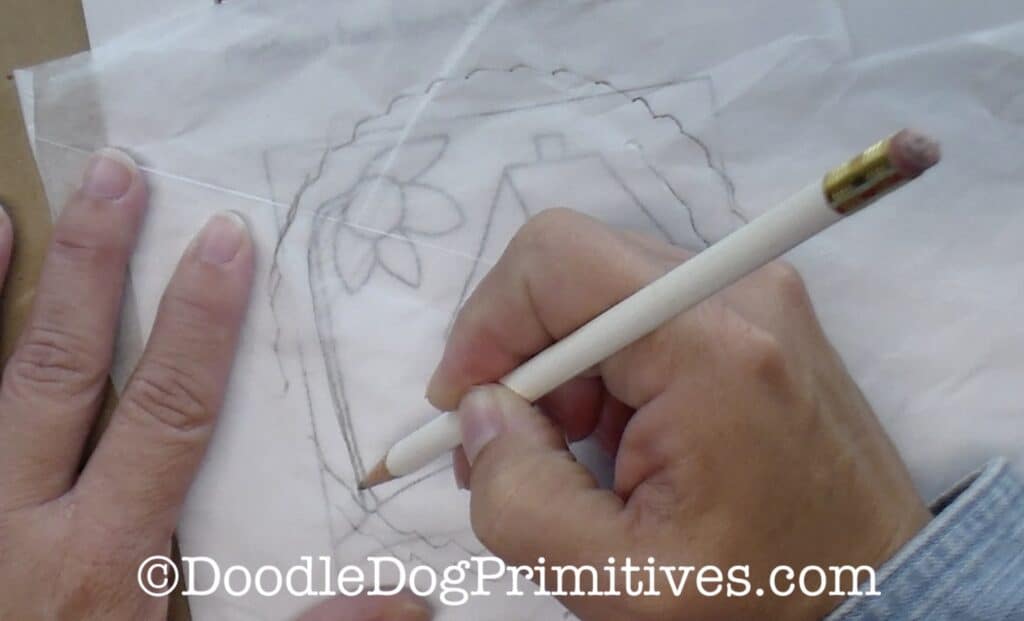
Trace the parts of the pattern that are inside the outline

onto the tissue paper. 
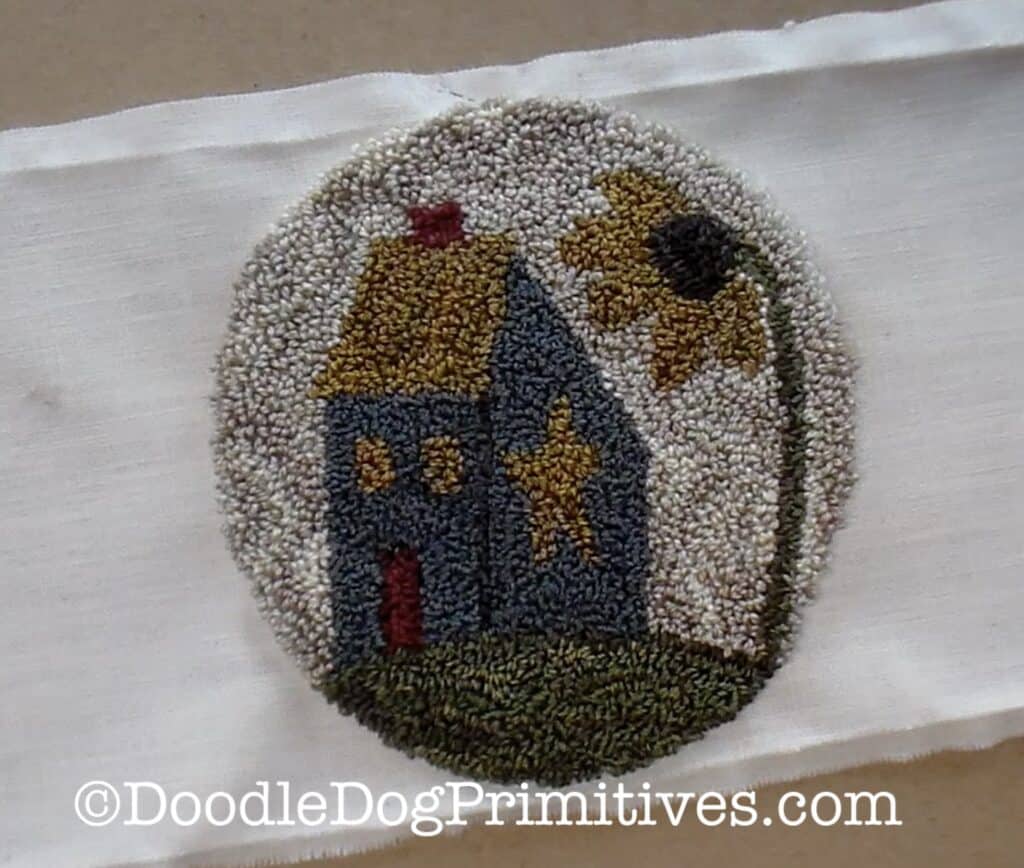
Punch the Pattern:

Take the tissue paper pattern and trace it onto weavers cloth

and punch as usual.  

punched project

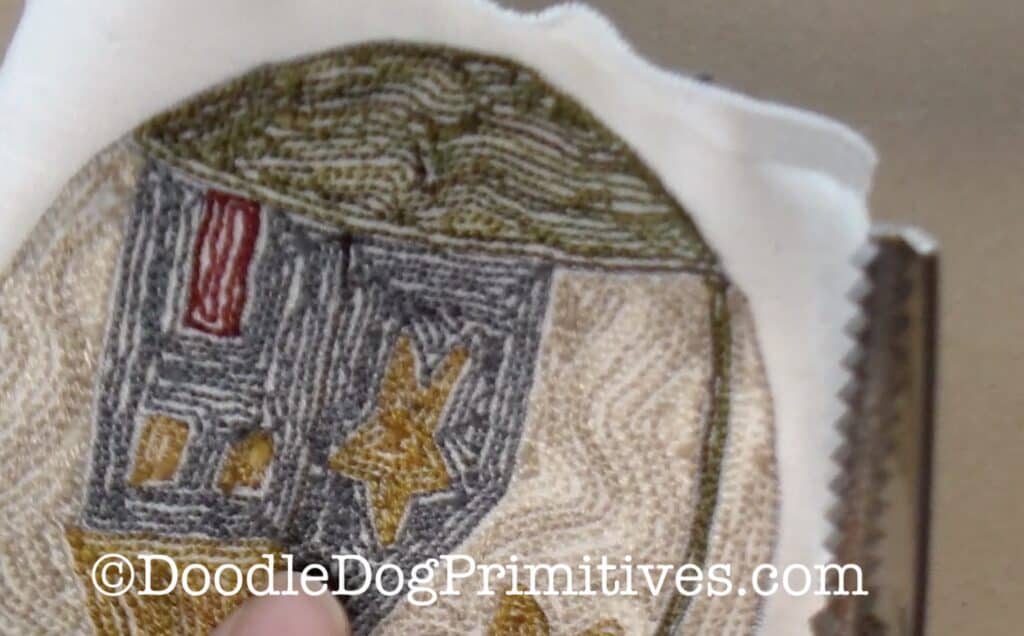
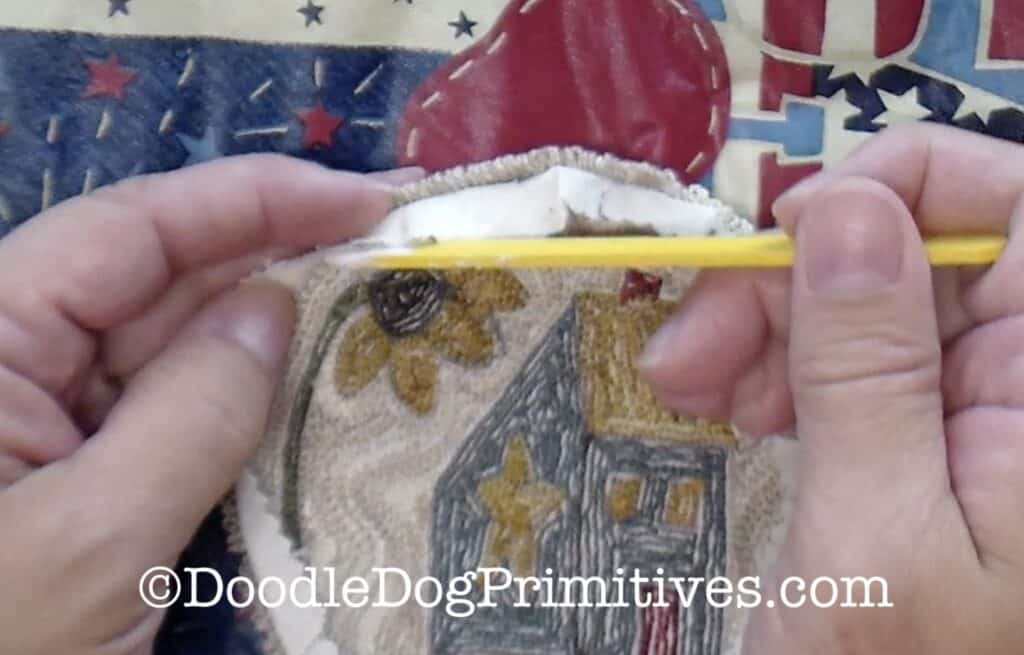
Trim the empty weavers cloth around the project

to about 1/4  – 1/2 inch all the way around. 

I used pinking shears to keep the edges from raveling.

pink the edges

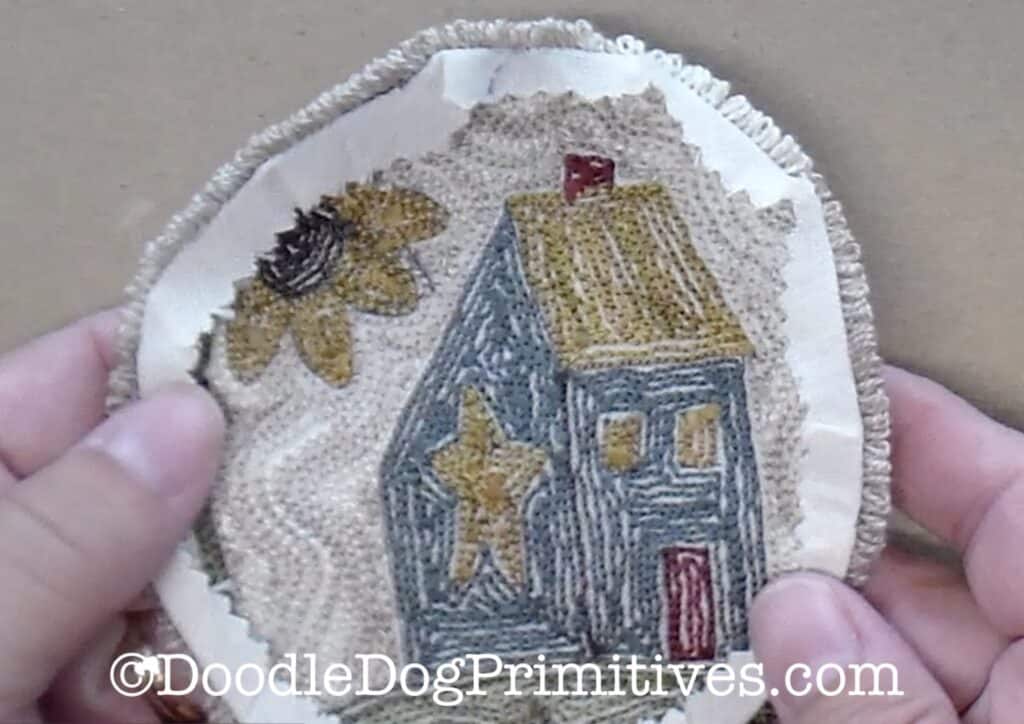
Press the empty weavers cloth to the back.

press empty weavers cloth to the back

Attach the Punch Needle Project to the Tin:

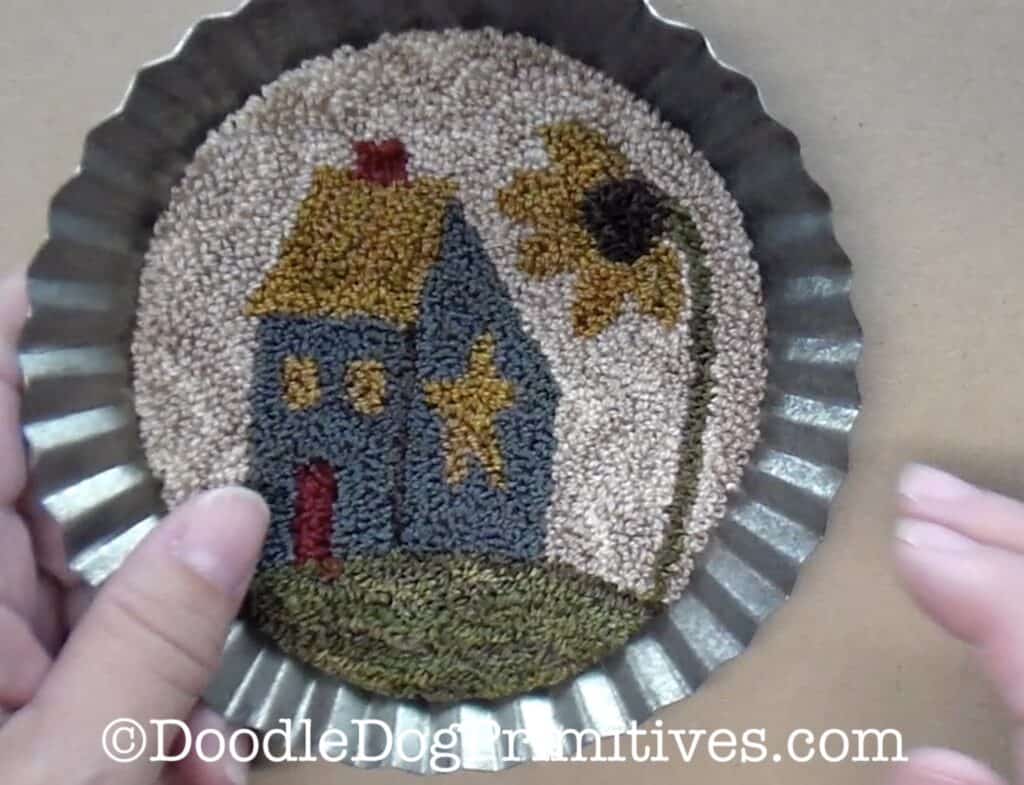
Before attaching the punch needle project to the tin,

place the project inside the tin to make sure it fits properly.  

check fit

If you want to be able to change out the design in the tin,

you could use velcro to attach the punch needle design to the tin.  

I am going to keep this design in the tin so I am going to use a craft glue.

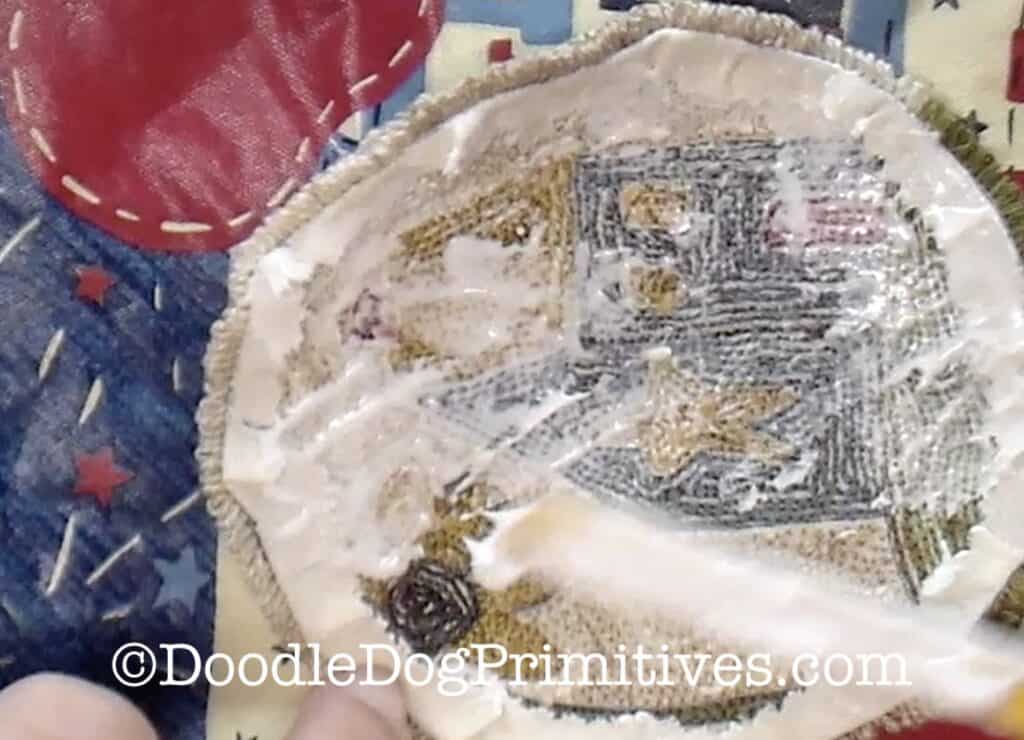
First, glue down the pressed back edges.  

I use a popsicle stick to apply the tacky glue.

glue down pressed back edges
Sign me Up!

Then, apply a thin layer of glue to the entire back of the project. 

apply glue to back

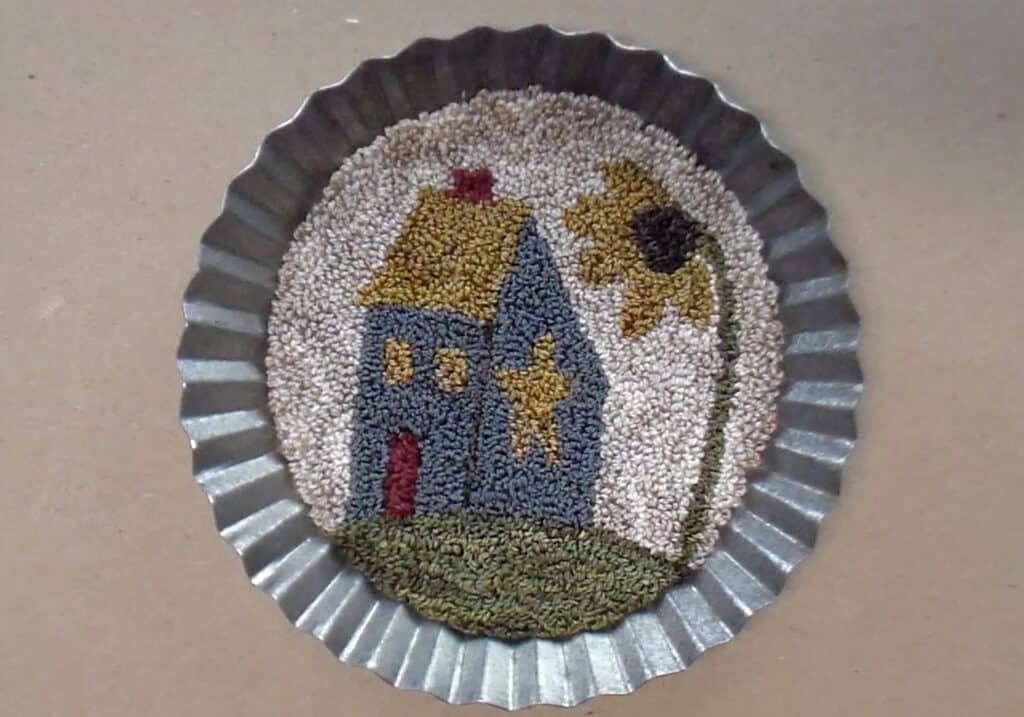
Finally, turn the punch needle project over

and place it inside the tin. 

Firmly press down the project everywhere. 

Allow to dry.

finished punch needle project in a tin

Blessings~
Amy

Watch the video:

Be sure to Pin this Punch Needle Tutorial for later!

Punch Needle Project in a Tin

Filed Under: Punch Needle, Tutorials

Primary Sidebar

About Me

Our small farm is nestled amongst the Amish. We have a few cows, some sheep, a labradoodle, one calico cat, and lots of wide open spaces for our children to roam. I enjoy making primitive needle punch, wool creations, and learning how to spin the wool from our sheep. Read more...

Search this Site

Follow Me

  • Facebook
  • Instagram
  • Pinterest
  • RSS
  • YouTube

Did you find my tips helpful?

If so, please feel free to buy me a coffee!


Post Categories

How to Punch Needle
DIY Primitive wax bunnies
Punch Needle Garden Scenes
Primitive Fence Tutorial
Adding 3D Arms to a Punch Needle Project

Footer

AMAZON ASSOCIATES DISCLOSURE DoodleDog Designs, LLC is a participant in the Amazon Services LLC Associates Program, an affiliate advertising program designed to provide a means for sites to earn advertising fees by advertising and linking to Amazon.com.
Wholesale   Disclaimer   Privacy Policy   Terms of Use   Contact Us
Use of this site signifies you are in agreement with the terms of use.

DoodleDog Designs, LLC Copyright · © 2014–2021 · DoodleDog Primitives · All Rights Reserved

This site uses cookies: Find out more.