Previously, we have transferred the pattern to weavers cloth,
put the weavers cloth into your locking hoop,
selected and prepared your threads,
and thread the needle.
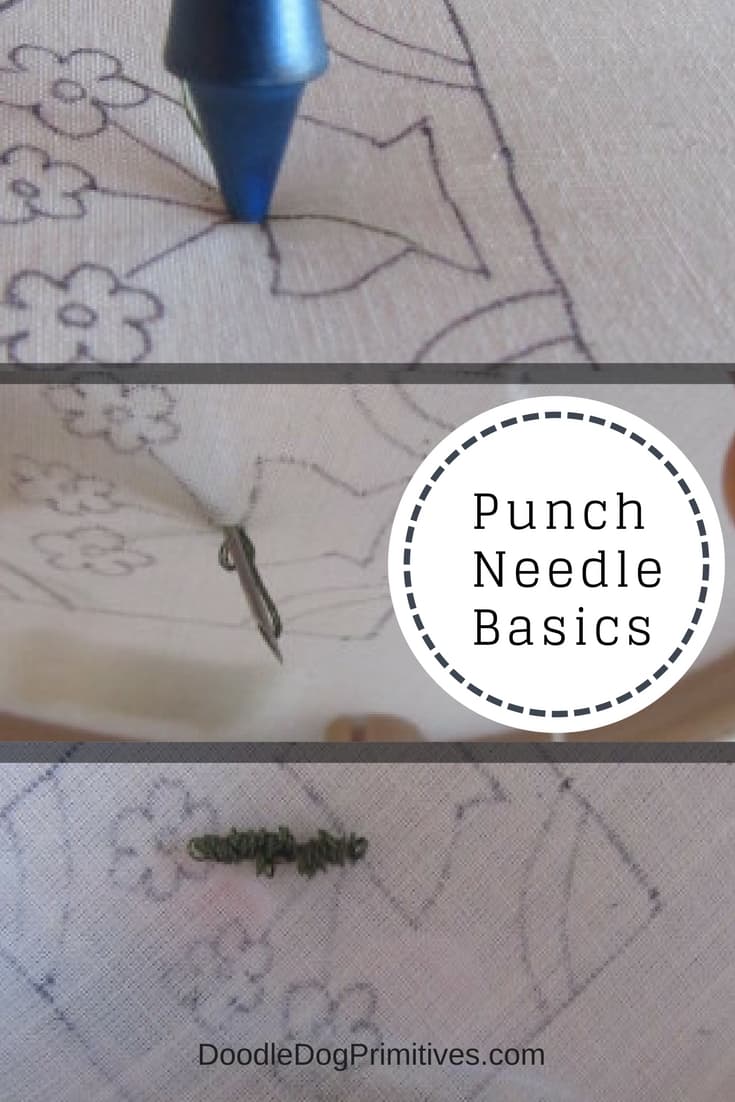
Now we will get to the fun part: punching!
Punch Needle Anatomy:
On your needle at the tip, there is a small round hole on one side
where the end of your thread is coming out.
That is your tail.

When you punch, you want the tail to flow out behind where you have punched.
The grooved out part of your needle is the front.
Let the front lead the way when you are punching.

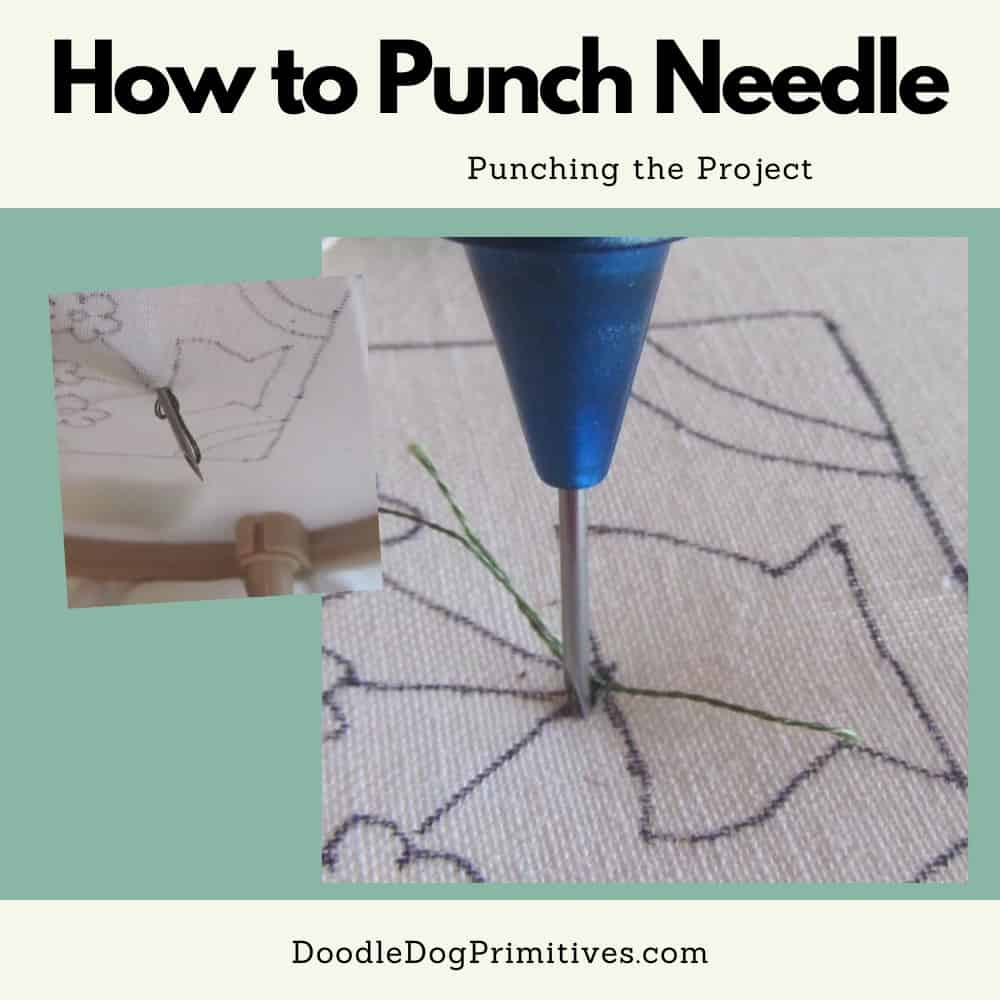
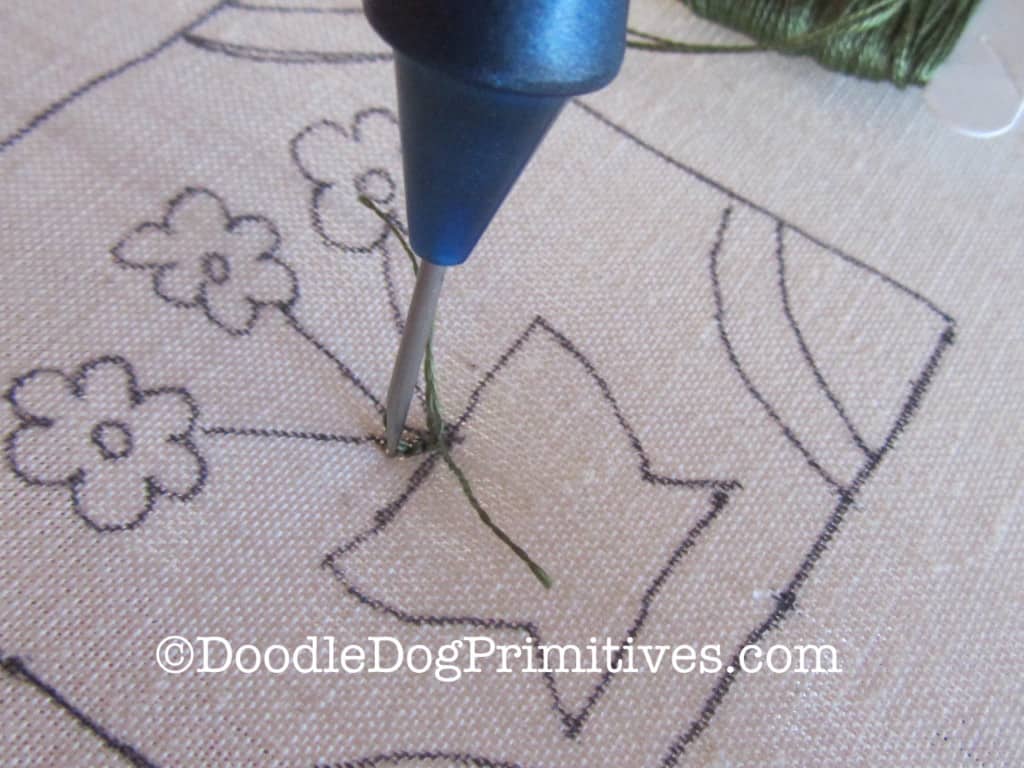
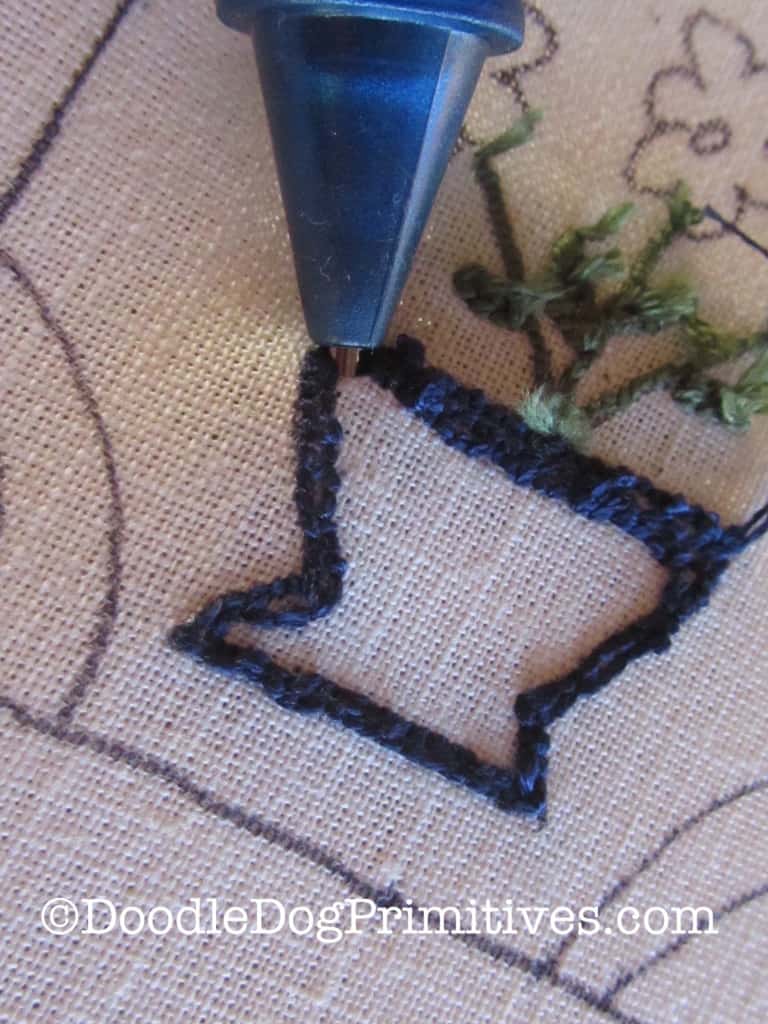
Start Punching:
Start with punching the flower stems.
Follow the lines you drew earlier.
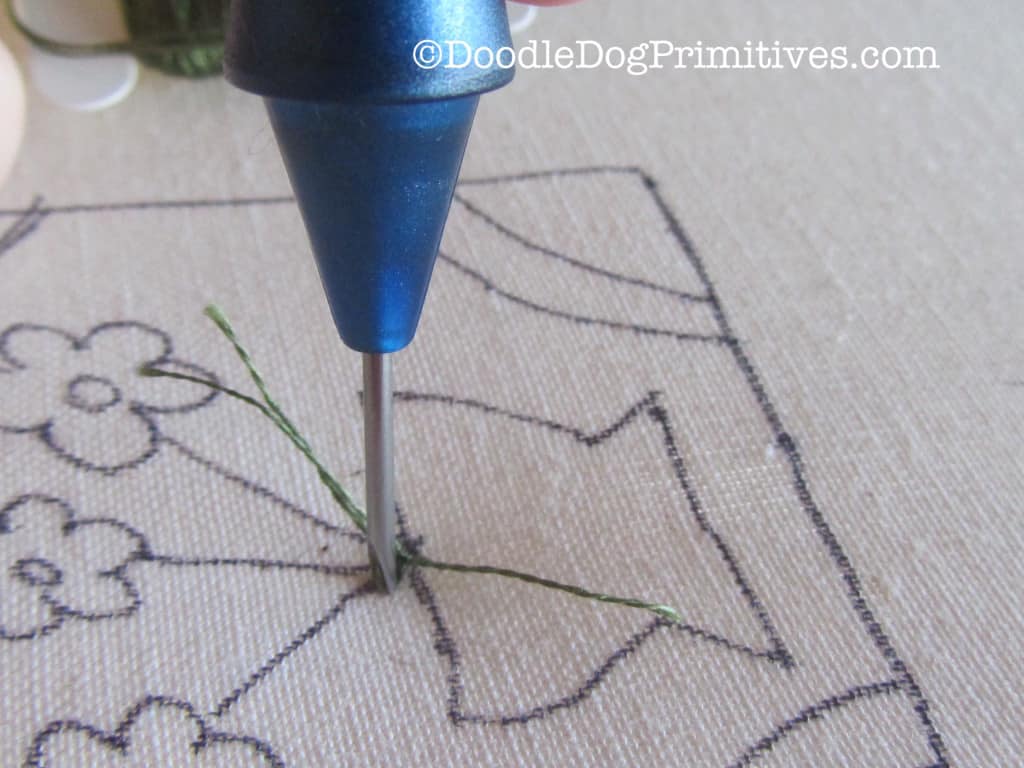
Punch all the way into the fabric until you can’t see the silver part of the needle anymore.
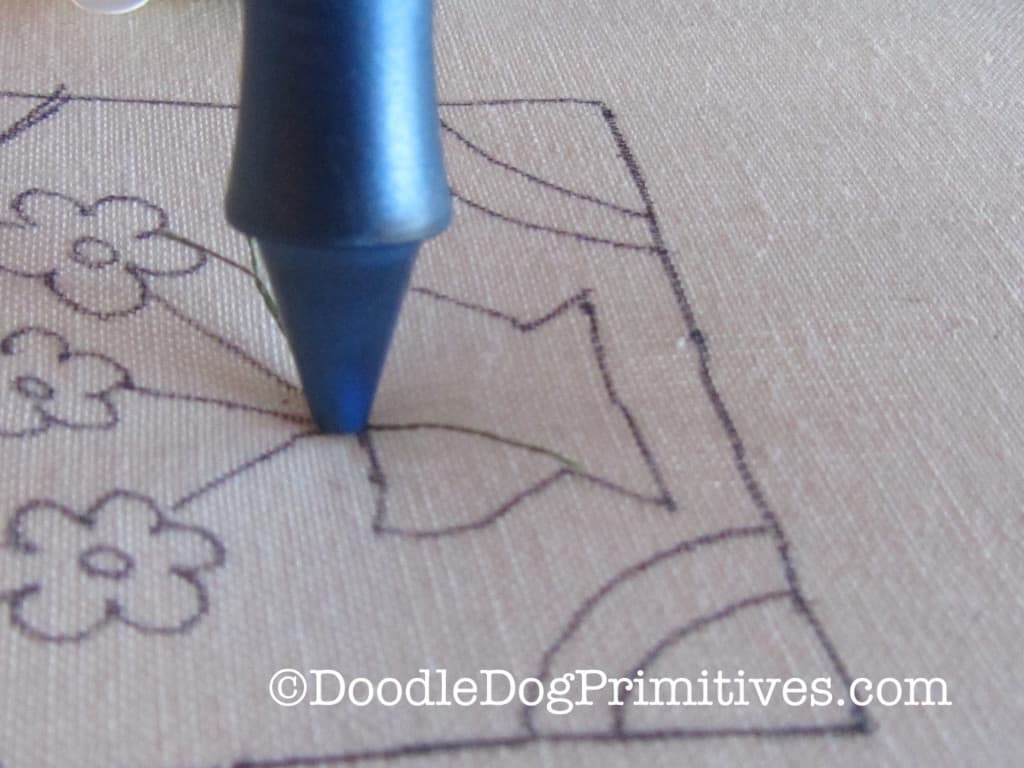
Raise up the needle
just to where the tip of it still touches the fabric.
Then glide the needle forward on the stem line
about the width of the needle
and punch again.
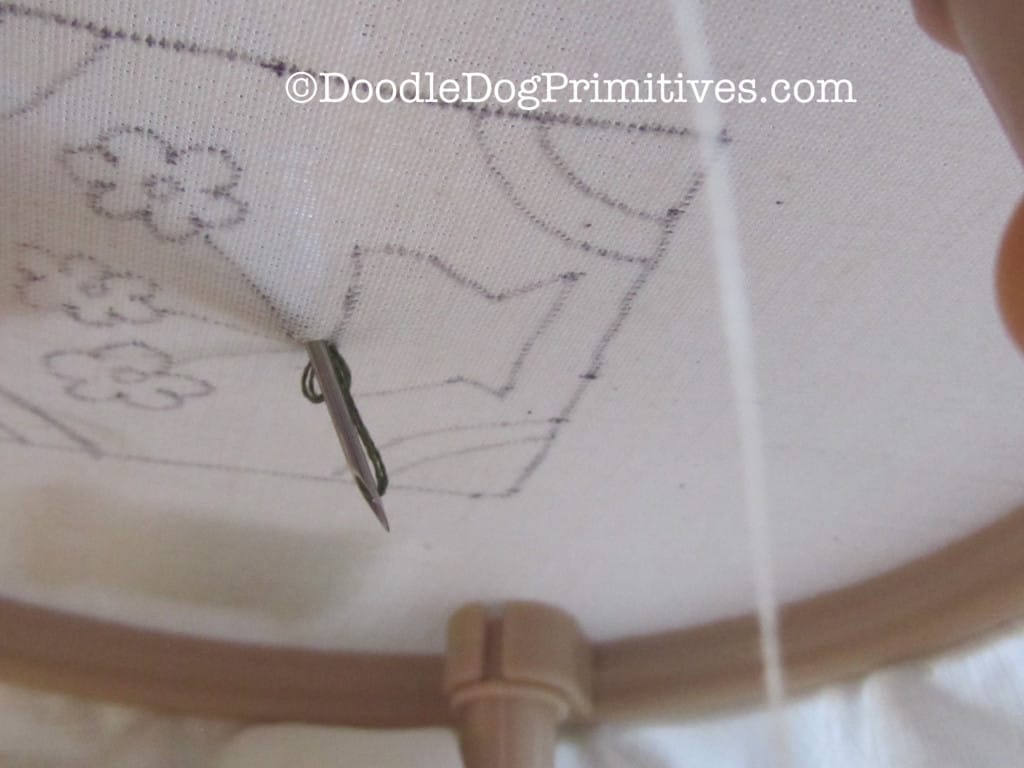
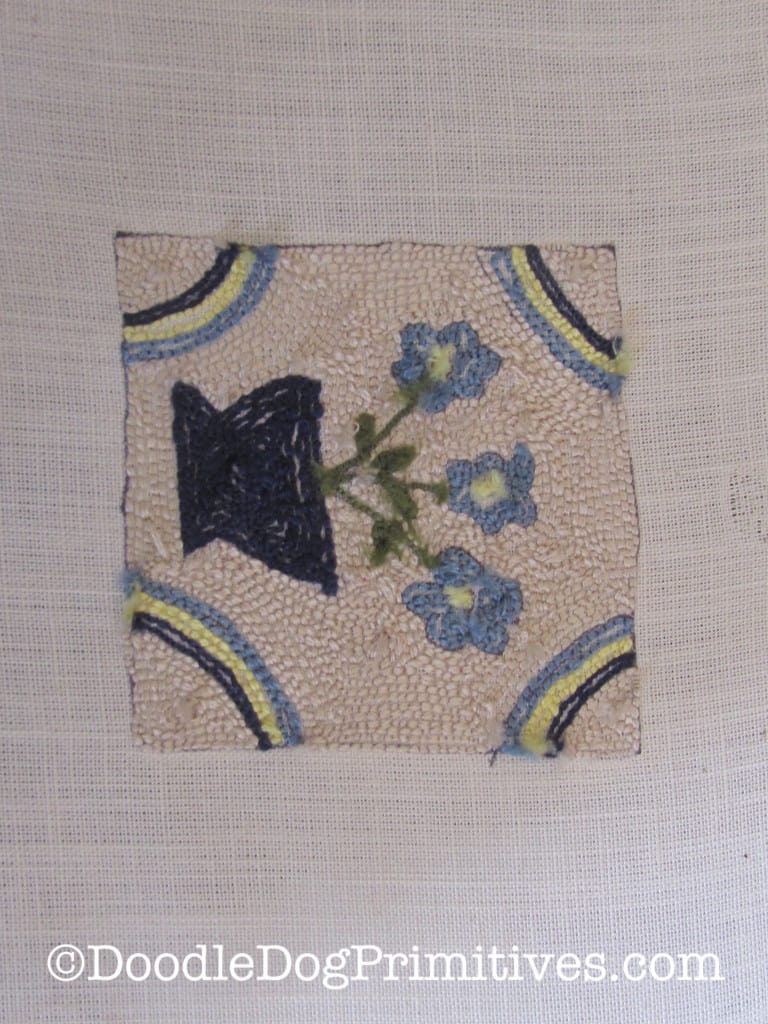
Here’s what it looks like from underneath.
Keep repeating this process until you get to the end of the stem.
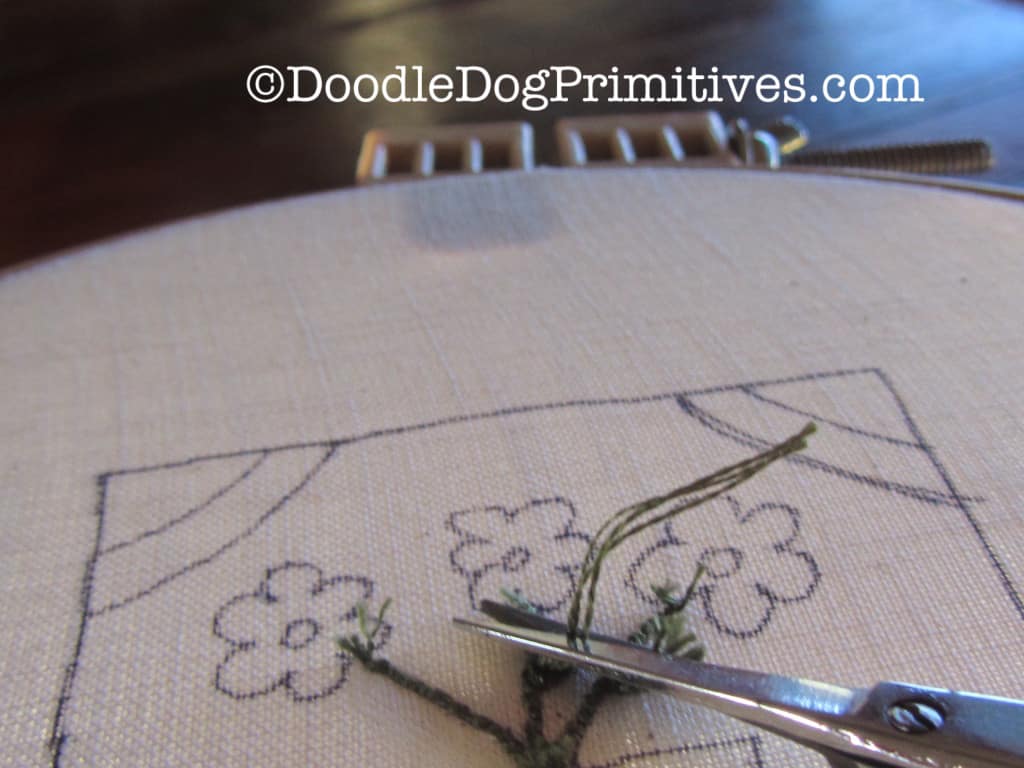
When you finish the stem,
pull the needle up while holding the thread in place on the cloth with your finger
and clip the floss.
You are making a row of little loops on the underneath side of the fabric.
To punch an object, punch the outline first and then fill it in.
Do areas that are inside other areas first.
So, punch the middles of the flowers before punching the flower petals.
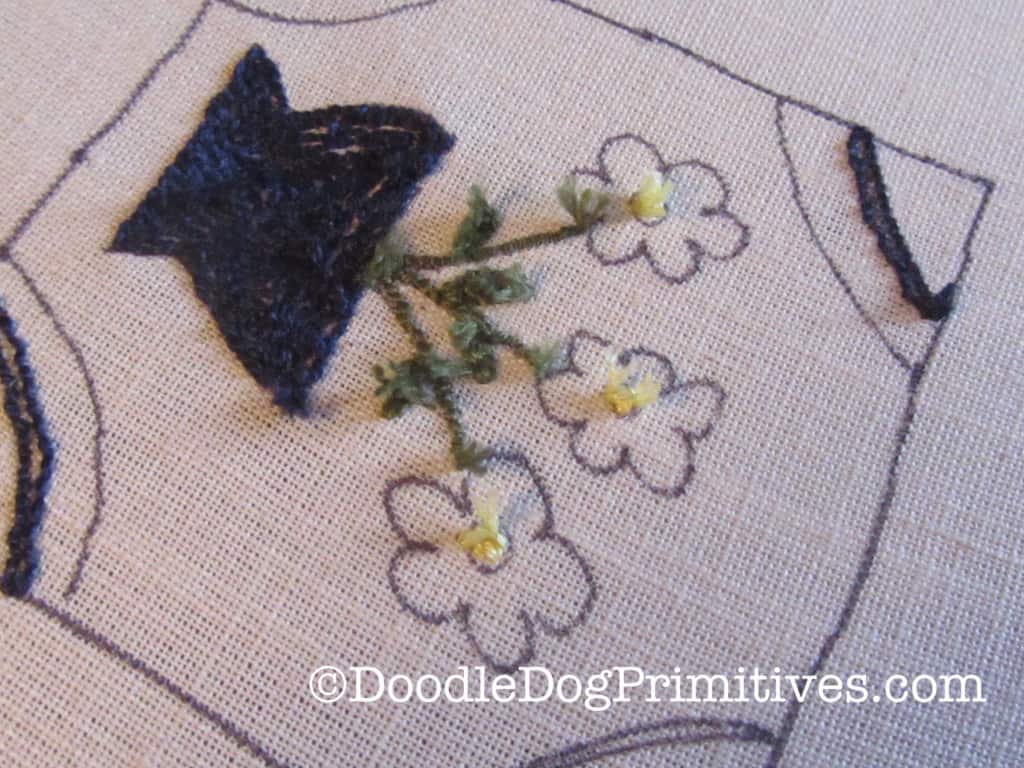
I also punched the corners when I had the correct color in the needle.
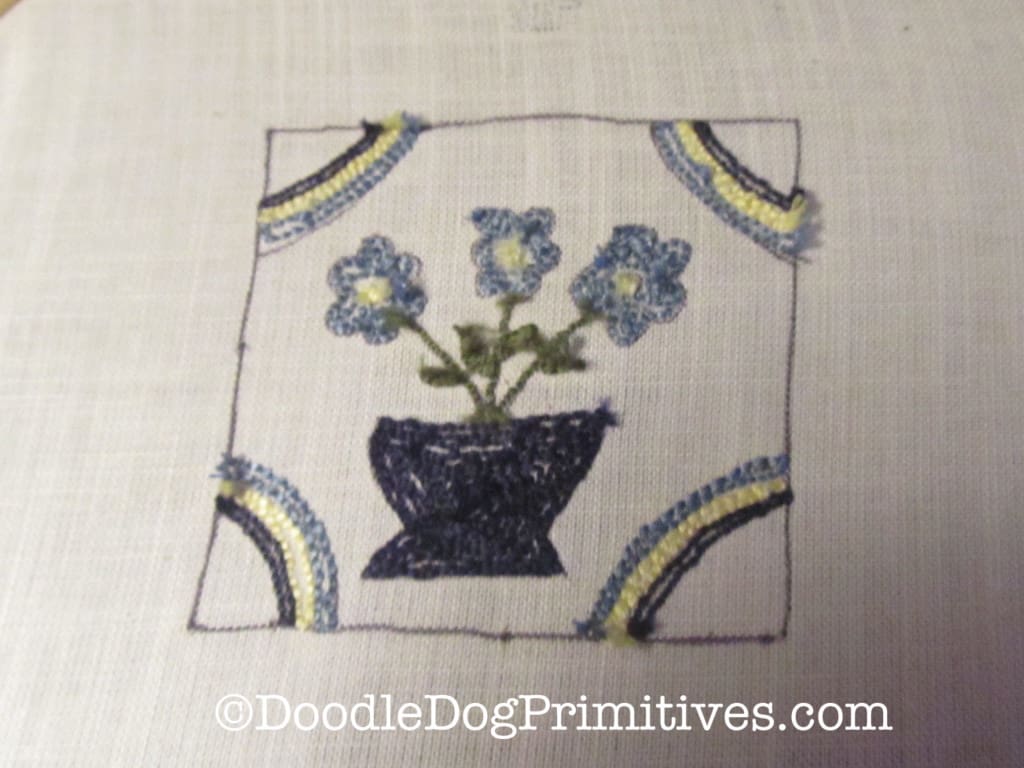
When you fill in the background,
punch the outline first, then fill in the rest.
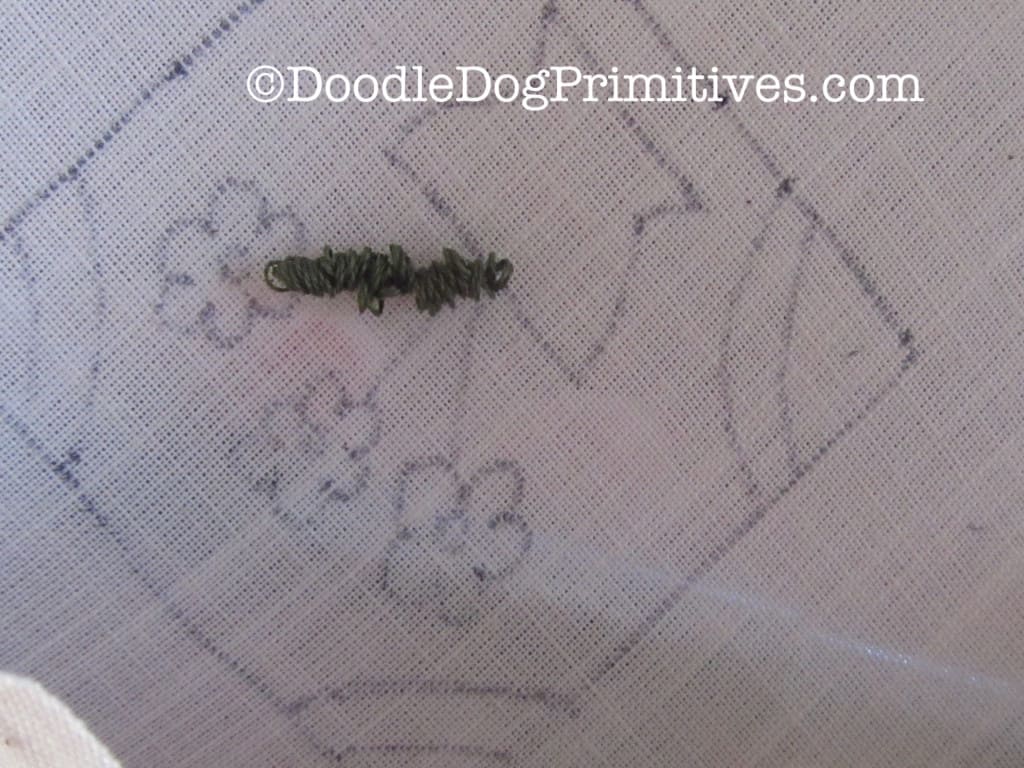
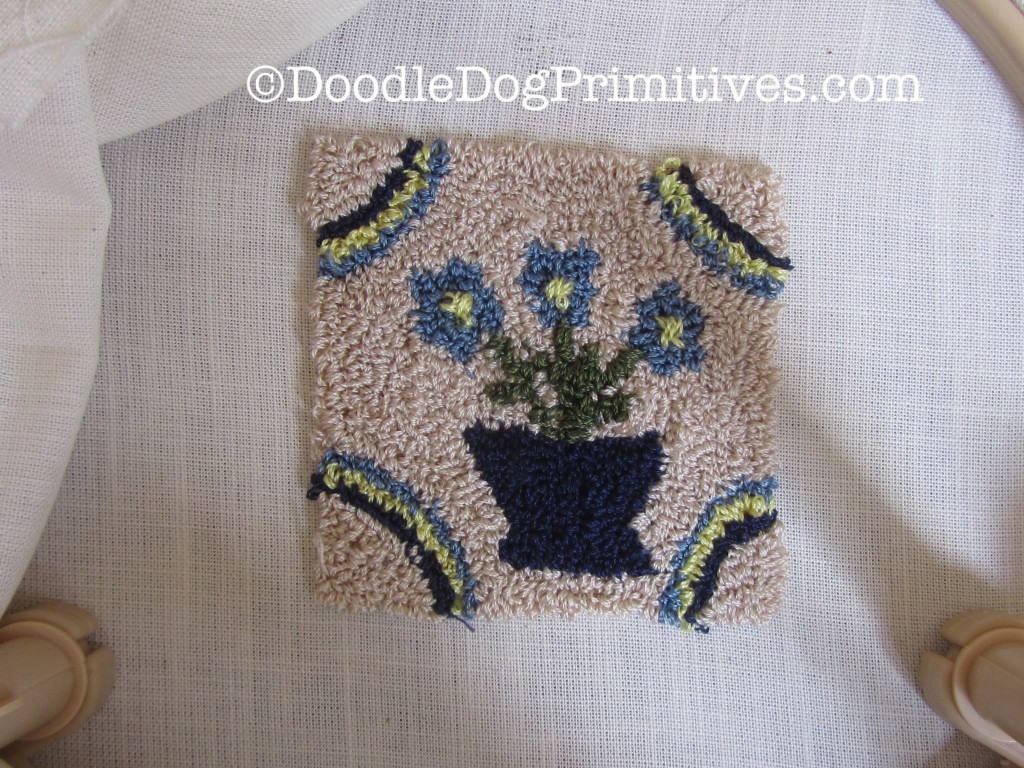
Here it is from the front.
Learn more about getting started punching in the Beginner’s Guide to Punch Needle.
Blessings ~
Amy