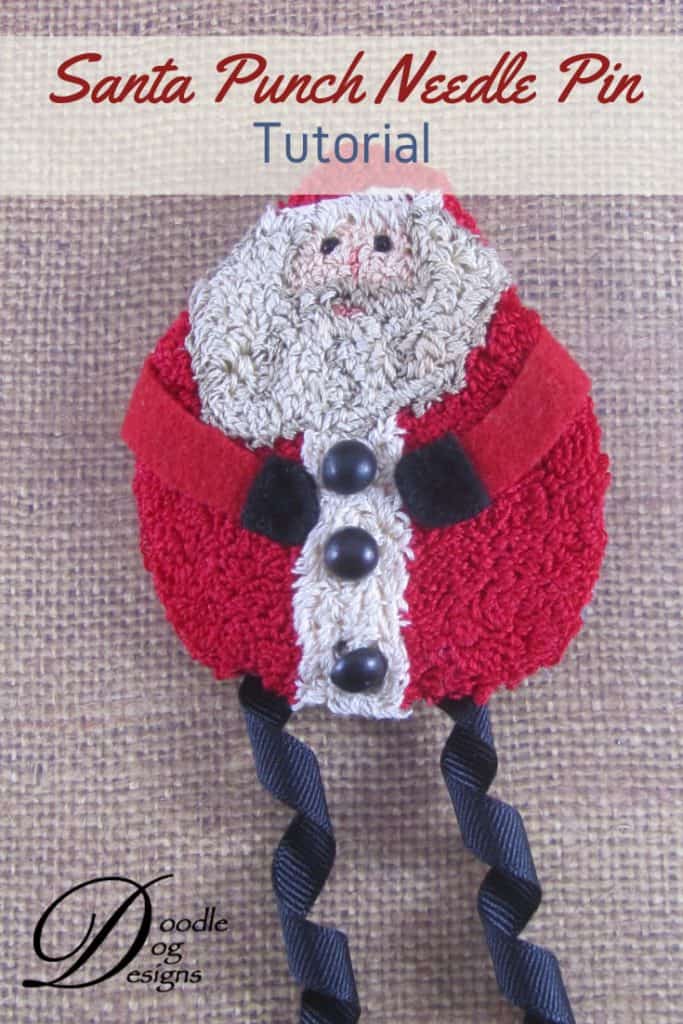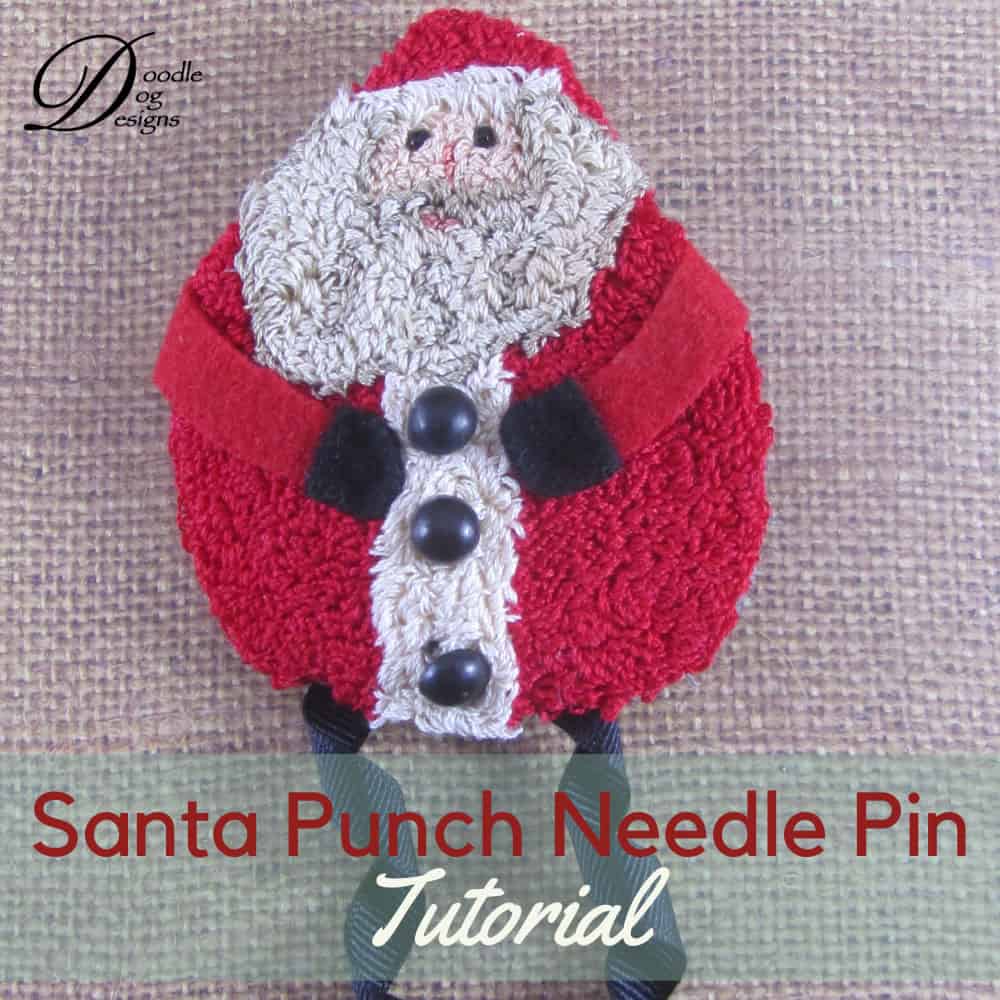
I think it is super fun to have a festive pin to wear
on my coat during the holiday season!
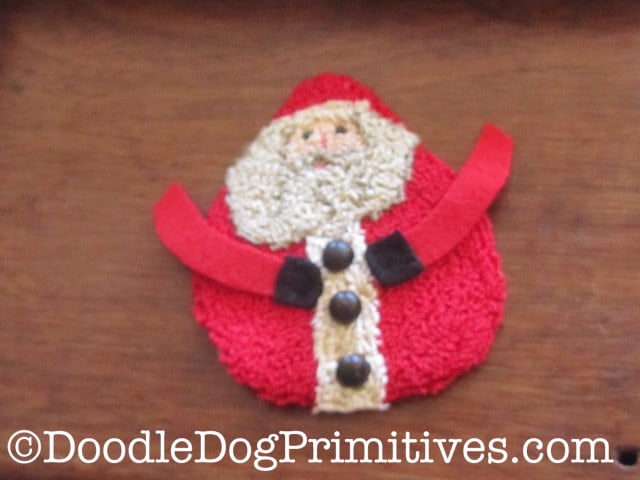
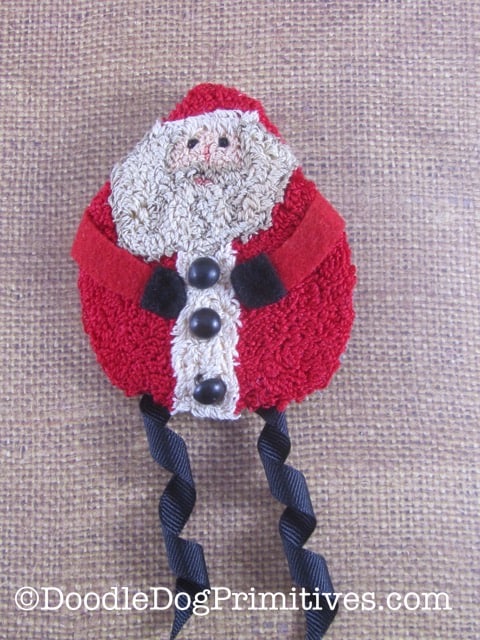
And of course, what could be better than a punch needle Santa pin!
This post may contain affiliate links for your convenience, which means if you make a purchase after clicking a link I will earn a small commission but it won’t cost you a penny more. For more information, please visit our Privacy Policy.
Here’s how I made this Santa Punch Needle Pin:
Supplies for the Santa Pin:
- Santa Punch Needle Pattern
- Weavers Cloth
- DMC embroidery floss
- Punch Needle
- Scraps black and red felted wool
- Felted wool for back
- Thin Cardboard
- Pin back
- 3/8″ wide black grosgrain ribbon
- 3 – 3/8″ Black buttons
- Printable arm pattern
- Basic Sewing Supplies
- 3/8″ dowel rods
- Wooden clothes pins
Punch the Santa Pattern:
Trace the red Santa pattern, leaving off the star and buttons.
Punch the red Santa pattern as directed,
punching red where the star would have been
and ecru where the buttons would have been.
When you are finished punching, trim the weavers cloth
to about 1/2 to 1/4″ all the way around the punched edge.
I used pinking shears so the fabric won’t unravel.
Press the empty weavers cloth to the back of the punched piece.
Curl the Leg Ribbon:
Twist the grosgrain ribbon around a dowel rod
and secure the ends with wooden clothes pins.
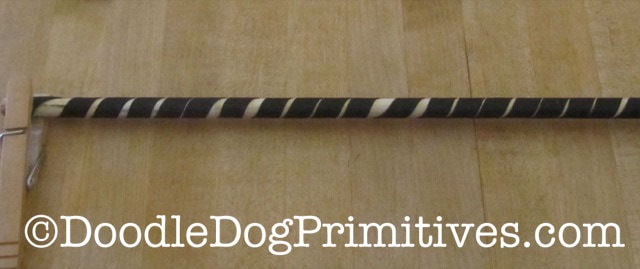
Bake at 275 degrees Fahrenheit directly on the oven racks for 30 minutes.
Turn the oven off and let it cool in the oven.
After the ribbon is completely cool,
take off the clothes pins and pull off the dowel rod.
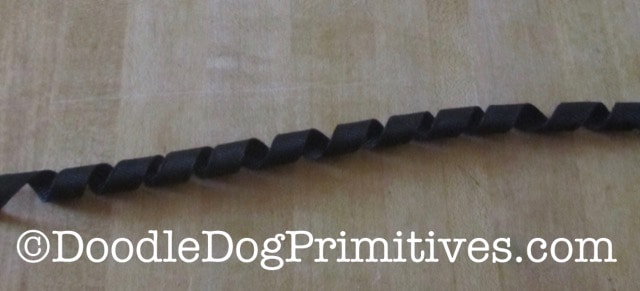
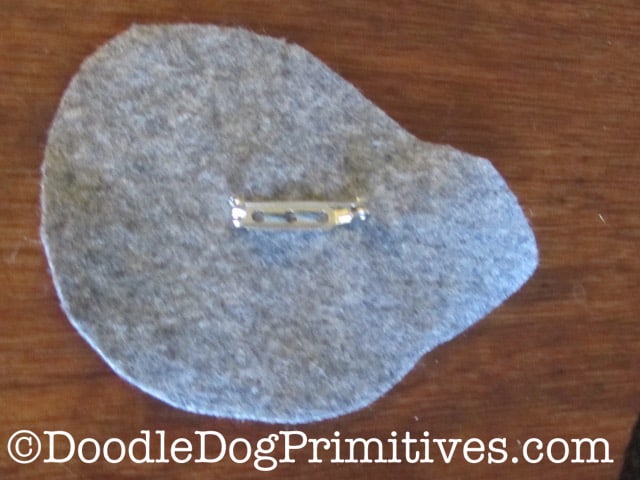
Prepare the Backing:
Trace the outline of the Santa punching pattern
onto a piece of tissue paper or other thin paper.
Use this as a pattern to cut the backing from felted wool.
Sew the pin back onto the wool Santa backing.
Santas Arms:
Use the arm pattern to cut two red arms
and two black mittens from felted wool.
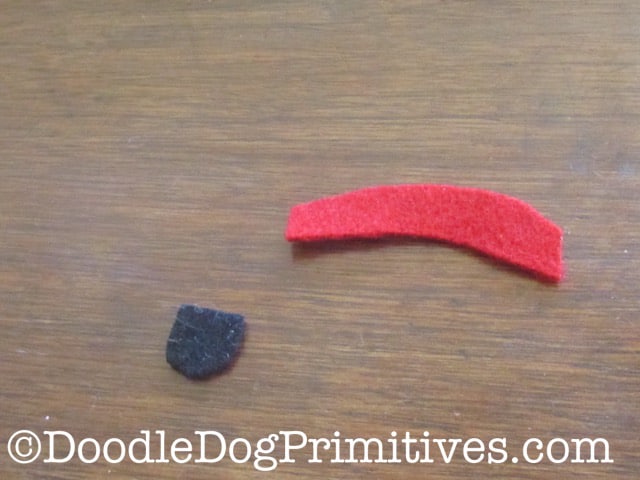
Use black thread to tack the mittens to the ends of the arms.
Decide where you would like the arms placed
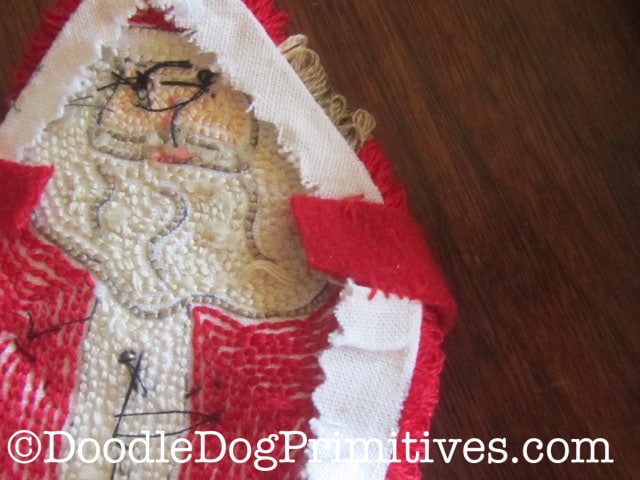
Fold over the edges of the arms to the back
and tack in place with red thread.
Santas Legs:
Cut two pieces of curly ribbon each about 4″ long.
Position the end of each ribbon about 1/2″ up
on the wrong side of the punched piece
at the bottom of Santa on either side of the fur of his coat.
Tack in place.
Assemble the Punch Needle Pin:
Cut a piece of thin cardboard or heavy interfacing
slightly smaller than the wool backing.
This will give the finished pin some stability so it is not floppy.
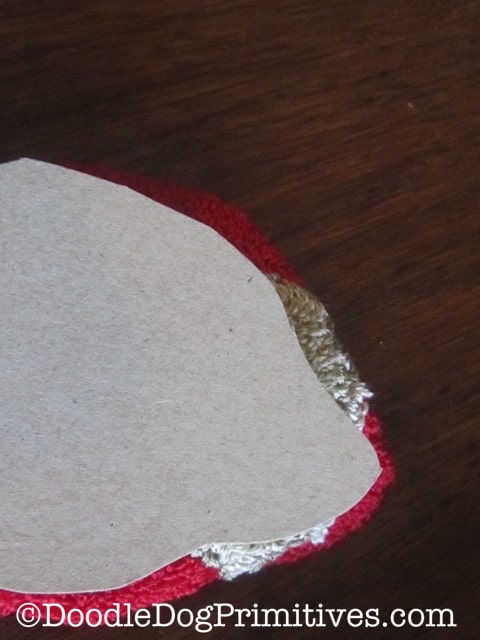
Layer the punched piece and wool backing wrong sides together
with the cardboard in between.
Pin, if desired. I usually just hold it together with my fingers.
Using thread to match the backing fabric, whipstitch all the way around.
When stitching, you will want to make sure
you catch the wool and the folded edge of the weavers cloth
but not any of the thread loops.
Enjoy your Santa Punch Needle Pin!
Blessings~
Amy

