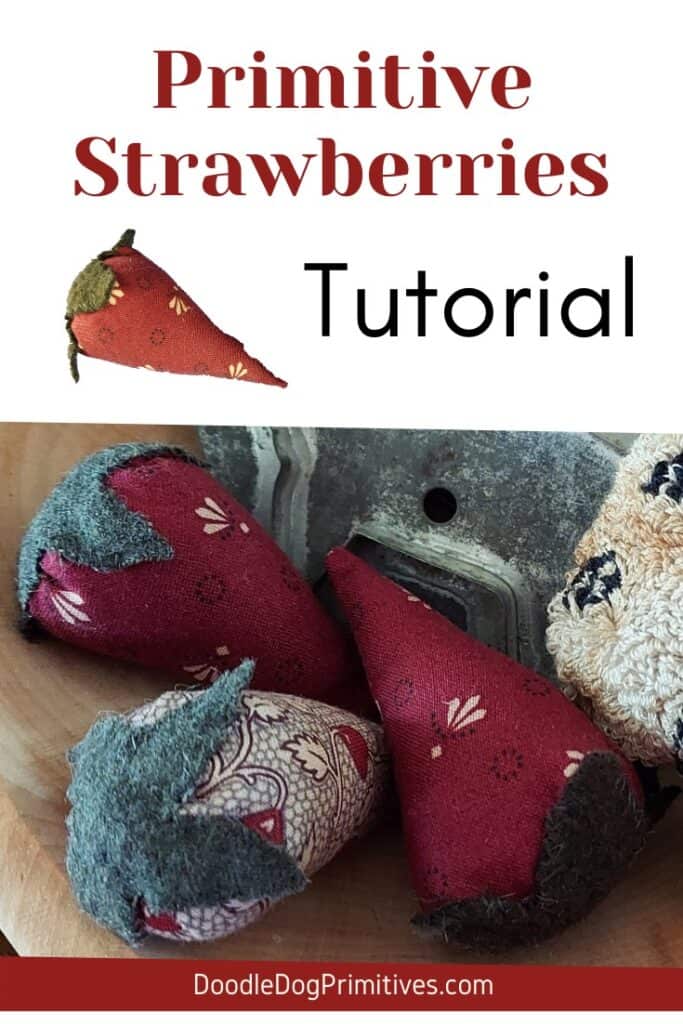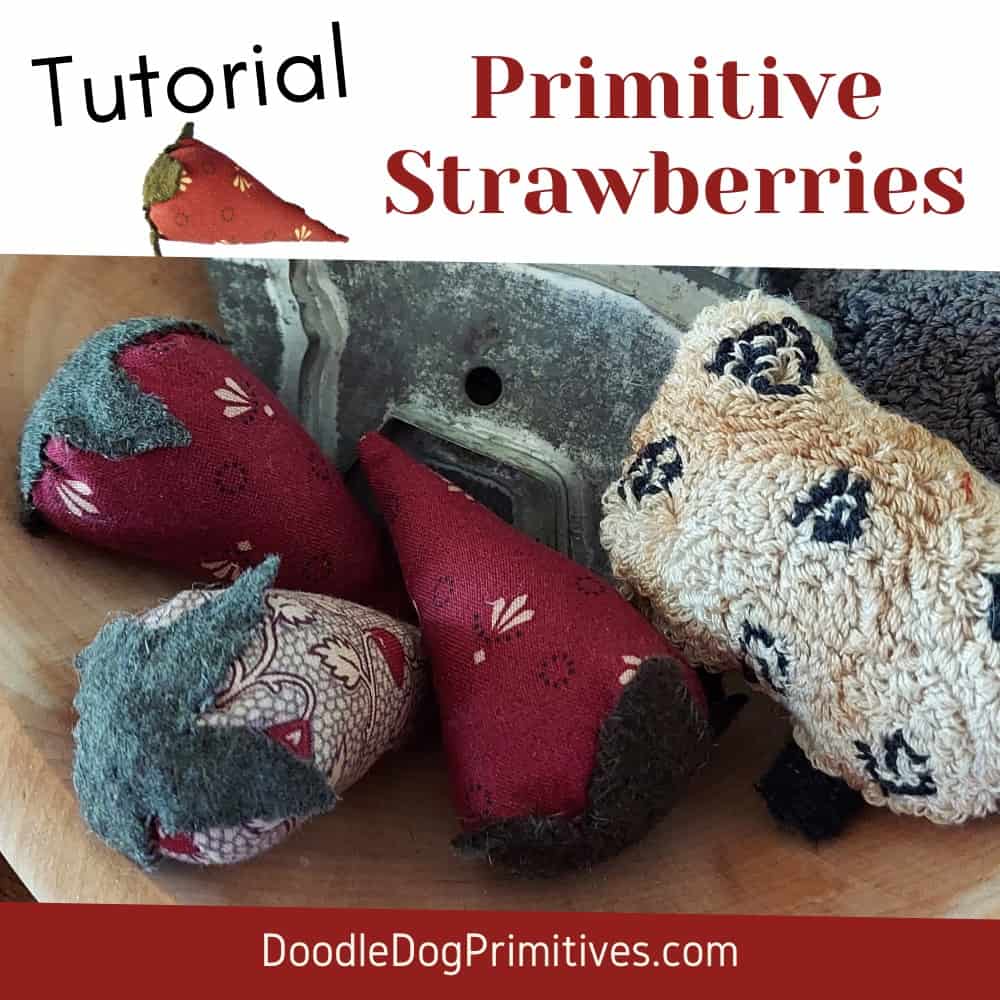
I love the look of handmade sewn primitive strawberries (the extra long skinny ones). My favorite pin cushion is a primitive strawberry that I made from quilting cotton and felted wool and stuffed with some crushed walnut shells. I decided to add some smaller prim strawberries to my collection to put in one of my treen ware bowls. Here’s a step-by-step tutorial showing how to design the pattern and sew the primitive strawberries.
Watch the Youtube Video:
Choosing Fabrics:
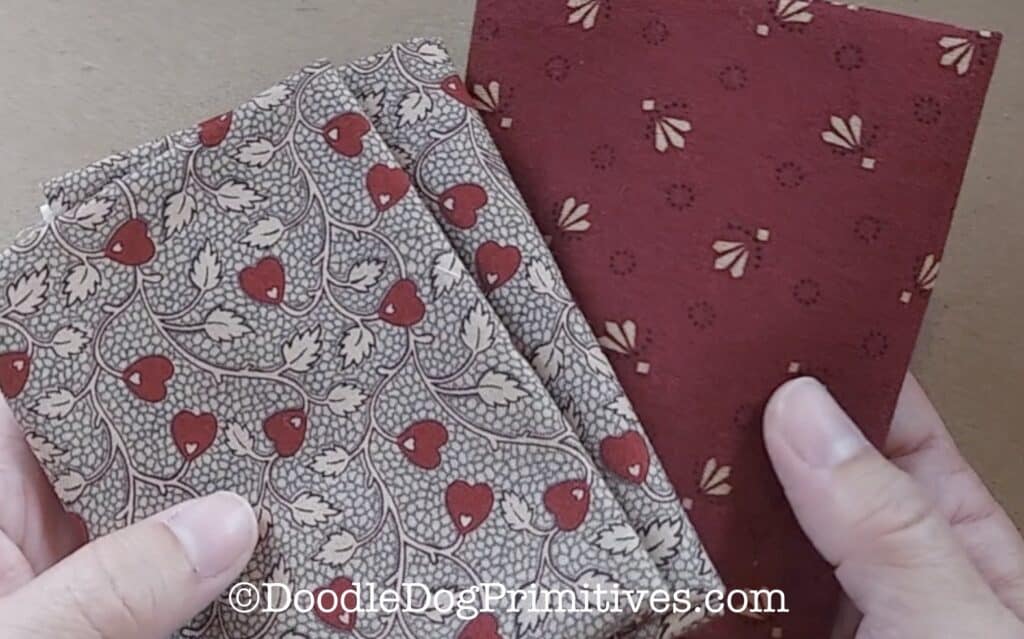
You could easily sew these strawberries using scrap fabric! Just choose some fabrics you like – they don’t even have to be red. If you are using a print, consider the size of the strawberries and don’t choose a fabric with a really large design. Think calicos or other small designs.
I am going to use two coordinating fat quarters I have in my stash. I will make two strawberries out of the red and one from the other fabric.
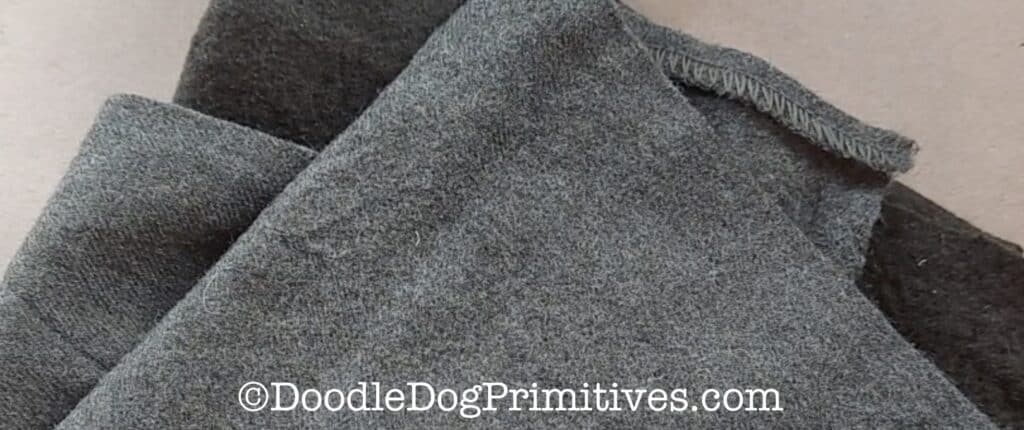
Use a felt or felted wool for the stems. I like using felted wool because it won’t ravel. So it isn’t necessary to turn under the edges of the stems.
I am going to use two different shades of green felted wool for my stems.
Drawing the Strawberry Pattern:
I used some tissue paper to draw my strawberry pattern. I drew a 90 degree (right) angle with each of the lines 4 inches long.
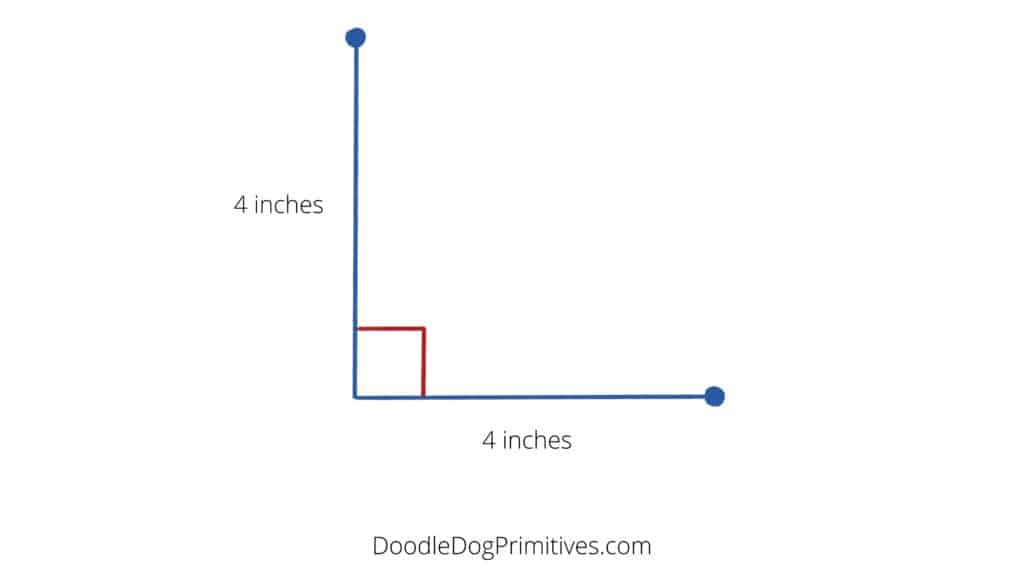
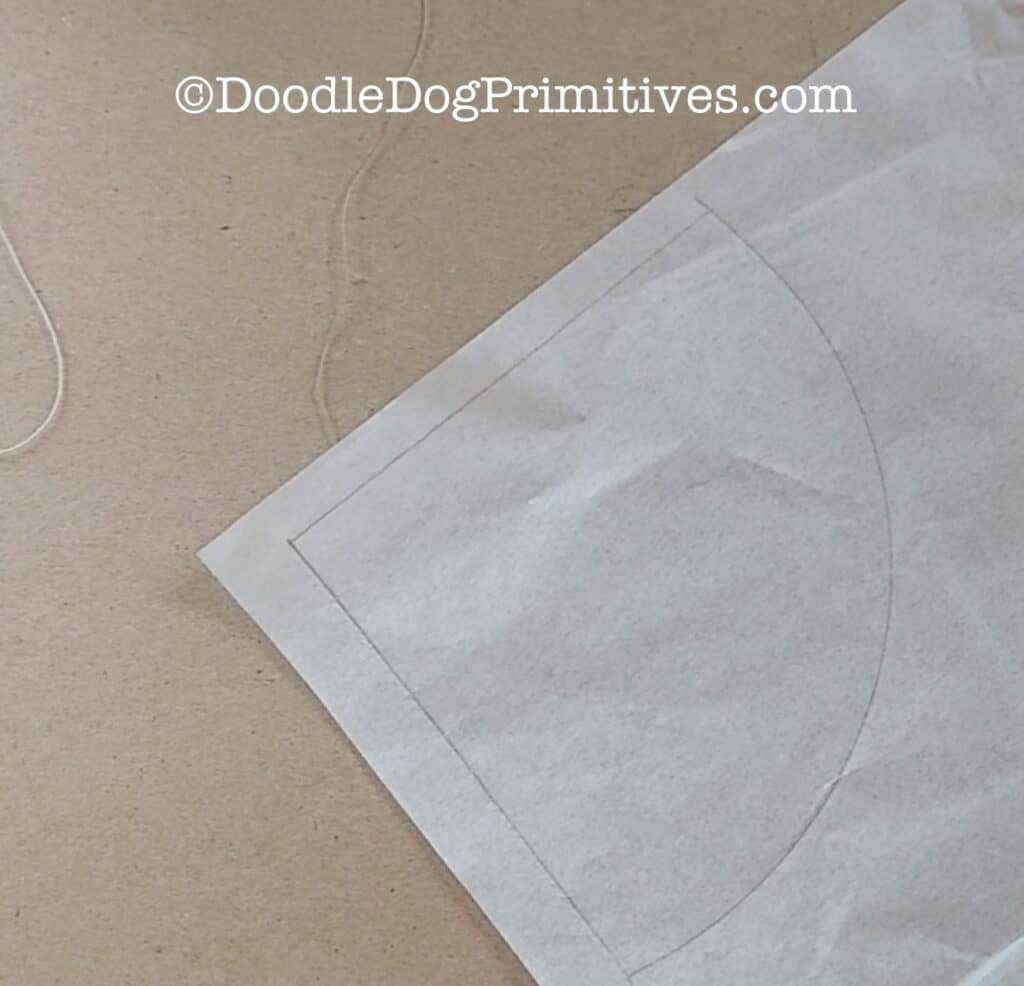
Then I took a six inch embroidery hoop. It doesn’t matter what you use, just find a bowl or something with a six inch diameter (distance across at the widest point). I lined the hoop up to the two ends of the angle and drew a curved line to connect the lines and complete the shape.
The resulting pattern reminds me of a baseball diamond.
Altering the Pattern:
If you want a longer strawberry, make the lines longer. For a shorter strawberry, make the line shorter. You can also alter the angle of the original two lines. A larger angle will give you a fatter strawberry while a skinnier angle will make a thinner strawberry. Based on the sizes of your lines and angle, you can find a round object to help you draw the curved part of the pattern.
If you are unsure how your pattern will turn out, try it on a scrap piece of fabric first. I use a muslin fabric for making my samples so I don’t waste my good quilting cottons.
Sew the Primitive Strawberry:
Use the pattern to cut one piece of fabric for each strawberry you want to make. I am making two red strawberries, so I cut the pattern on a double layer of fabric.
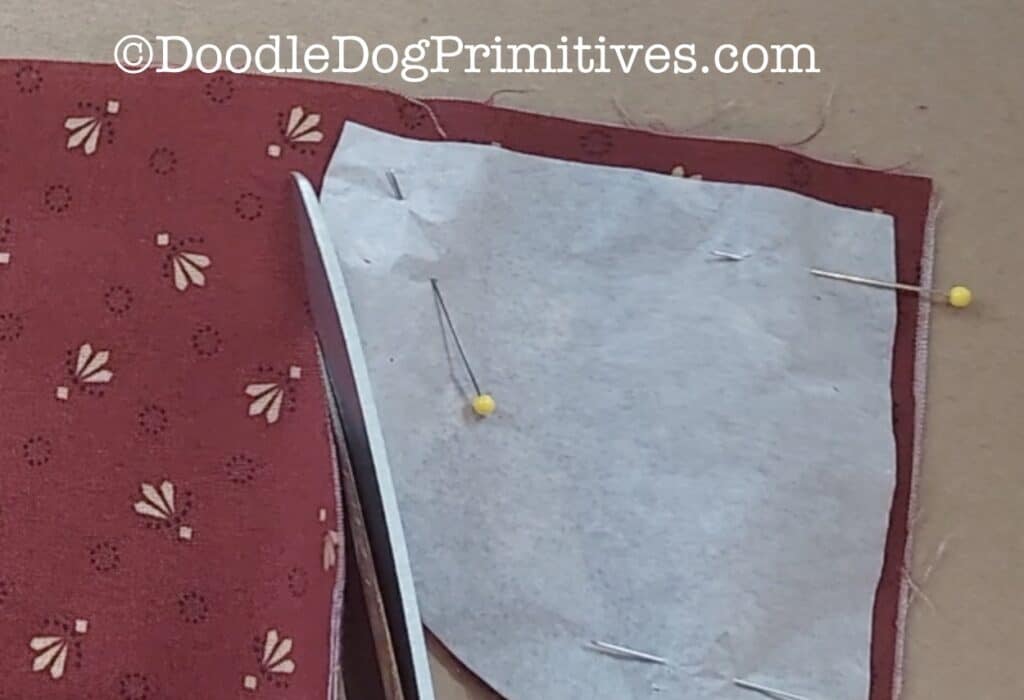
Take one piece and fold it in half right sides together with the straight edges lined up. Pin along the straight edge.
Use a quarter inch seam to sew along the straight edge.
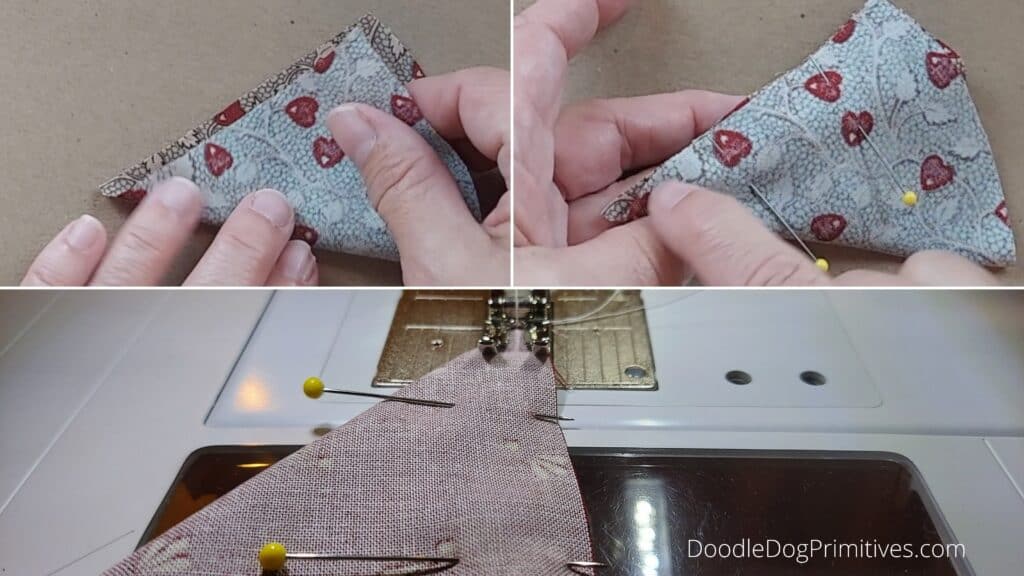
Clip the very tip off the seam allowance. Don’t cut into the stitching! This will help with turning the strawberry.
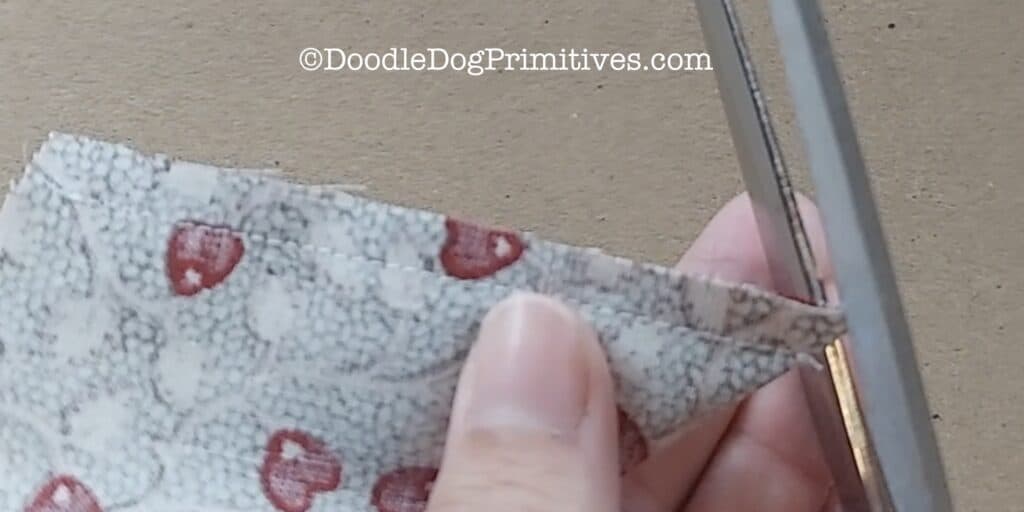
Turn the strawberry right sides out.
If you want to add strawberry seeds, now is a good time. You could use embroidery floss to make french knots or use beads. I prefer my strawberries plain so I skipped that step.
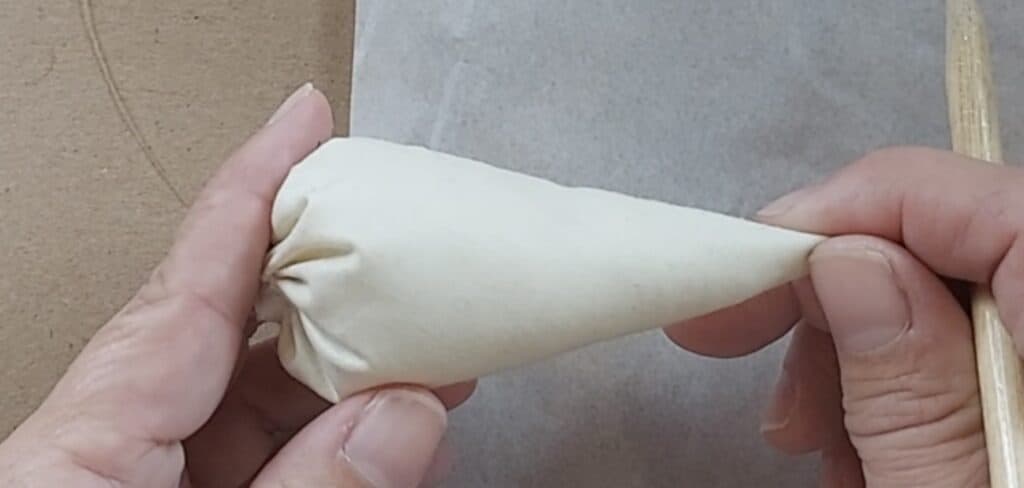
Stuff the strawberry almost to the top. You can use fiber fill, crushed walnut shells, fabric scraps, or a stuffing of your choice.
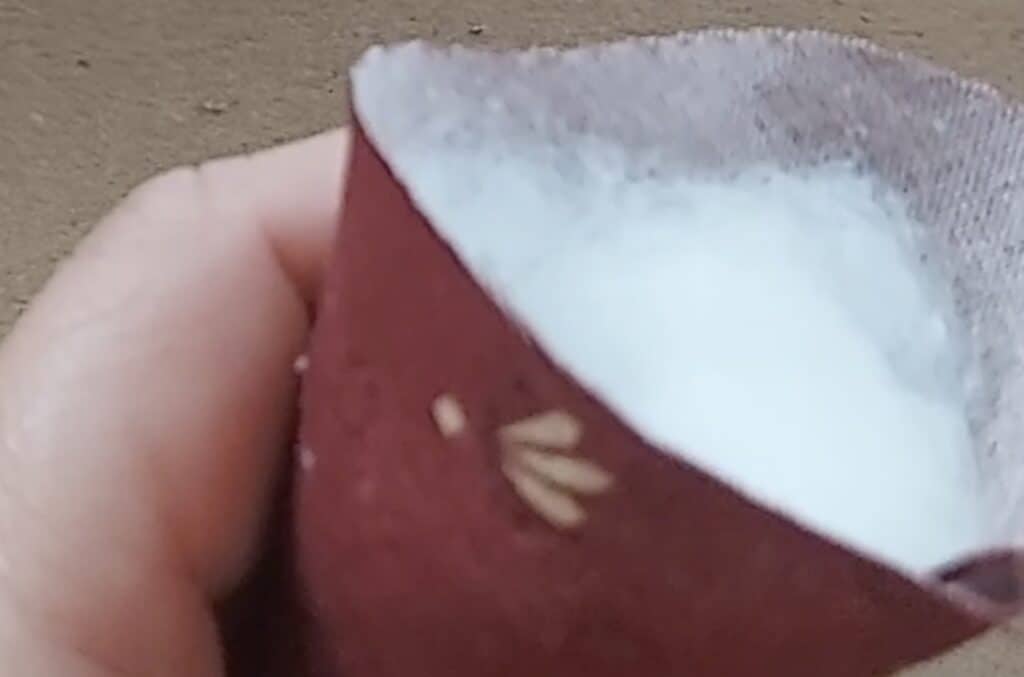
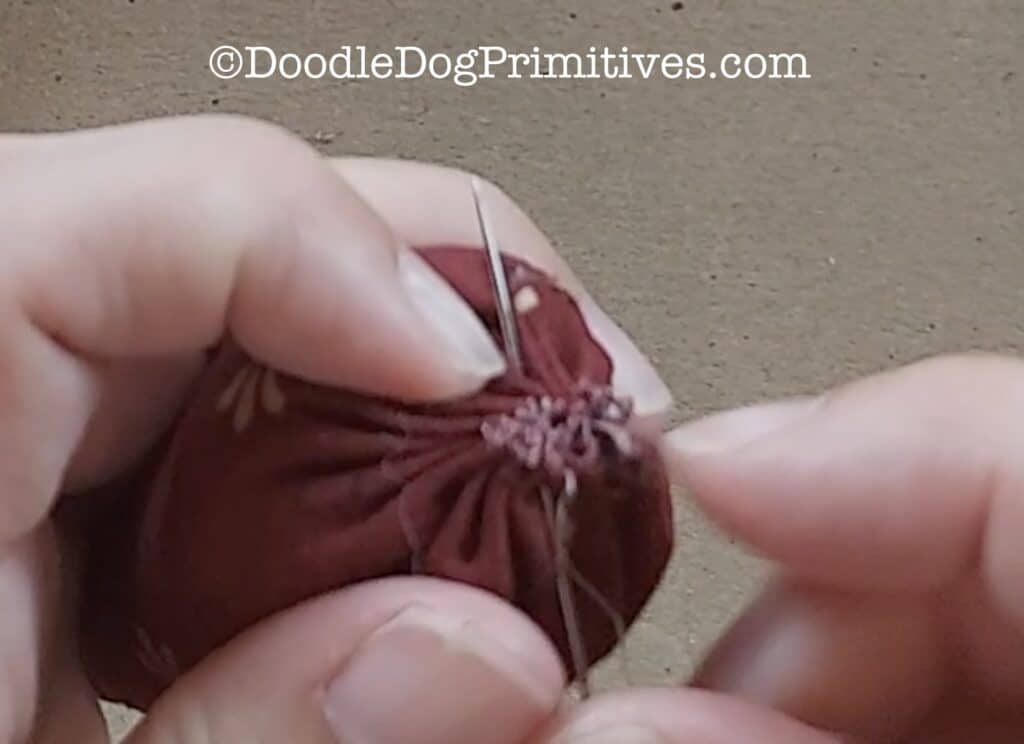
Sew a gathering stitch 1/4″ from the top of the strawberry all the way around. Pull the thread to gather the top. Stitch back and forth through the gathered fabric and tie off the thread to secure.
Make the Strawberry Stem:
If you are unsure how big to make your strawberry stem, you can experiment using felt or even paper. The stem for my strawberries begins with a two inch square.
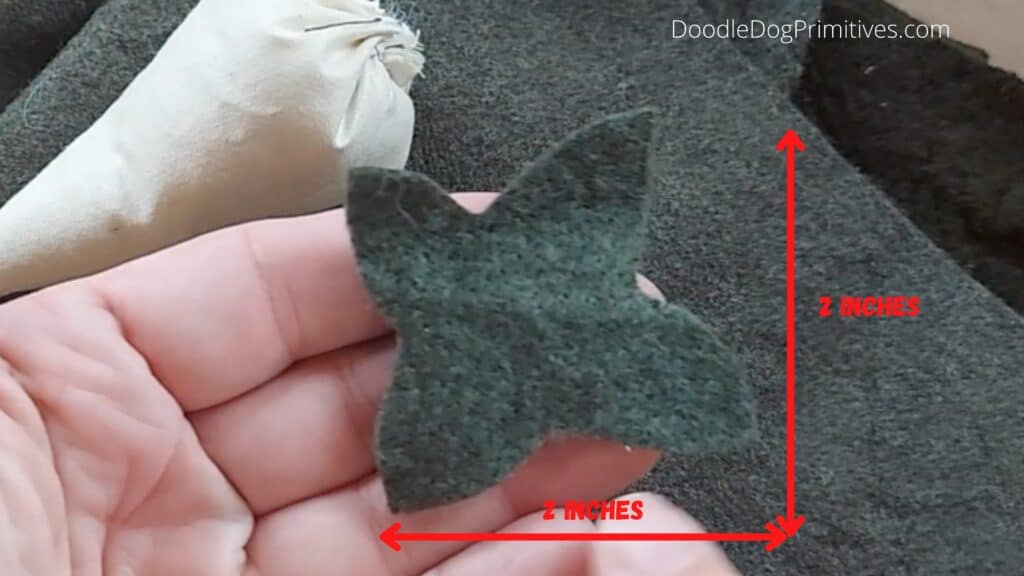
I wanted each stem to be unique so I cut each stem freehand starting with a two inch square of felted wool.
Starting in the center of one side of the square, I cut a leaf shape.
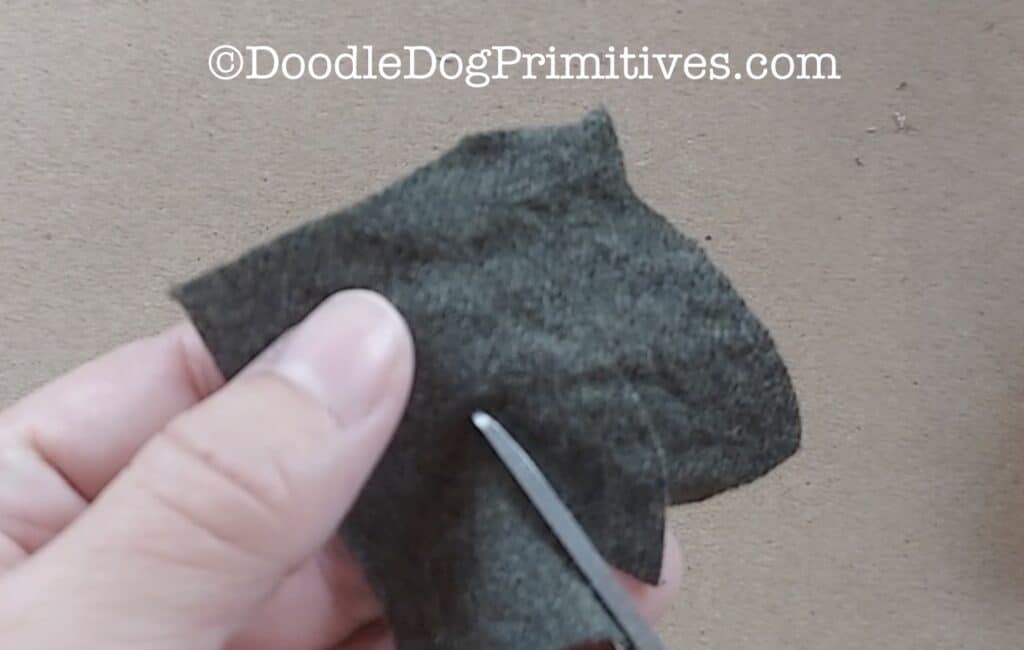
I repeated this on each of the four sides. I did have to go back and “touch up” some of the leaves with more cutting.
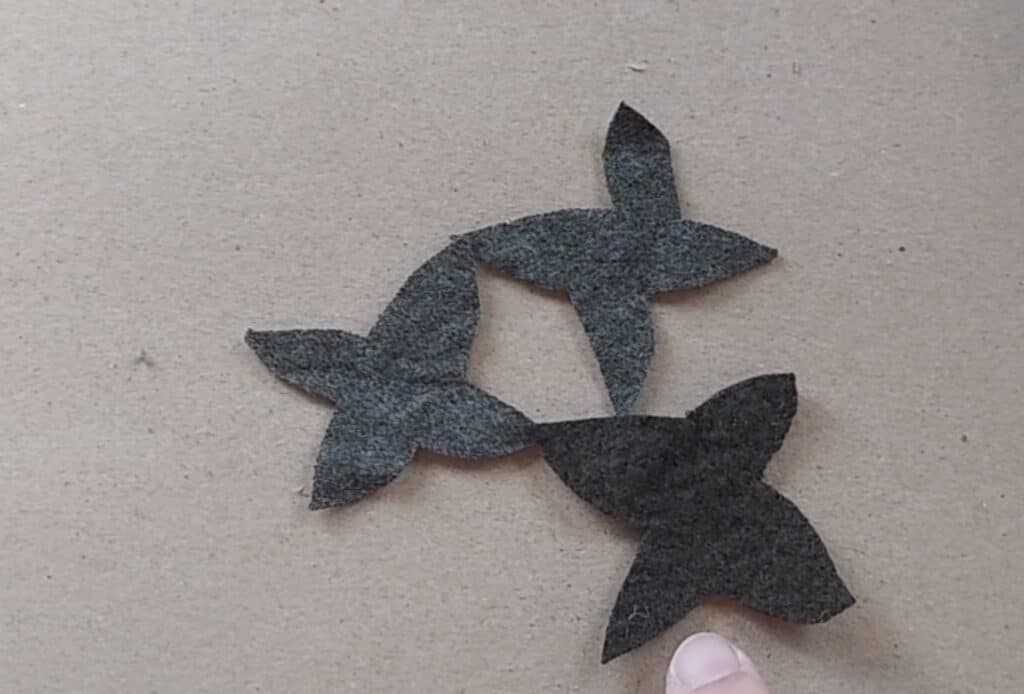
Place the stem on top of the strawberry, covering the gathered area. Pin into place. Use thread to match the stem and whipstitch the stem down.
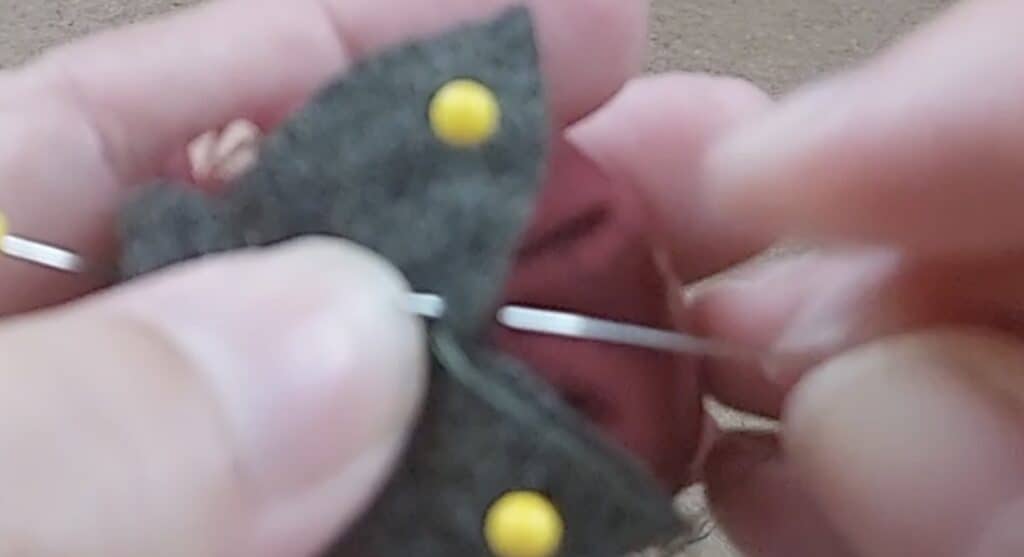
The stem can be attached in several different ways. You could stitch completely around the stems as I did in this pin cushion. (The stem is a lot larger on it.)
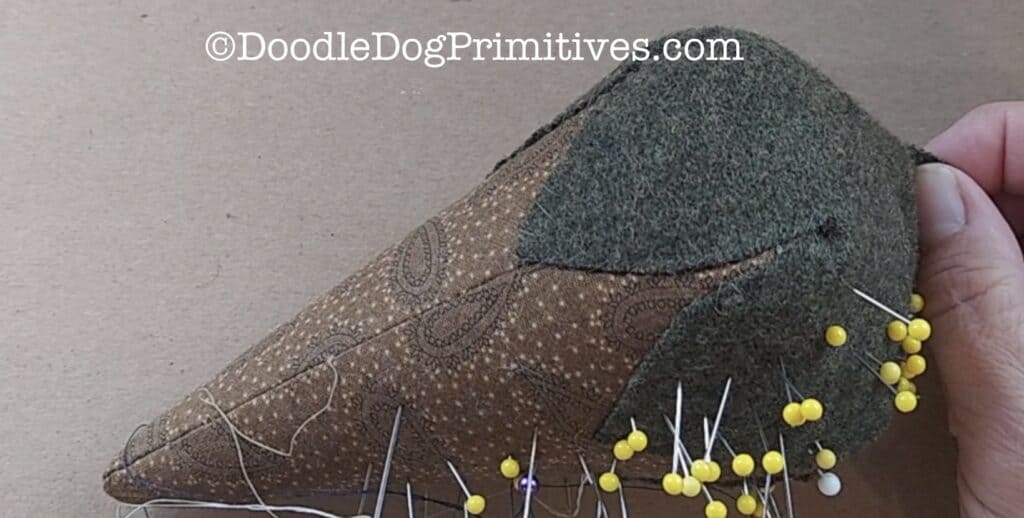
The stem could just be stitched around the top, leaving the leaves complete free or you could just leave the tips of the leaves free as I did on mine.
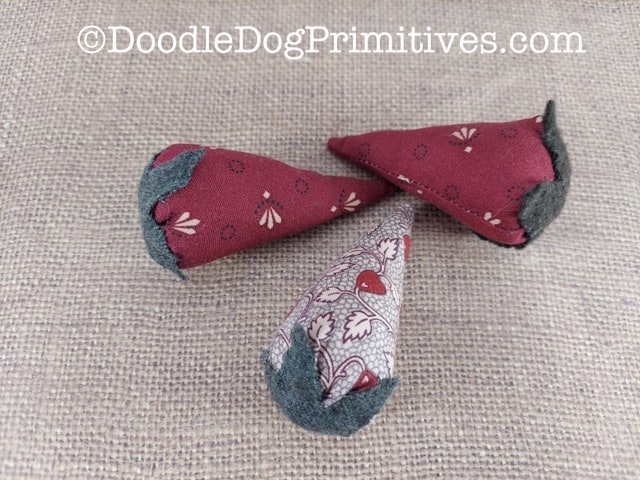
I hope you found that helpful! I would love to see your strawberries.
Be sure to check out our other primitive craft tutorials.
Blessings~
Amy
Be sure to Pin this Sewing Tutorial:
