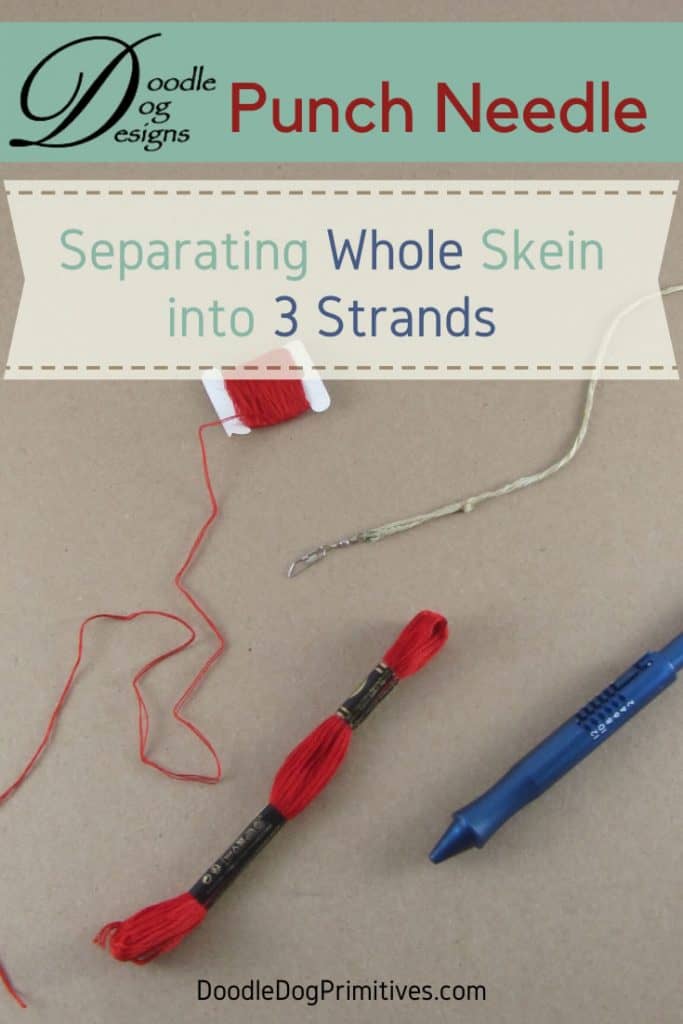
I often see questions about how to separate embroidery floss into 3 strands for punching
Some people do it in little sections, a few feet at a time.
This works, but it leads to having to thread the needle often!
I don’t know about you, but that is my least favorite part of punching.
I want to punch and create a design, not thread the punch needle!
So, to save me from having to thread more often,
I split the whole skein of embroidery floss all at once.
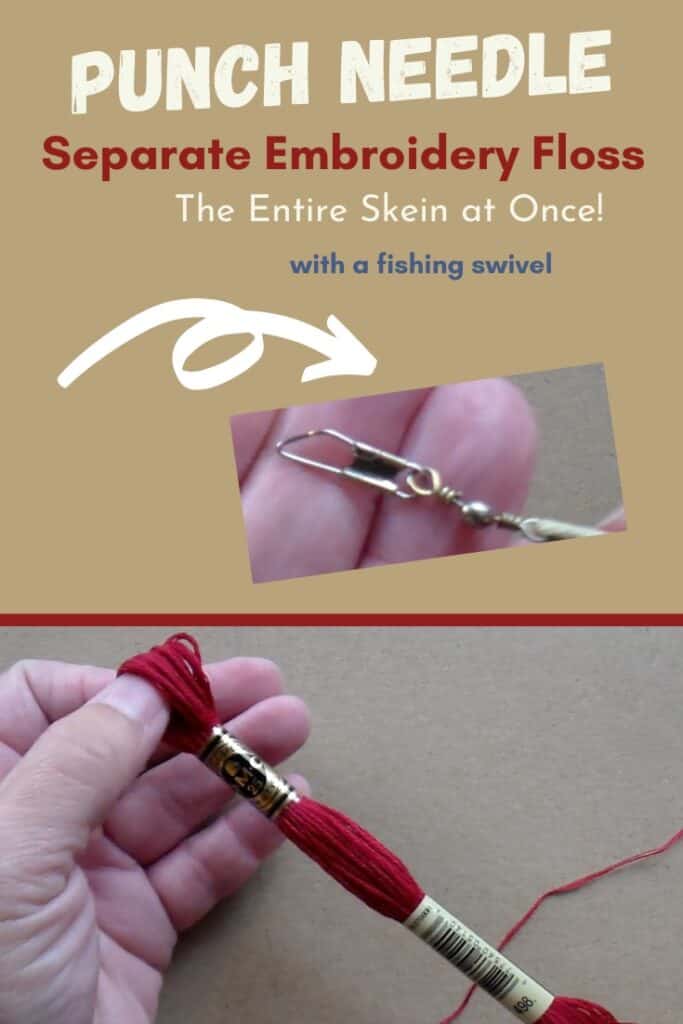
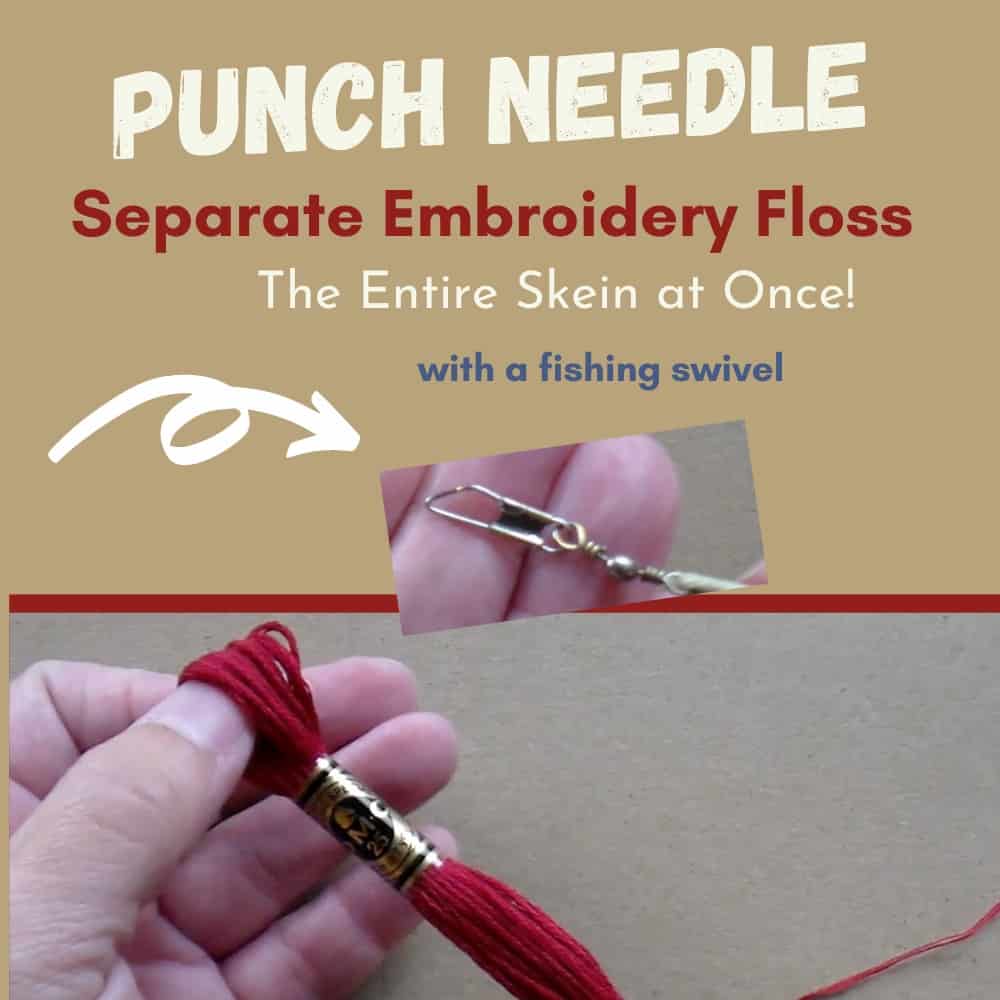
You can separate a whole skein of embroidery floss all at one time by using a fishing swivel:
This post may contain affiliate links for your convenience, which means if you make a purchase after clicking a link I will earn a small commission but it won’t cost you a penny more. For more information, please visit our Privacy Policy.
How many strands of embroidery floss do you use?
With punch needle embroidery, most people either use 3 strands or all 6 strands of embroidery floss. If you are going to use all 6 strands, there is no need to split the floss.
Some people also punch with 1 strand. Punching with 1 strand is best for detail work because it takes a lot more punches to fill an area!
There is nothing to say you couldn’t also punch with 2, 4, or 5 strands of floss if you want.
If you are new to punching, I would recommend trying different thicknesses to see what you like best.
I think punching with strands that have been separated makes the piece look fluffier.
Supplies Needed for Separating Floss:
You will need a fishing swivel, some string, and embroidery floss.
If you don’t have a tackle box around your house to raid,
you can find fishing swivels in the fishing aisle of sporting goods stores or Wal-Mart.
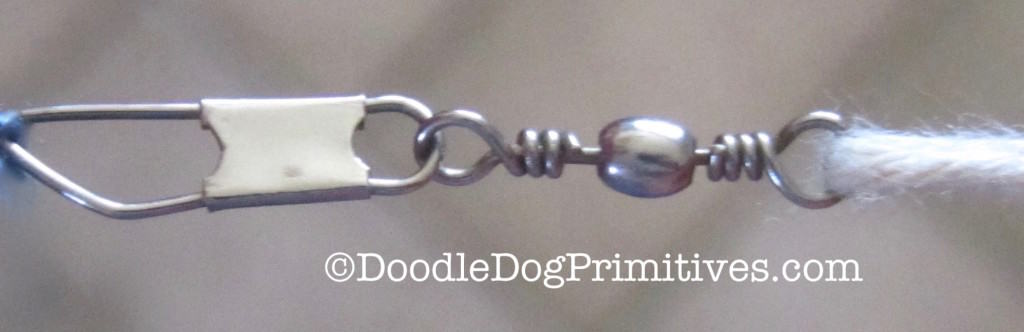
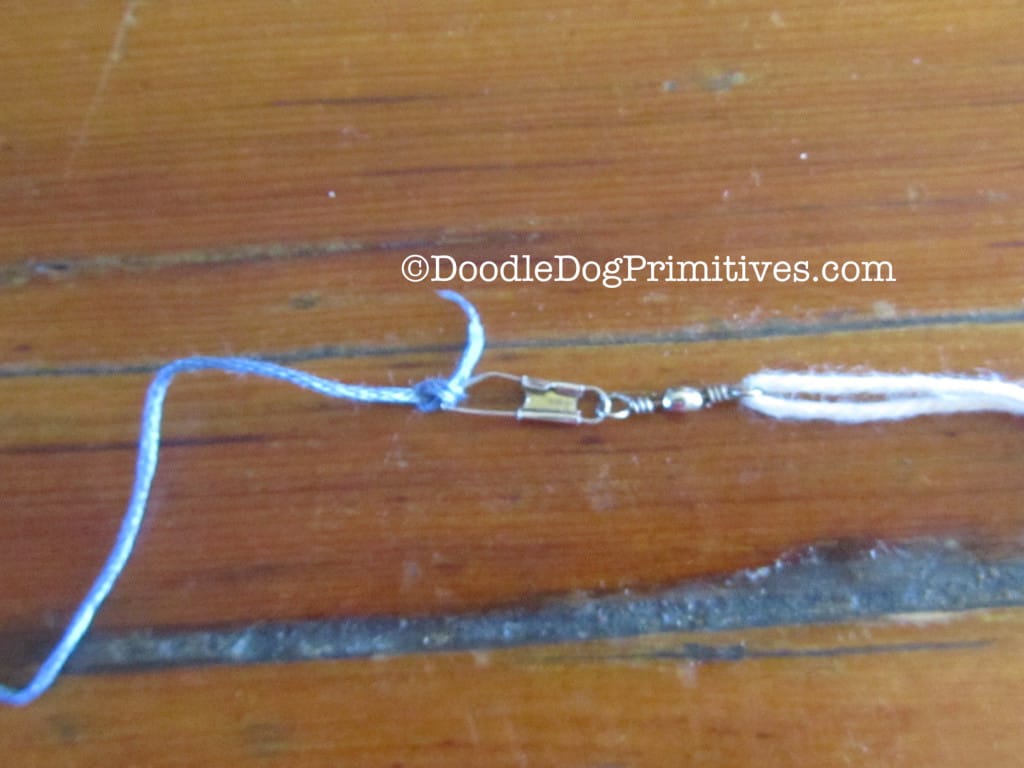
Tie your string onto the end of the swivel.
At the other end of the string, tie a loop.
You will hang the string loop around
a door knob or knob on a piece of furniture.
Watch the Video:
How to Separate the Skein of Embroidery Floss:
Tie one end of the DMC 6 strand embroidery floss (or other brand)
onto the fishing swivel.
Unwind the floss and lay it in a somewhat straight line across your floor.
This next part is the only tricky part.
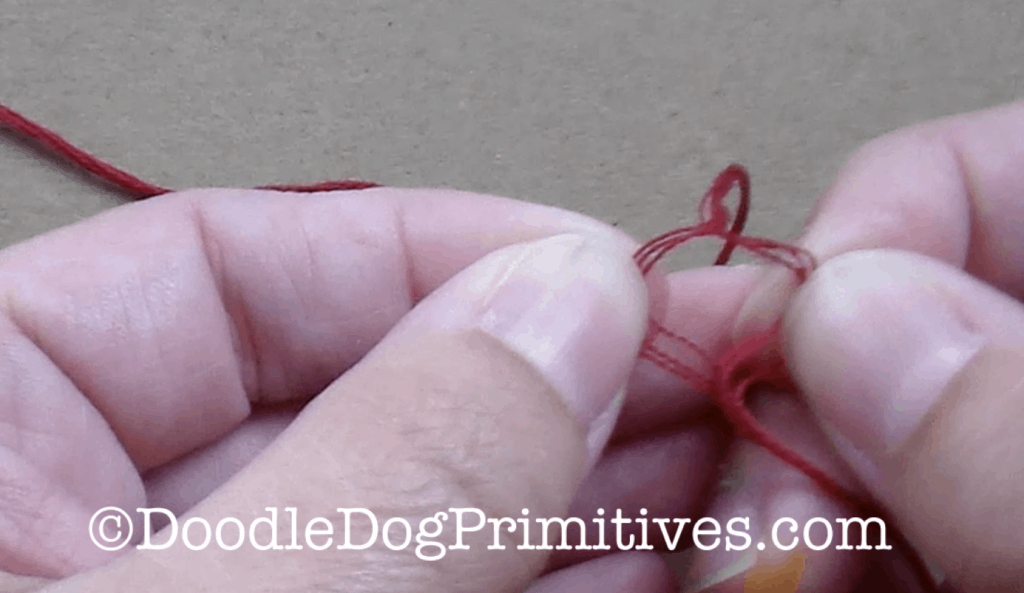
Separate the floss into 2 equal bunches of 3 strands each at the end not tied onto the swivel.
But, don’t do it right at the end!!
I don’t know why, but it gets really tangled up if you do that.
Start separating about 6-8 inches from the end of the floss.

Pull the two sections apart while you walk towards the fishing swivel.
The swivel will spin really fast and takes the twist out of the floss,
making it easy to separate.
When you get to the fishing swivel,
you can untie the knot in the floss or cut it off.
After the floss is separated, wind it up on a floss bobbin or spool.
Then you will be able to punch and punch and punch
before having to re-thread!
I hope you give this a try.
This process saves me so much time and frustration!
Learn more about getting started with punch needle.
Blessings~
Amy
Pin this punch needle tutorial for later!