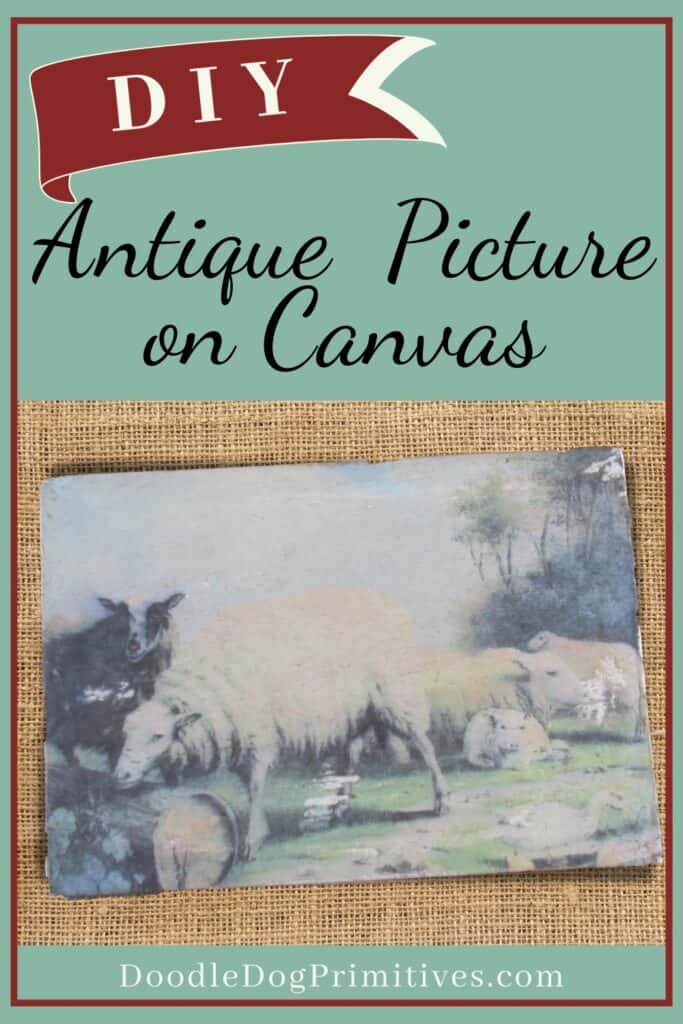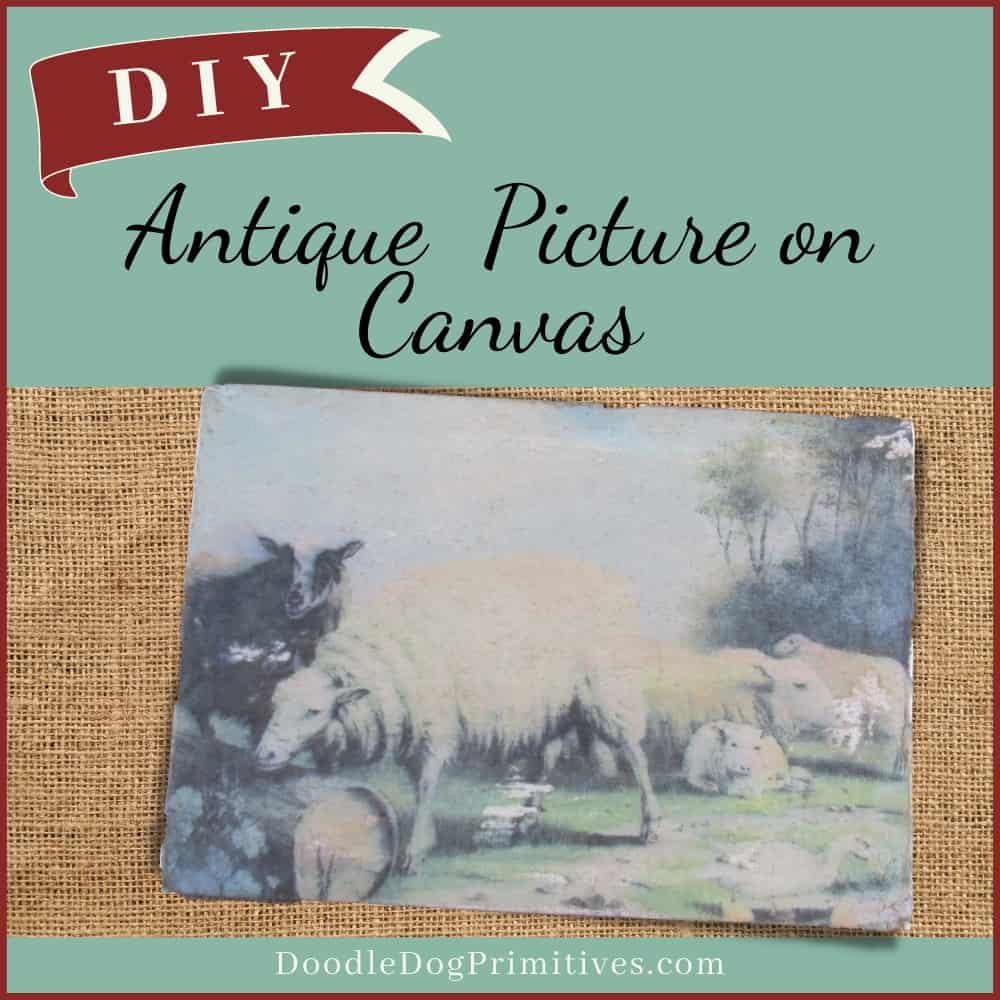
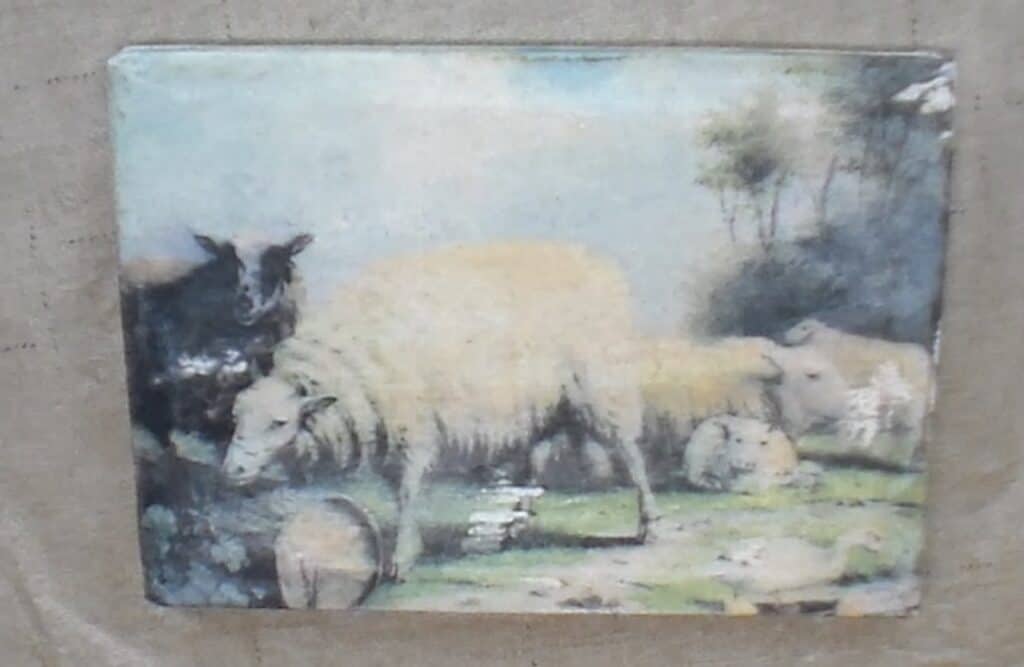
I snagged a small canvas at the Dollar Tree and decided to transfer an antique picture to the canvas.
I wanted to create the look of a primitive oil on canvas WITHOUT the price tag that often comes with the true antiques.
This transfer method is easy to complete and you will loving adding the finished canvas to your farmhouse / primitive decor!
This post may contain affiliate links for your convenience, which means if you make a purchase after clicking a link I will earn a small commission but it won’t cost you a penny more. For more information, please visit our Privacy Policy.
Supplies for Transferring the Antique Photo:
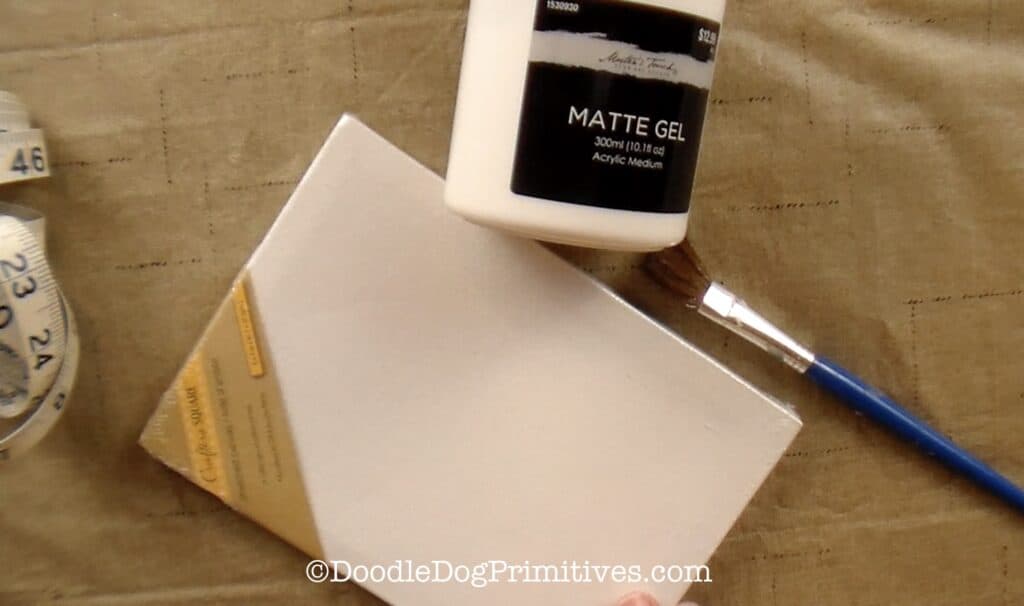
- Canvas – I got one from the Dollar Tree
- Gel medium
- Paintbrush
- Sponge
- Ink jet printout of picture
- Minwax Special Dark
Watch the Video:
Calculate the Picture Size:
The canvas I found at the Dollar Tree has the canvas wrapped around the sides.
I want my finished picture to be wrapped around the sides,
so I am going to measure from the bottom edge of one side to the bottom edge of the opposite side.
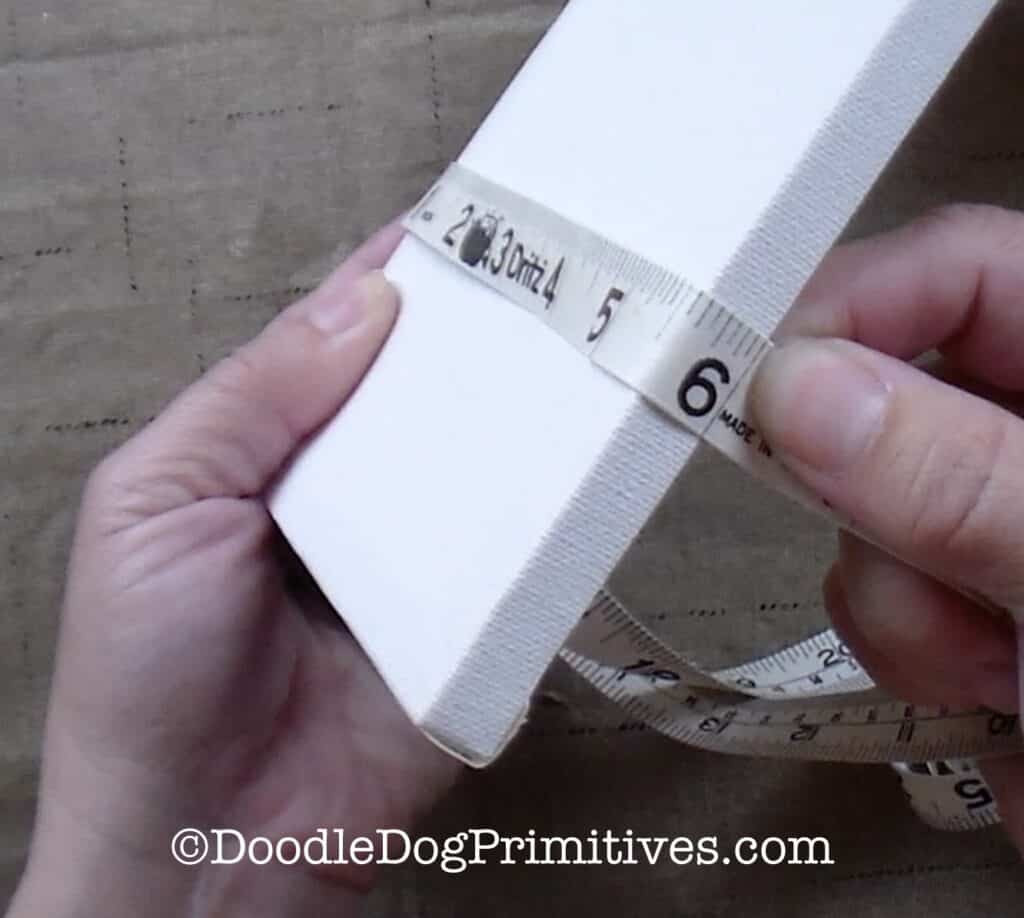
This measurement will let me know how big to print the picture.
If you prefer, you could paint the edges of the canvas before transferring the photo.
If you just want the picture to be on the top of the canvas, simply measure the top of the canvas.
The measurements from my canvas are 6″ x 8″, so I will want to print the picture just slightly larger than that.
Print the Image:
Choose the antique picture you would like to transfer to the canvas.
I chose an image from WPClipart.com.
Copy and paste it into a word processor.
Resize the image until it is slightly larger than your canvas measurements.
In order to keep the image in the correct proportions,
you might have to make it larger than necessary in one direction.
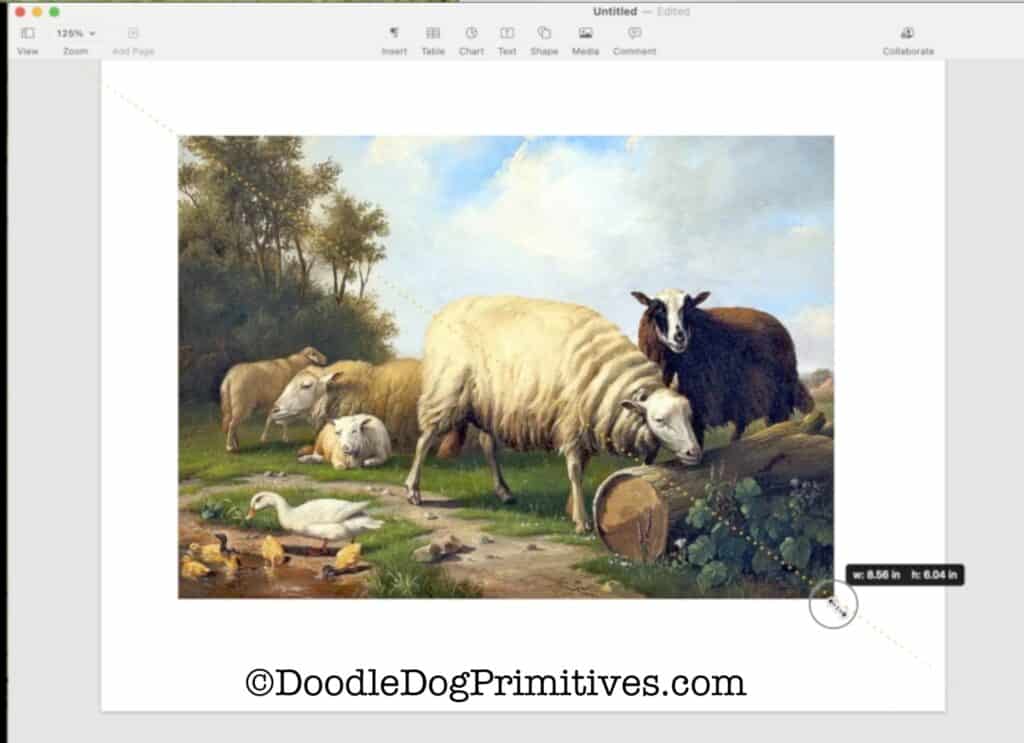
The painting will reverse when you transfer it to the canvas.
So if it has any letters or numbers,
be sure to reverse the image before printing.
Print the antique picture using an inkjet printer on regular printer paper.
Thinner paper works better than thick paper.
Determine Picture Placement:
Place the canvas over the printed picture to determine the placement.
Be sure to leave enough picture on each side for the wrap around.
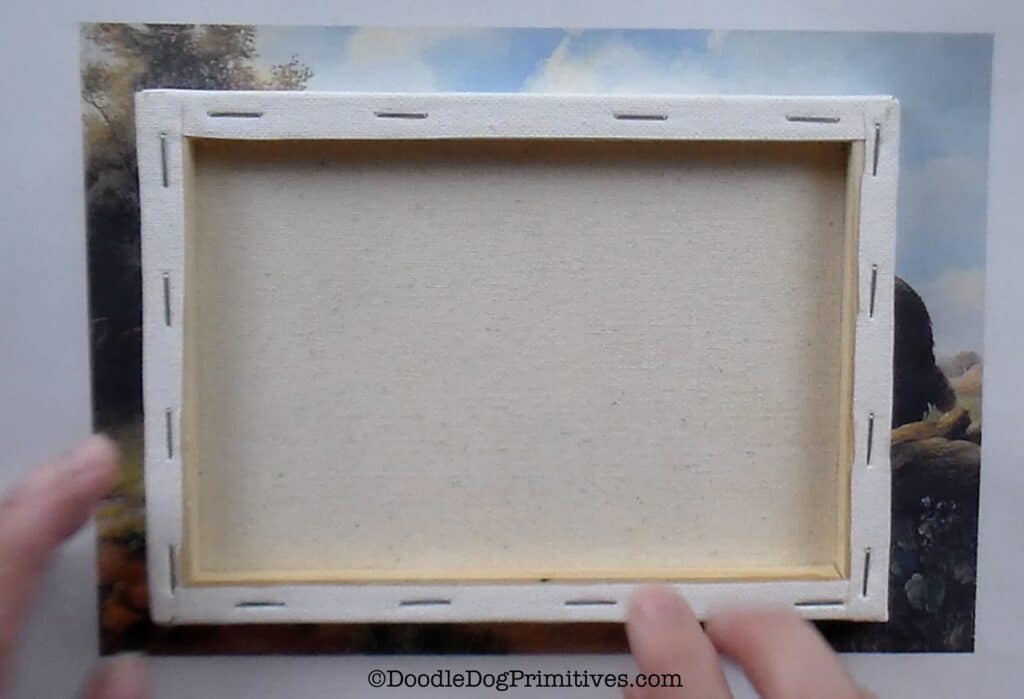
When you wrap the edges, there will be exxtra paper in the corner that is in the way.
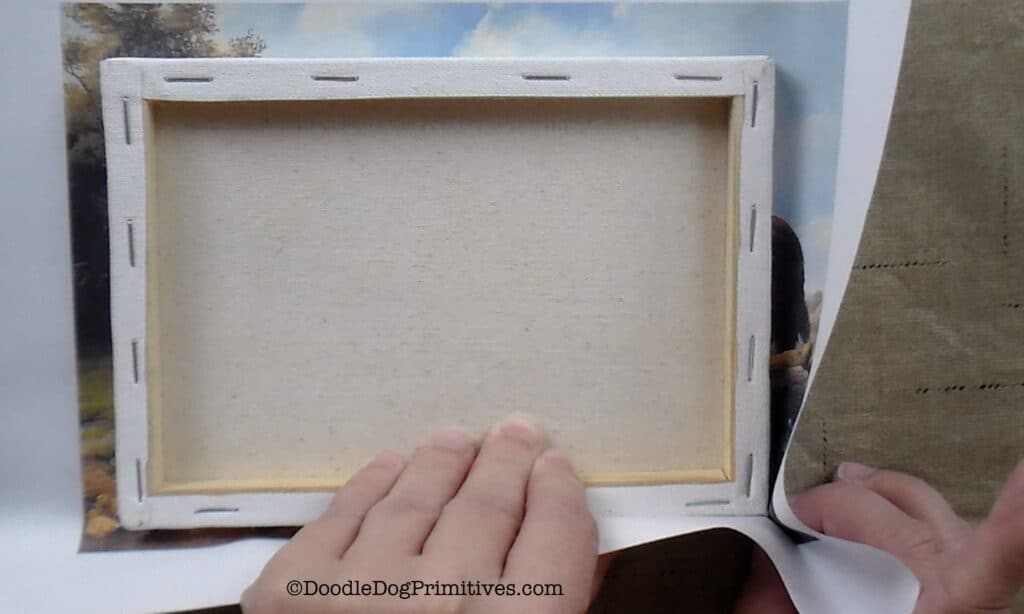
It is easiest to cut this extra paper away before beginning the transfer.
With the canvas arranged on top of the picture as you like it,
draw two lines from the corner of each canvas to the edge of the paper.
Draw them angled in slightly and not even with the canvas edges.
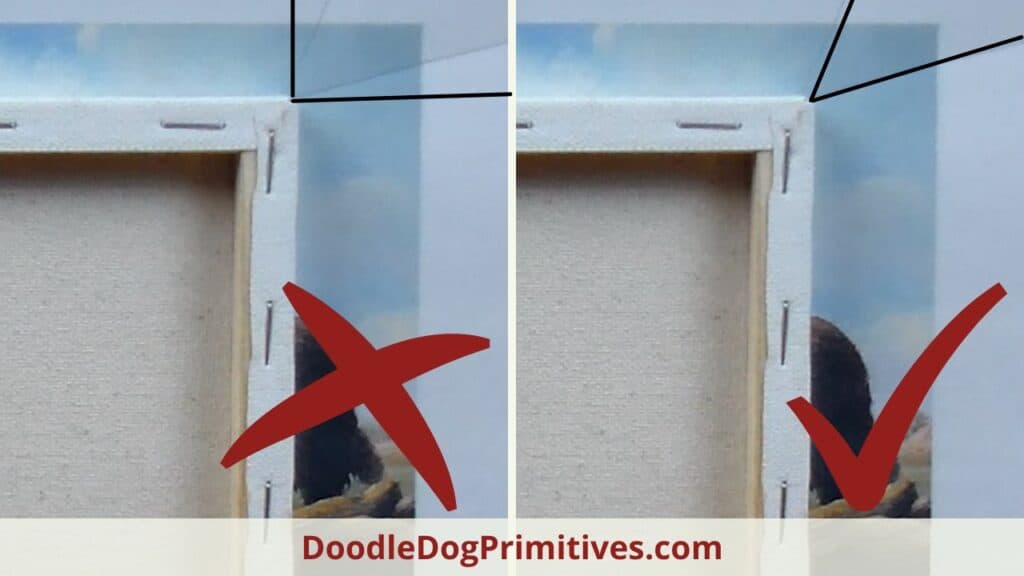
Cut out these triangles from each corner.
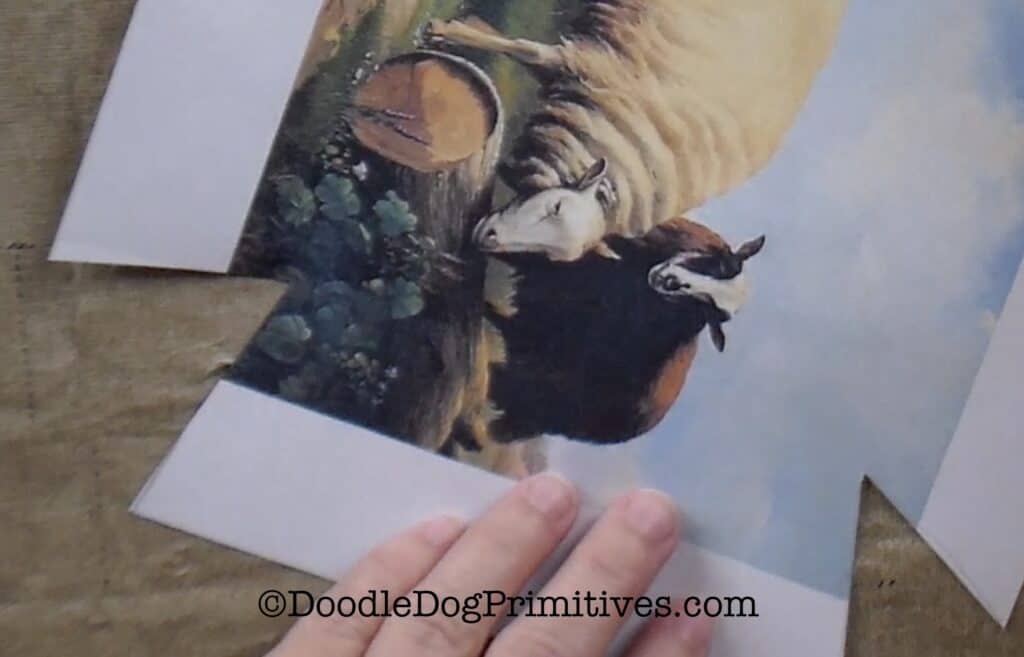
This step also makes placement of the picture easier.
You can just place the canvas between all of the cut out triangles!
Transfer the Antique Picture to the Canvas:
The next step is to apply the gel medium to the canvas.
An up-close examination of the canvas reveals that it has a ton of tiny dips and grooves.
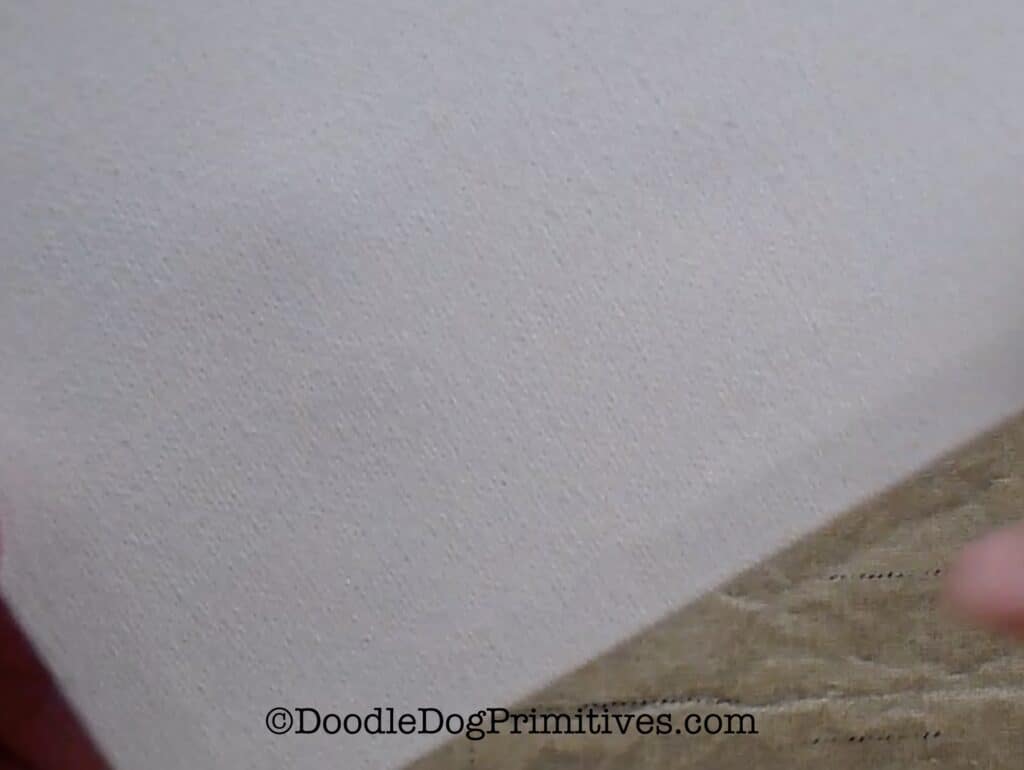
It is important to make sure to get the gel medium in all of those holes.
Use a paintbrush to apply the gel medium to the canvas.
Be sure to brush in all directions to make sure the holes are all filled and the canvas is completely covered.
Do the same on the edges of the canvas if you are wrapping the canvas with the picture.
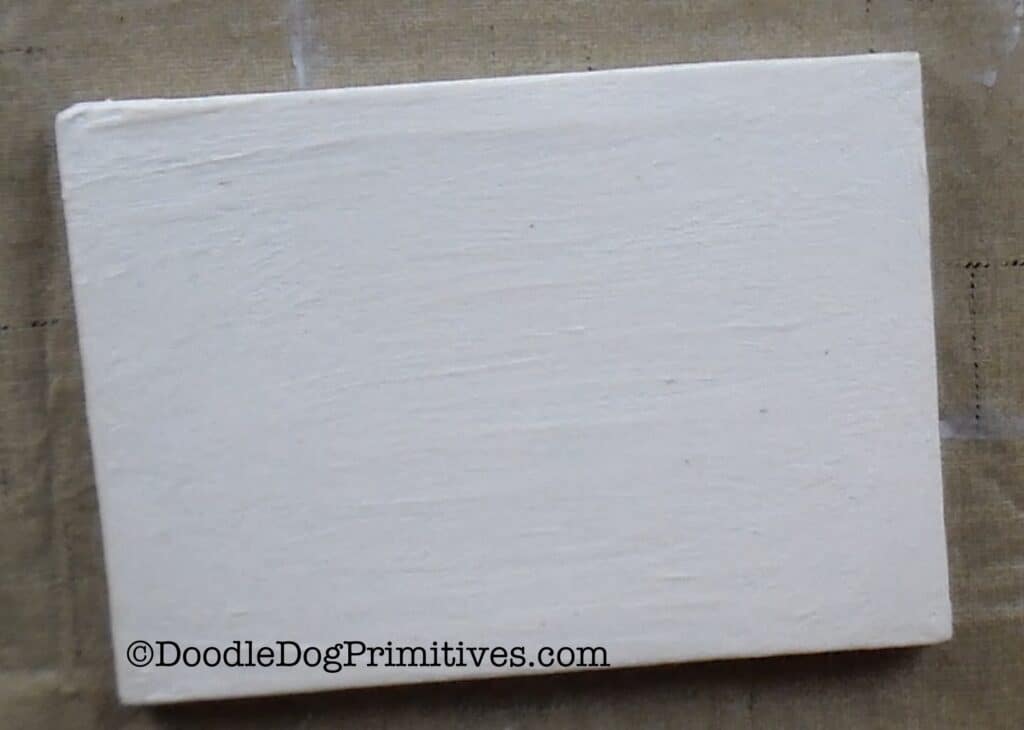
Place the ink side of the printed antique picture down onto the canvas.
Make sure you have it in the correct position because you can’t reposition this once it is down.
Fold the edges over.
Use your fingers to smooth out the paper and firmly press the paper down onto the canvas everywhere.
Keep rubbing the paper until it is completely smooth and firmly attached.
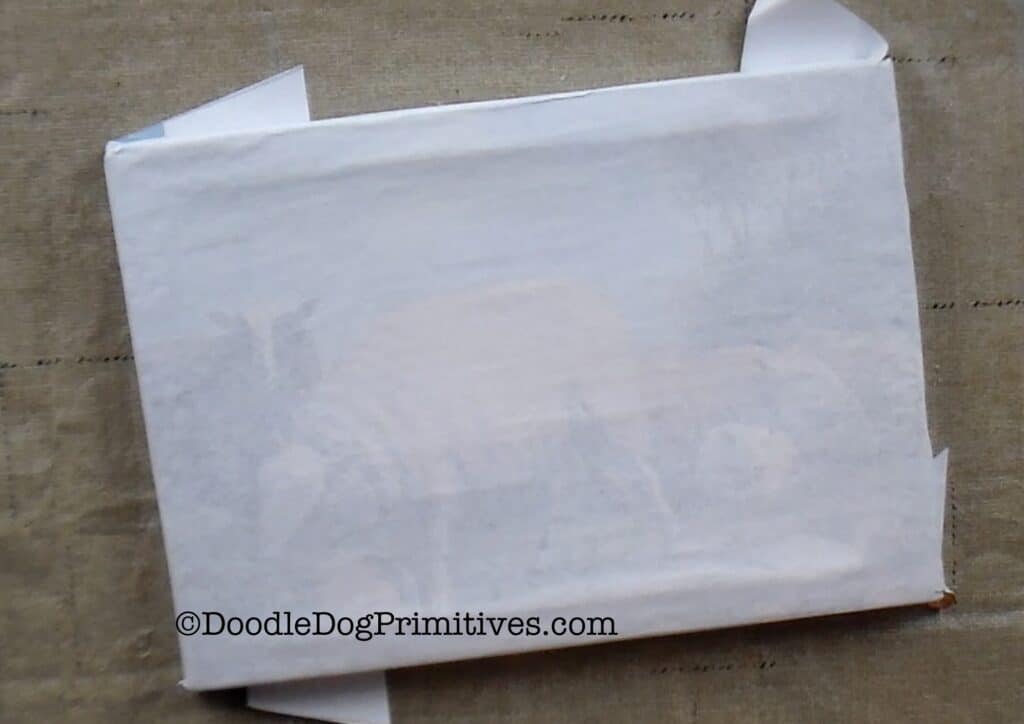
Let this completely dry – overnight is great!
Remove the Paper:
After it is completely dry, use a damp sponge to get the paper wet.
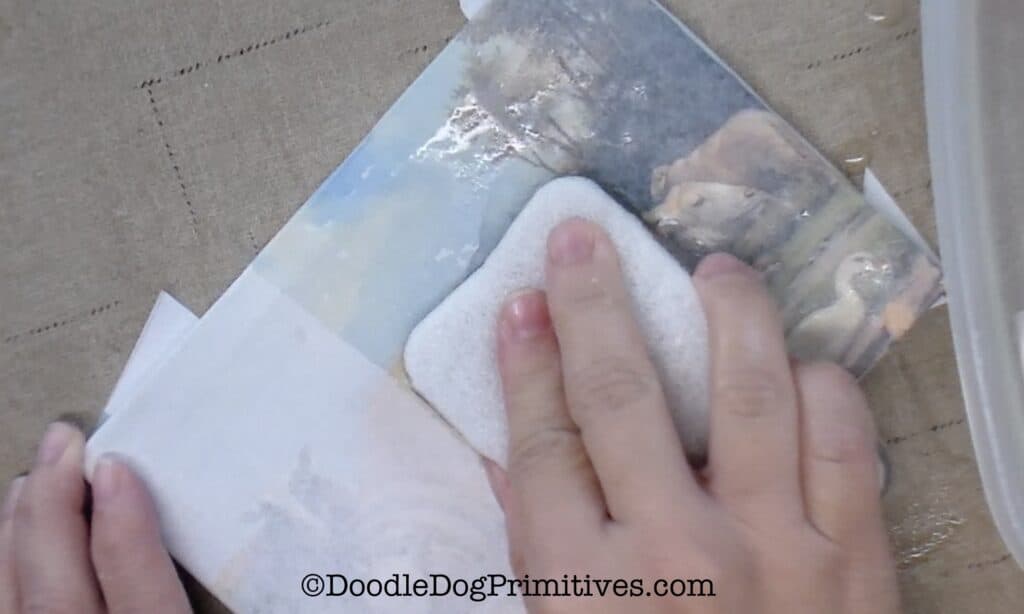
Don’t forget to wet the paper wrapped around the sides!
After the paper is completely wet, you can start peeling the paper off.
Sometimes, it will peel off in large pieces
and other times you will have to roll off tiny sections at a time by rubbing the canvas with your fingers.
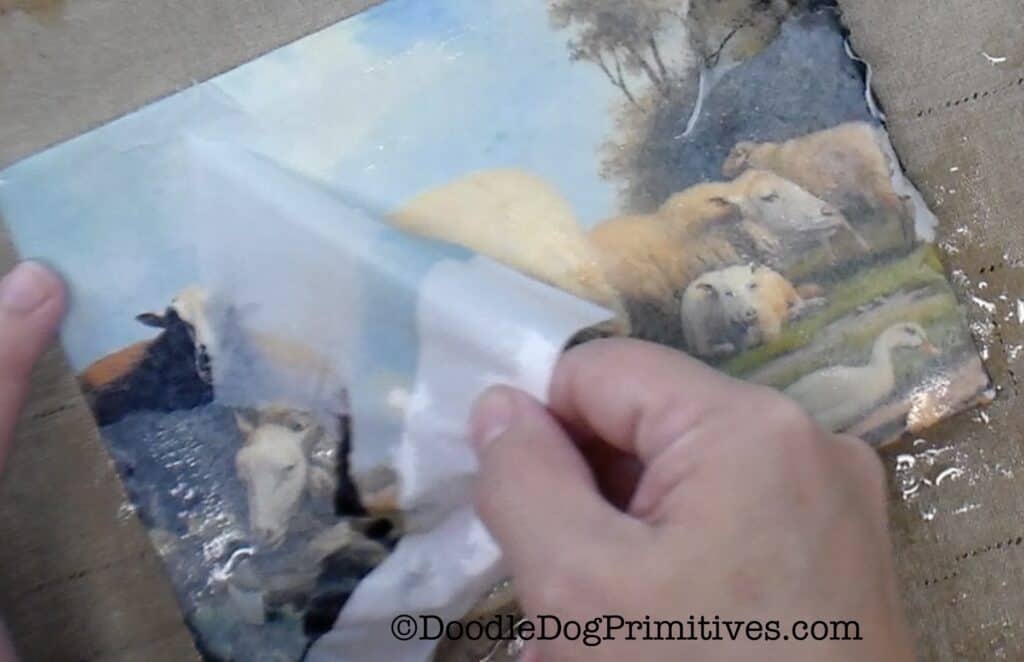
If you rub too hard, you can also remove some of the ink from the canvas.
If you want an antique look, that is good, but be careful to not remove too much ink.
When you think you have all the paper removed, let it dry.
As it dries, any remaining paper will show up as a cloudy looking area.
Repeat again and peel off the remaining paper.
If you want more ink removed to make it look more worn, you can rub over an area more.
Let the canvas completely dry.
Add a Finishing Wax:
I love the way my canvas looks after drying.
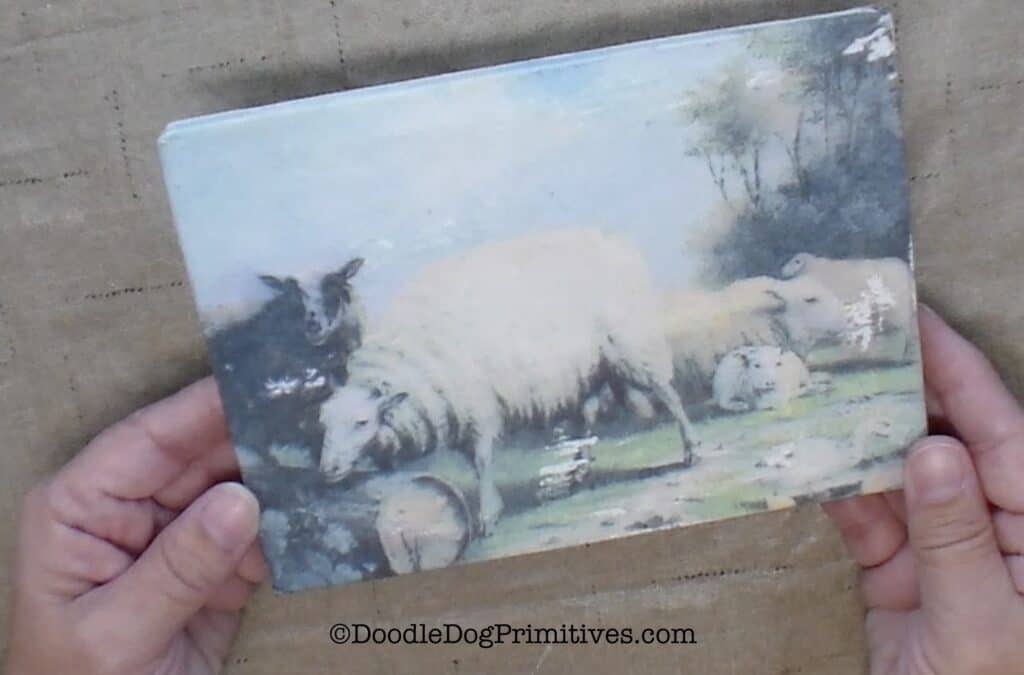
I think it will look even better with a coat of dark colored finishing wax applied.
I am going to apply a coat of Minwax Special Dark to the canvas following the manufacturer’s instructions.
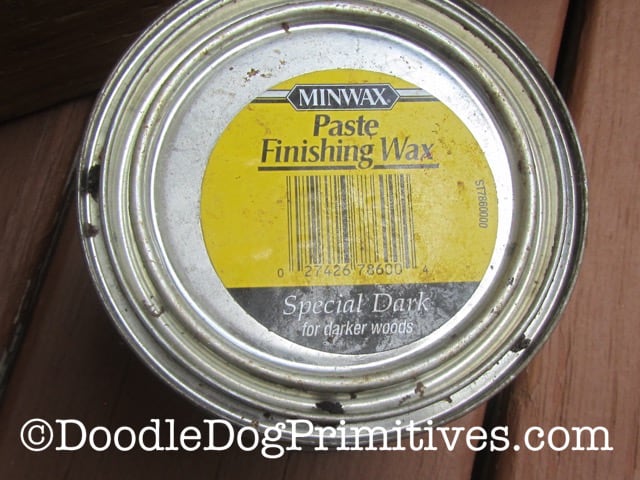
This gave it even more of an antique look!
Be sure to check out our other primitive craft tutorials!
Blessings~
Amy
Be sure to pin this prim craft tutorial:
