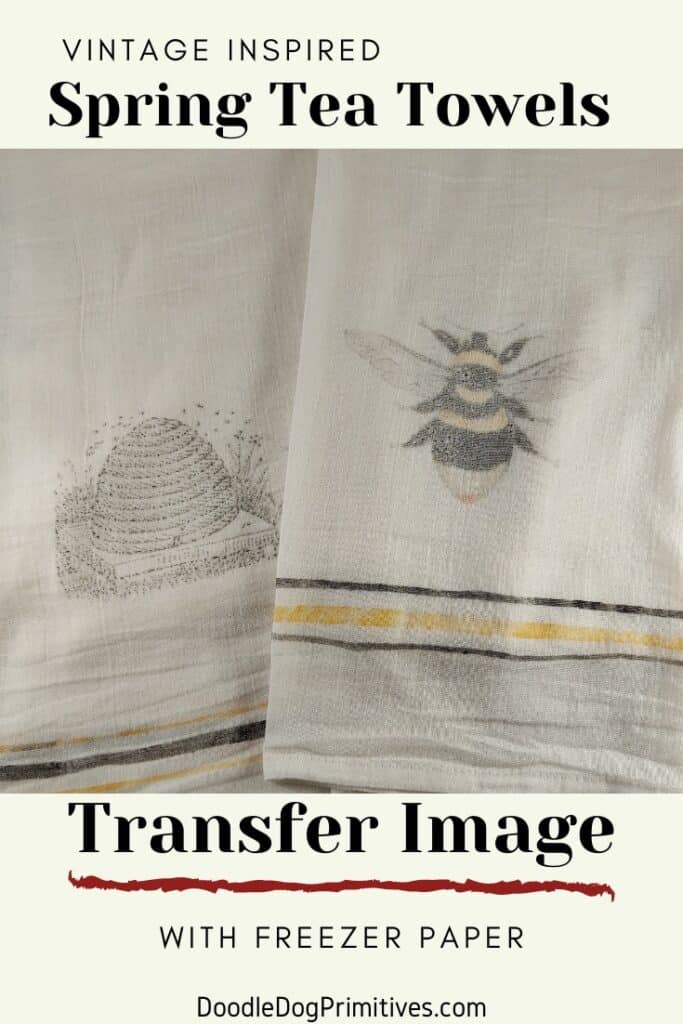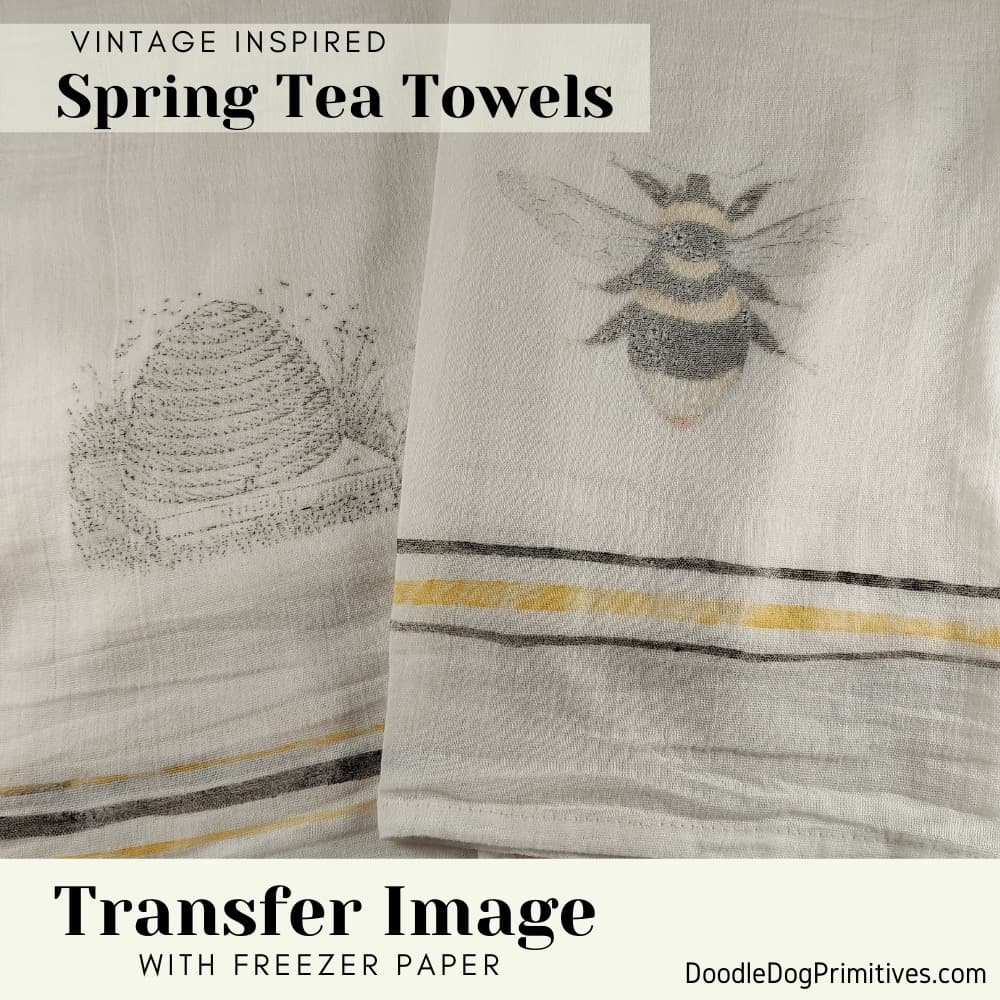
In this tutorial, I will show you how I printed a vintage image and transferred it to a flour sack tea towel using freezer paper. The designs are printed using an ink jet printer and then the ink is rubbed onto the fabric.
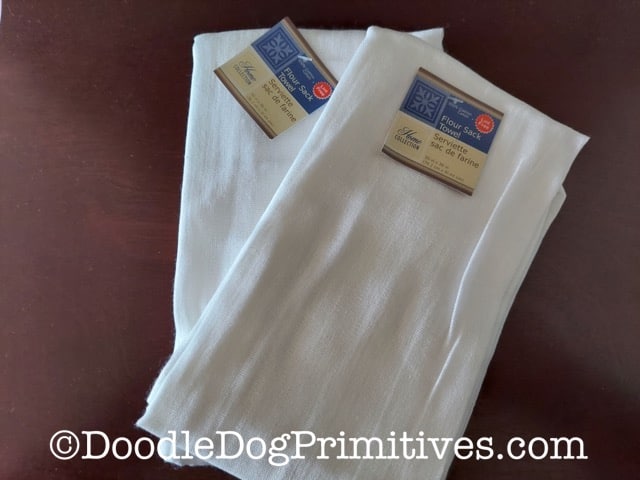
I got two white tea towels at our local Family Dollar / Dollar Tree combo store. I think Wal-Mart carries flour sack towels also.
I am going to add fun spring images to the towels and use them as a decorative accent in my farmhouse style kitchen.
This post may contain affiliate links for your convenience, which means if you make a purchase after clicking a link I will earn a small commission but it won’t cost you a penny more. For more information, please visit our Privacy Policy.
Watch the Video:
Prepare Towels:
It is a good idea to wash and dry the flour sack towels before starting this project to remove any treatment that was added to the towels and to shrink them.
The brand of flour sack towels I used was especially wrinkly so I gave them a good pressing after they were laundered.
Choose Images:
Choose some digital images you like. I chose some bee images from the Graphics Fairy.
To help you see what is possible with this transfer method, I will choose a black and white image and one with some color. I chose a bumble bee with color and a black and white bee skep.
I copied and pasted each image into its own word processing document. (One image per document.) I then resized the image to the size I wanted.
The image will end up reversed on your towel. So, reverse the image if it has letters or symbols or something else that would matter which direction it faces. It didn’t matter for either of my image choices, so I skipped this step.
Print the image onto regular paper.
Prepare Freezer Paper:
Freezer paper comes in rolls like parchment paper or aluminum foil. In order to run it through the printer, the freezer paper must be cut into 8-1/2″ x 11″ pieces.
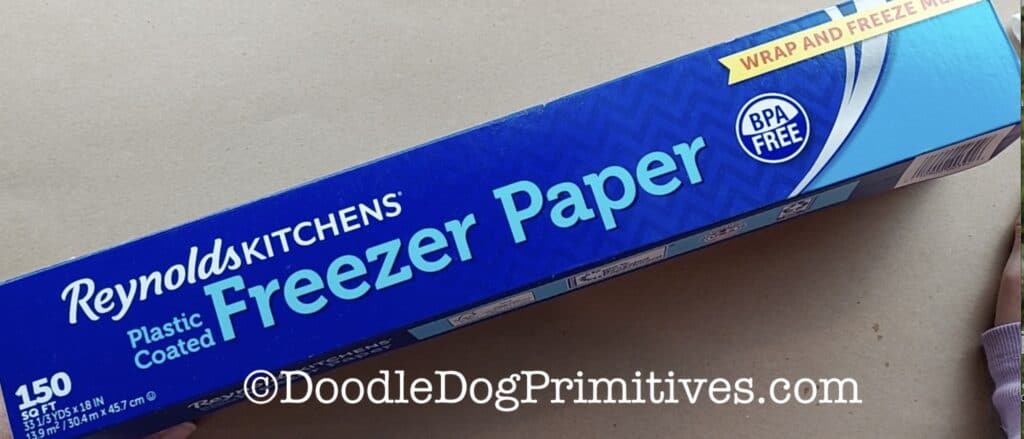
The freezer paper has a paper side and a shiny, waxy side. You will print the image on the waxy side. The ink will sit on top of the wax and not soak into the paper making it possible to transfer the image to the fabric towels.
With my printer, printing the freezer paper by itself caused a paper jam and a big inky mess.
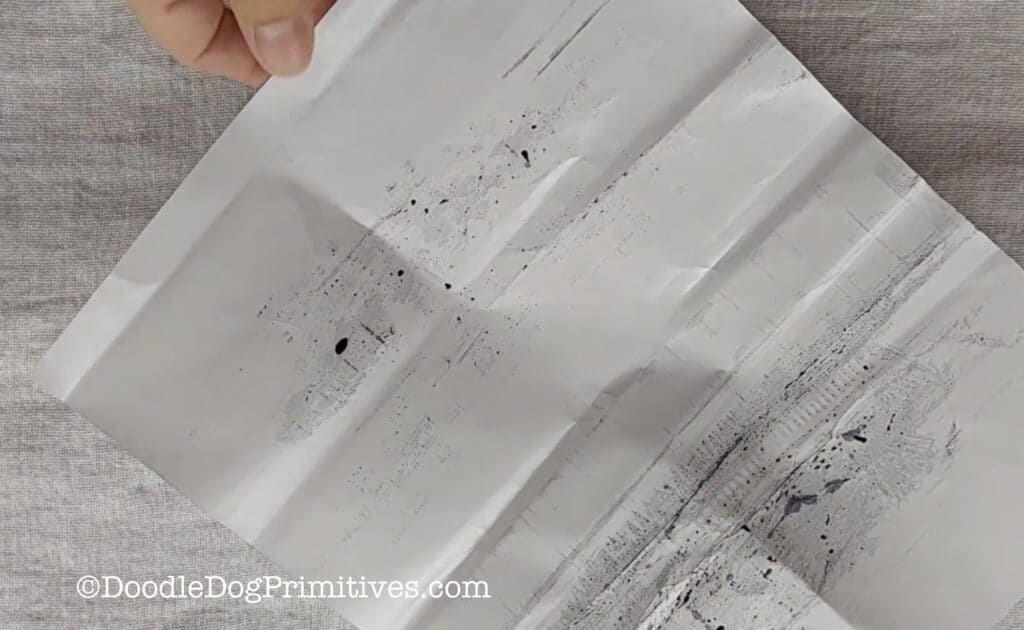
After I taped the freezer paper to a regular piece of printer paper, it went through the printer much easier.
I used regular office style transparent tape to attach the printer paper to the freezer paper, with the waxy side of the freezer paper to the outside. I used a piece or two of tape around three edges, and taped up the bottom edge that will go through the printer first with several pieces of tape.
Prepare Your Work Space:
Lay down a plastic tablecloth or something else to protect your furniture in case the ink bleeds through the towel.
Lay out the flour sack towel on the protected workspace.
You will need a spoon, so have one handy. I used a wooden spoon.
Layout Design on Towel
Take the image that you printed onto regular paper and place the paper on top of the towel. Decide where you want to place the image on the towel.
Once you have the design centered and in the correct place, use a washout pencil to mark around the top corners of the paper. This will make it much easier to place the freezer paper later.
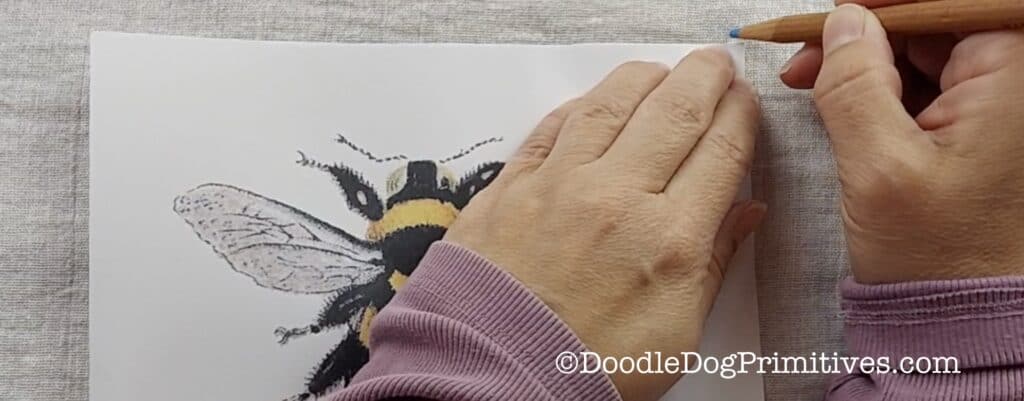
Transfer the Image using Freezer Paper:
Now that your area and towel are prepared, use an ink jet printer to print the reversed image onto the waxy side of the prepared freezer paper.
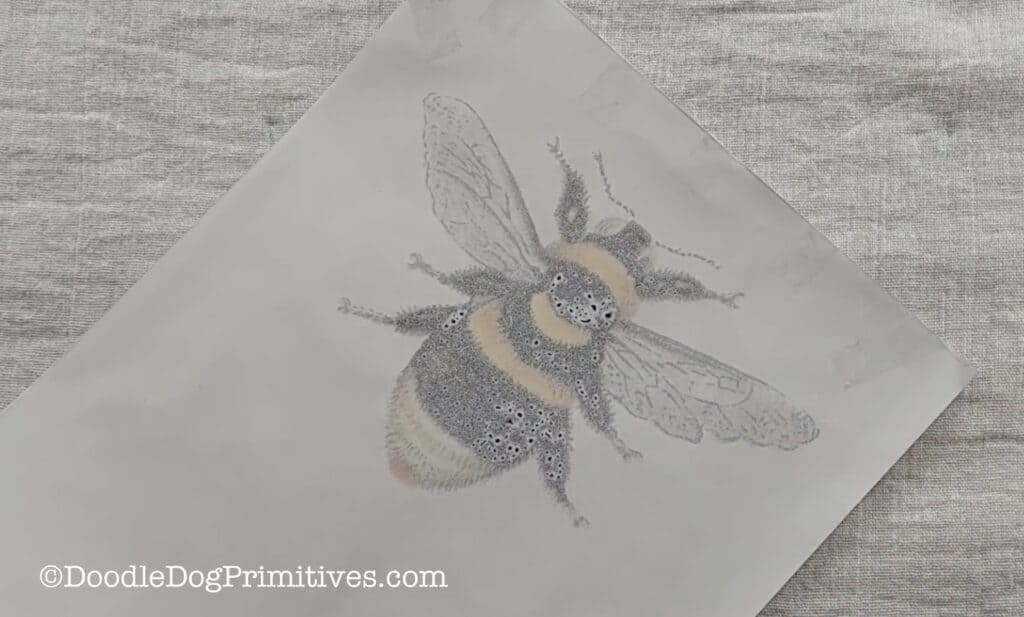
Be careful – since the ink won’t soak into the paper, it is wet and will smear easily.
Place the printed freezer paper, image side down, onto the tea towel, following the guide marks made earlier.
Once you have this placed, be careful to not move it. Use the spoon to firmly rub all over the image. It takes quite a bit of rubbing to transfer all of the ink onto the towel.
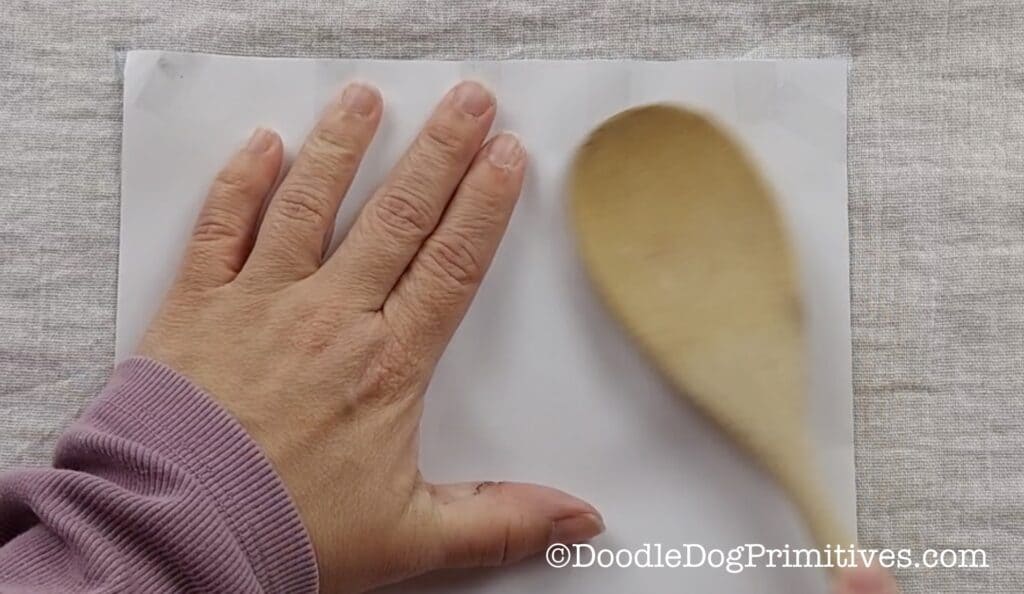
This transfer method is best used for decorative towels, not ones that are going to be used and frequently washed.
Remove the paper. Carefully dab some water onto the washout pencil marks to remove them. (Don’t get the bee wet at this point!)
Set the towel aside to completely dry. I waited overnight before proceeding.
Heat Set the Image:
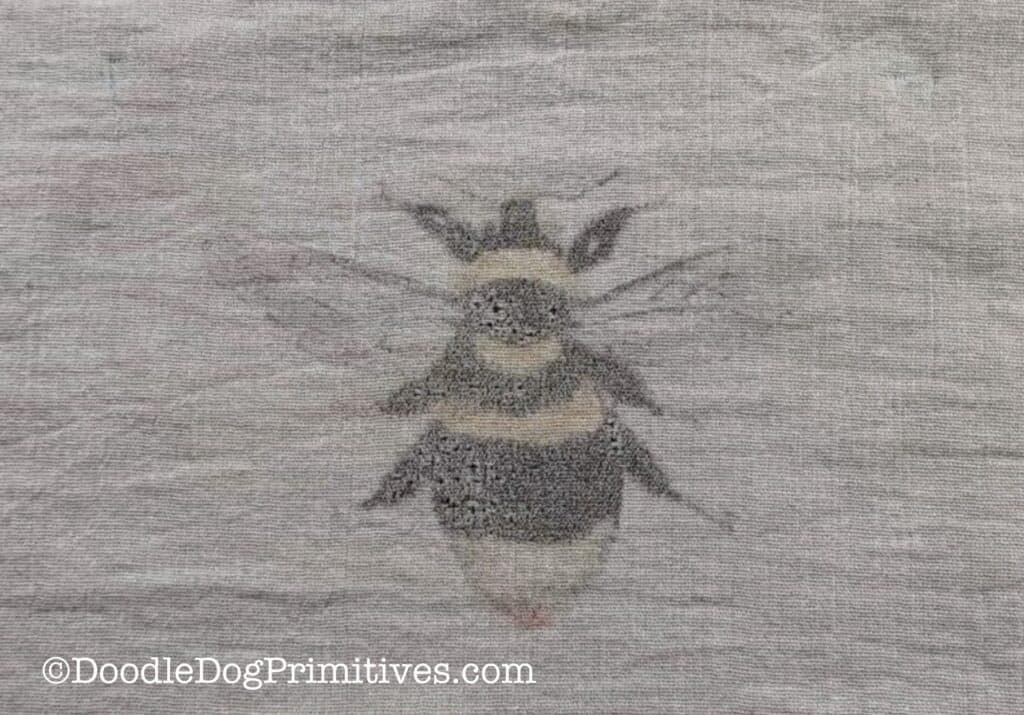
Heat set the ink onto the flour sack towel using a dry iron. Be sure to place a pressing cloth both underneath the towel and on top of it to protect your ironing board cover and iron.
Add Stripes if Desired:
I added some yellow and black stripes onto the bottom of the towels using craft paint, fabric medium, and frog tape.
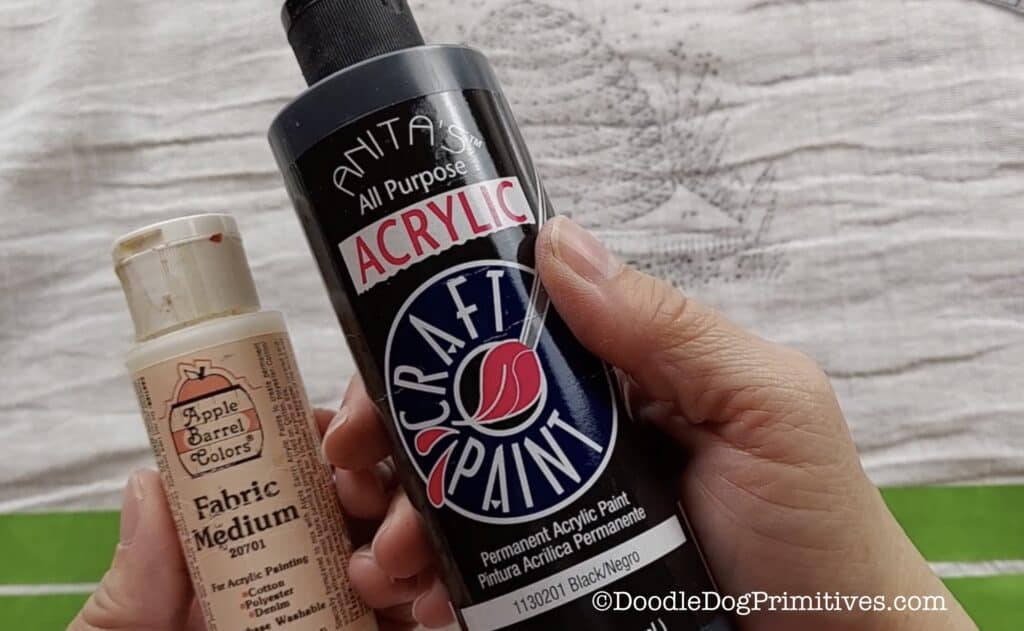
If you also add stripes, be sure to follow the instructions on the fabric medium you use.
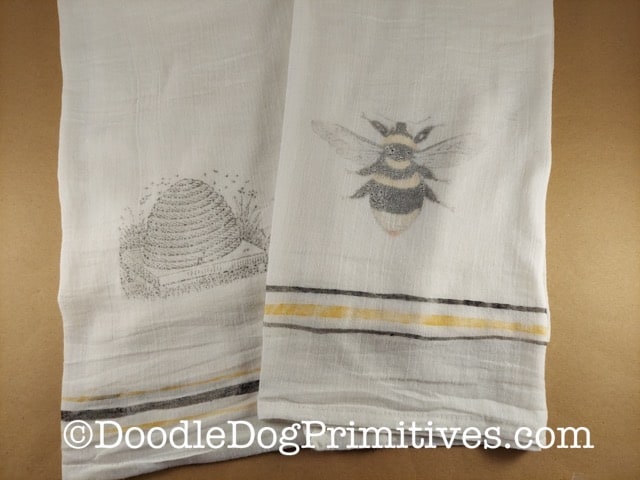
This method to transfer images using freezer paper creates a faded look, but since I like the old, primitive style, that is perfect for my decor!
Be sure to check out our other tutorials!
Blessings~
Amy
Be sure to Pin this Craft Tutorial:
