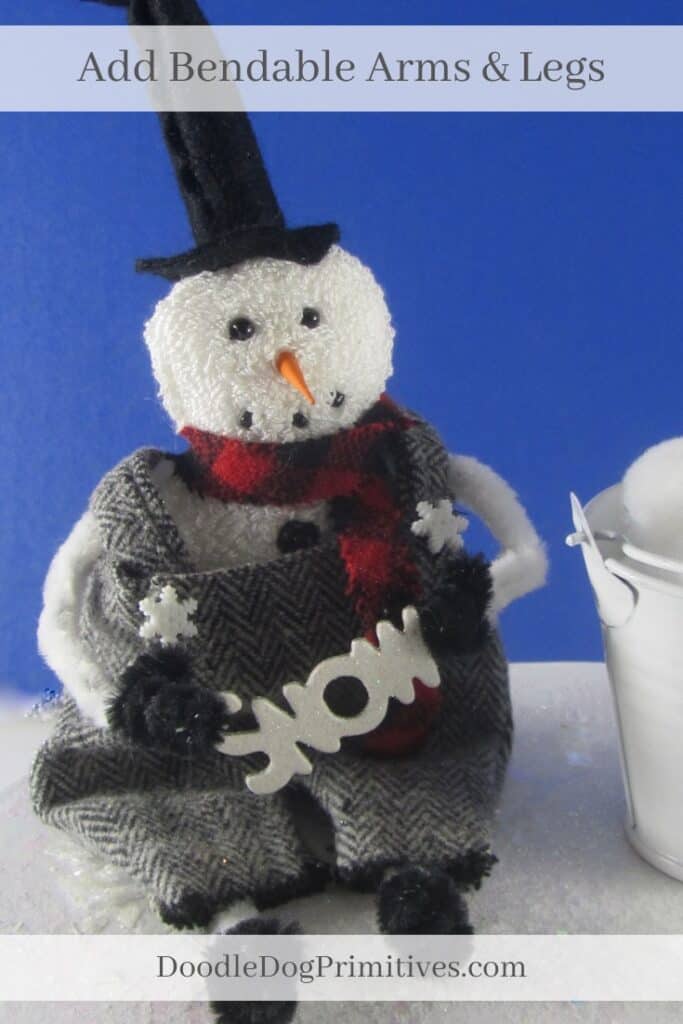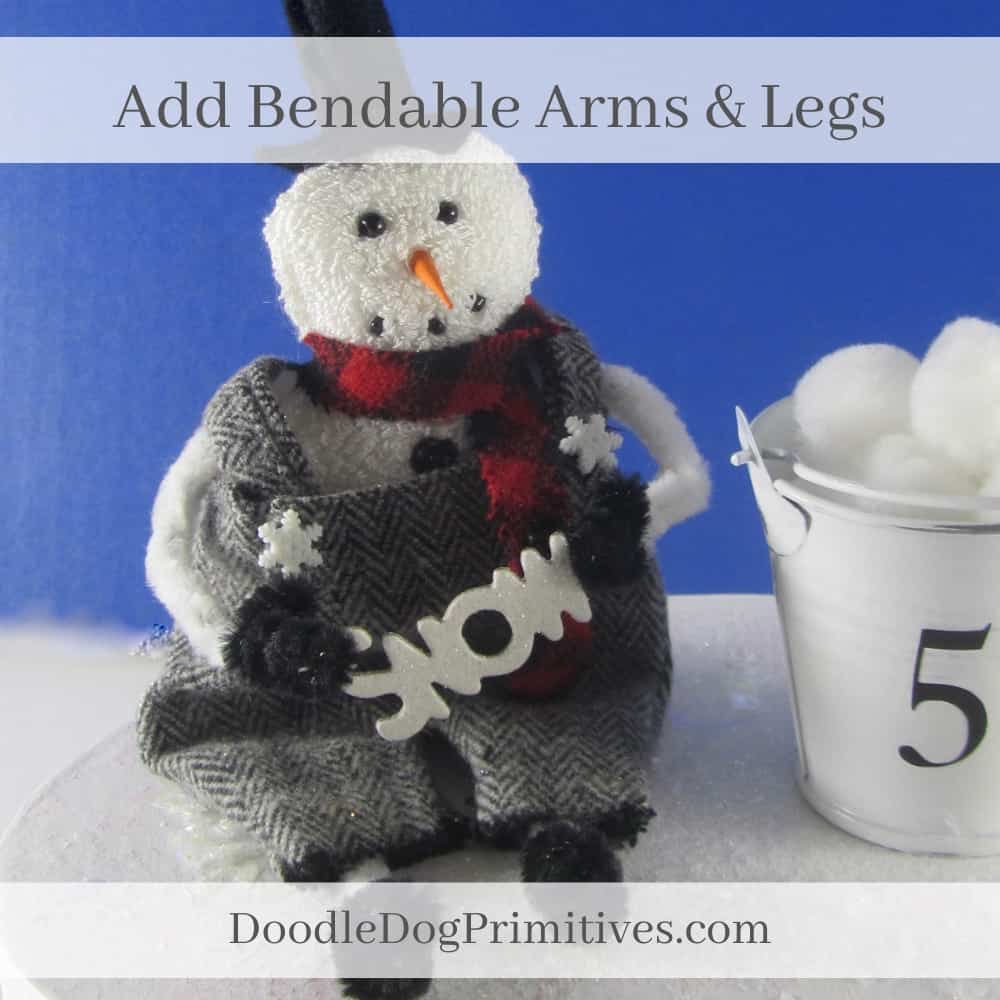
I really like making three dimensional punch needle figures. My mom gave me some glittery SNOW signs, which inspired me to make a punch needle snowman with bendable arms & legs so he could hold the sign. You could use the same technique on a wool figure or any other small craft project.
Here’s how I added the posable limbs to my punch needle project. I will also show you how I made the boots and mittens for the snowman.
Watch the Video:
This post may contain affiliate links for your convenience, which means if you make a purchase after clicking a link I will earn a small commission but it won’t cost you a penny more. For more information, please visit our Privacy Policy.
Adding Bendable Arms & Legs:
I am sewing the backing of the punch needle snowman
in the same manner I would hand sew a punch needle ornament or bowl filler.
Sew around the figure until you come to the place where you want to add an arm or leg.
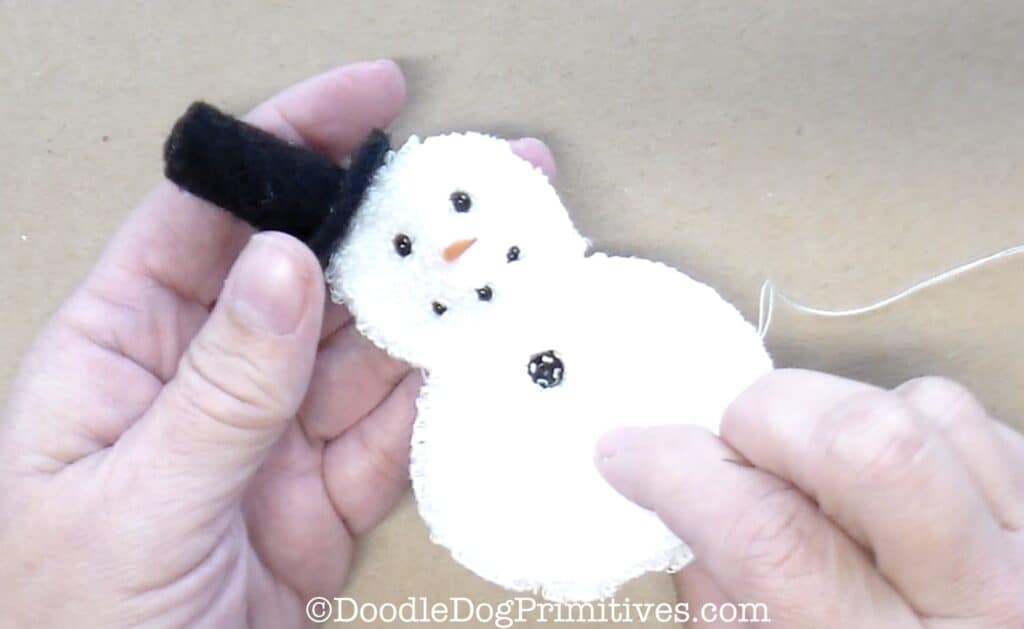
The arms will be added at the indention between the head and body.
Later, I will add a scarf to the snowman to help hide where the arms come out of the body.
I am using a pipe cleaner (chenille stem) for each arm and leg.
Preparing the Arm:
Fold the pipe clean in half.
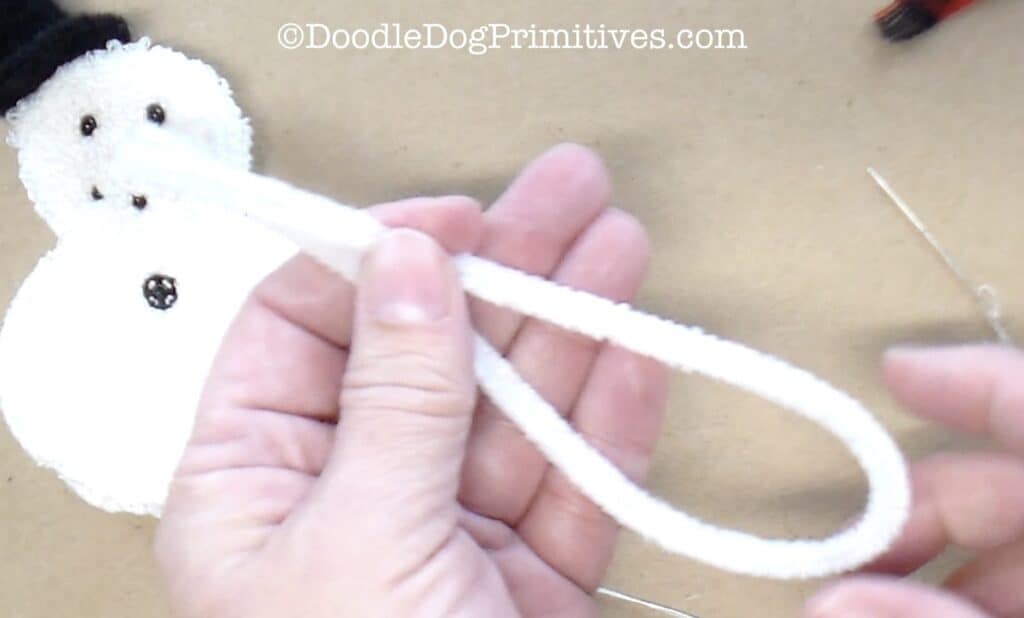
This will give the limb more substance
AND give a loop on the end in case you want to add something to the snowman’s hands.
Twist the folds of the pipe cleaner together.
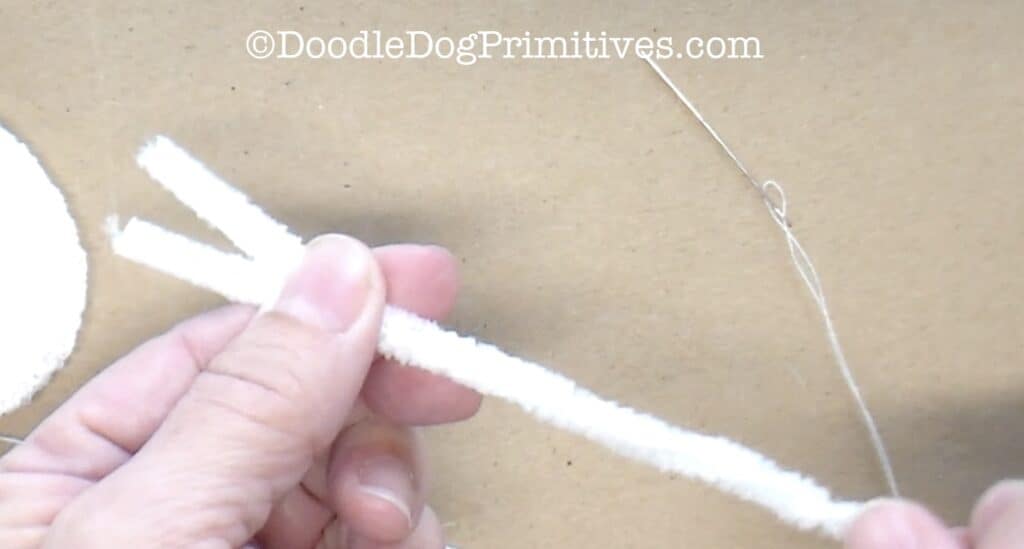
Place the limb on the figure to determine the correct length for the bendable arm or leg.
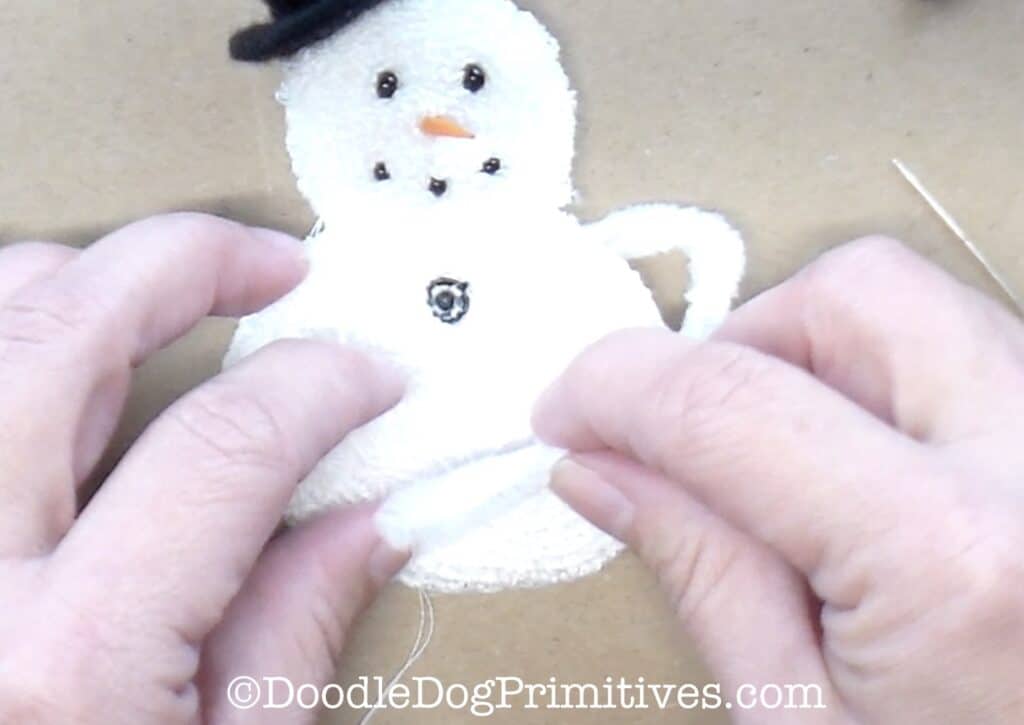
Once you have determined the correct length, cut off about 3/4″ past
where the pipe cleaner meets the edge of the punched piece.
Be sure to use wire cutters instead of your scissors to cut the pipe cleaner – they have wire in them!
Repeat for the opposite limb.
Untwist about 3/4″ of the cut end of the pipe cleaners and bend the ends into a T shape.
Fold the ends back toward the middle.
Hold the longer twisted part of the pipe cleaner with one hand
and twist the top of the T around in a circle several times with the other hand.
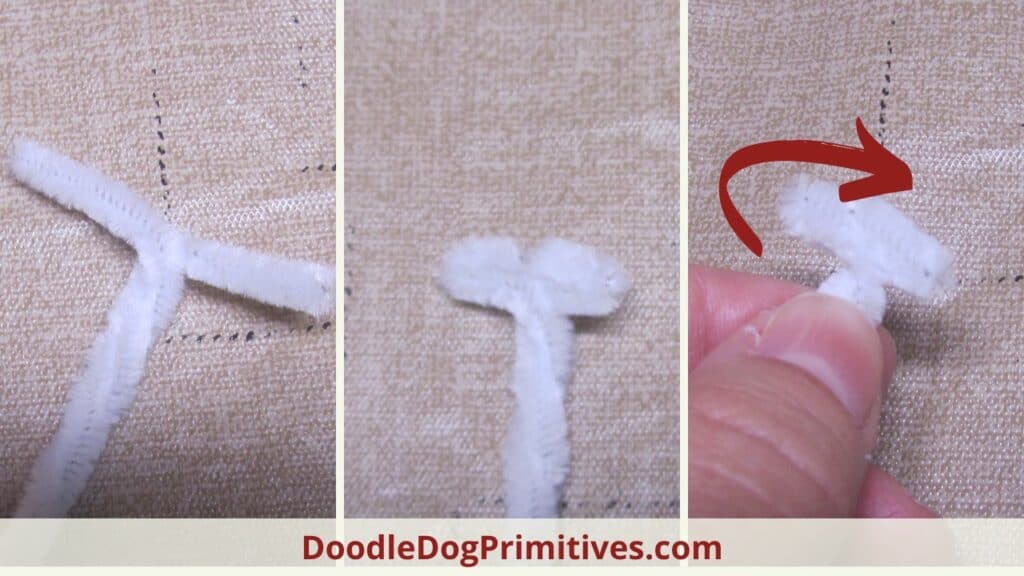
Sewing in the Arm:
Place the top of pipe cleaner T between the front and back of the project right where you want the arm to be.
Sew back and forth through the folded over edge of the weavers cloth and the backing fabric.
Be careful to not catch any of the punched loops.
Sew on one side of of the pipe cleaner, through the middle of the twisted pipe cleaner and on the opposite side,
several times in each place.
Continue sewing as before until you get to the next arm or leg spot.
Repeat the process for each arm and leg.
Dressing the Snowman:
I added a pair of sewn flannel pants to the snowman to hide where his legs attach to the body.
The pants also have suspenders which help to hide where the arms attach to the body.
Just for fun, I added a back pocket and hankie to his pants.
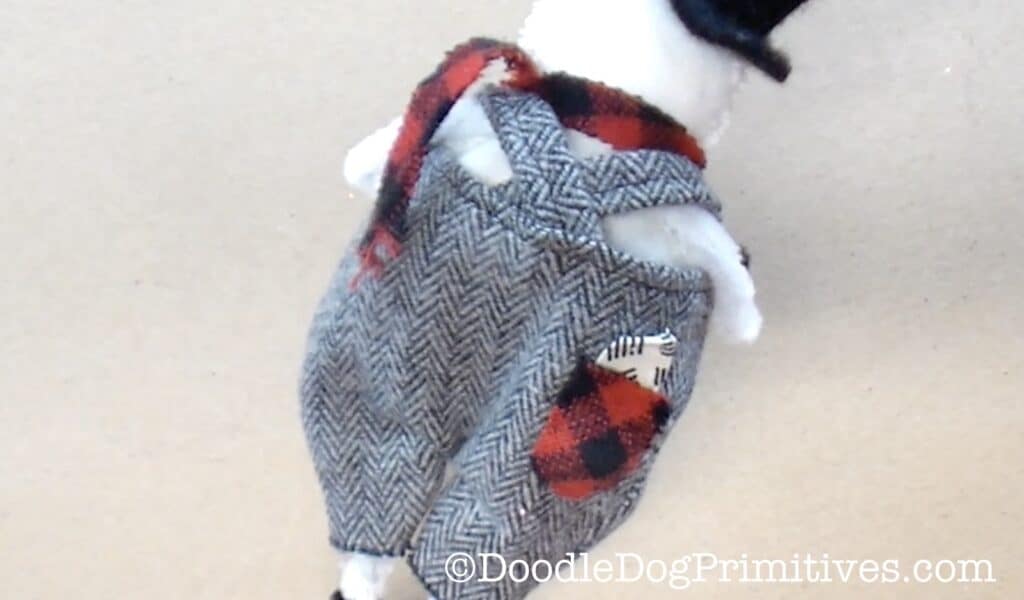
I added a scarf around his neck
and a hat to his head. (I attached the hat as I was sewing the backing onto his head.)
Adding Boots & Mittens to the Bendable Arms & Legs:
To make a boot, wrap a black pipe cleaner several times around a 1/4″ dowel rod.
Use wire cutters to cut off the extra pipe cleaner.
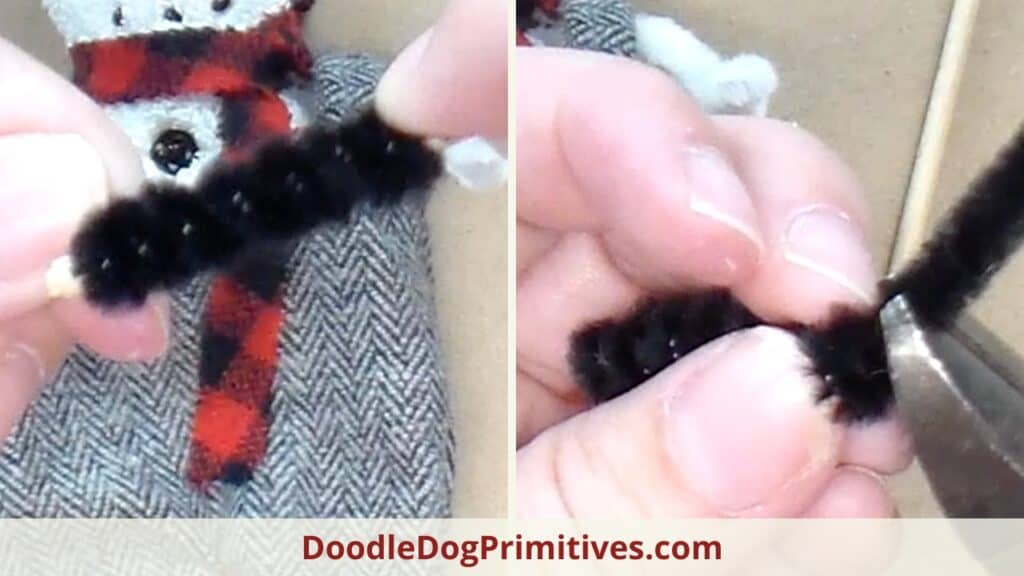
Slide a pipe cleaner leg into the middle of the boot.
About half way down the boot, fold the boot in a 90 degree angle
so you have a foot to the boot.
Flatten the tip of the boot where the toes would be.
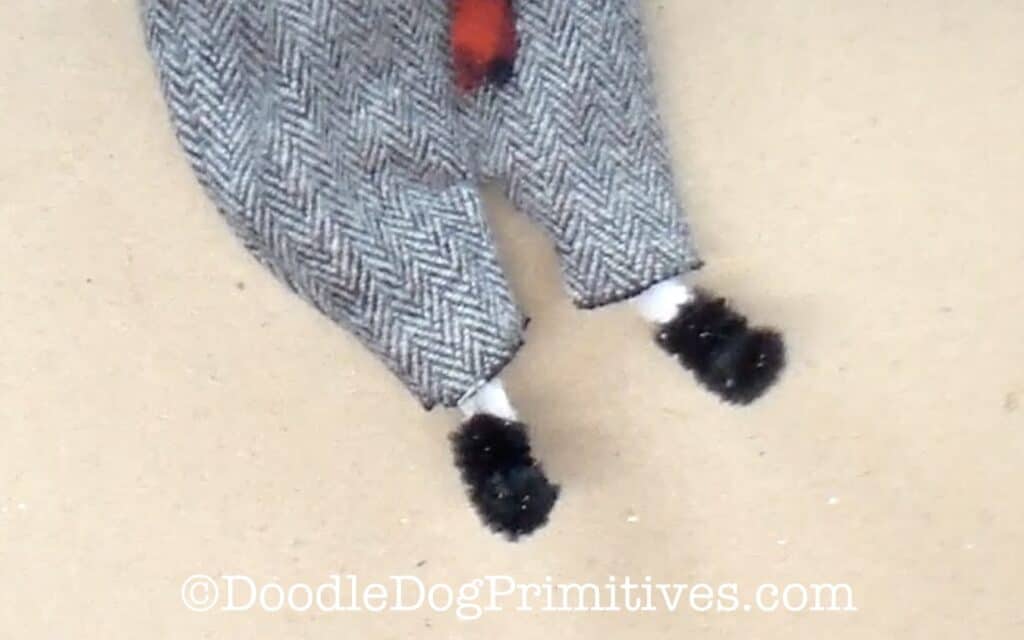
To make a mitten, wrap a black pipe cleaner a few times around a 1/4″ dowel rod.
Use wire cutters to cut off the extra pipe cleaner but this time leave about 3/8″ extra pipe cleaner.
Fold the extra bit of pipe cleaner in half to create the thumb.
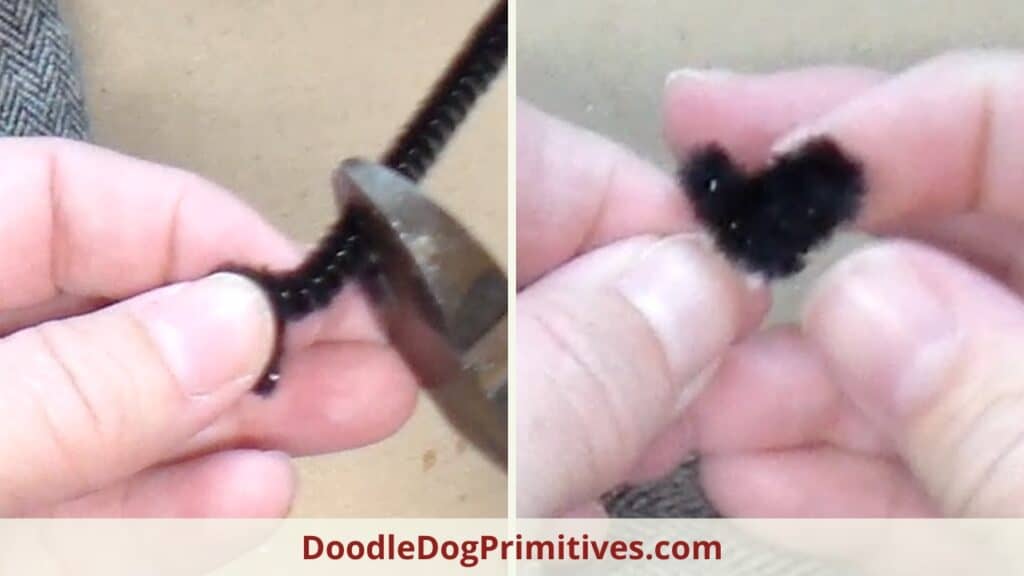
Slide the mitten onto the pipe cleaner arm.
Post the Punch Needle Figure:
Now that the bendable arms and legs have been added,
you can post the punch needle figure as you like.
I added the SNOW sign to my snowman’s hands.
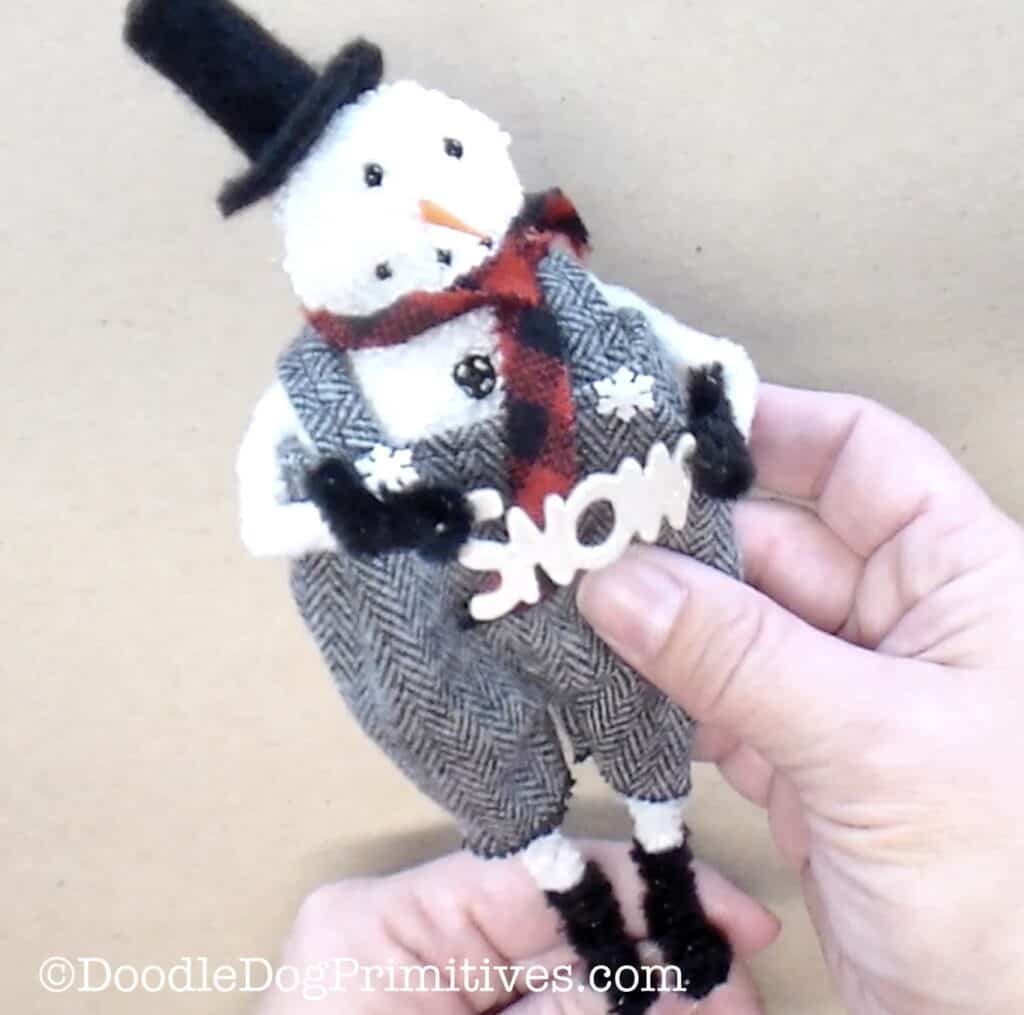
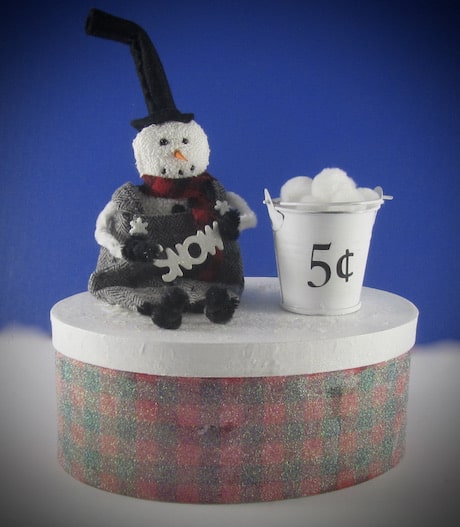
I made a second snowman with a taller hat.
He is also holding a SNOW sign, but he is sitting on top of a box.
Be sure to check out our other punch needle tutorials.
Be sure to Pin this Punch Needle Tutorial:
