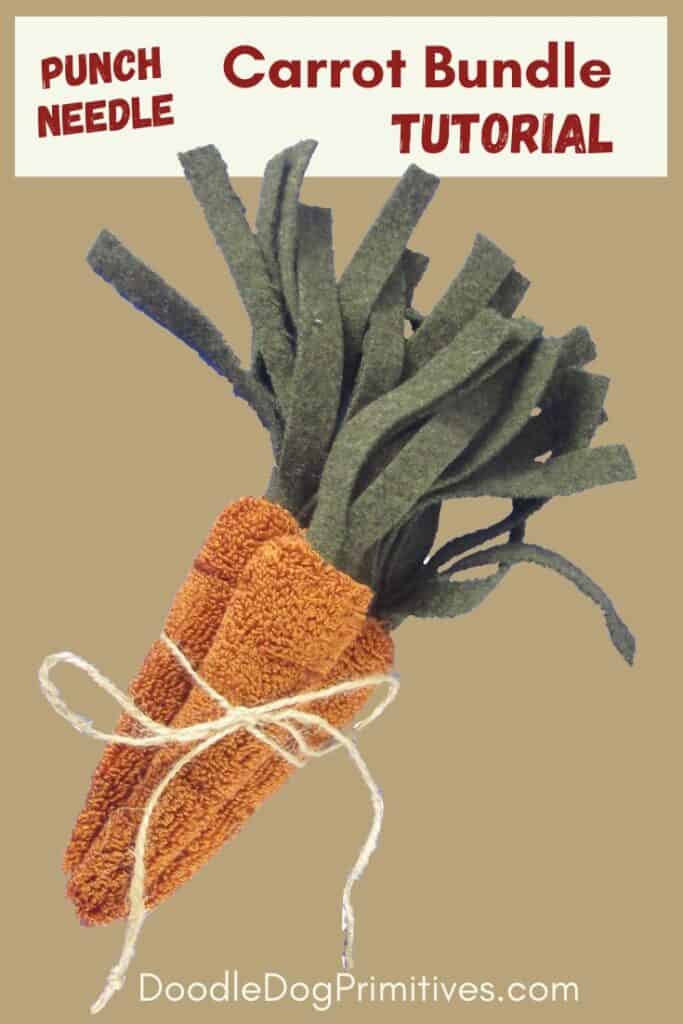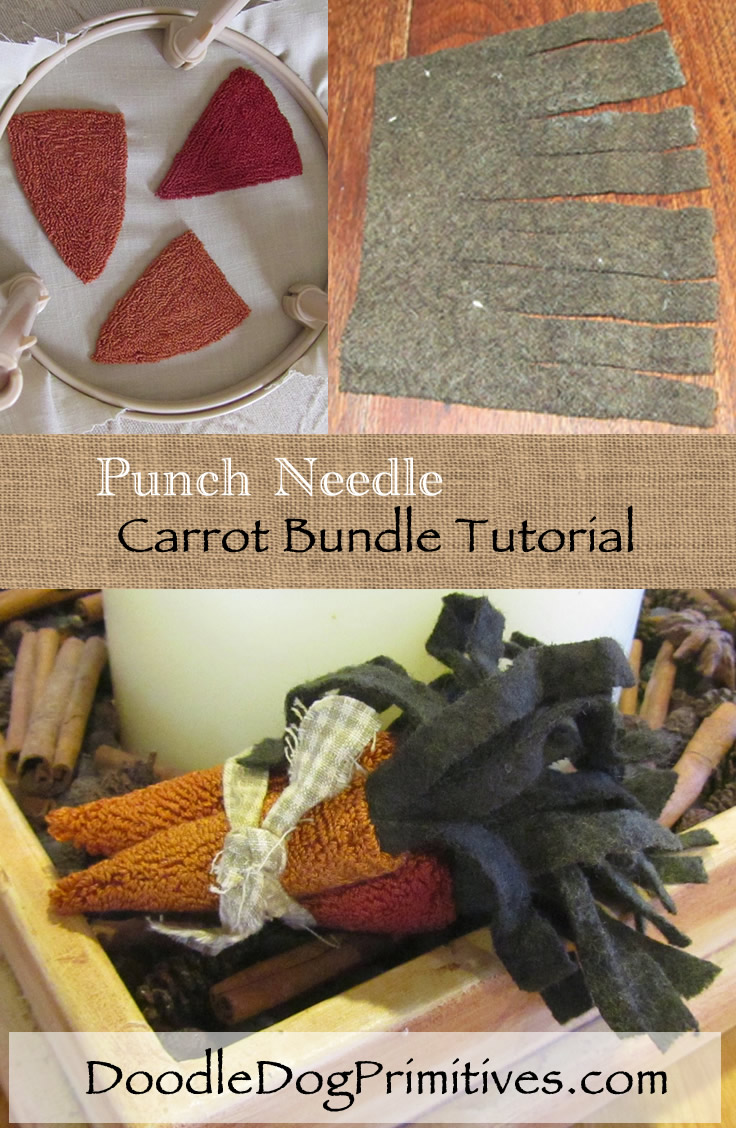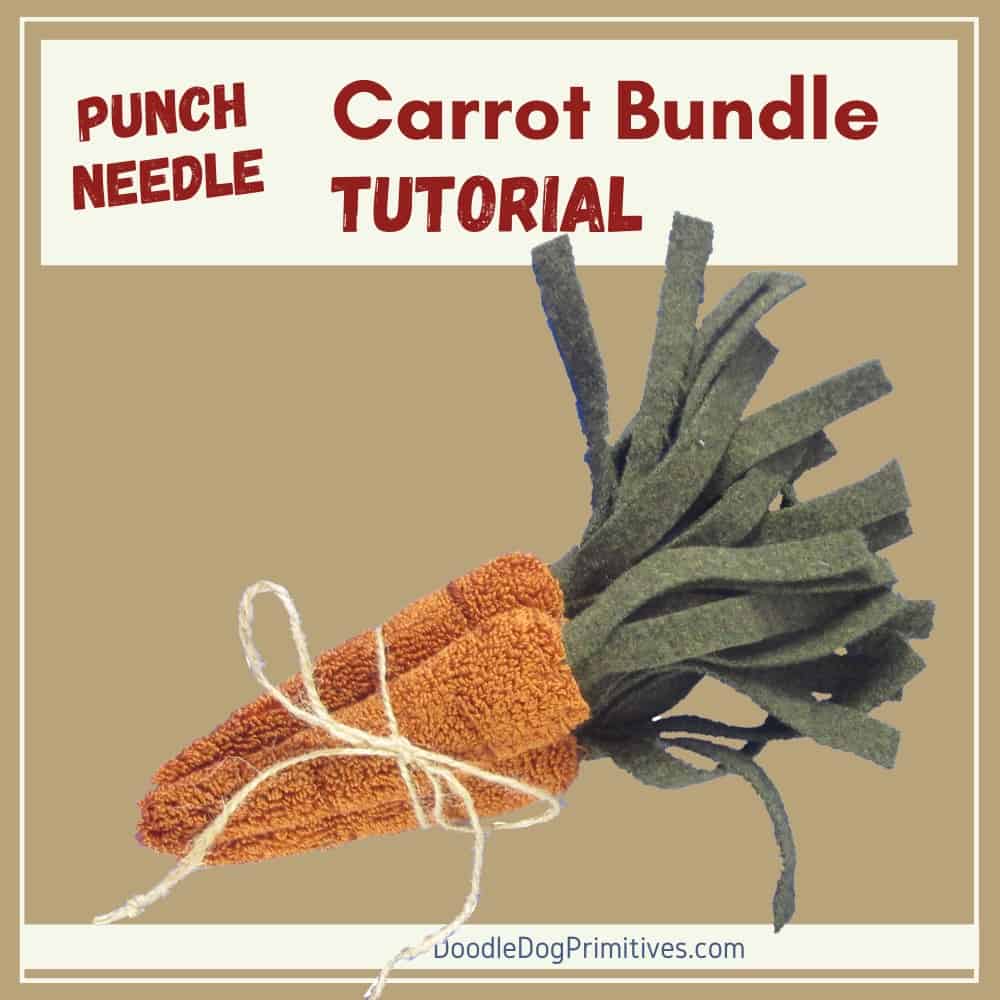
In this punch needle tutorial, I will show you how to make punch needle carrots with felted wool carrot tops. I bundled three of them together. They are perfect for bowl fillers or as an accessory in your spring decorating. They would be cute placed next to an Easter bunny!
Drawing the Carrot Pattern:
To draw the punch needle carrot pattern, start by drawing a long skinny carrot. I made mine 5 inches tall. Round the side edges and bottom point of the triangle so the carrot pattern has some curves.
This post may contain affiliate links for your convenience, which means if you make a purchase after clicking a link I will earn a small commission but it won’t cost you a penny more. For more information, please visit our Privacy Policy.
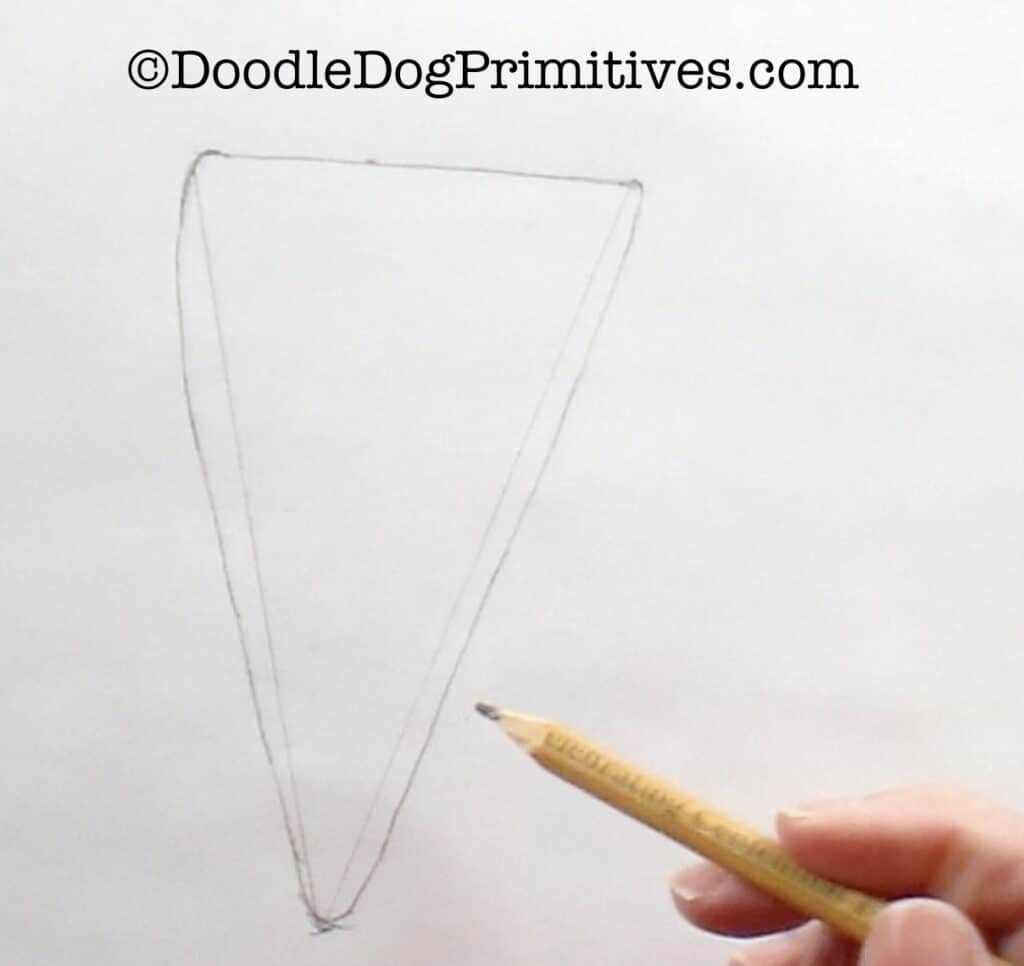
Use a light box or window to trace the pattern onto a piece of weavers cloth. If you decide to make more than one punch needle carrot, be sure to leave at least an inch between each one for seam allowance.
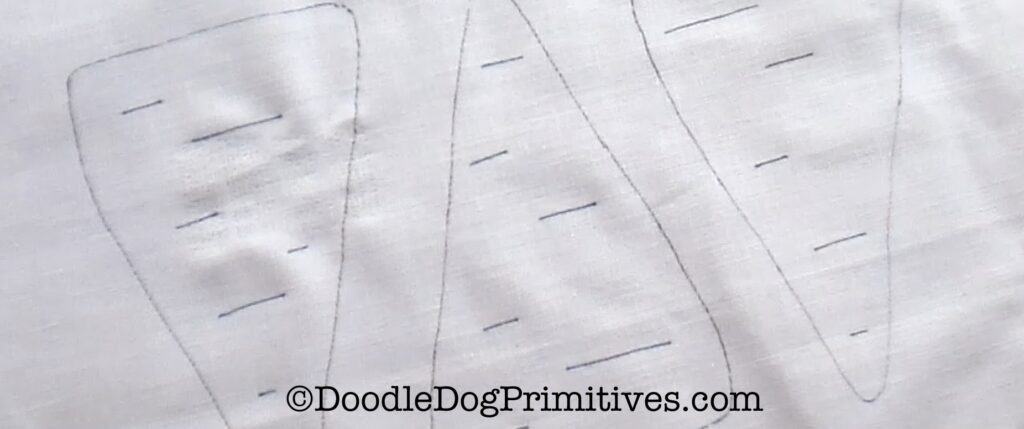
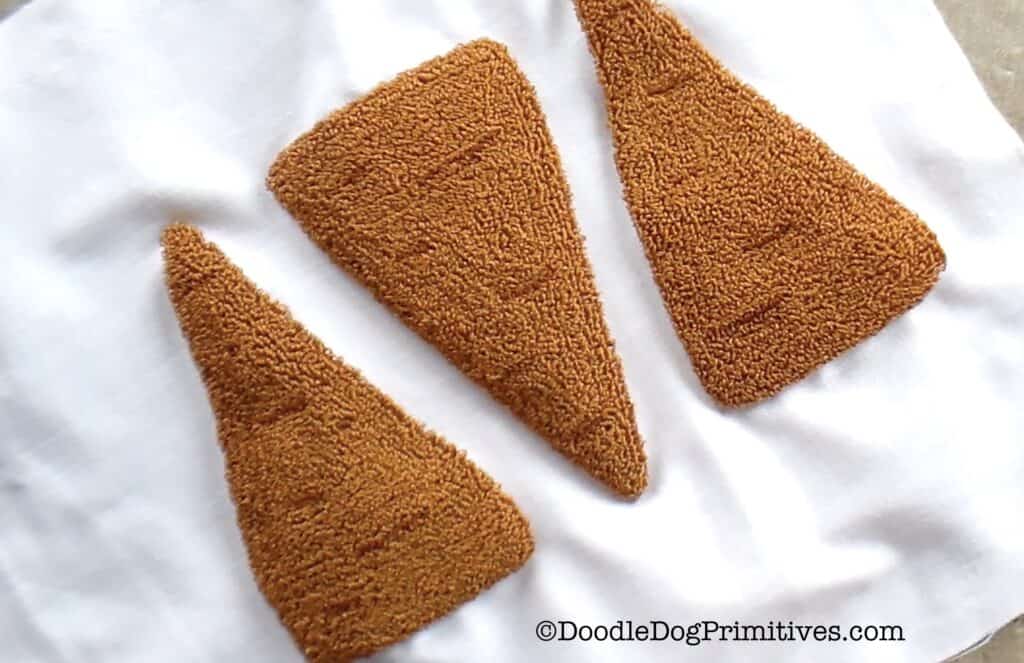
Randomly draw horizontal lines on the carrot patterns.
Watch the Video:
Punch the Carrots:
Choose two shades of orange to punch each carrot. Use the darker shade for the lines. This will give the finished punched carrots some texture and dimension.
I chose to punch all three of my carrots using 3 strands of DMC 400 for the lines and DMC 3826 for the rest of the carrot.
Sew the Carrots:
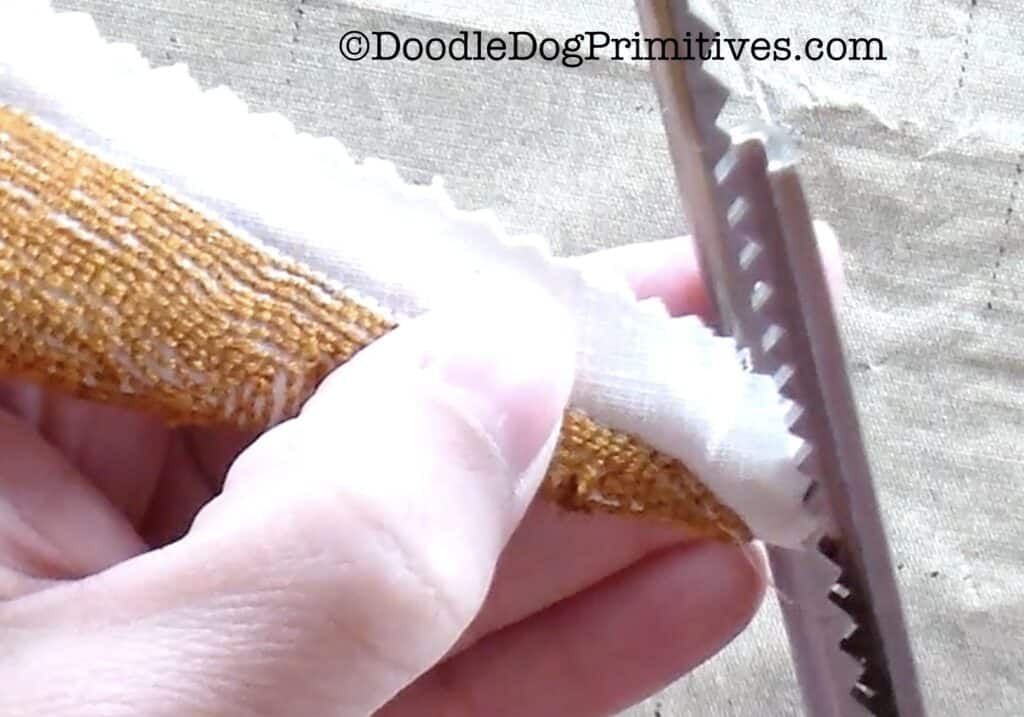
Use pinking shears to trim the seam allowance around each carrot to 1/2″.

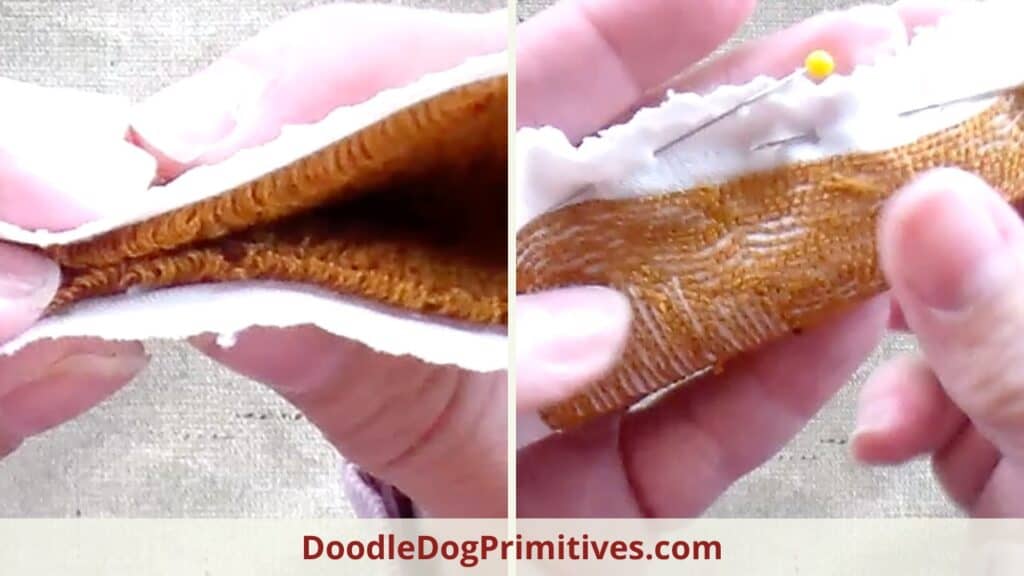
Fold the carrot in half lengthwise, right sides together. Line up the edges of the punching. Pin together along the empty weavers cloth.
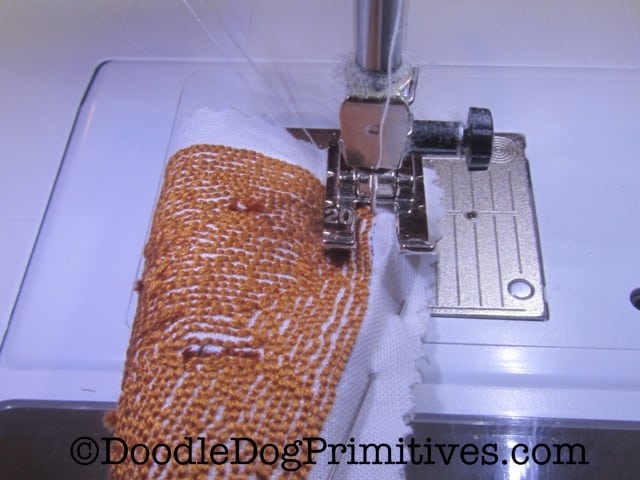
Sew right along the edge of the punches all along the long side, leaving the top of the carrot open. Backstitch at the beginning and end of your stitching to secure the ends.
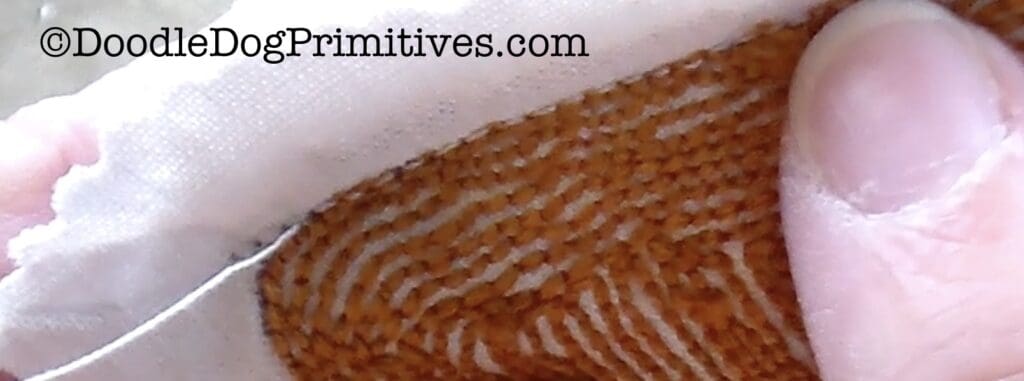
Trim the seam allowance at the bottom of the carrot with your pinking shears to reduce the bulk for turning.
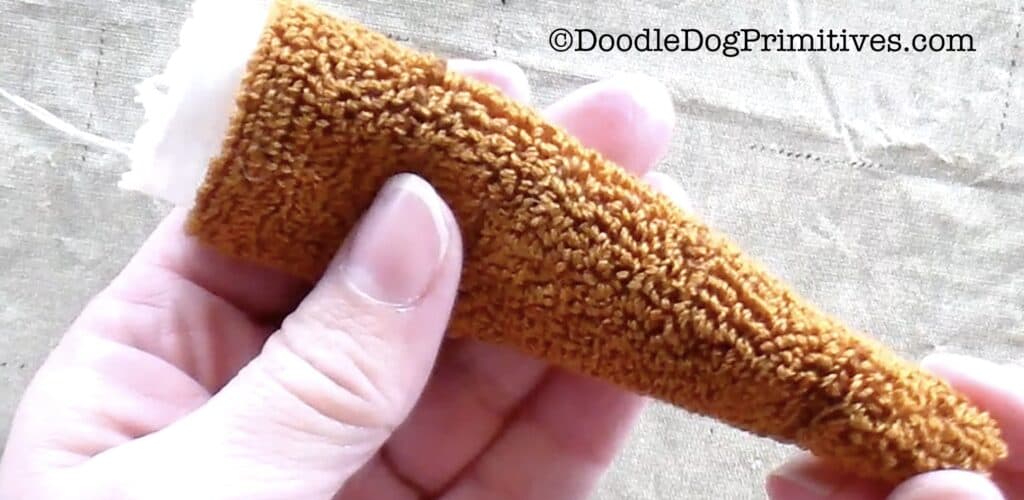
Turn the carrot right side out and stuff to about 3/4″ from the top with stuffing of your choice. I use a fiber fill type stuffing.
Make the Carrot Tops:
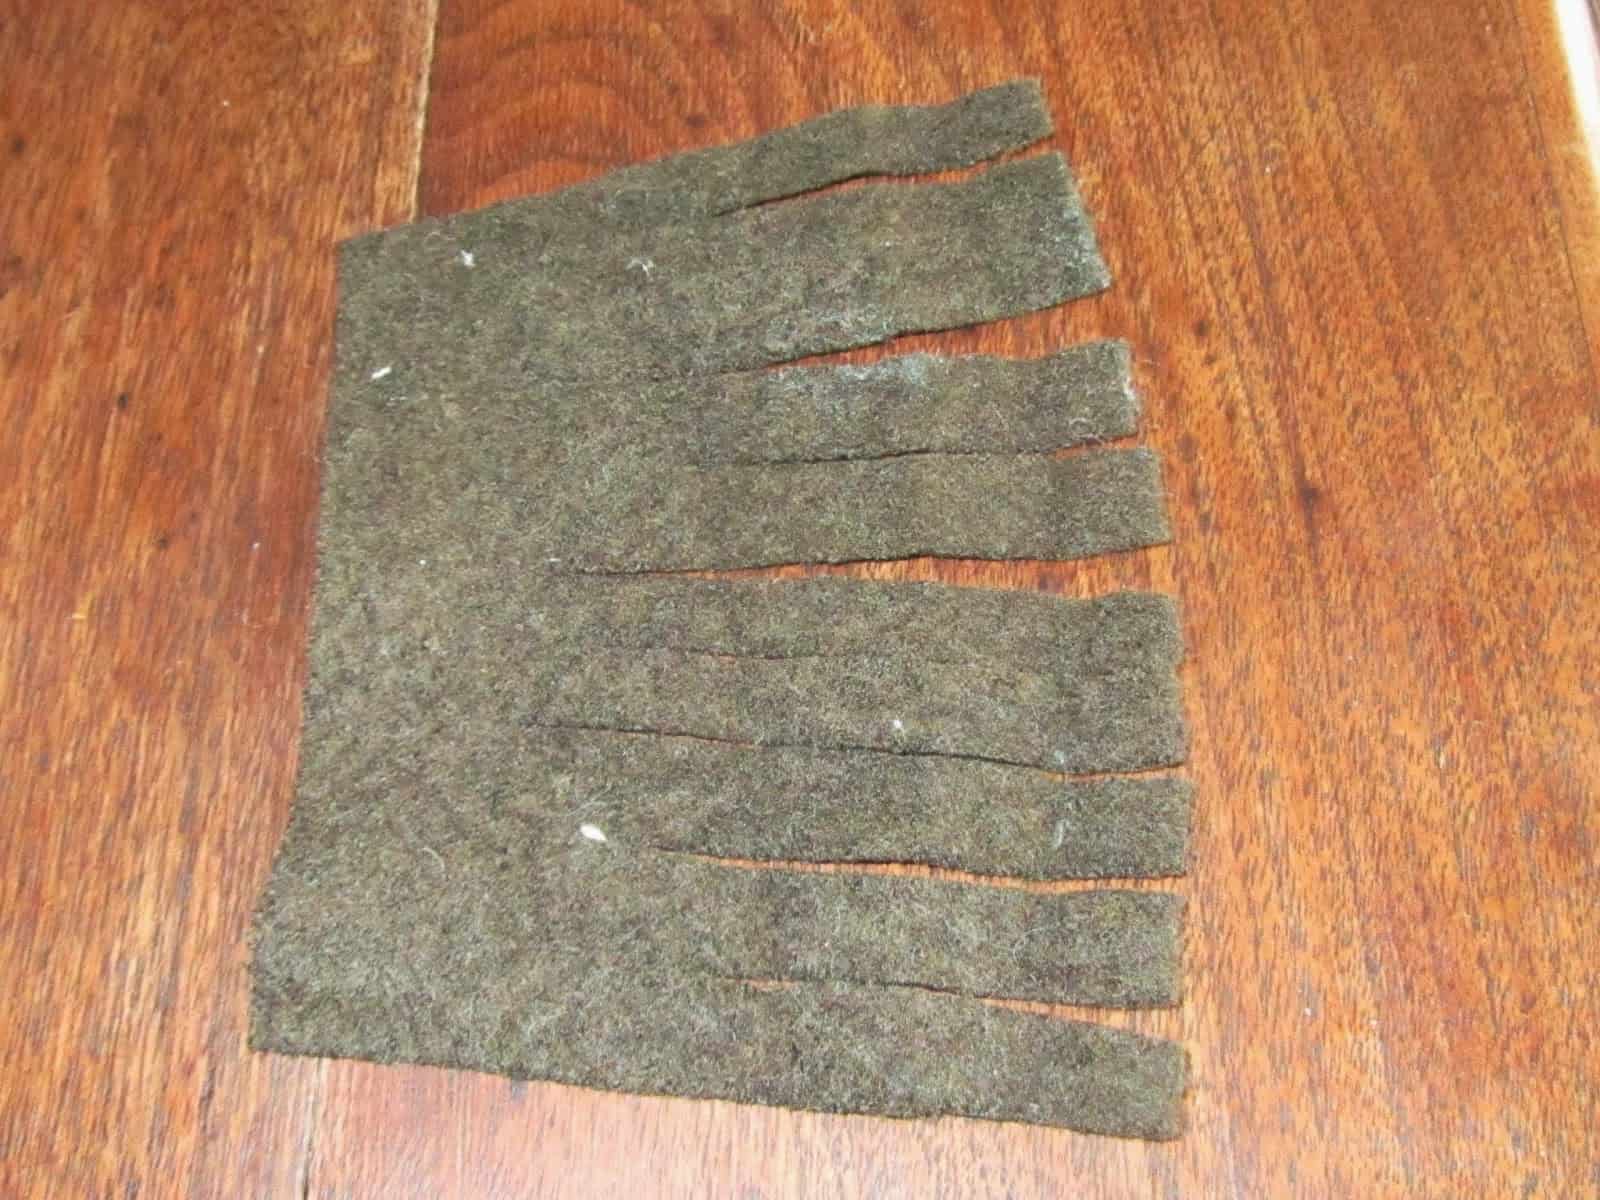
Cut a rectangle of green felted wool for the carrot top. The size of the piece of felted wool will vary depending on how large your carrots are.
A good rule of thumb is to make the carrot tops about as long as the carrot is tall. When rolled up, the wool should fit inside the carrot top with some extra room so you can gather the carrot.
My rectangles were 5″ x 4″.
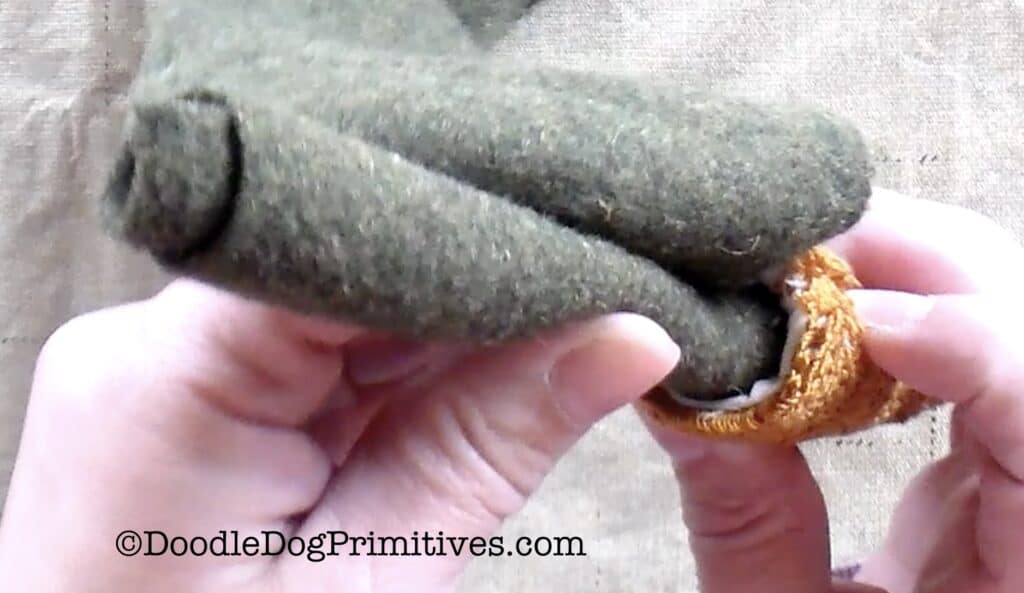
Cut 1/2″ wide strips in the felted wool, leaving about 3/4″ on one end uncut.
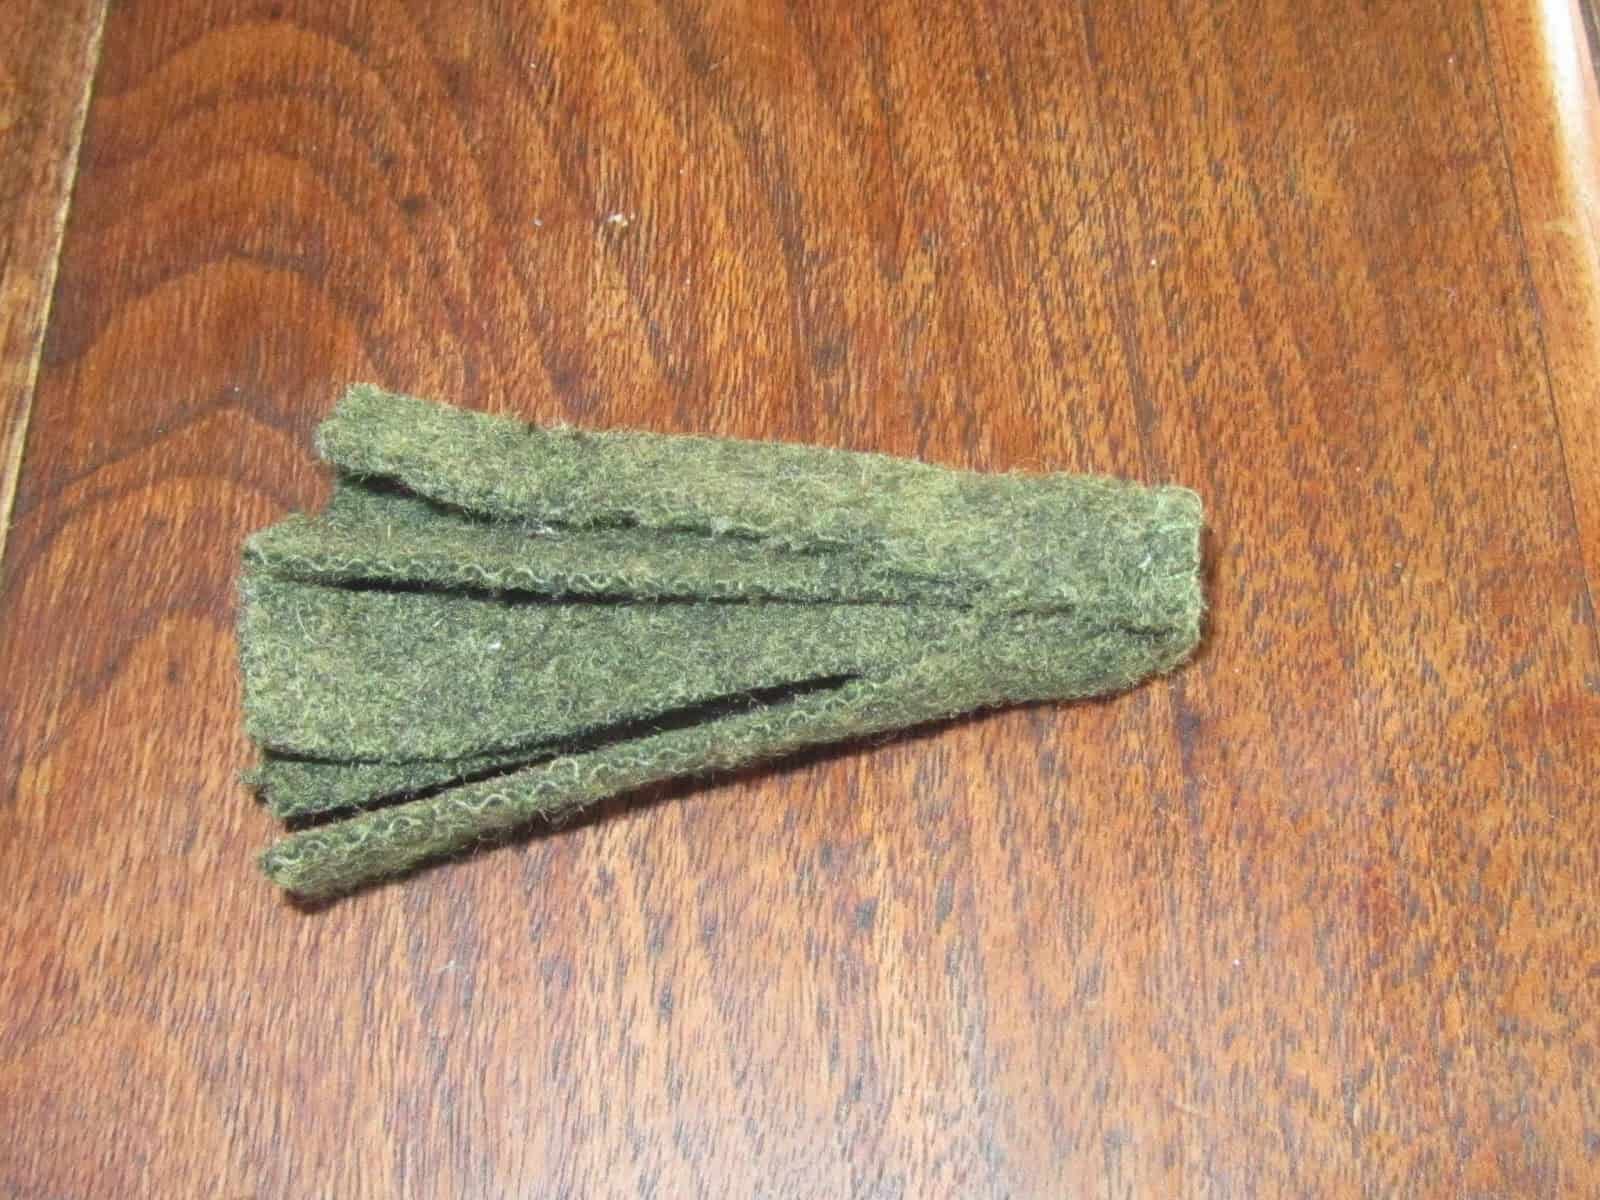
Next, roll up the carrot top into a log and stitch it together in the un-cut area.
Assemble the Punch Needle Carrots:
Sew a running stitch around the top of the carrot on the empty weavers cloth, close to the edge of the punching. Don’t tie off the thread.
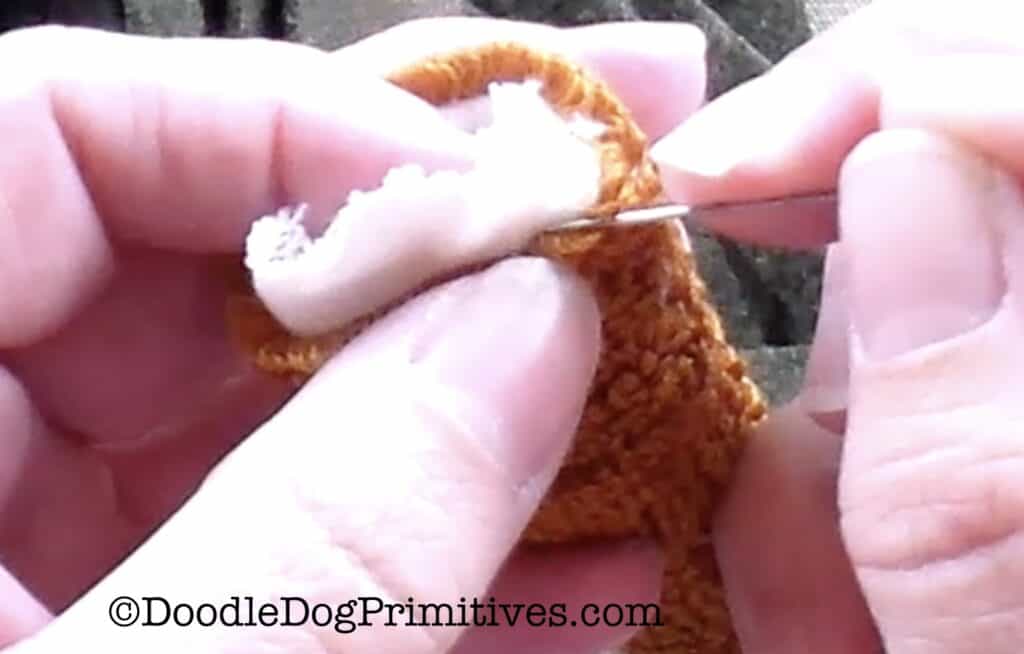
Fold the empty weavers cloth at the top to the inside of the carrot. Place the felted wool carrot top into the top of the punch needle carrot.
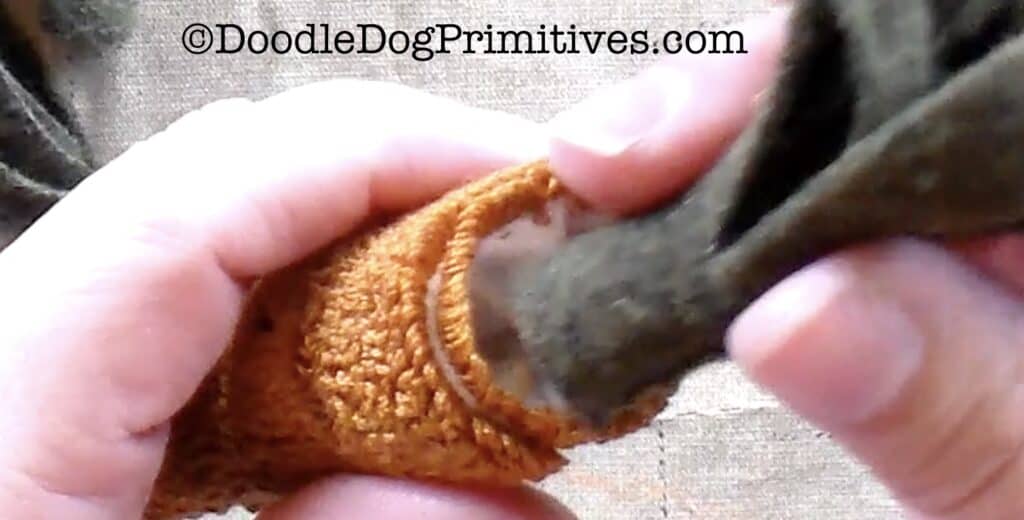
Pull the running stitch tight to gather the top of the carrot.
Sew a few times back and forth, through the punched carrot, catching the carrot top. Tie off thread.
If you choose to make a carrot bundle, be sure to put the seams of the punched carrots to the inside of the bundle. You can tie the bundle with jute or a strip of fabric.
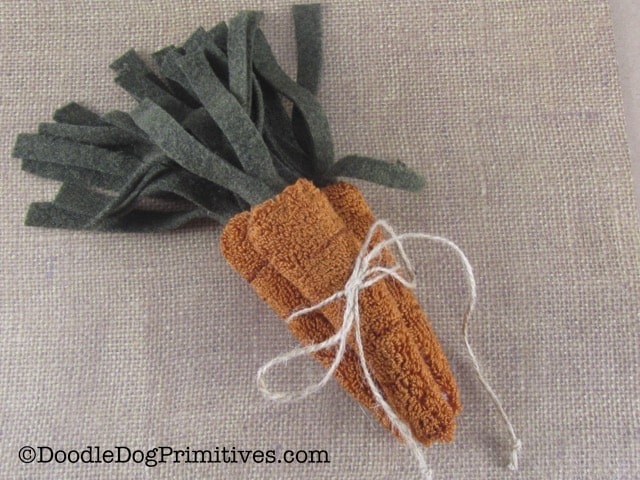
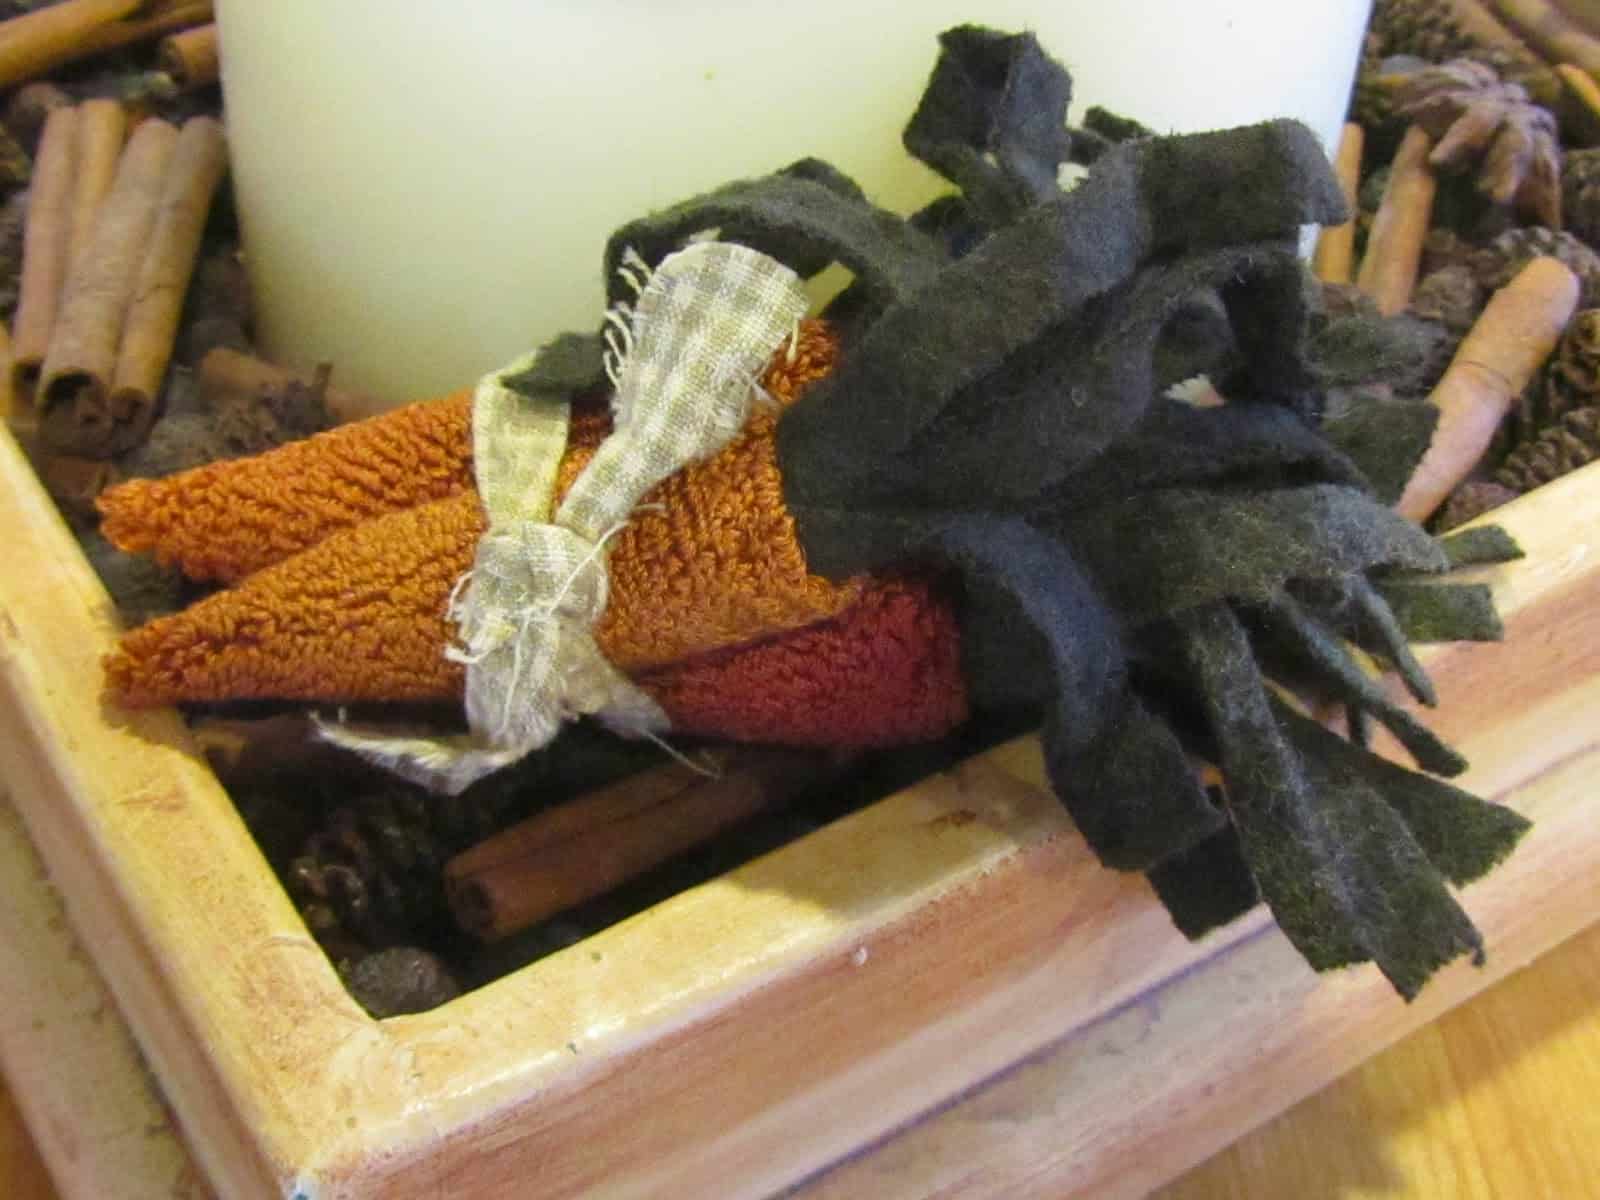
This is a bundle of carrots I punched many years ago. I punched them with no horizontal lines and each carrot is a different shade of orange.
If you want to make some carrots, but don’t punch, check out this painted carrot tutorial.
Blessings~
Amy
Pin this Punch Needle Tutorial:
