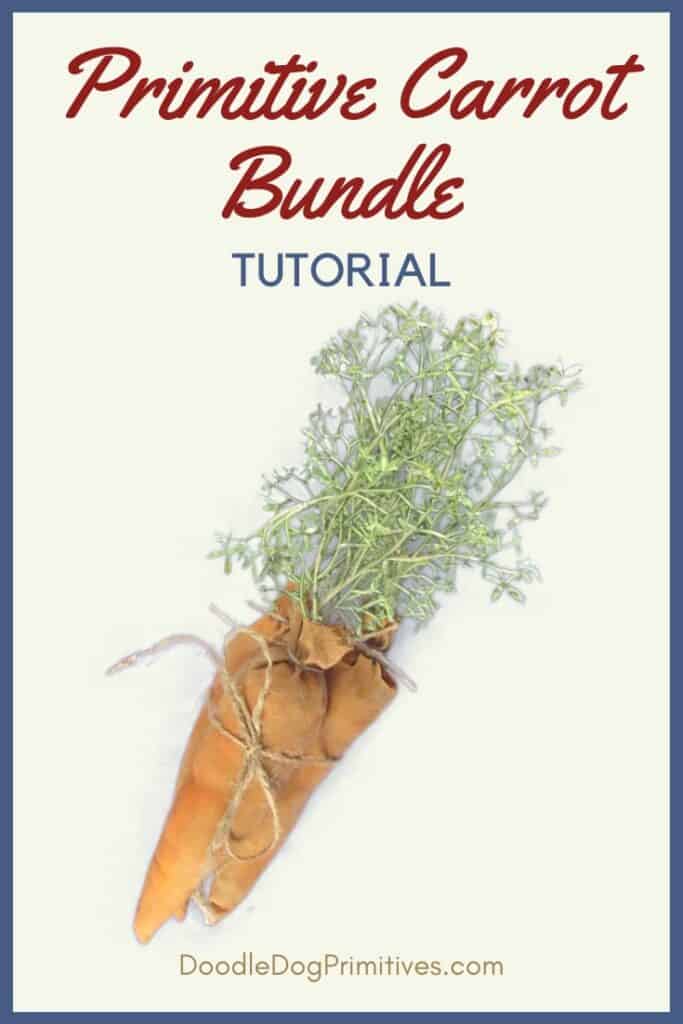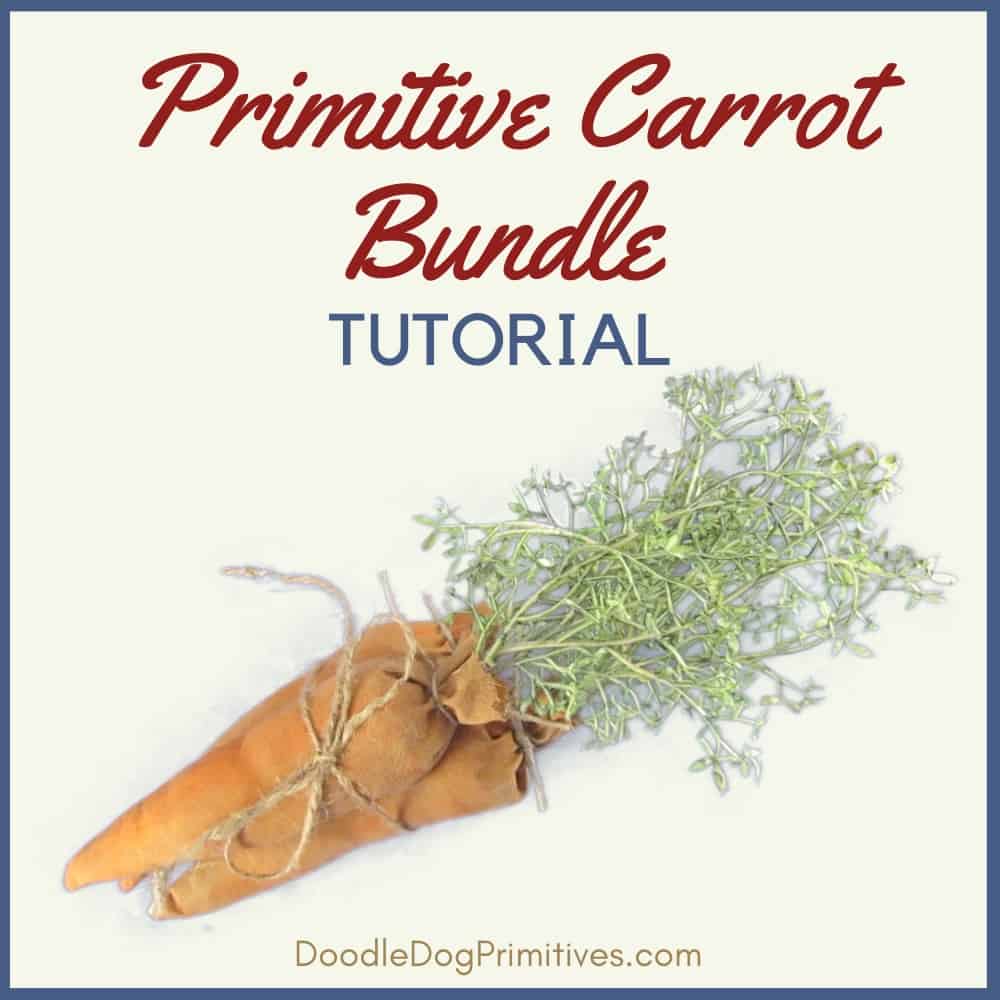
This primitive carrots tutorial will teach you how to make this adorable spring carrot bundle.
I will show you how to draw your own carrot pattern,
sew and paint the fabric carrots, and finish them into a primitive carrot bundle.
You can use the primitive carrot bundle or single carrots to add to your spring and Easter decor.
They are a perfect accent to your country farmhouse decorating!
They would look great next to these primitive beeswax bunnies.
This post may contain affiliate links for your convenience, which means if you make a purchase after clicking a link I will earn a small commission but it won’t cost you a penny more. For more information, please visit our Privacy Policy.
Supplies for the Primitive Carrots:
Watch the Video:
Draw the Carrot Pattern:
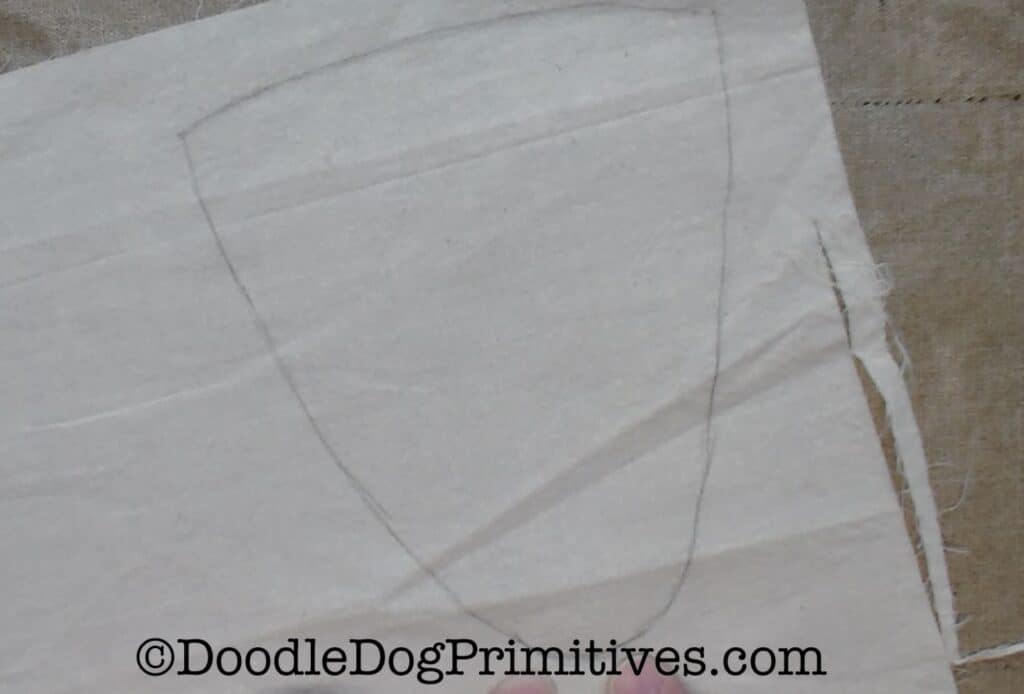
Use a pencil to draw a carrot pattern onto muslin fabric.
The carrot pattern is a long skinny triangle shape
with the sides curved and the bottom point rounded.
Start by drawing a long skinny triangle, about the same length as the greenery you will use for carrot tops.
Make the sides of the triangle curved and round out the bottom corner.
Cut three (or however many carrots you want) of the carrot patterns from the muslin fabric.
Sew the Carrots:
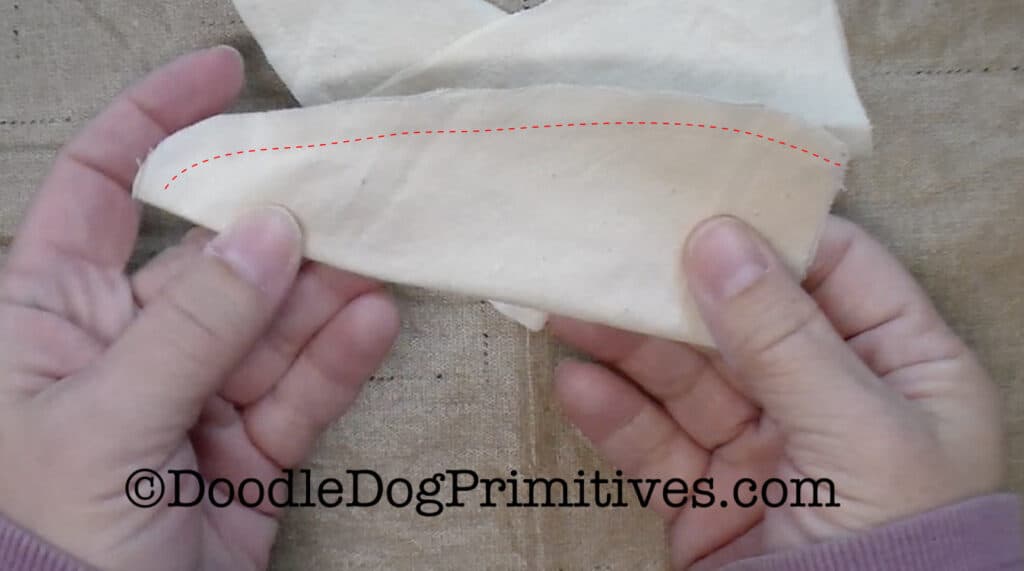
Fold the fabric in half lengthwise, right sides together.
Using a 1/4 inch seam, sew along the long edge and the bottom.
Turn the carrots right side out.
Stuff each carrot with stuffing. Leave 3/4 inch to an inch unstuffed at the top.
Paint the Primitive Carrots:
Put a little bit of water in a disposable bowl.
Tilt the bowl to one side by placing a piece of fabric under one side of the bowl
in order to keep the water off to the side.
Squeeze some orange acrylic craft paint into the dry side of the bowl.

Use a paintbrush to mix a little bit of paint with some water to create a thin paint.
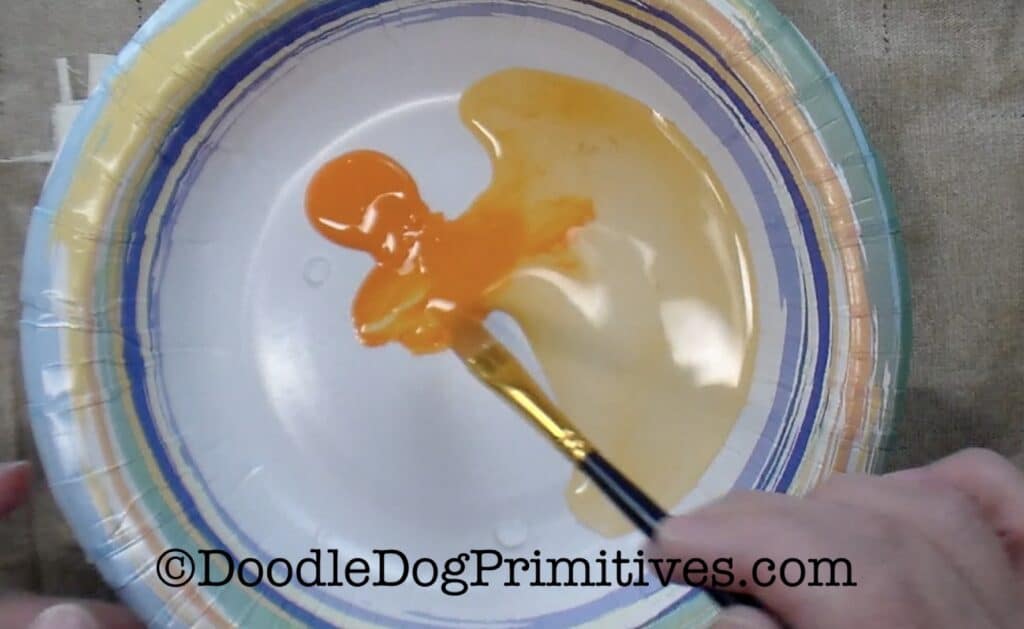
Use this thinned down paint to paint the carrots.
Just mix up a little bit at a time as you need it while painting the carrots.
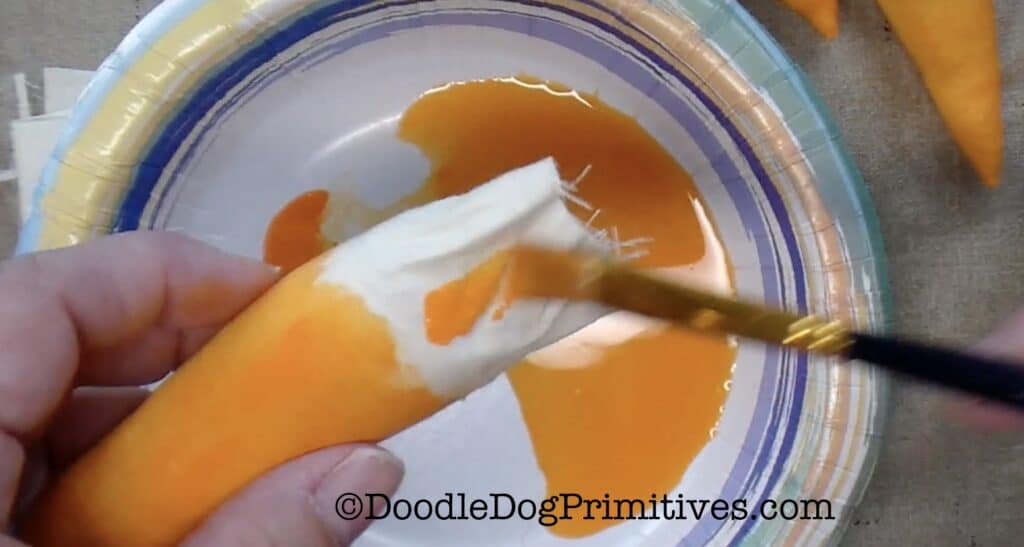
Paint the entire outside of the carrots.
I painted the stuffed ends first, let it dry, and then painted the unstuffed ends.
Set the carrots aside to dry.
Age the Fabric Carrots:
If you like the color of the carrots as they are, skip this next step.
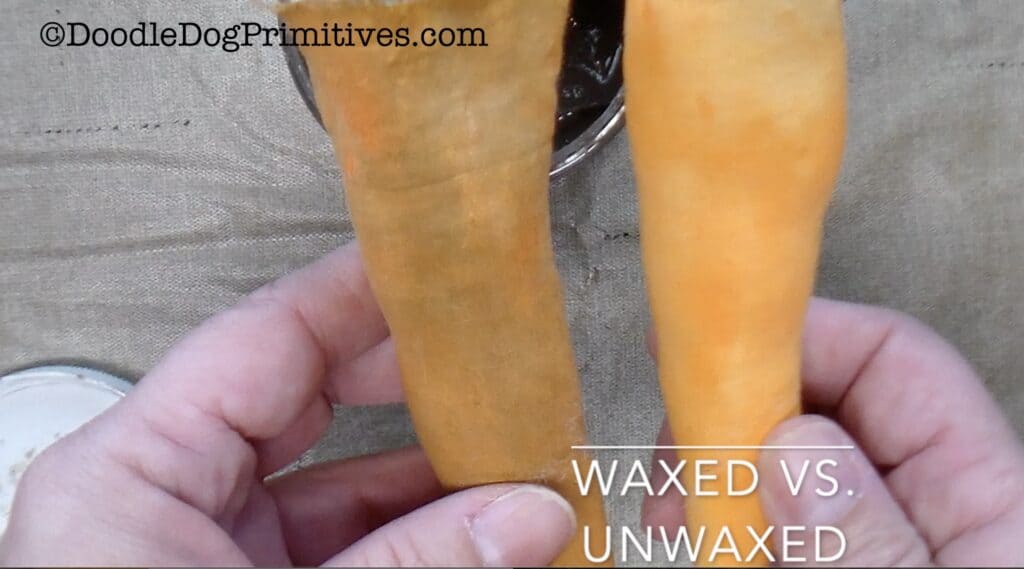
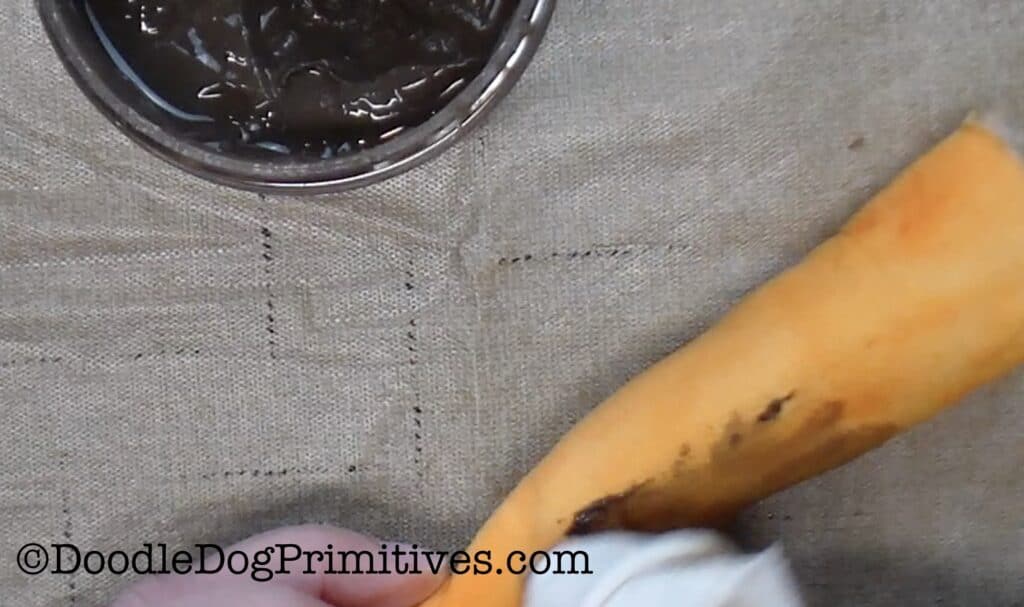
But if you want to make the carrots primitive and grungy, you will definitely want to give them a coat of dark wax.
I like to use Cottage Paint’s Raw Umber Wax, but a different kind of dark wax will probably work just fine.
Follow the manufacturer’s directions to apply a coat of wax to the outside of the fabric carrots.
Set them aside to dry.
Assemble the Fabric Carrots:
Cut a piece of thin jute about 6 inches long.
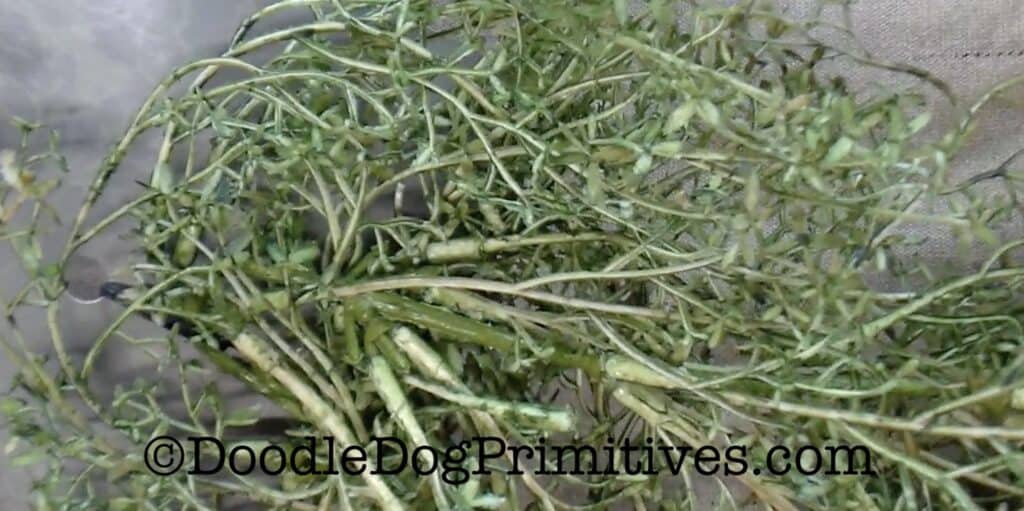
Take some of the greenery and place them inside the top of the carrot.
(I used three sprigs.)
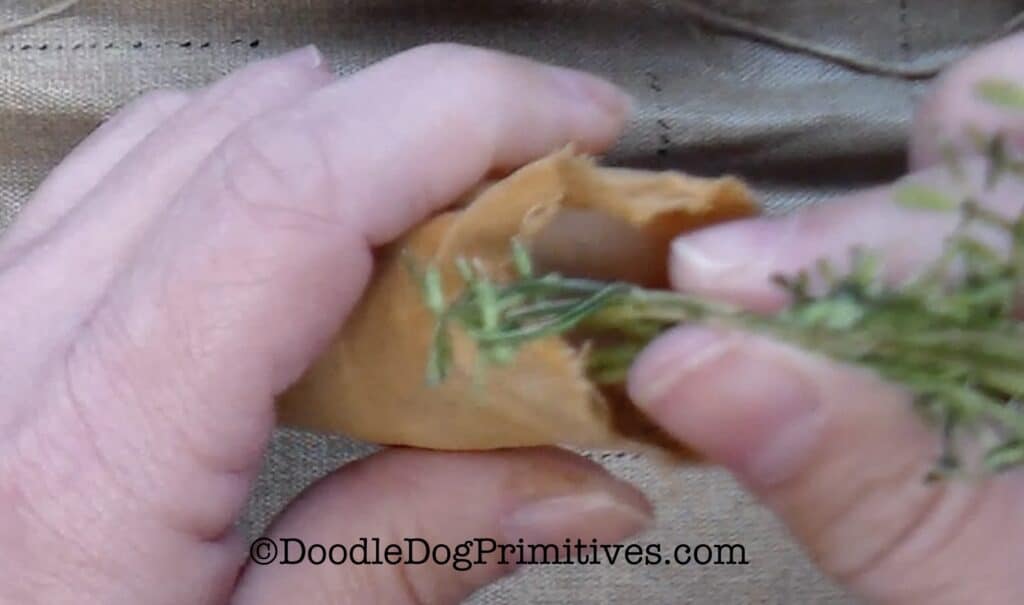
Tie the jute around the top of the carrot,
making sure to catch the greenery so it will hold the greenery in place.
Tie a double knot and cut off any extra jute.
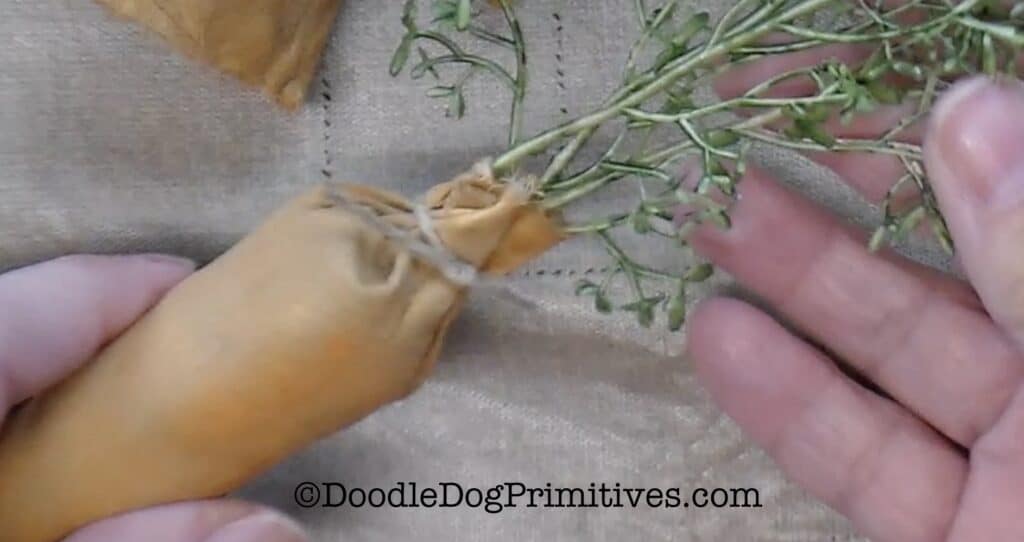
Repeat for remaining carrots.
Use the carrots individually or bundle them.
Bundle the Carrots:
Arrange the carrots in a bundle with two on the bottom and one on the top.
Cut a length of thicker jute about 15 inches long.
Slide the jute under the carrot bundle and tie a bow on the top of the bundle.

You could glue the carrots together if you wanted to make sure they stay together permanently.
Enjoy your primitive fabric carrots!
Blessings~
Amy
Pin this Primitive Carrots Tutorial:
