After showing you my experiment
with dyeing finished punch needle projects,
I thought it might be helpful to also see
what using tea and coffee to
dye the embroidery floss before punching looks like.
I will show you step by step my process for dyeing embroidery floss
and the results from the dye.
Before Starting:
Be sure to use colorfast floss –
check with the manufacturer of the floss if you aren’t sure.
You don’t want the dyes from the threads bleeding onto your other flosses.
Make sure you are dyeing enough floss!
If you run out of floss before you finish punching your project,
it can be difficult to replicate your batch of dye.
Watch the Video:
Preparing the Embroidery Floss:
It is important to properly prepare the floss
so you don’t end up with a tangled mess in the dye pot!
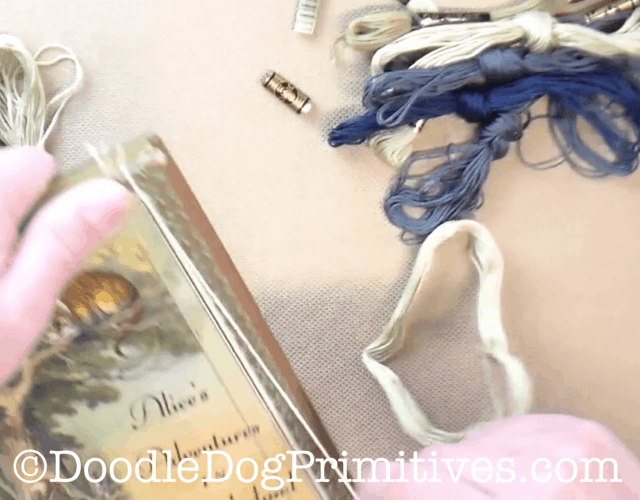
Start by taking the papers off the floss
and wrapping the floss around a book.
This book is about 8 1/2 inches tall.
The exact measurement of the book isn’t important –
it just needs to be big enough you can tie a knot in the loops of floss.
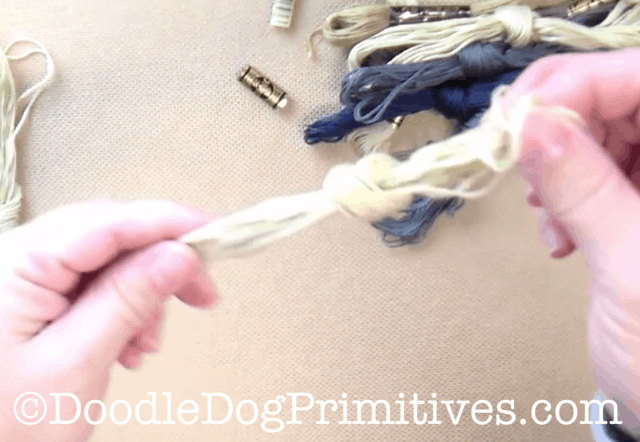
Once you have the floss all wound around the book,
slide it off the book and
tie it into a knot in the middle of the loop.
Dyeing Embroidery Floss:
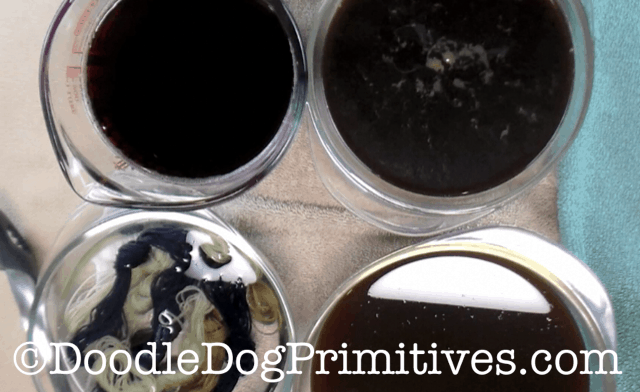
Prepare your dye.
I used six regular tea bags in four cups of water for the tea dye,
normally brewed coffee,
and made instant coffee as directed on the package.
You could make your dyes stronger or weaker
depending on how dark you want the flosses to turn out.
I let the liquids cool to room temperature so I don’t burn myself
or shrink the fibers in the embroidery floss.
Soak the prepared floss in water – just long enough to get them wet.
Then immerse them into your dye.
Let soak a while. The longer the soak, the darker the results.
I let mine soak five minutes.
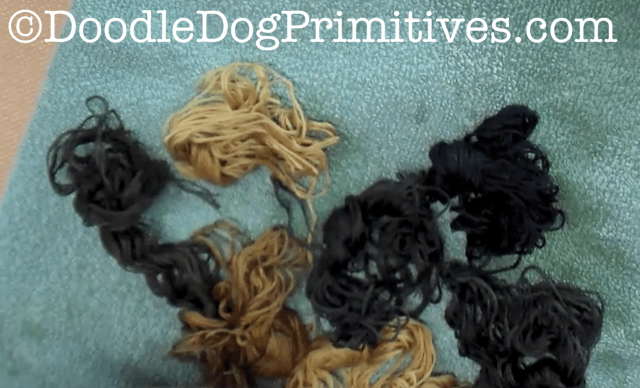
After the threads have soaked,
take them out and squeeze out any excess liquid.
Place them on a towel to dry.
Leave them somewhat balled up while drying.
This will create the variegation in the threads.

Preparing Dyed Floss for Punching:
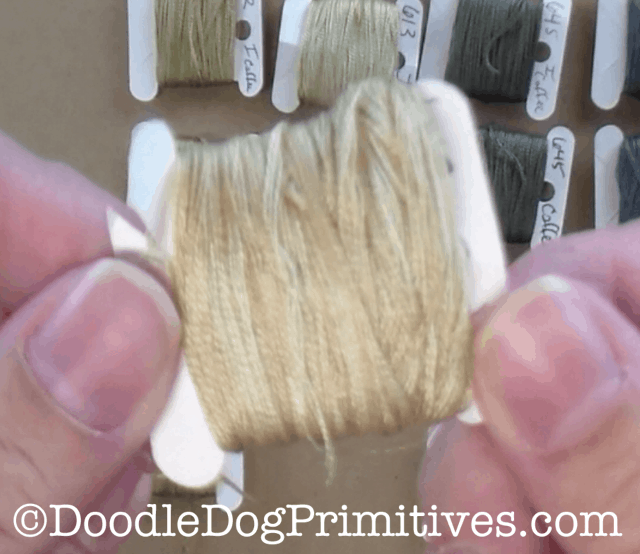
After the threads are completely dry, untie the knot.
If you are going to punch with 3 strands, separate the floss
and then wind it onto spools.
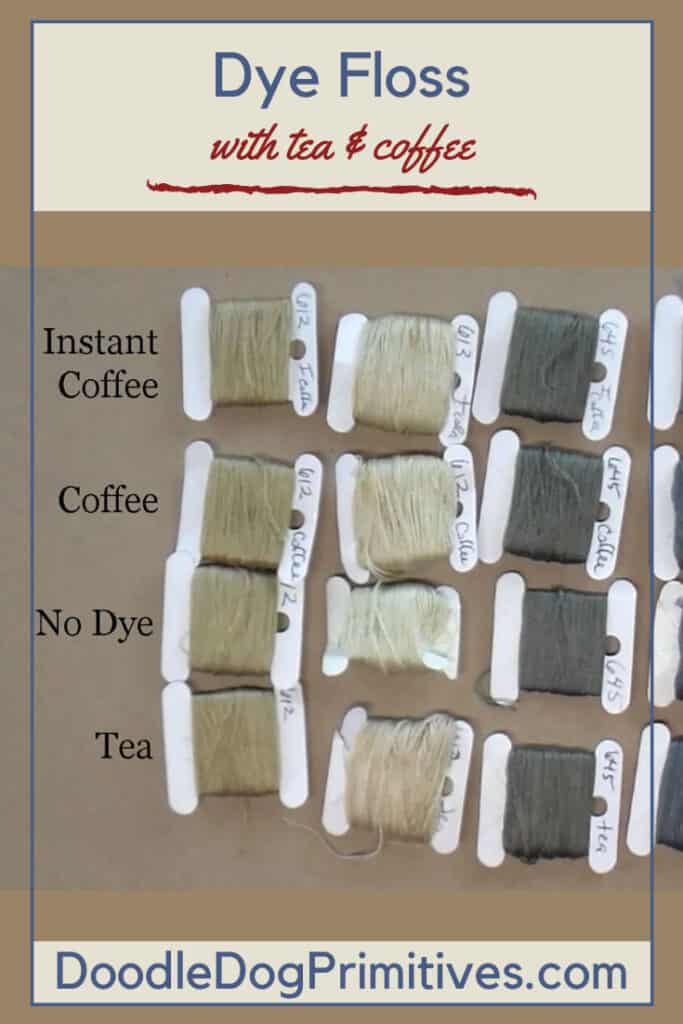
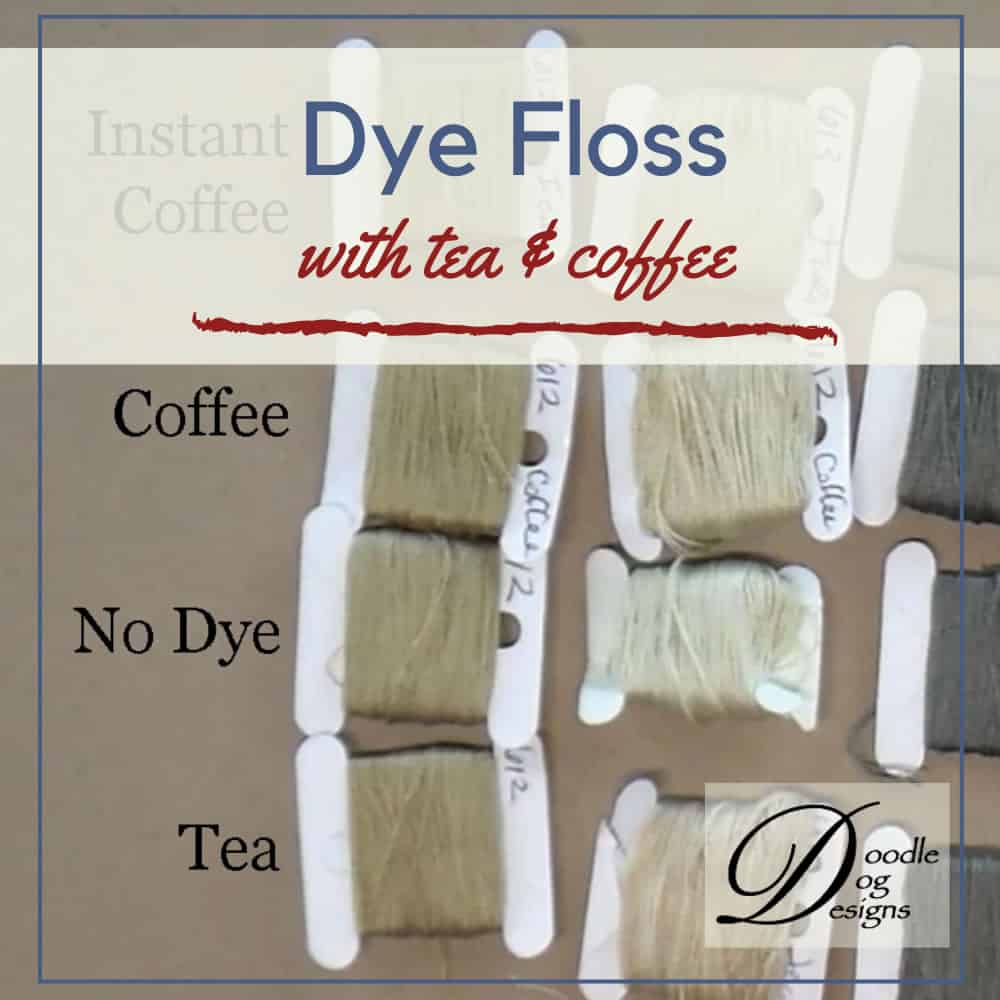
Dyeing Embroidery Floss Results:
The variegation on the lighter threads was definitely easier to see
but the darker threads have an aged look also.
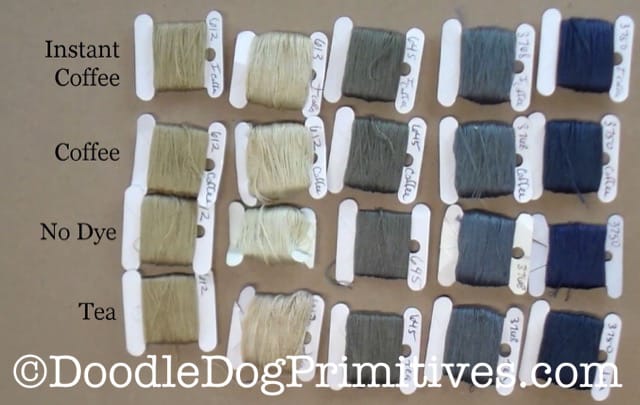
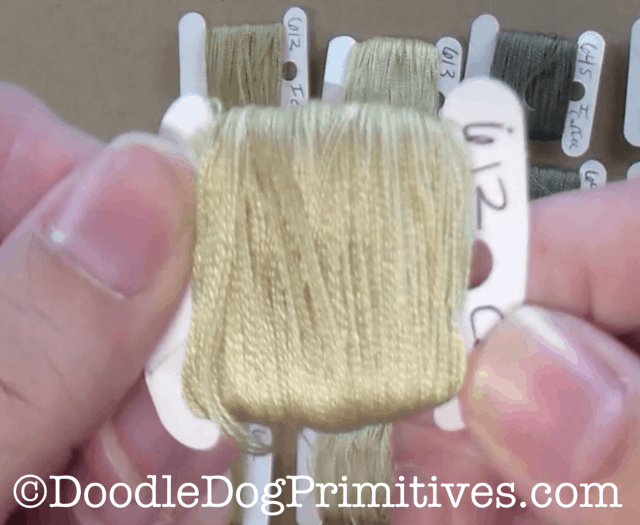
Here’s the lighter floss after tea dyeing.
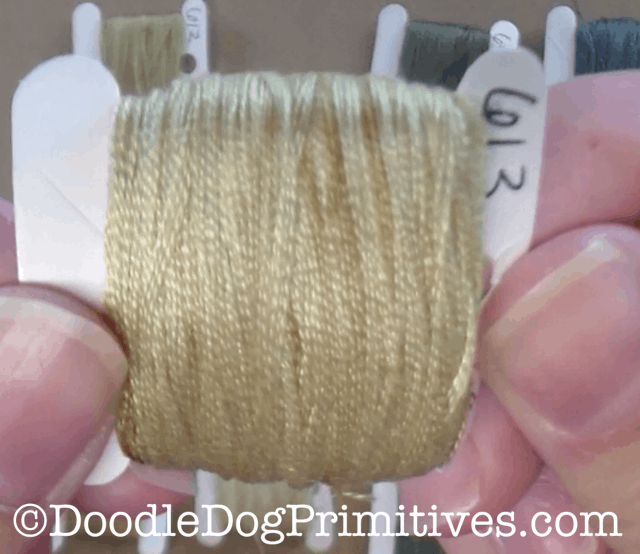
This is the coffee dyed floss.
And this is the floss dyed with instant coffee.
Punched Projects with Dyed Embroidery Floss:
I punched this free punch needle pattern
with all three sets of threads.
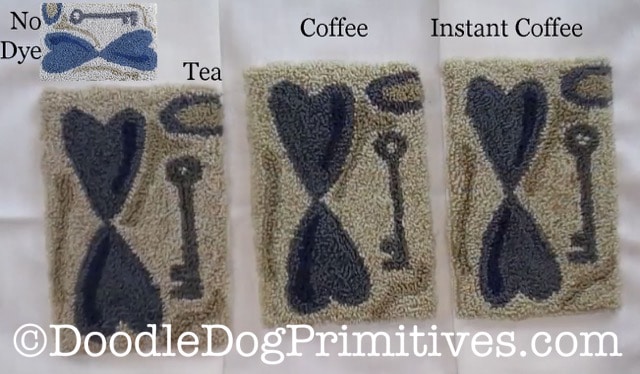
The tea dyed threads ended up with the most variation in color,
but it has a slight reddish cast to it.
Blessings~
Amy
Pin this dyeing tutorial for later!