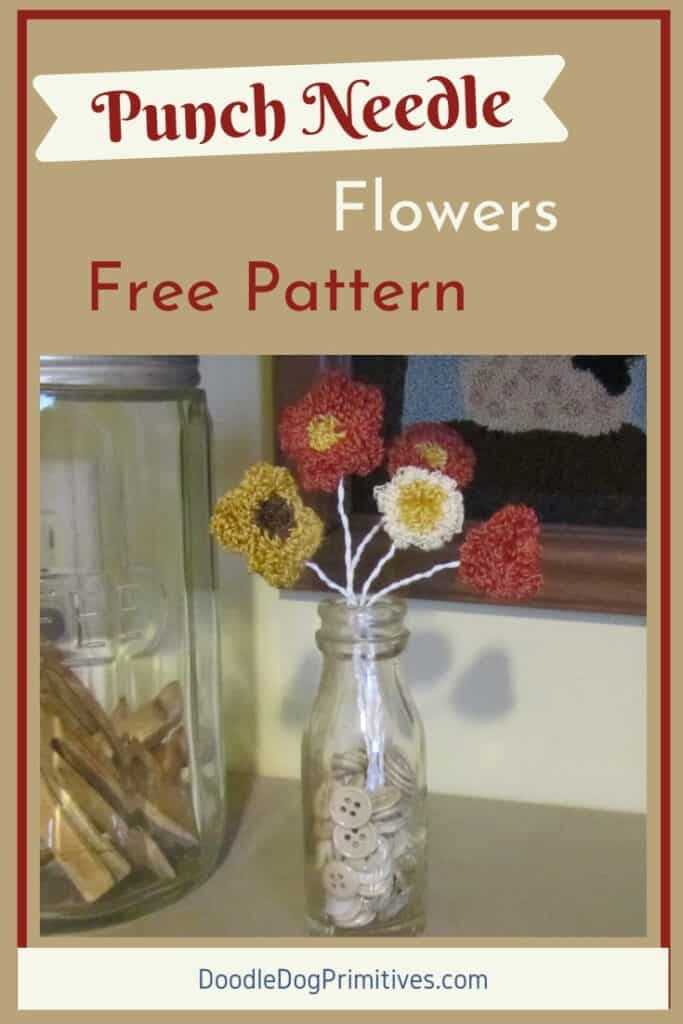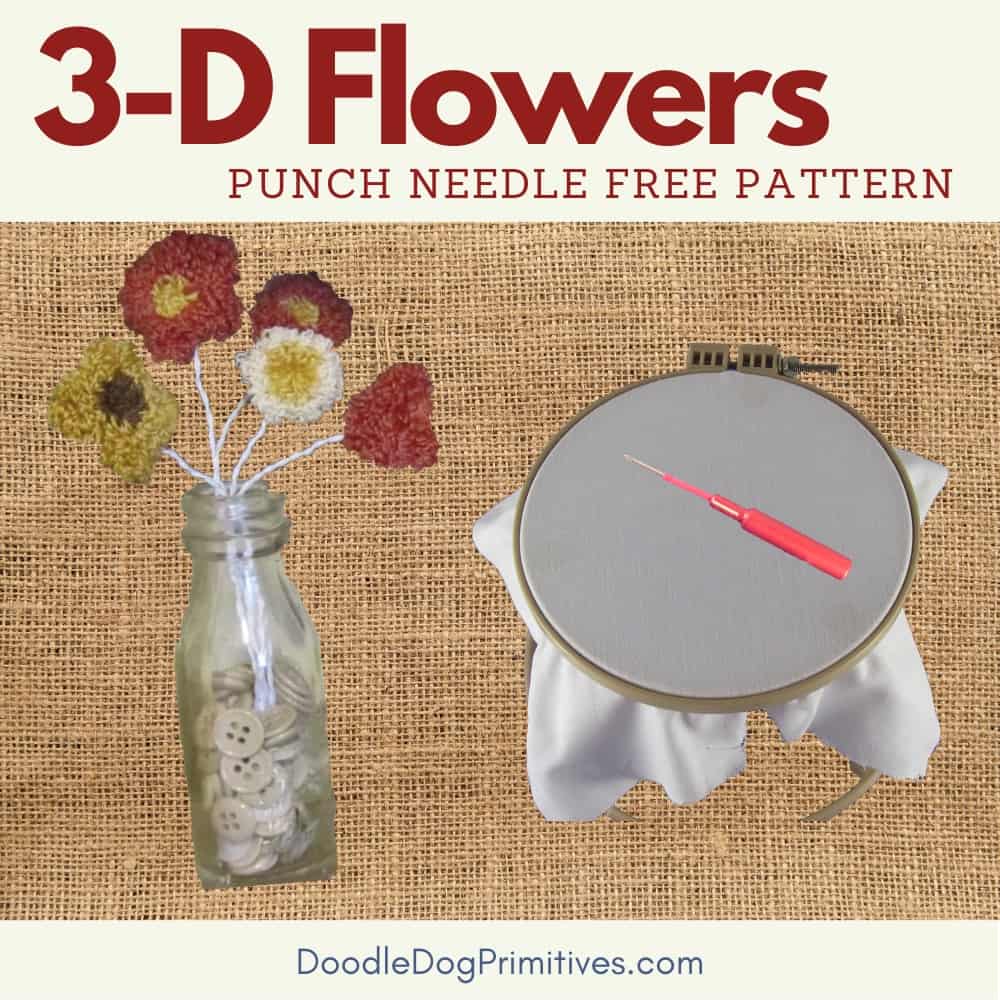
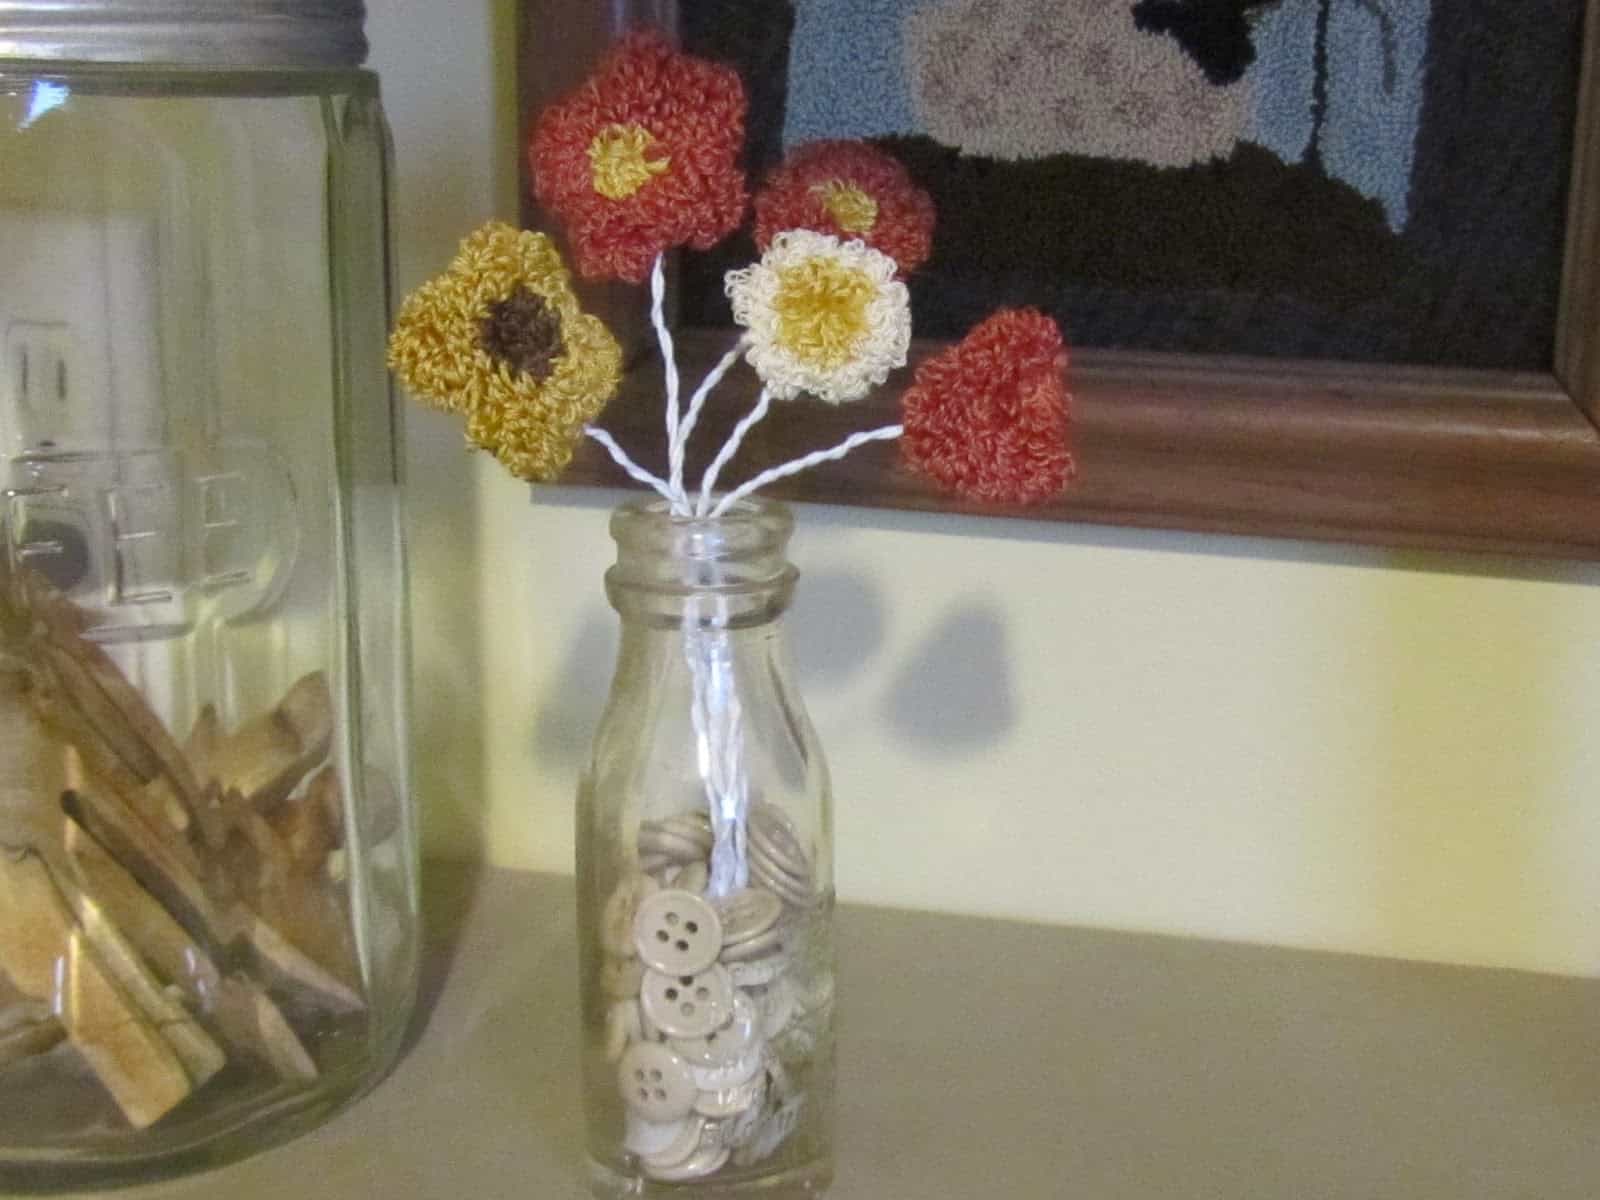
Recently, while watching it snow yet again, I needed to punch something cheerful to remind me that spring will eventually come. So I created this free 3D needle punch flowers pattern.
Keep reading to find out how to get the free pattern and learn how to make the punch needle flowers.
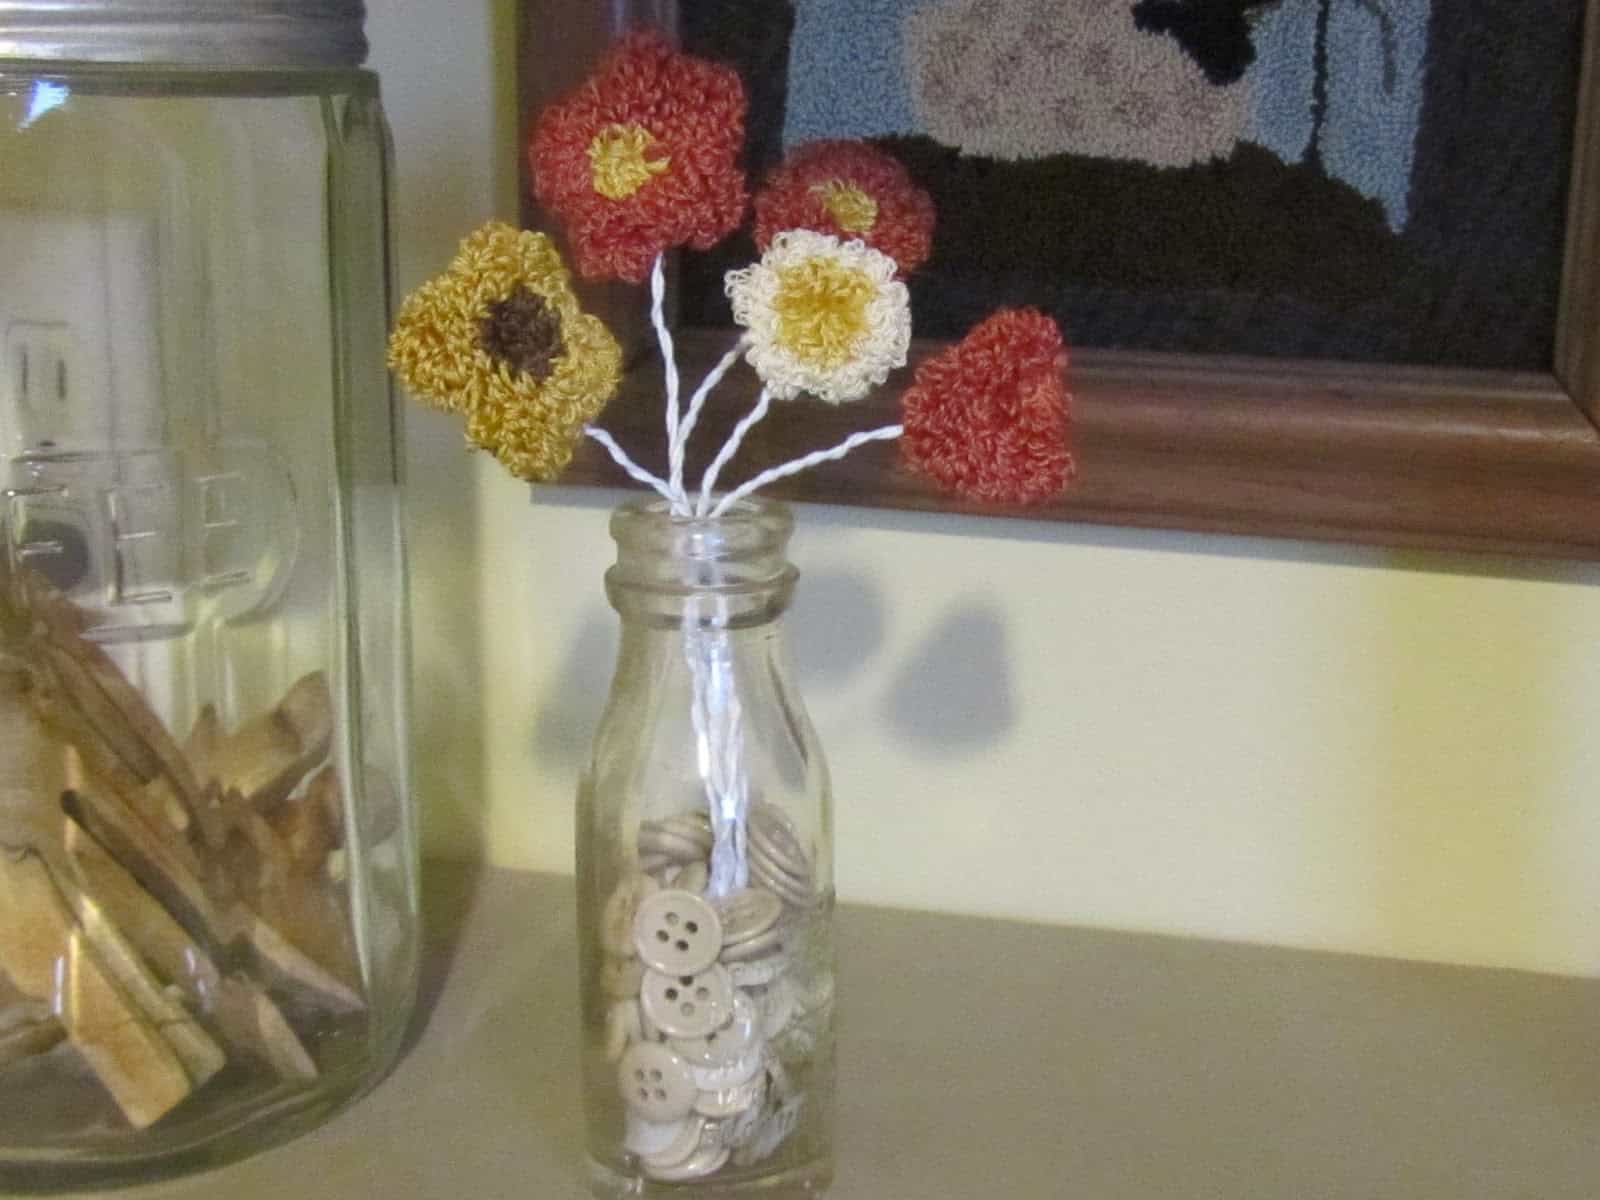
Punch the Flowers:
You will find the 3D flowers pattern in our free pattern library. The library is available to all subscribers of our newsletter. Subscribing is free and easy.
Trace the needle punch patterns onto your weavers cloth.
You can punch using three strands of DMC embroidery floss with the colors listed on the free pattern or choose your own favorite flower colors.
Finish the Flowers:
Trim close to the punched edge of each flower.
Press the empty weavers cloth to the back of the flowers and baste in place.
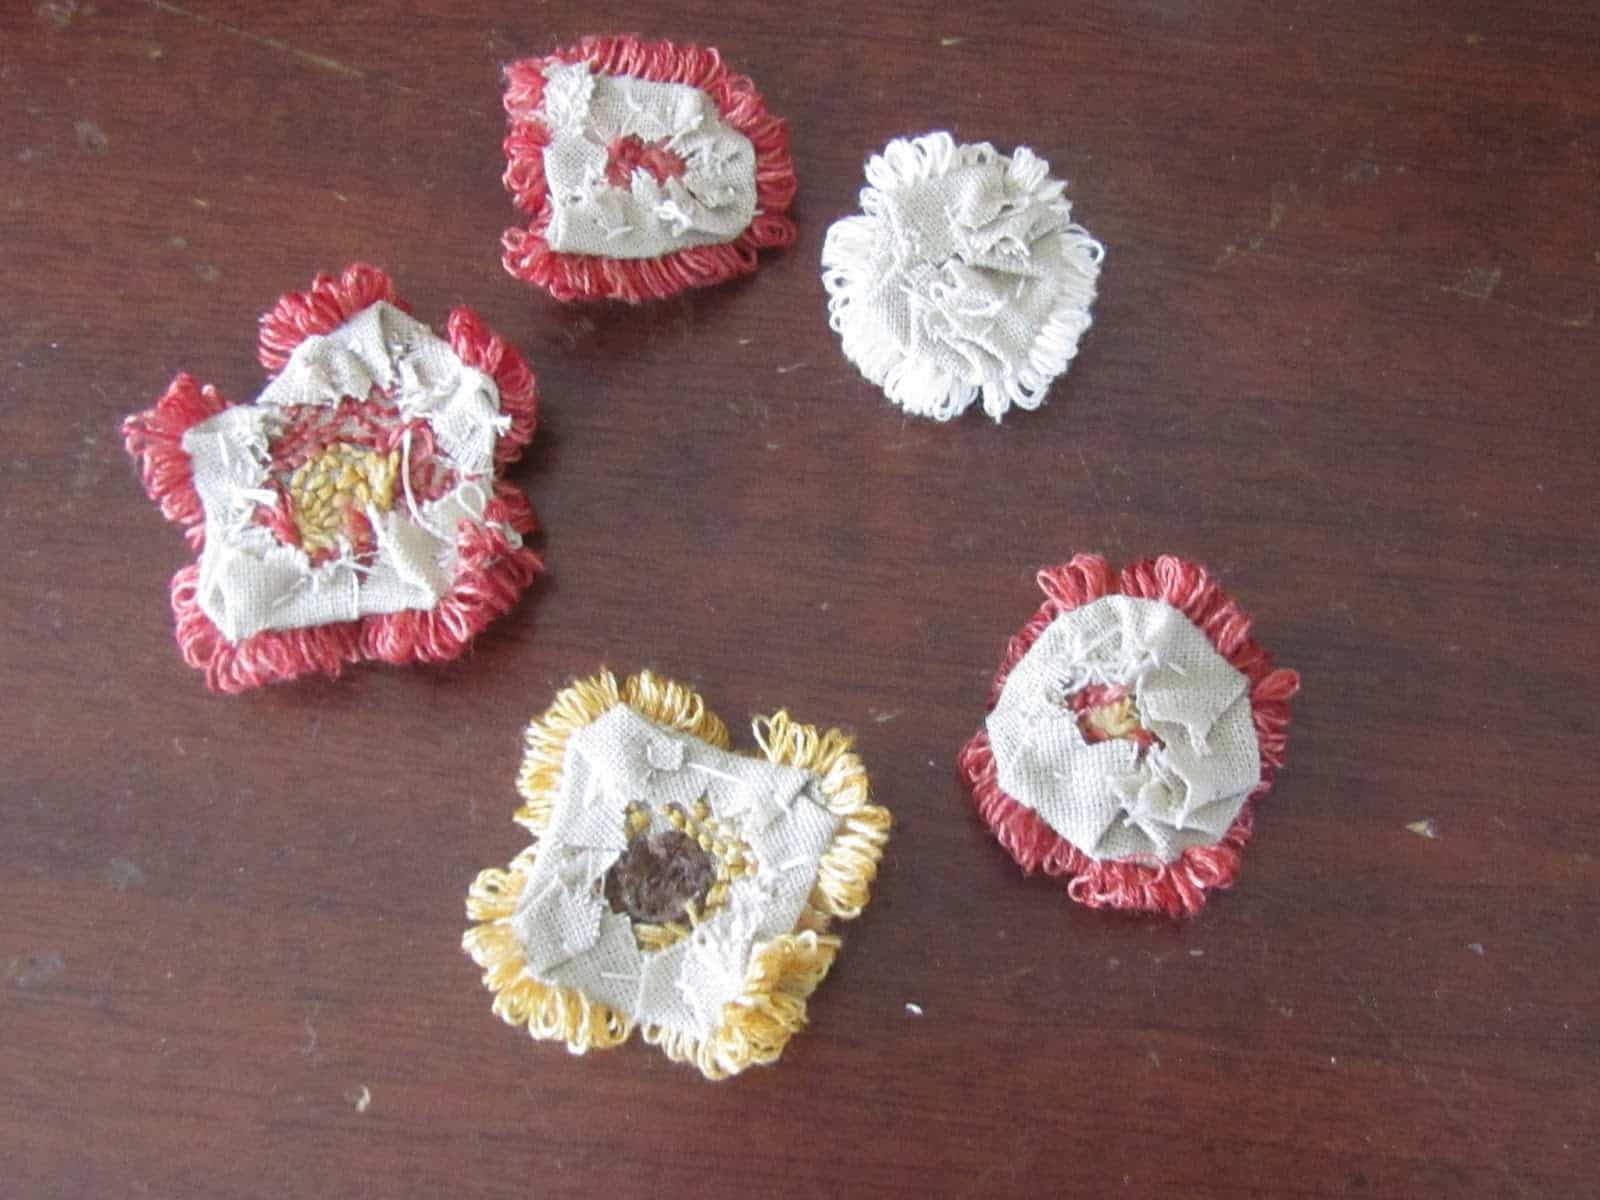
Take a piece of flower wire double your desired stem length and fold it in half. Twist it together, leaving a loop at the top.
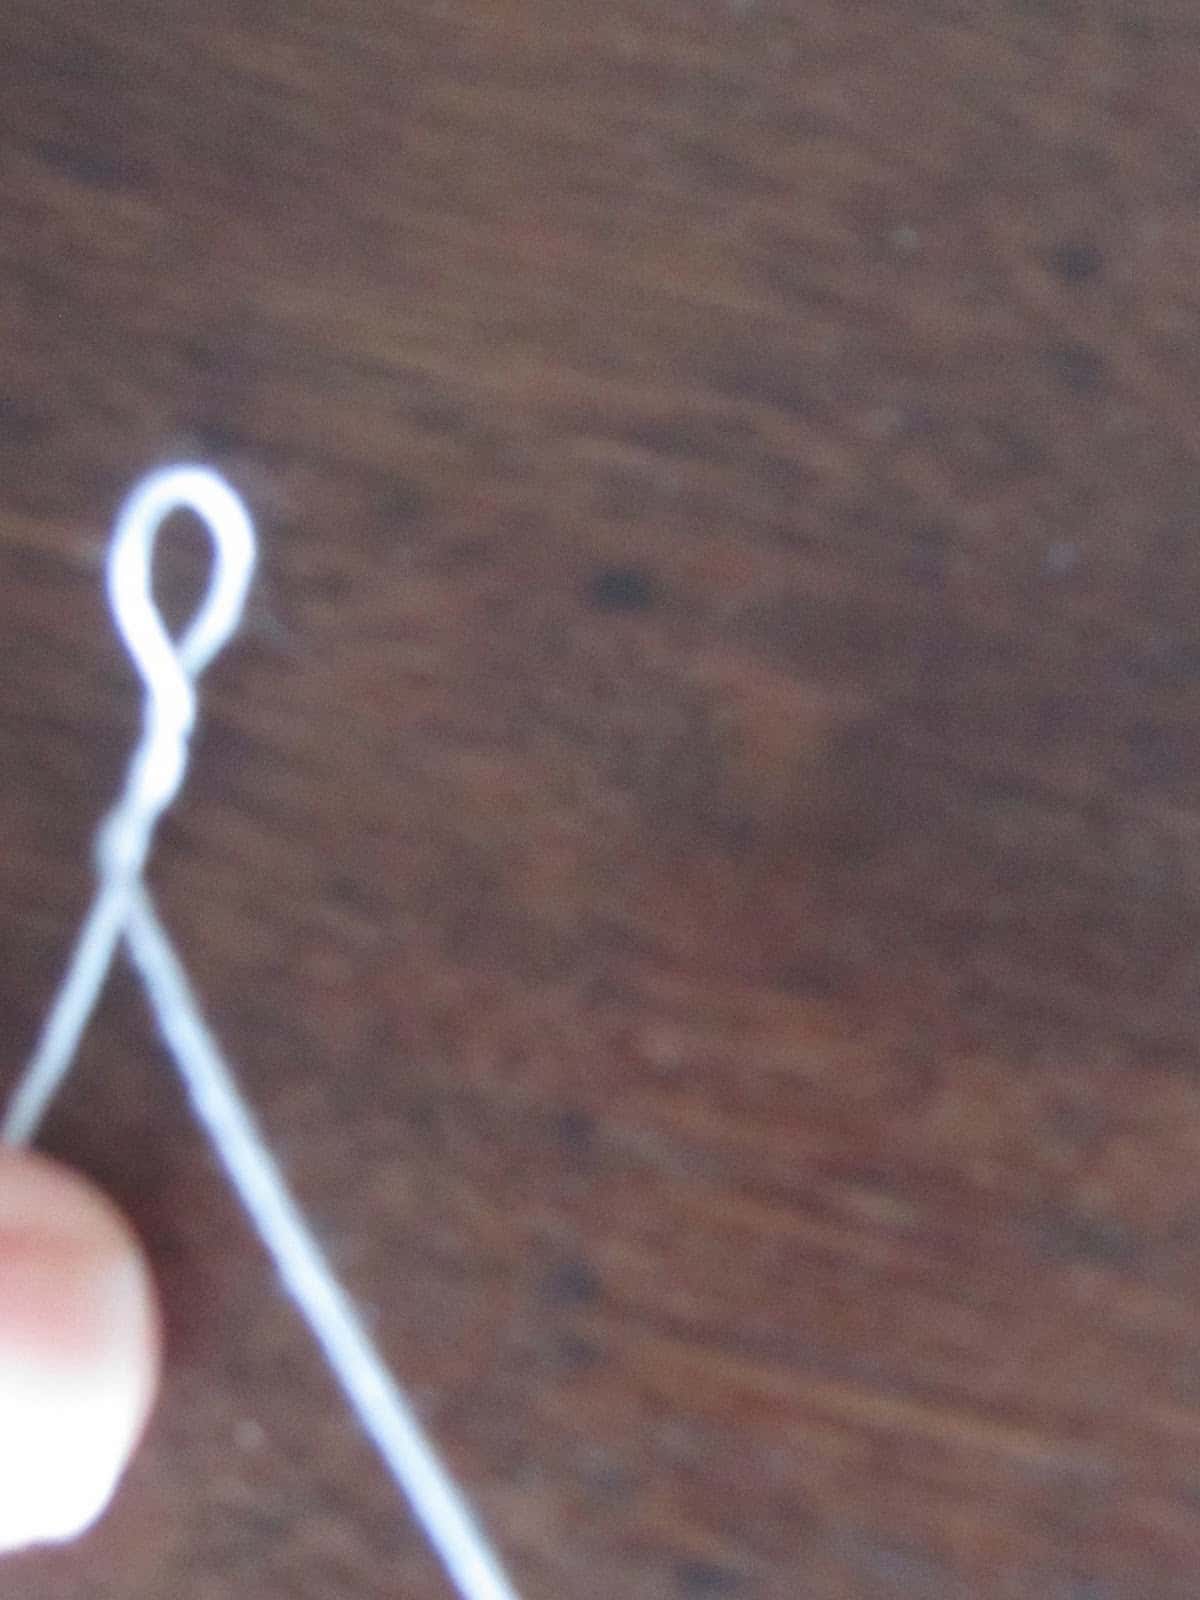
Sew the loop to the backside of a punched flower. For most of the flowers, the direction of the stem doesn’t matter, but make sure the stem is coming out the bottom side of the tulip.
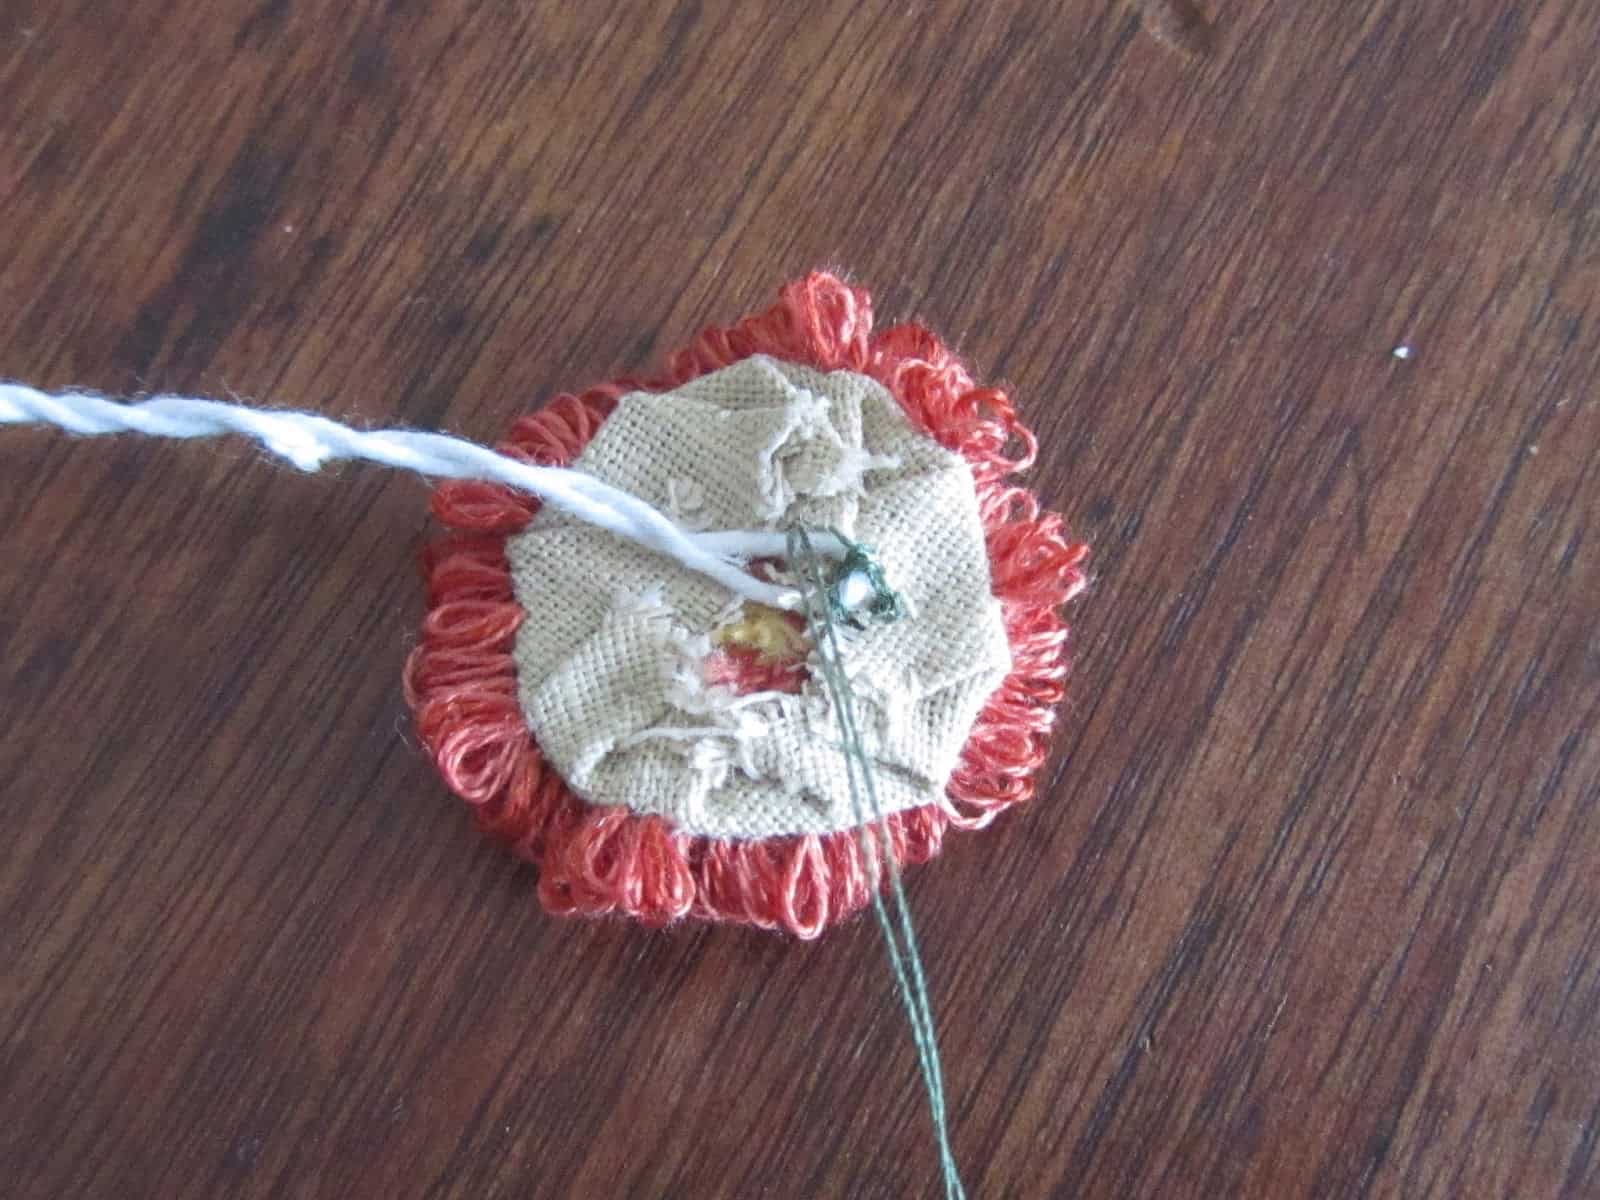
Cut backings out of felted wool for each flower in the same size and shape as the punched flowers.
Stitch the wool backings onto the backs of the flowers. Use the same process for stitching on the backing as in this tutorial for making punch needle ornaments.

Arrange your punch needle flowers in a jar or a vase. I added some buttons to hold the flowers just where I wanted them.
Blessings~
Amy
Be sure to pin this free punch needle pattern!
