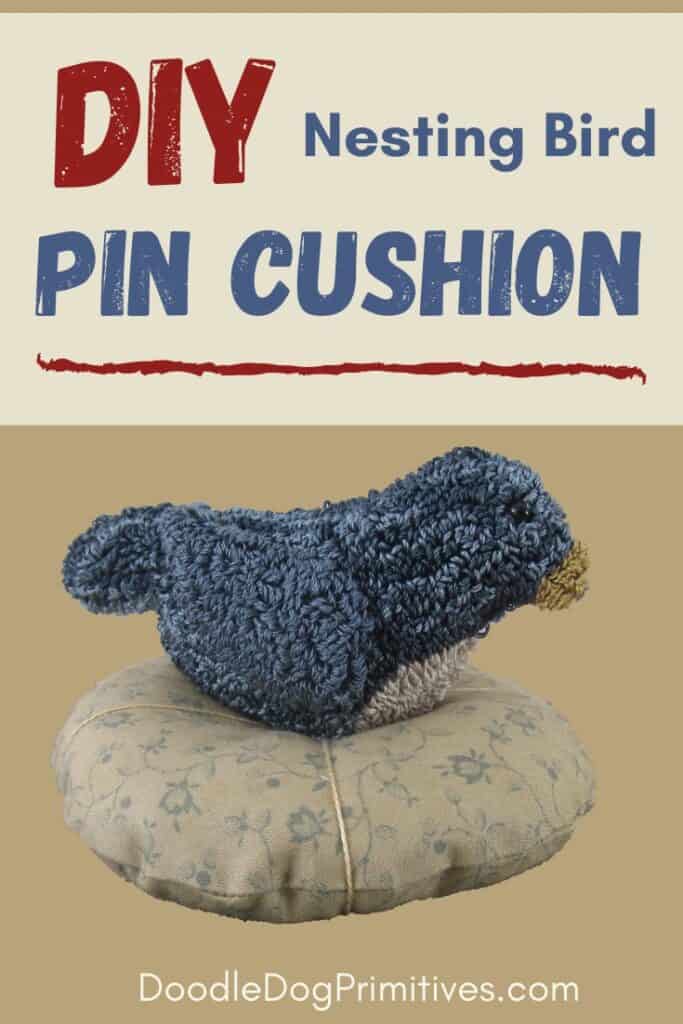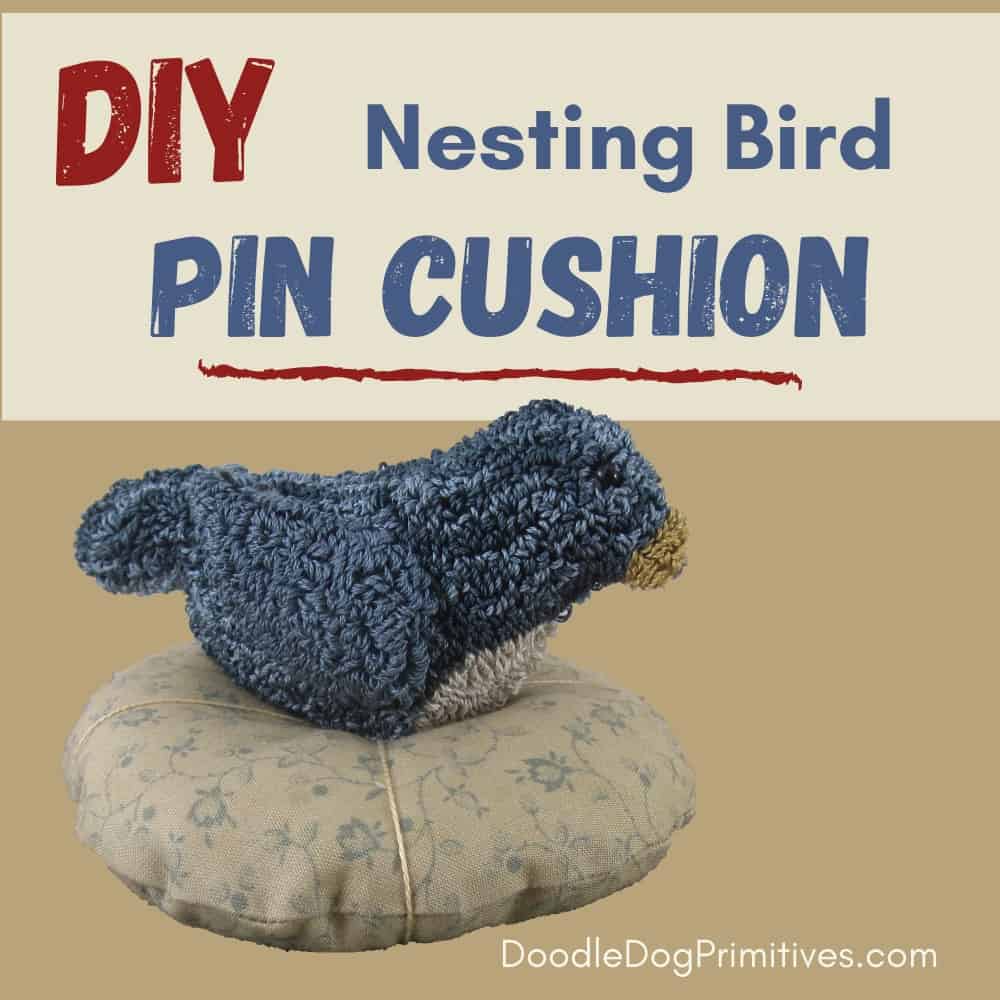
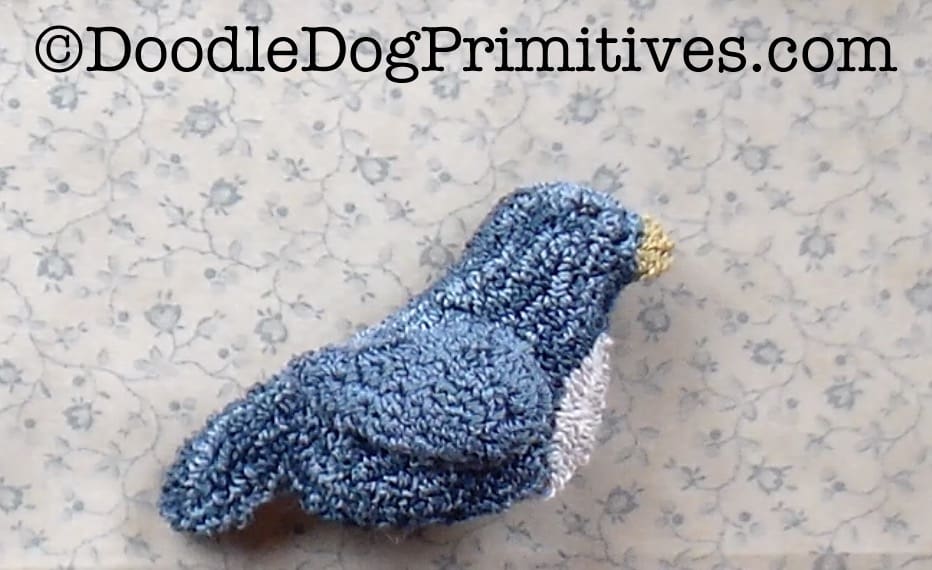
In this tutorial, I will show you how to make a nesting bird pin cushion. This tutorial will show you how to make the nest to put under a completed bird. My bird is a punch needle sewing bird made from this pattern. You could also make a sewing bird from wool or cotton fabrics.
Caution: If you use a punch needle bird, avoid putting pins in the punched part of the bird as it might snag the loops. Use the nest or the back of the bird for your pins.
This post may contain affiliate links for your convenience, which means if you make a purchase after clicking a link I will earn a small commission but it won’t cost you a penny more. For more information, please visit our Privacy Policy.
Supplies to Make Nest Pin Cushion:
- Quilting cotton fabric
- Small finished fabric or punch needle sewing bird
- Compass or something round to trace for nest pattern
- Washout pencil
- Stuffing
- Basic sewing supplies
- Pearl cotton #8 in a color to coordinate with fabric
Watch the Video:
Sewing the Nesting Bird Pin Cushion:
Before you can cut out the pin cushion, you will have to choose a fabric you love and figure out how big to make the nest.
Choosing Fabric:
I am using a 100% cotton quilting fabric. Quilting cottons are a nice medium weight fabric that is perfect for this type of project.
Choose a fabric that coordinates with your finished fabric bird. This is a great opportunity to express your personality and accent your sewing area!
I like the muted colors of primitive, antique looking prints so I chose this tan and blue floral.
Determine Nest Size:
The nest needs to be proportional to the sewing bird. This punched bird is about 3″ wide. I am going to sew a circle 4-1/4″ wide. If your bird is larger, you will probably want to make a larger nest. If your finished bird is smaller, a smaller nest would be suitable.
If you are unsure, you can always make a sample nest from muslin fabric or other inexpensive cotton fabric. I would rather do that than waste my quilting cotton if I choose the wrong size!
Once you decide how big to make the nest circle, find a bowl or other round object that size. I found a small plastic bowl the correct size. If you can’t find anything, you can use a compass to draw the circle.
Trace and Sew the Circle:
On the wrong side of the nest fabric, place the bowl and trace around it with a washout pencil.
This line will be the sewing line, NOT the cutting line. So, be sure to leave room on all sides of the bowl for seam allowances.
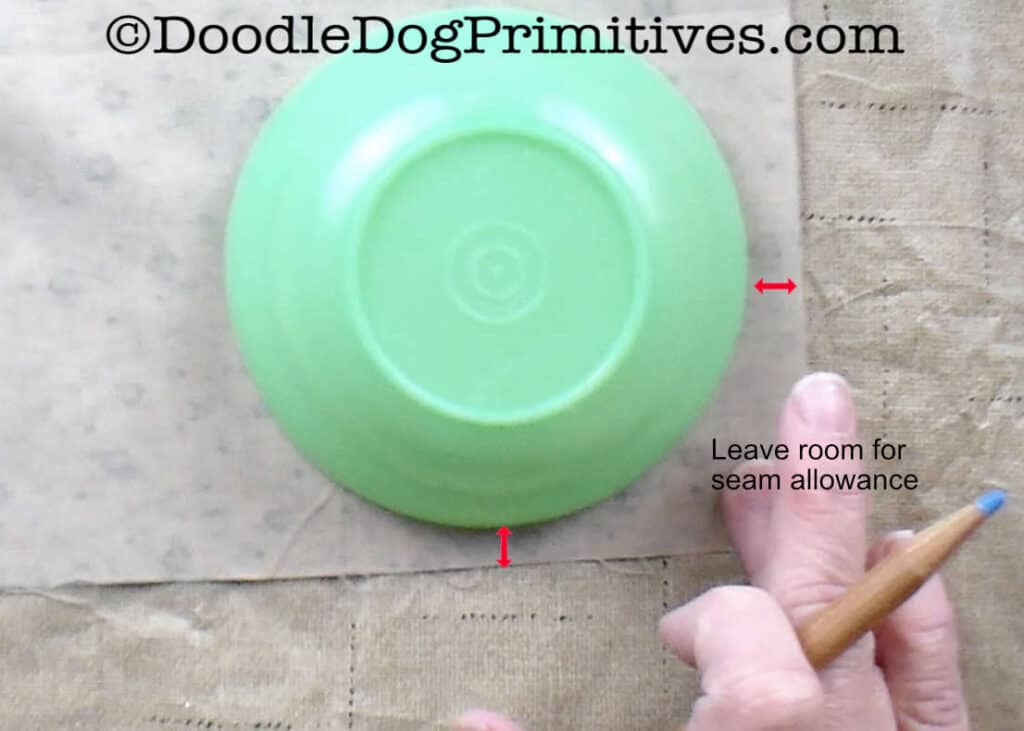
Leaving room for the seam allowances on all four sides, cut out a rough square around the drawn circle.
Place the square on top of the fabric, right sides together to cut out another square the same size.
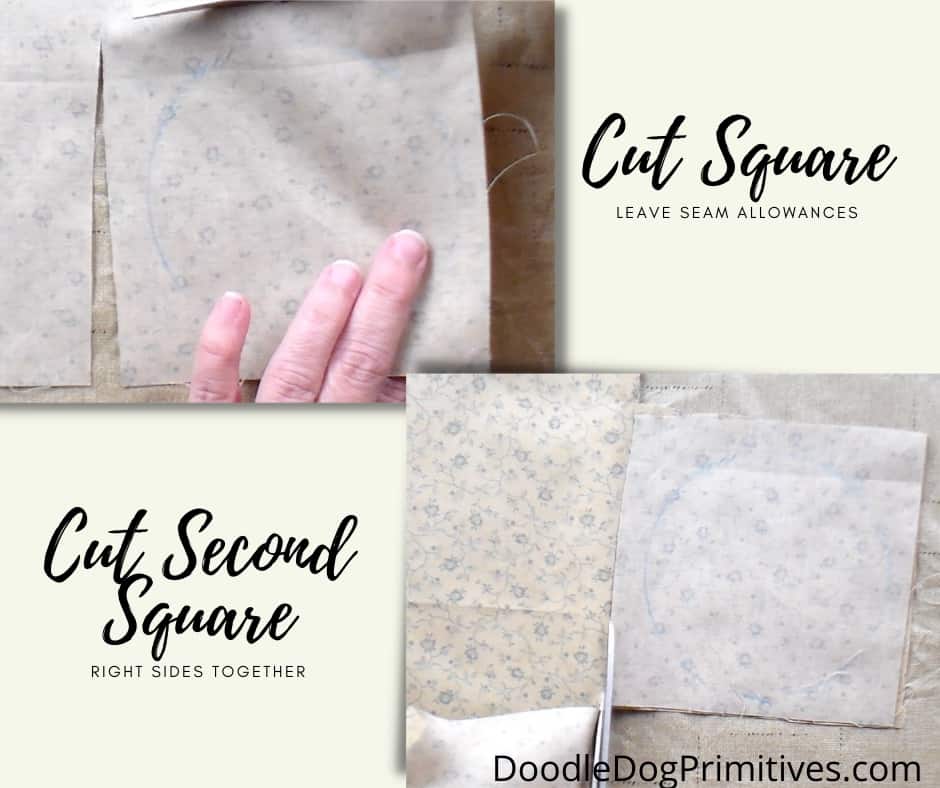
Pin the two squares of fabric, right sides together.
Use a straight stitch to sew on the drawn line, leaving an opening for turning.
Trim the Seams and Clip the Curves:
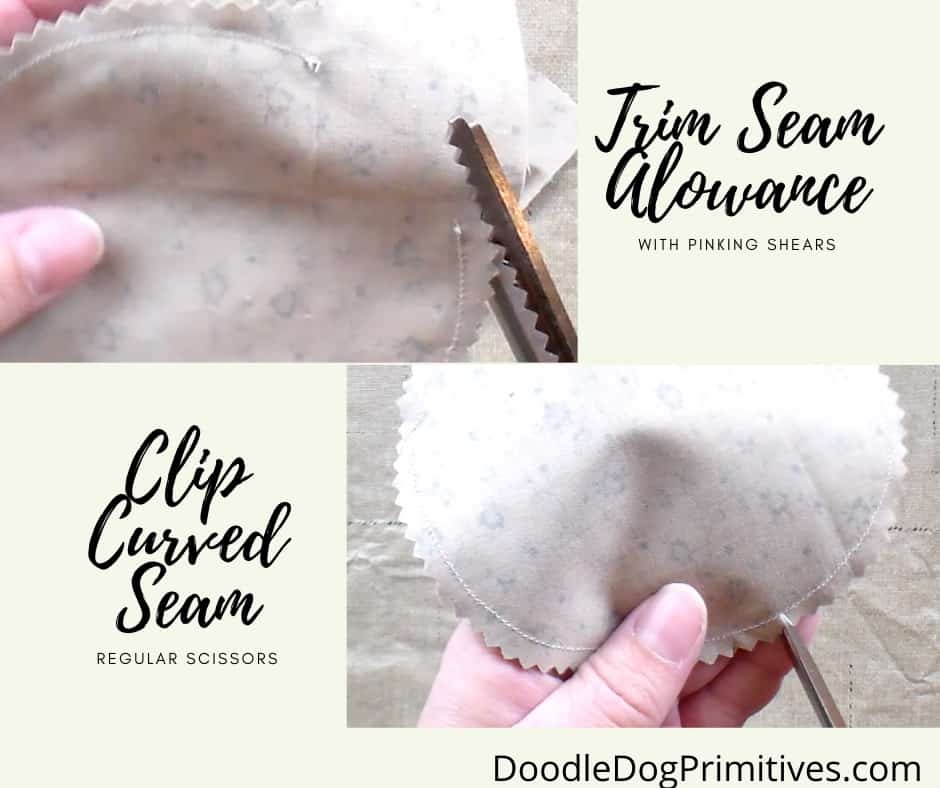
Use pinking shears to trim the seam allowance to 1/4″. The pinking shears help keep the fabric from raveling as you work with it. If you don’t have them, you can use regular scissors.
With plain scissors, clip the seam allowance in regular intervals all around the circle. Get close to the stitching with the clips but not into the stitching. This helps the pin cushion lay better when you turn.
Turn & Stuff the Nest Pin Cushion:
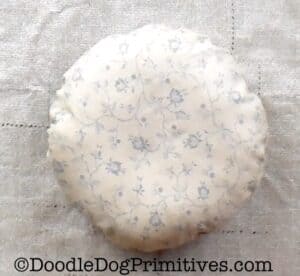
Turn the nest right side out and press.
Choose your desired stuffing.
I like this style of pin cushion because it reminds me of antique pin cushions. Sewers of the antique pin cushions would fill their pin cushions with sawdust, scraps of cotton or wool or whatever they had on hand. Some people today also use those types of fillers or crushed walnut shells. But I think most people use a pol-fil type of stuffing. It is readily available and easy to use.
Stuff lightly – with more stuffing around the edges than in the middle.
Hand sew the opening closed.
Add the Pearl Cotton Nest Sections:
Thread a needle with a long piece of pearl cotton #8 that coordinates with the nest fabric. Knot the end. Make sure it is long enough to finish this entire next step with one string. I used 1-1/2 yards of floss and it was way more than enough.
Poke the needle through the center of the bottom of the pin cushion and back through the center of the top of the pin cushion. Pop the knot into the inside of the pin cushion.
Wrap the thread around the edge of the pin cushion. Put the needle back through the center of the bottom of the pin cushion and through the center of the top again. Pull the thread snug.
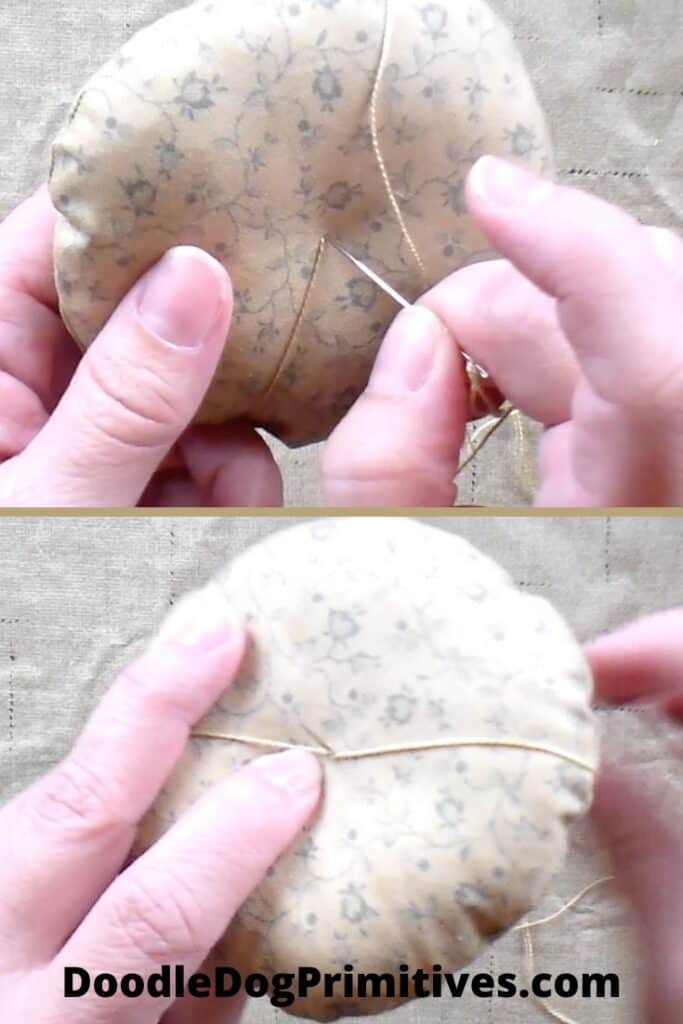
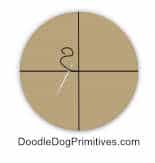
I am going going to do this four times to make four loops, each 90 degrees from each other. Depending on the size of your pin cushion, you might want to make more or less loops. Since all of the loops go through the center, you can move them around to get even sections.
Tie off the thread.
Attach Fabric Bird to Pin Cushion Nest:
Place the sewing bird inside the indention in the middle of the pin cushion nest.
Tip: Make sure the hand sewn area of the pin cushion is to the back of the bird (Ask me how I learned that!)
Stitch the bird to the nest with a needle and sewing thread.
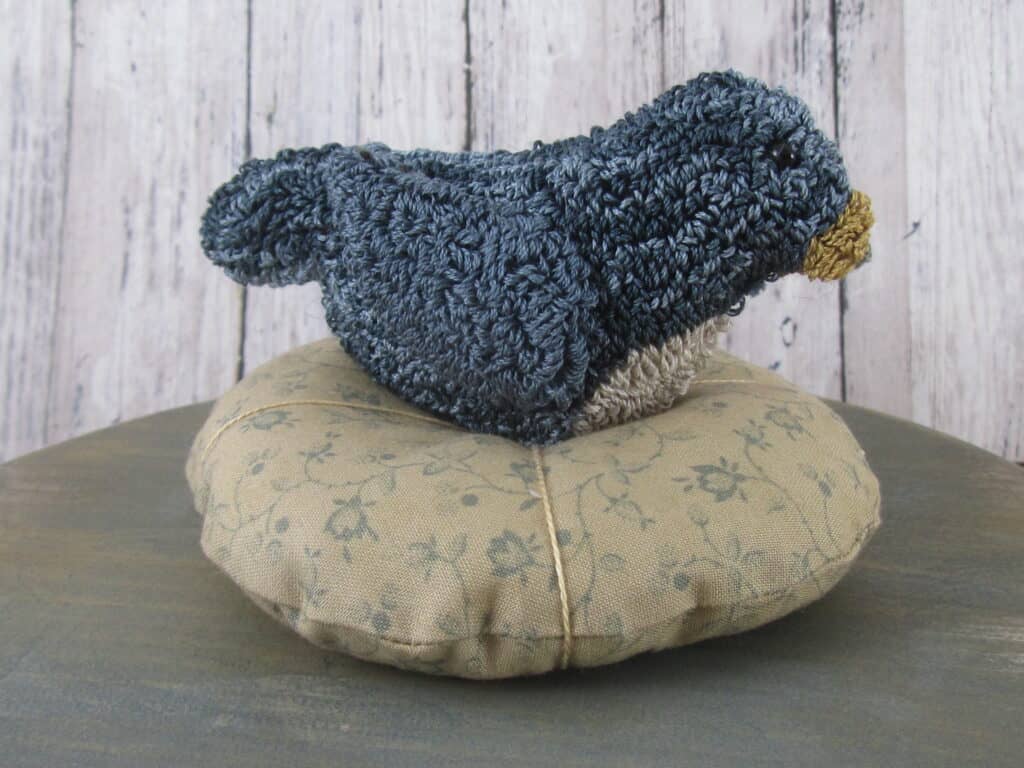
Using the Nesting Bird Pin Cushion:
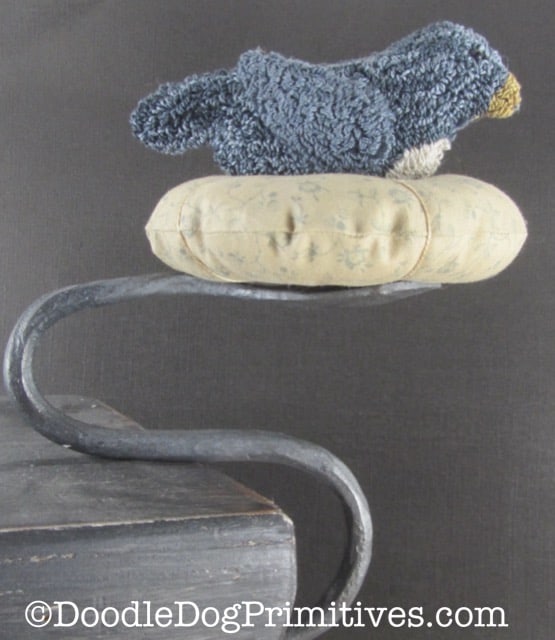
The nesting sewing bird pin cushions are beautiful all by themselves. Or, you could add them to the top of a box or a pin cushion clamp to attach to a table.
Box Size: My sewing bird pin cushion looked good on top of a cylinder shaped box that was 4-1/2″ in diameter. If I were to paint the box with a distressed look in a federal blue and cream color and glue the pin cushion to the top of the box, I think it would be very cute.
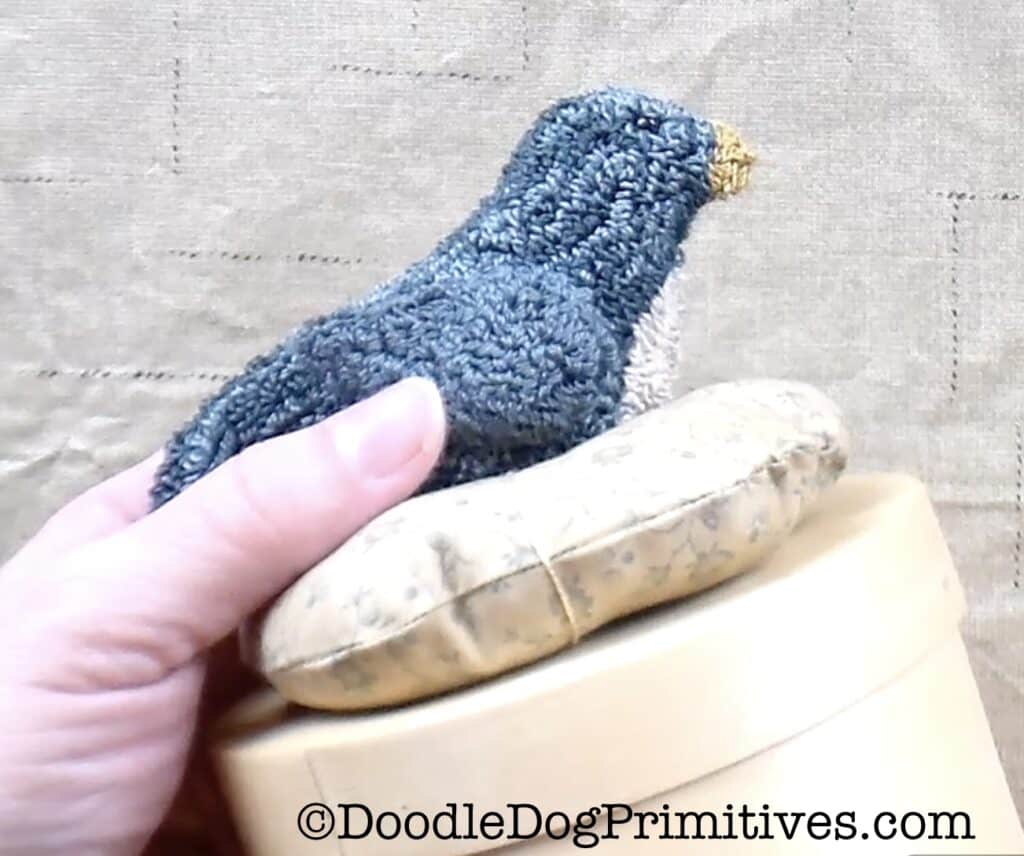
In my Etsy shop, I have handmade wooden clamps that are perfect for gluing onto a pin cushion.
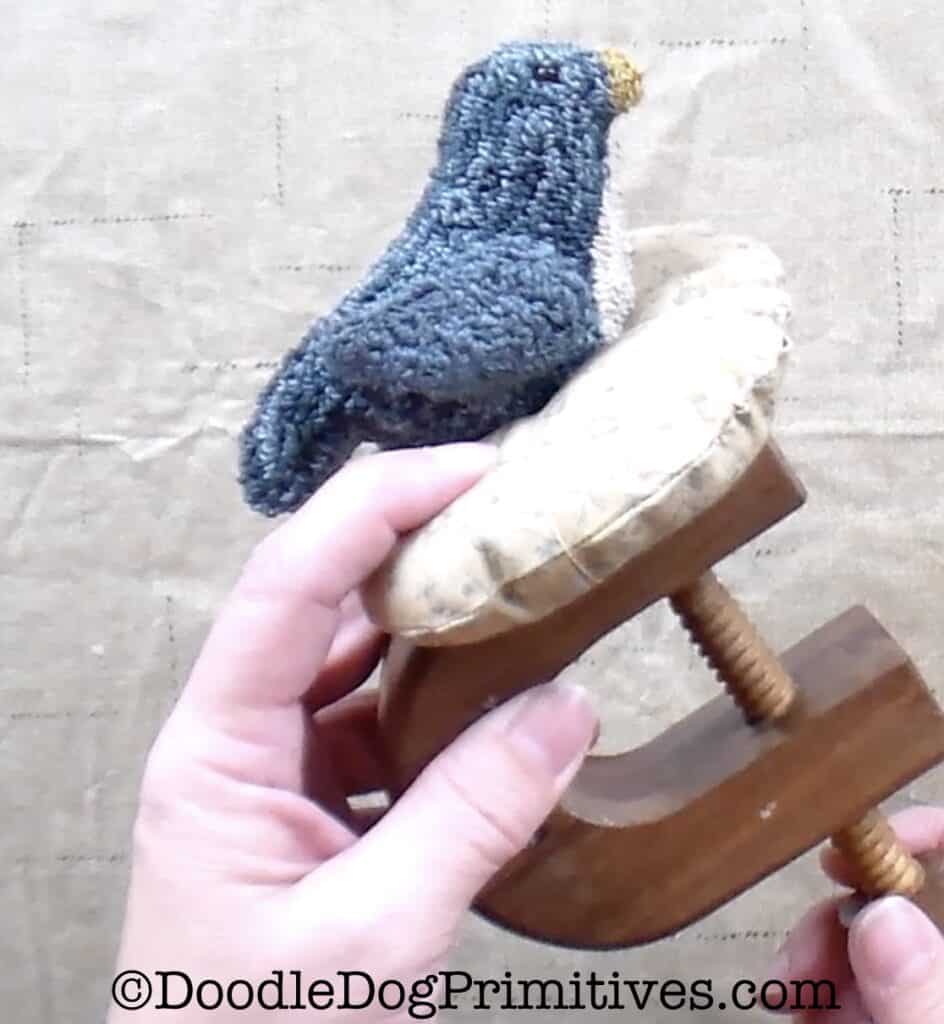
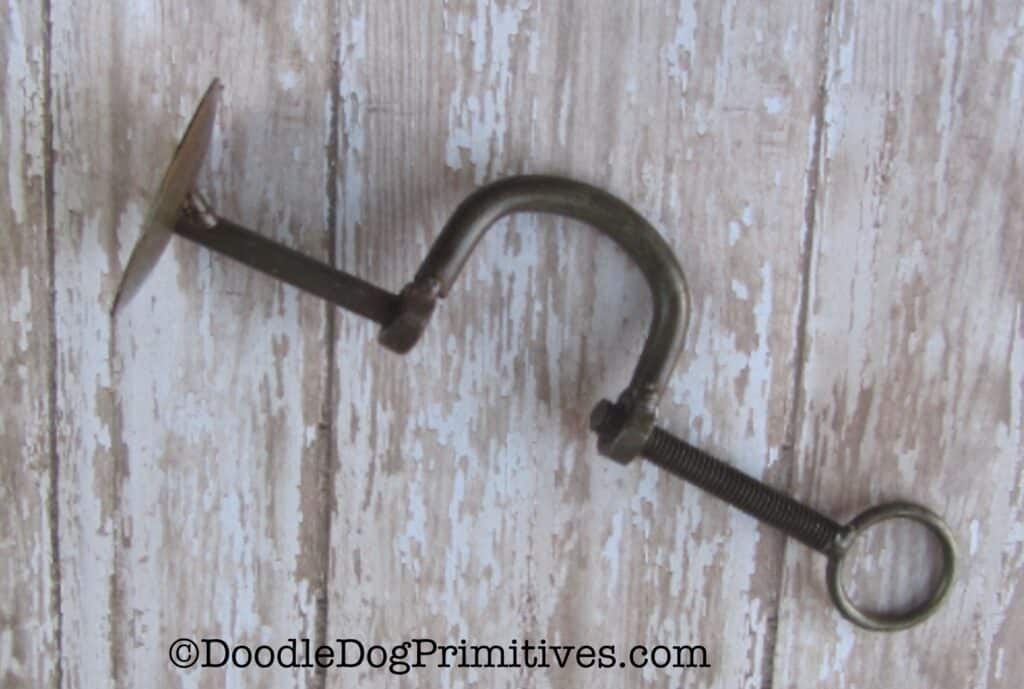
Or, you can usually find metal pin cushion clamps on Etsy. They looks something like this.
My husband has recently taken up blacksmithing. He made this clamp for me.
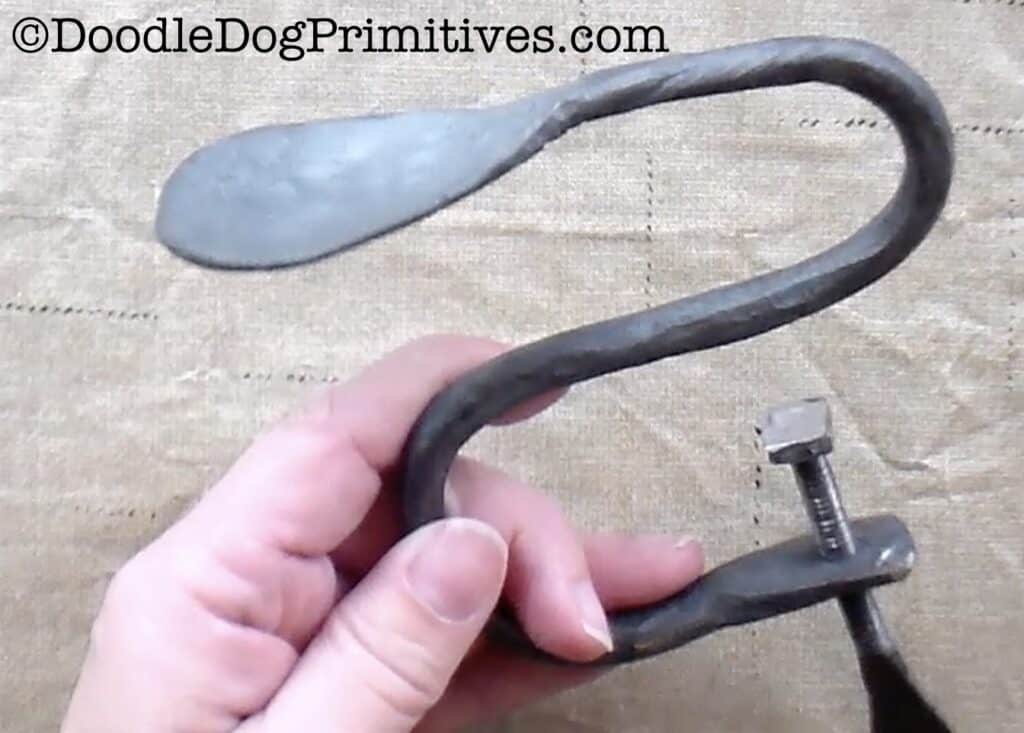
I really like its rustic look, so that is what I am going to use for my nesting bird pin cushion.
Be sure to check out our other tutorials.
I would love to see what you create!
Blessings~
Amy
Be sure to Pin this Nesting Bird Pin Cushion Tutorial:
