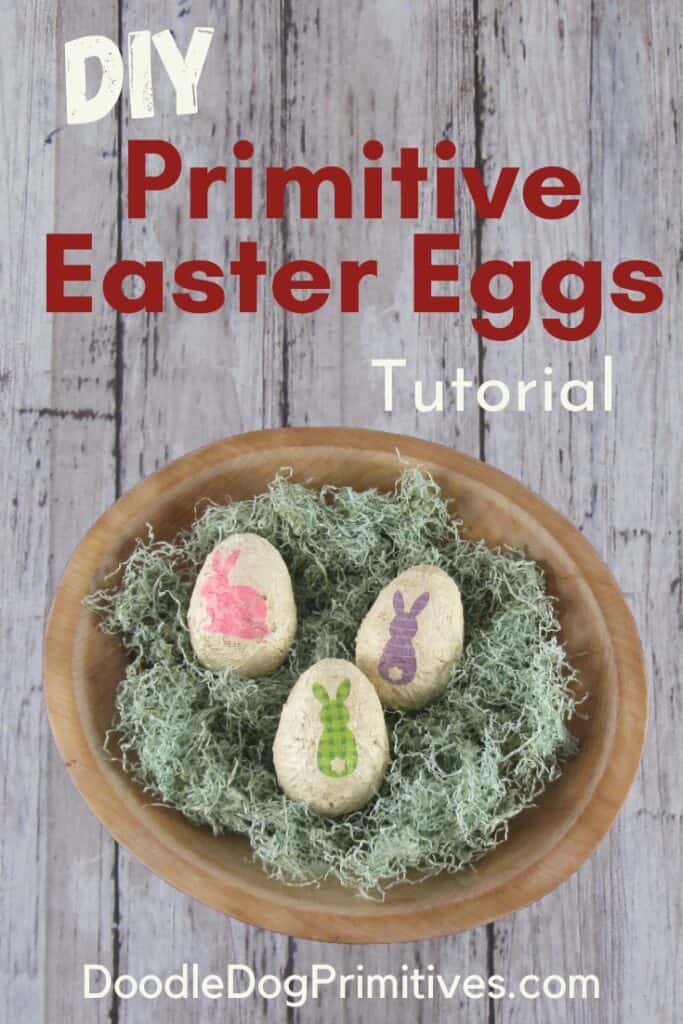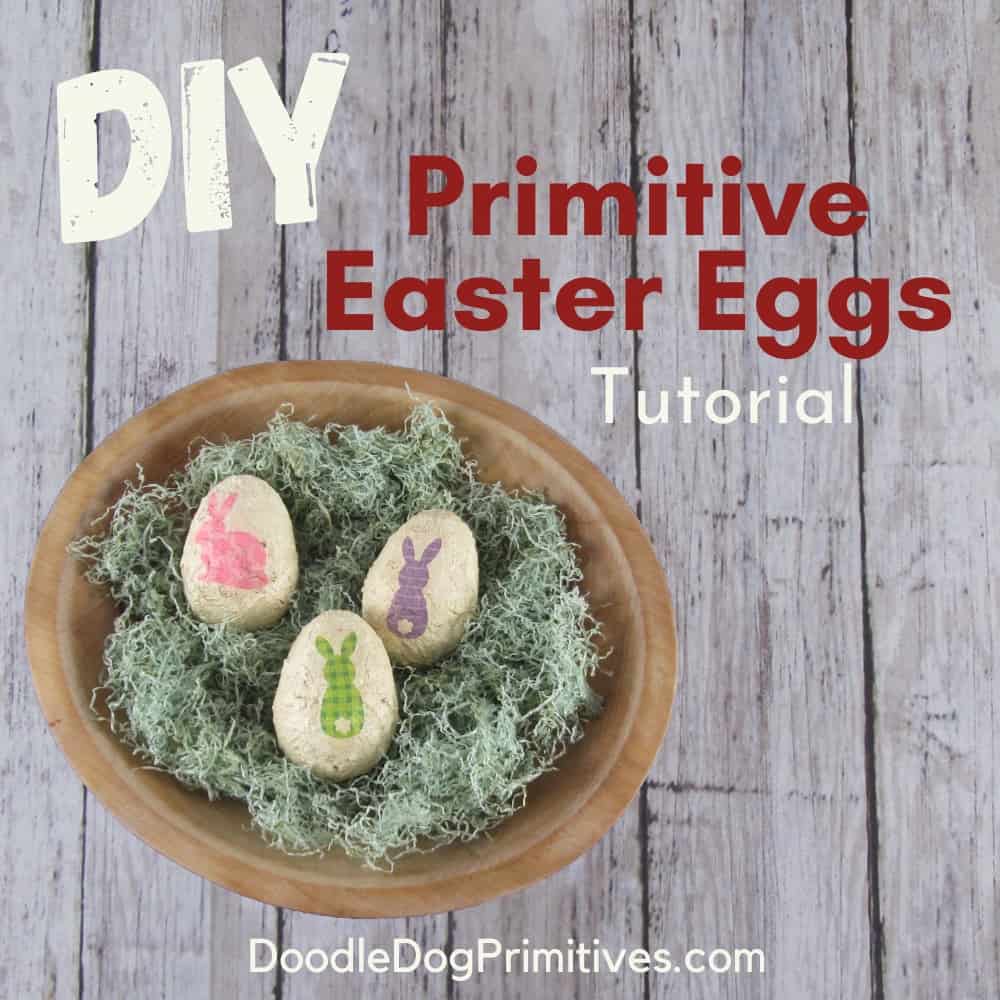
This primitive Easter egg tutorial will show you how to make these cute Easter eggs out of plastic eggs.
These primitive eggs are a great addition to your farmhouse Easter decorating.
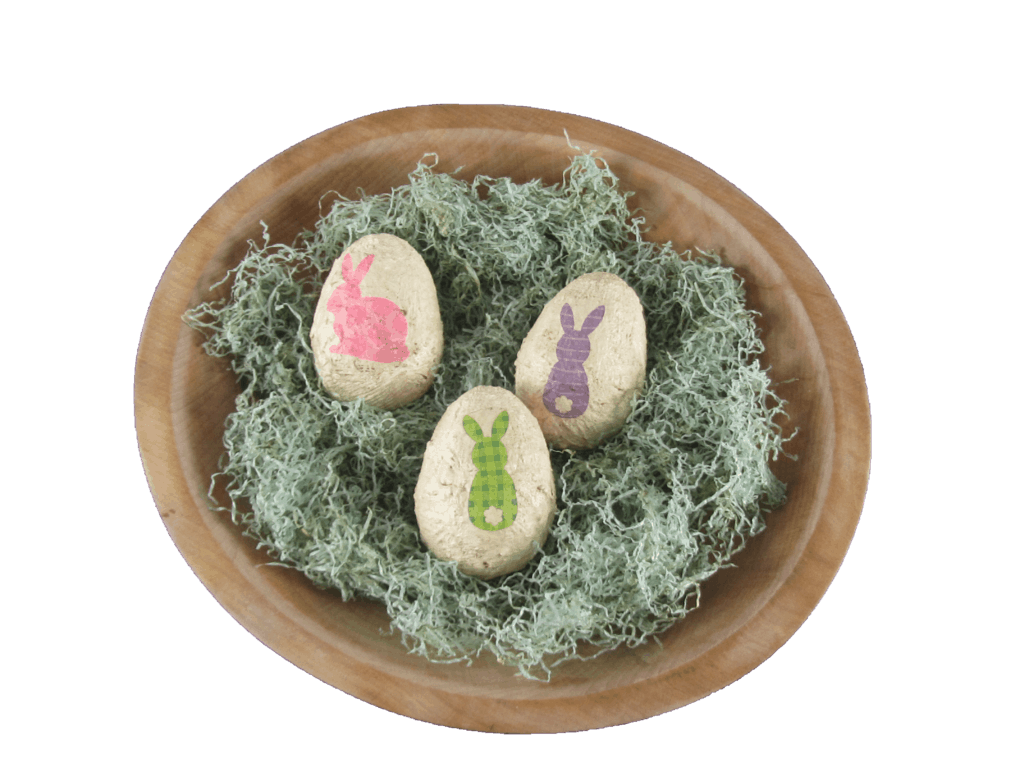
Add them to a bowl or basket full of “aged” Easter grass.
They would also look great next to these handmade primitive carrots.
This post may contain affiliate links for your convenience, which means if you make a purchase after clicking a link I will earn a small commission but it won’t cost you a penny more. For more information, please visit our Privacy Policy.
Supplies for the Primitive Easter Eggs Tutorial:
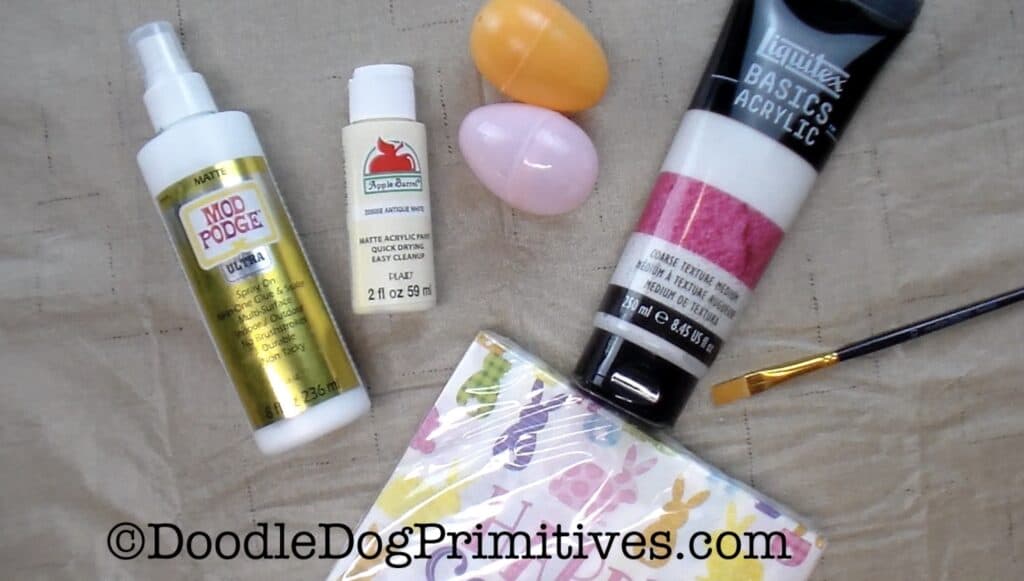
- Plastic Easter Eggs
- Liquitex Texture Medium
- Mod Podge Matte Spray on
- Easter Napkins with a small design
- Antique White Acrylic Craft Paint
- Paint Brush
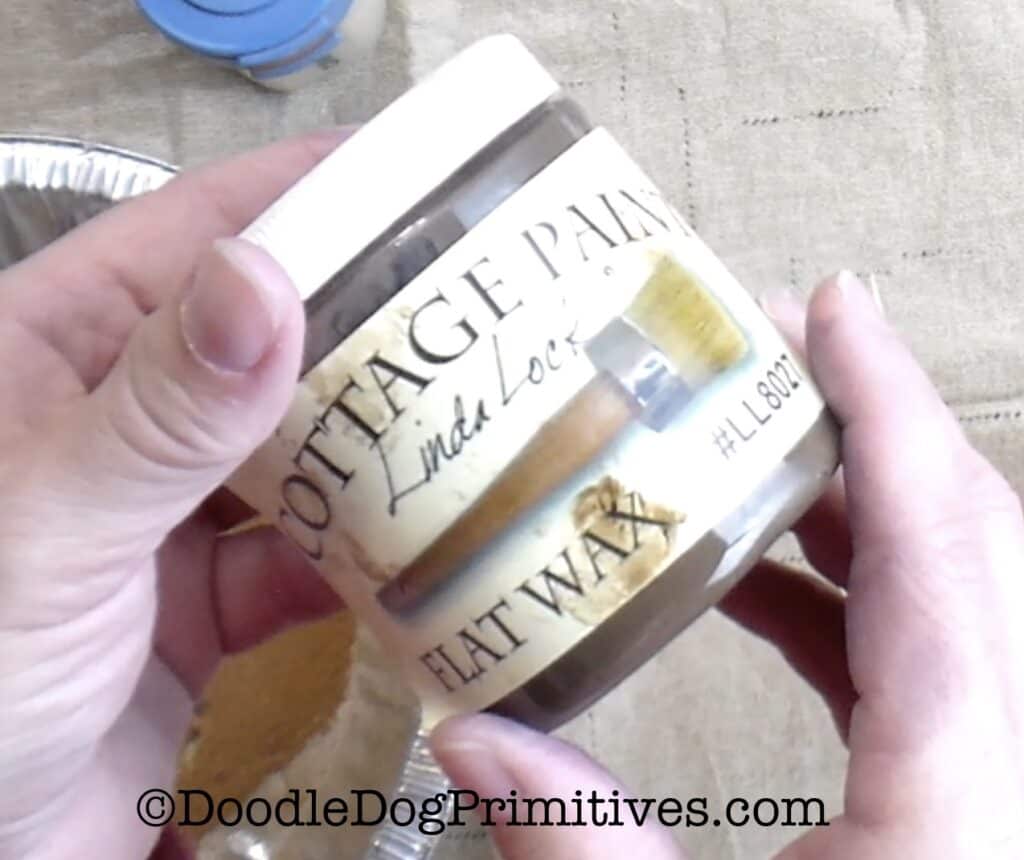
- Finishing Decorative Wax
(such as Cottage Paint Flat Wax)
Texture the Eggs:
The first step is to coat the plastic Easter eggs with the texture medium.
Squirt some texture medium onto a disposable plate.
Begin painting the texture medium onto a closed plastic egg with a paintbrush.
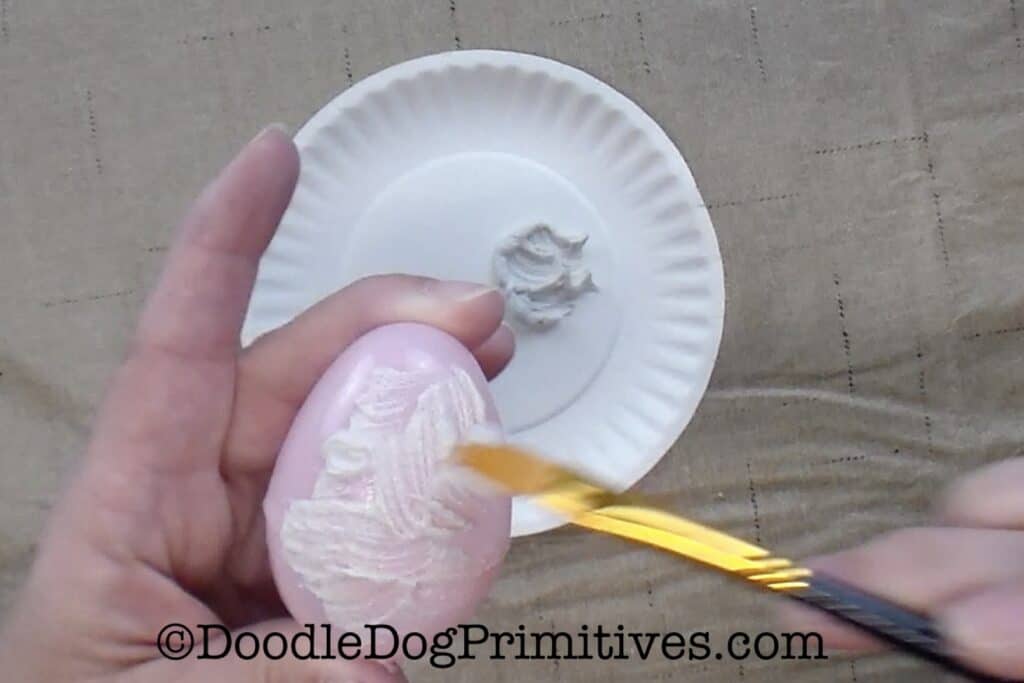
Coat the top half of the egg and place it into an egg carton to dry.
Then coat the bottom half with the texture medium
and turn it upside down in the egg carton to dry.
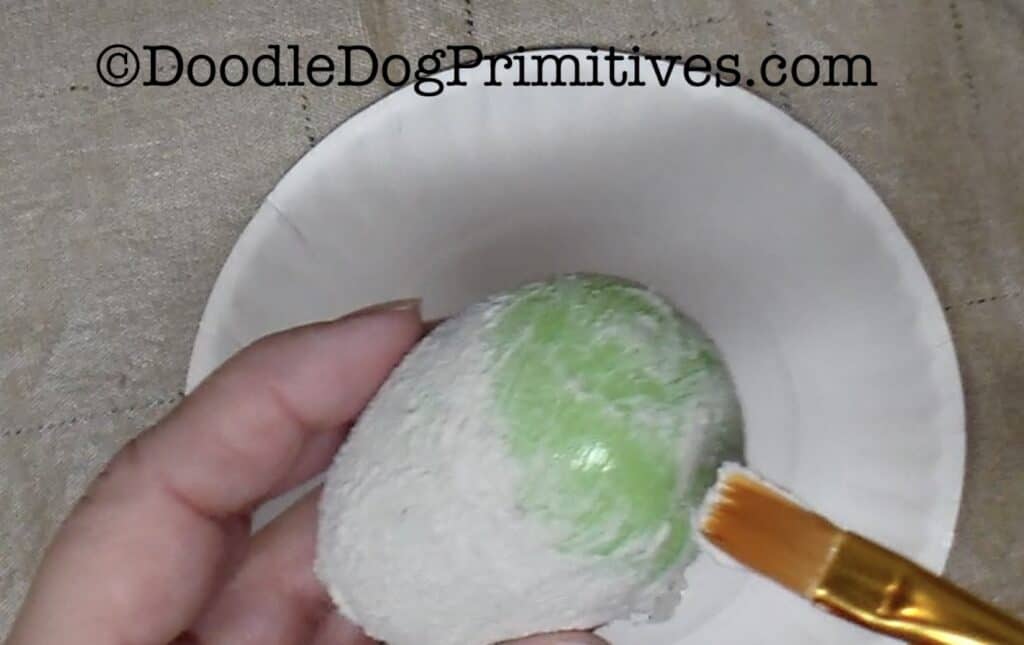
I added two coats of texture medium to the plastic eggs.
Watch the Video:
Paint the Easter Eggs:
Paint the textured Easter eggs with an acrylic craft paint.
I used Apple Barrel Antique White.
This is easiest to do one half of the egg at a time,
allowing the egg to dry between painting the top half and the bottom half.
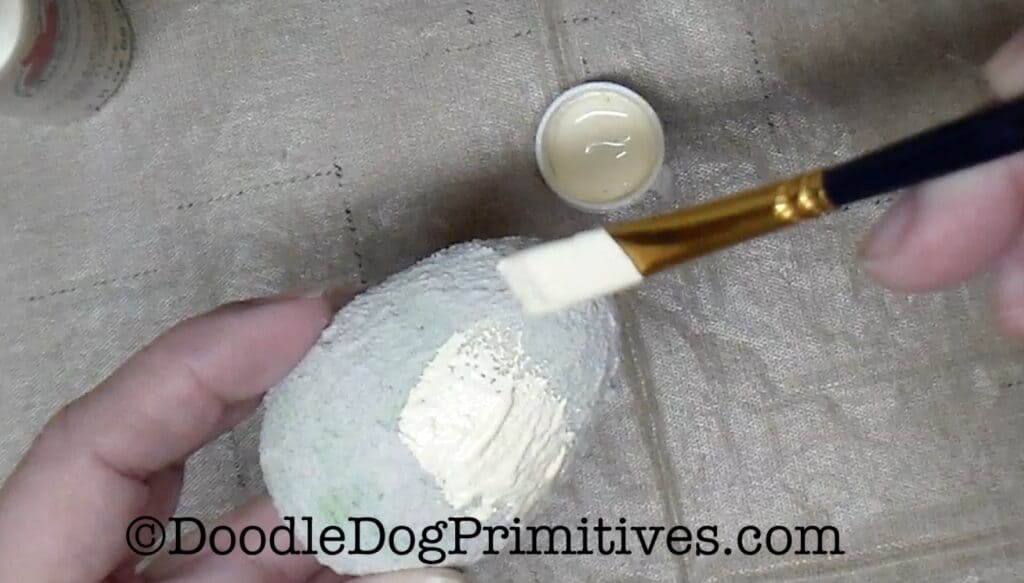
My eggs only needed one coat, but you might have to paint multiple coats to cover the egg’s original color.
Prepare the Design:
Unfold the Easter napkin and remove any extra layers of napkin.
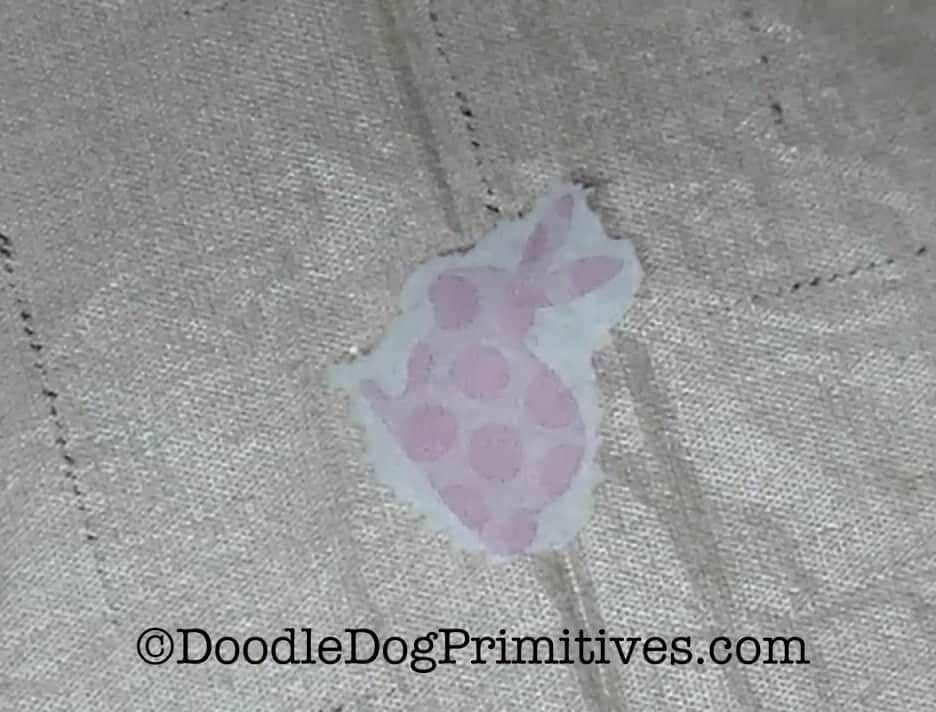
Cut out around the design you want to add to the Easter egg,
keeping some extra napkin around the design.
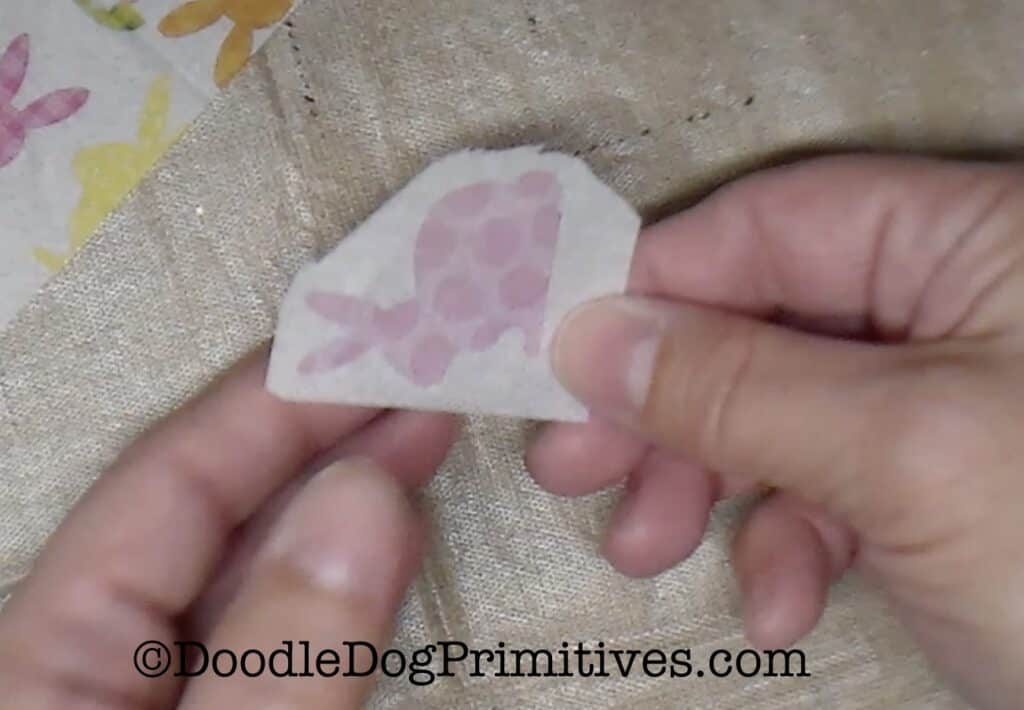
You don’t want any of those straight scissor edges showing on the finished Primitive Easter egg,
so carefully tear all the way around the edge.

(I had to do this a couple of times before I got one without tearing the bunny!)
The trick is to keep a good hold on the design with one hand while tearing off with the other hand.
Add the Design to the Prim Eggs:
Decide where you want to place the design on the egg.
Spray that side of the egg with Mod Podge Matte Spray on.
Place the design on the egg.
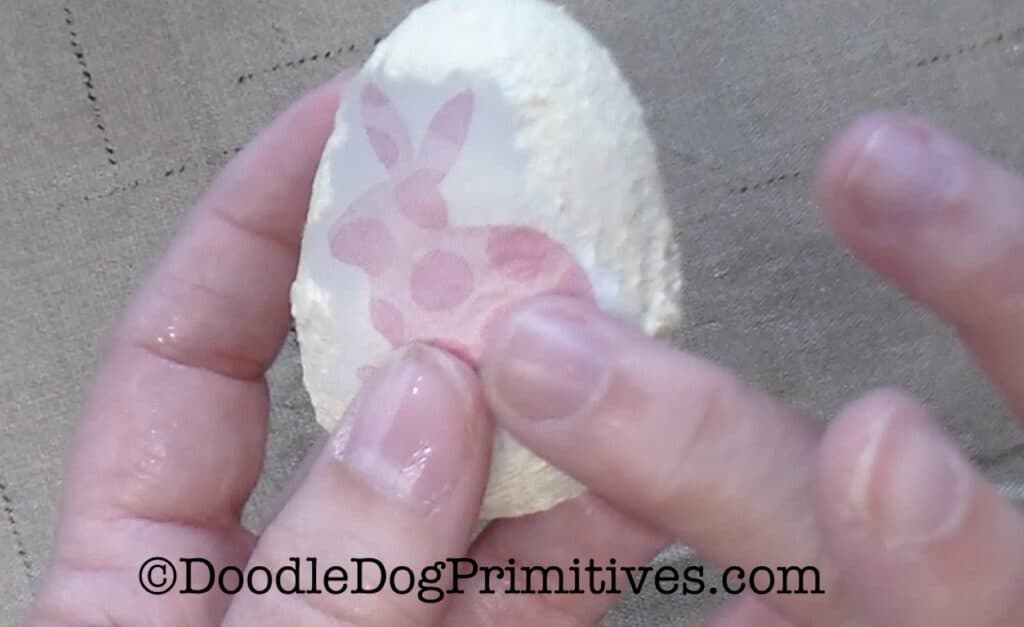
Spray with Mod Podge again and smooth out the design with your fingers.
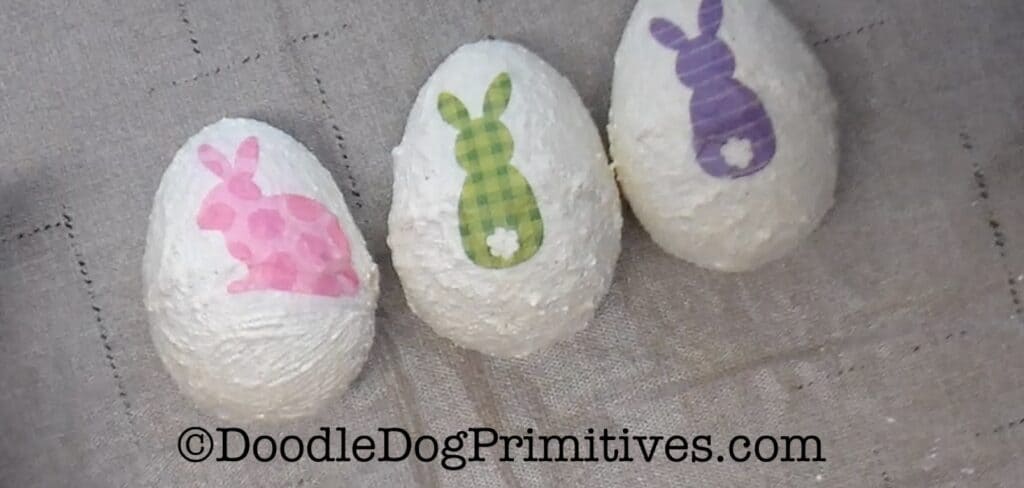
Spray the whole egg with Mod Podge.
Set the egg aside to dry.
Grunge the Easter Eggs:
If you like the way the textured Easter eggs look, you can add another coat of Mod Podge or a coat of clear wax.
If you want the Easter eggs to have a grungy, primitive look,
add a thin coat of a dark colored finishing paste wax such as Cottage Paint Flat Wax.
I rubbed the wax on and then immediately gently buffed it.
(I didn’t want it to become too dark.)
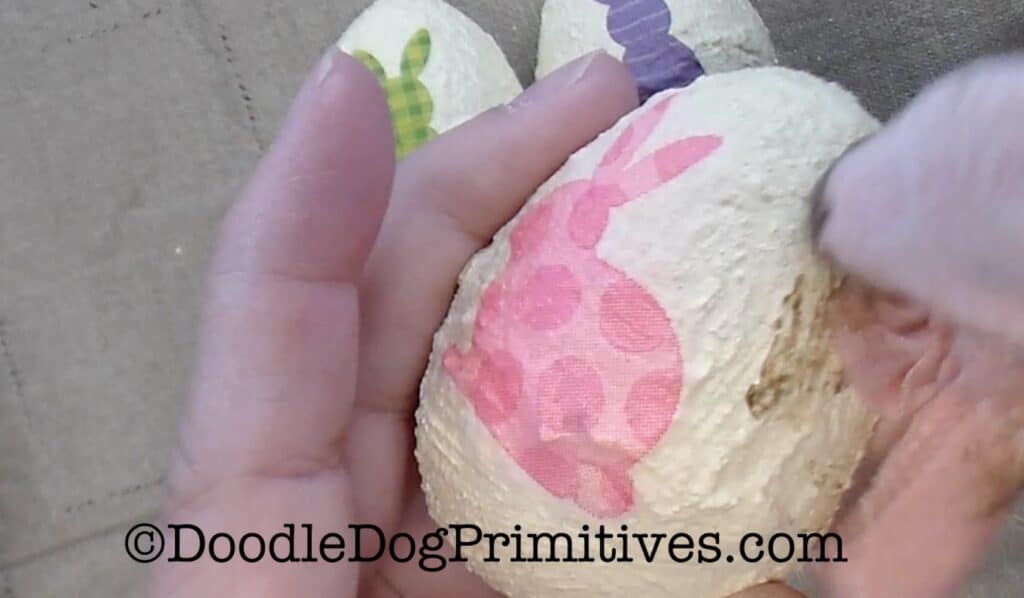
I just wanted to add enough color to make it look antique.
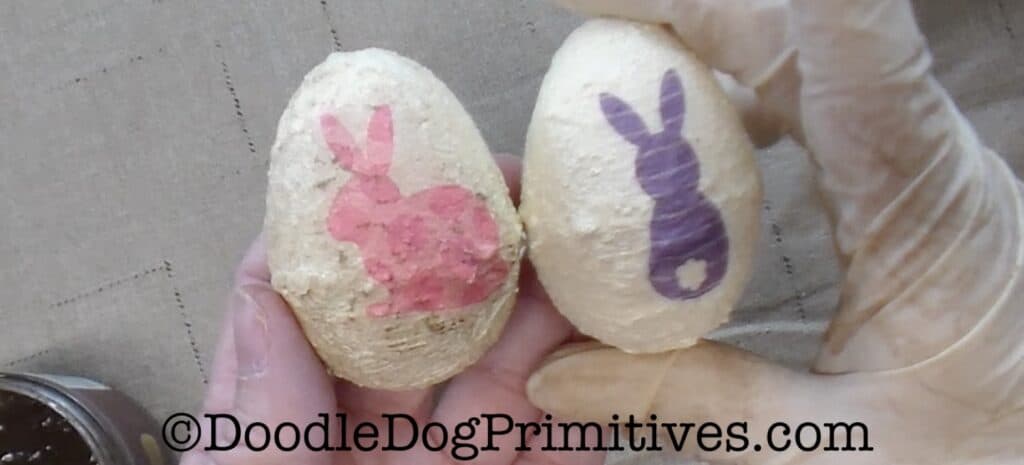
Here’s a comparison of a dark waxed egg on the left vs. unwaxed on the right
so you can compare and decide which look is best for your decor.
After waxing the eggs, set them aside to dry.
I hope you enjoyed this Primitive Easter Eggs Tutorial!
Blessings~
Amy
Be sure to Pin this Primitive Easter EggsTutorial:
