In this tutorial, I want to show you how fast it is to make punch needle strawberries. These are the perfect addition to a spring themed wooden treenware bowl or in a basket filled with just strawberries!
Watch the Video:
Draw & Punch the Strawberries:
It is easy to draw strawberry patterns and you can easily adjust the shape of the strawberry by making little alterations in the pattern. You can even draw the pattern directly onto the weavers cloth!
Since the strawberries are small, I used a small scrap piece of weavers cloth. Draw a right angle with each of the sides 2″ long. Take a round object that has a 6″ diameter. I used an embroidery hoop. You can use anything that is round and about the right size. Line up the ends of the angle with the curve of the object and draw a line to connect the sides of the angle.
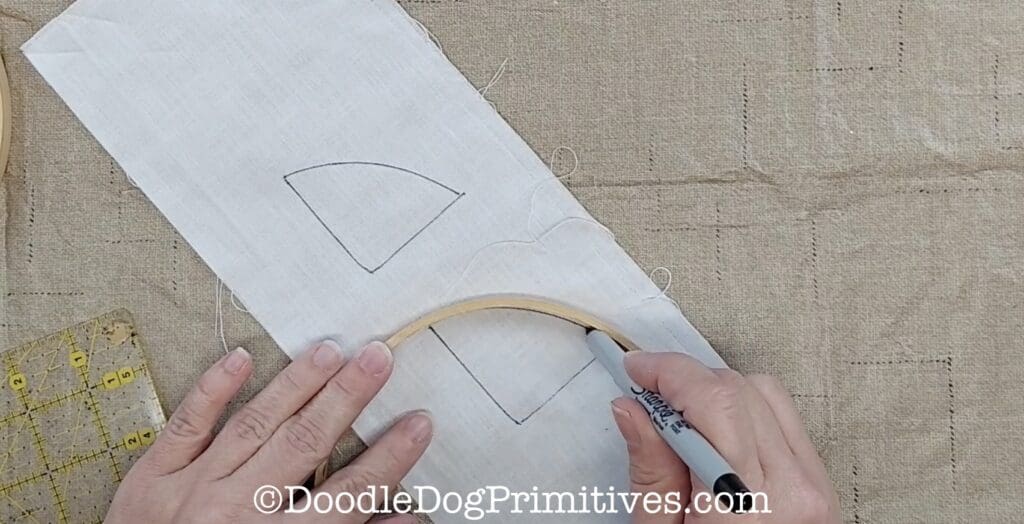
If you prefer a fatter strawberry, make the angle larger. If you prefer a longer strawberry, make the lines longer.
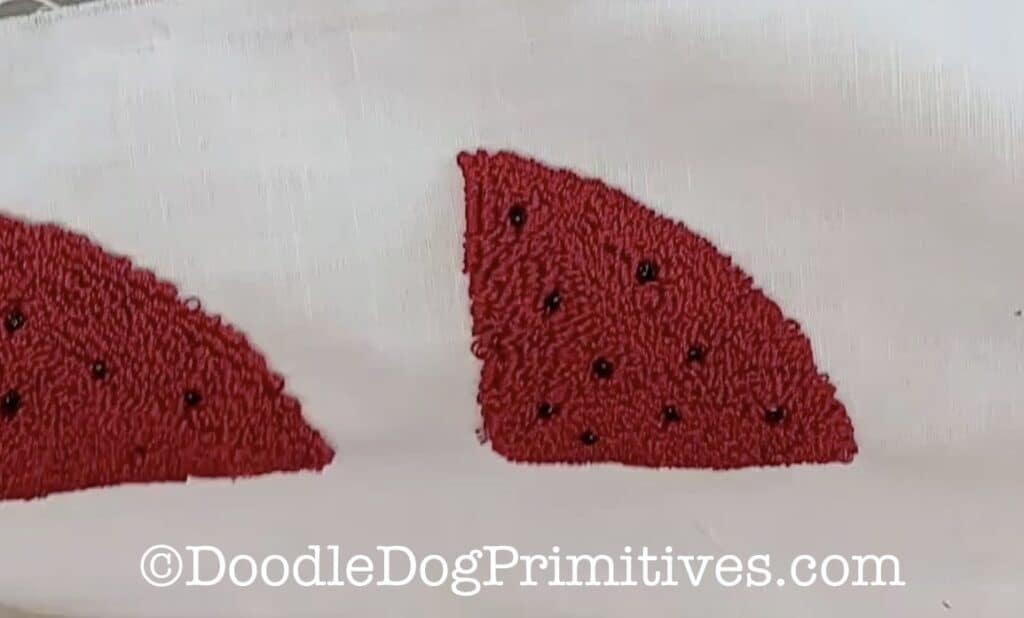
Punch the strawberry pattern with a red floss. I used 3 strands of DMC 498.
Add Strawberry Seeds:
For the seeds, you could add some black french knots or beads. I chose to use small glass black seed beads. I sewed them on in random places on the strawberry.

Sew the Punch Needle Strawberries:
Trim the empty weavers cloth to about 1/4″ past the edge of the punching on each of the straight sides and about 1/2″ on the rounded side.
Press the empty weavers cloth from the two straight sides to the back.
Fold the strawberry in half, wrong sides together, lining up the two straight edges.
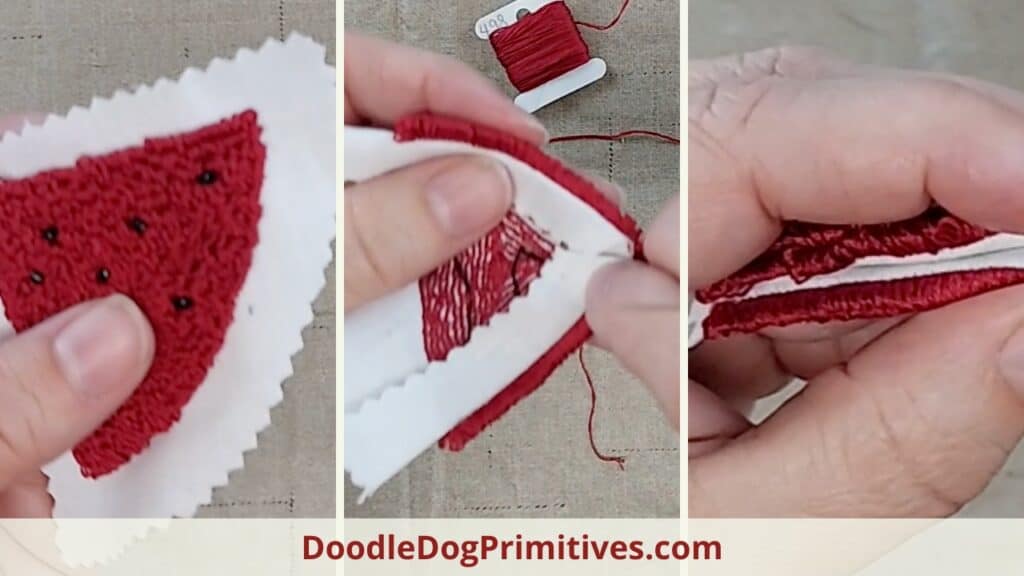
Using 3 strands of the same color embroidery floss used for punching, whip stitch the two straight edges together. Hold the punched loops back and catch both folded edges of weavers cloth. Stitch close together so the floss will hide the weavers cloth. When finished, don’t tie off – leave the extra floss for gathering the top of the strawberry.
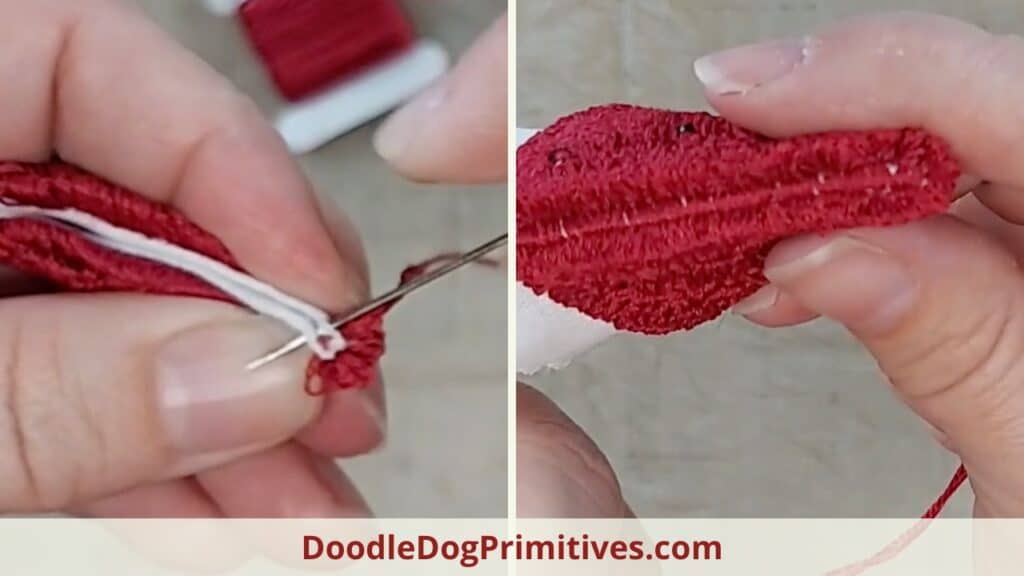
Stuff the strawberry.
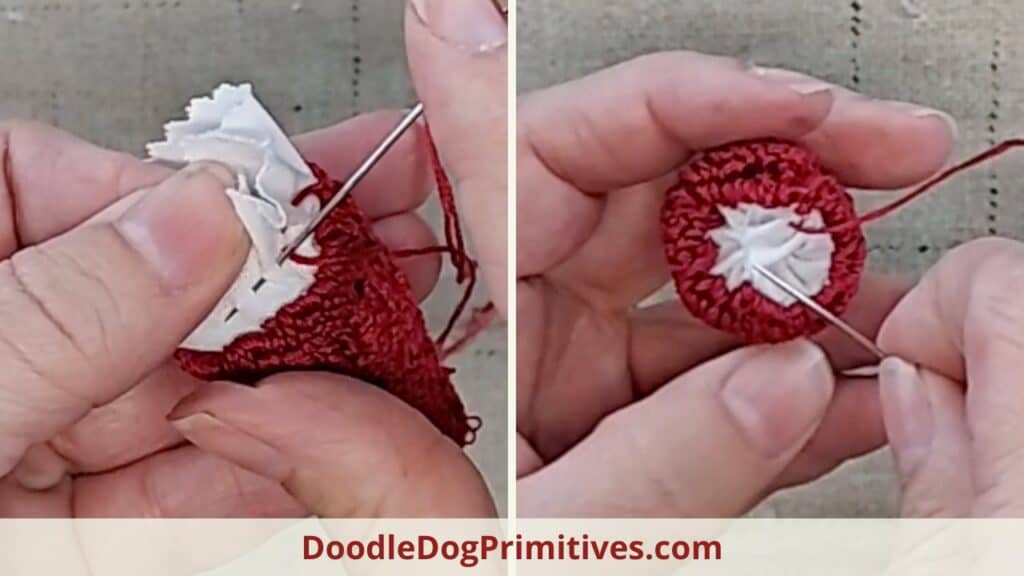
Sew a running stitch around the top of the strawberry. Stuff the excess weavers cloth inside the strawberry, gather the top, and tie off the string.
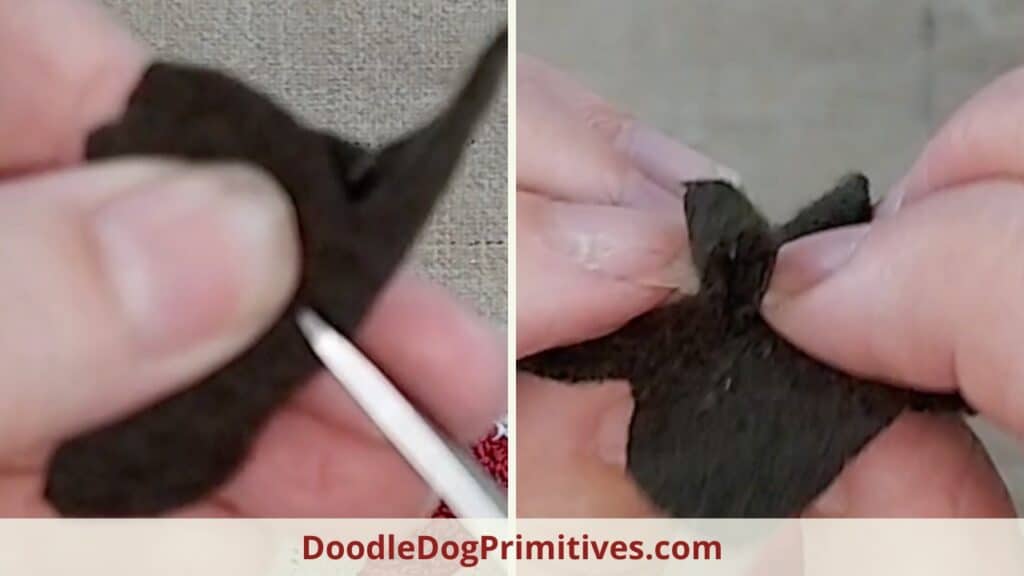
Make the Strawberry Stem:
Cut a strawberry leaf and a thin rectangle from green felted wool.
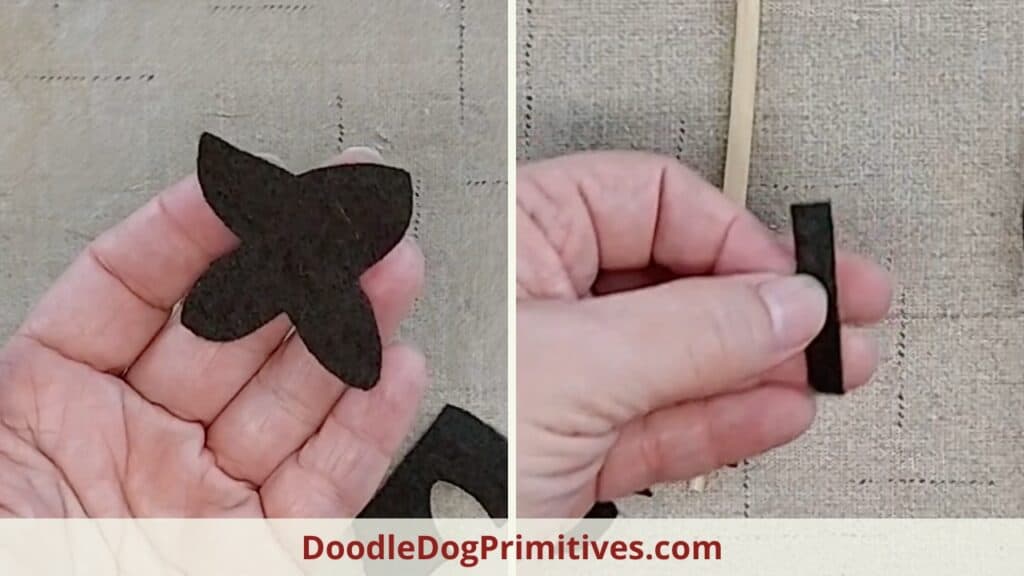
Cut a small slit in the middle of the strawberry top. Insert both narrow ends of the rectangle into the slot to create a strawberry stem tab. Using green thread to match the wool, tack the ends down to the underside of the strawberry top.
Sew the strawberry top onto the strawberry. You can leave the petals loose at the edges or stitch them down.
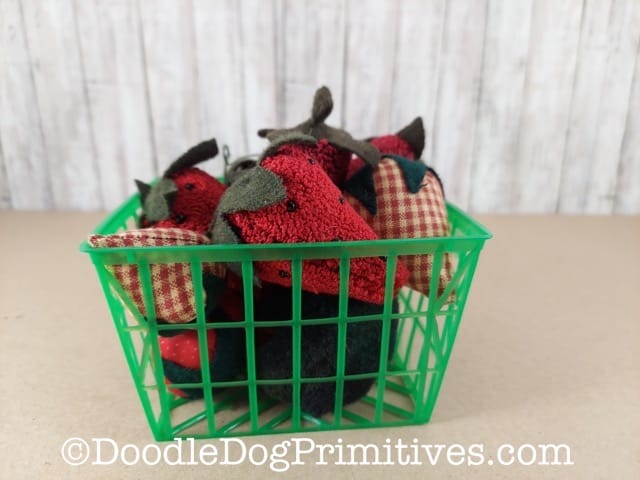
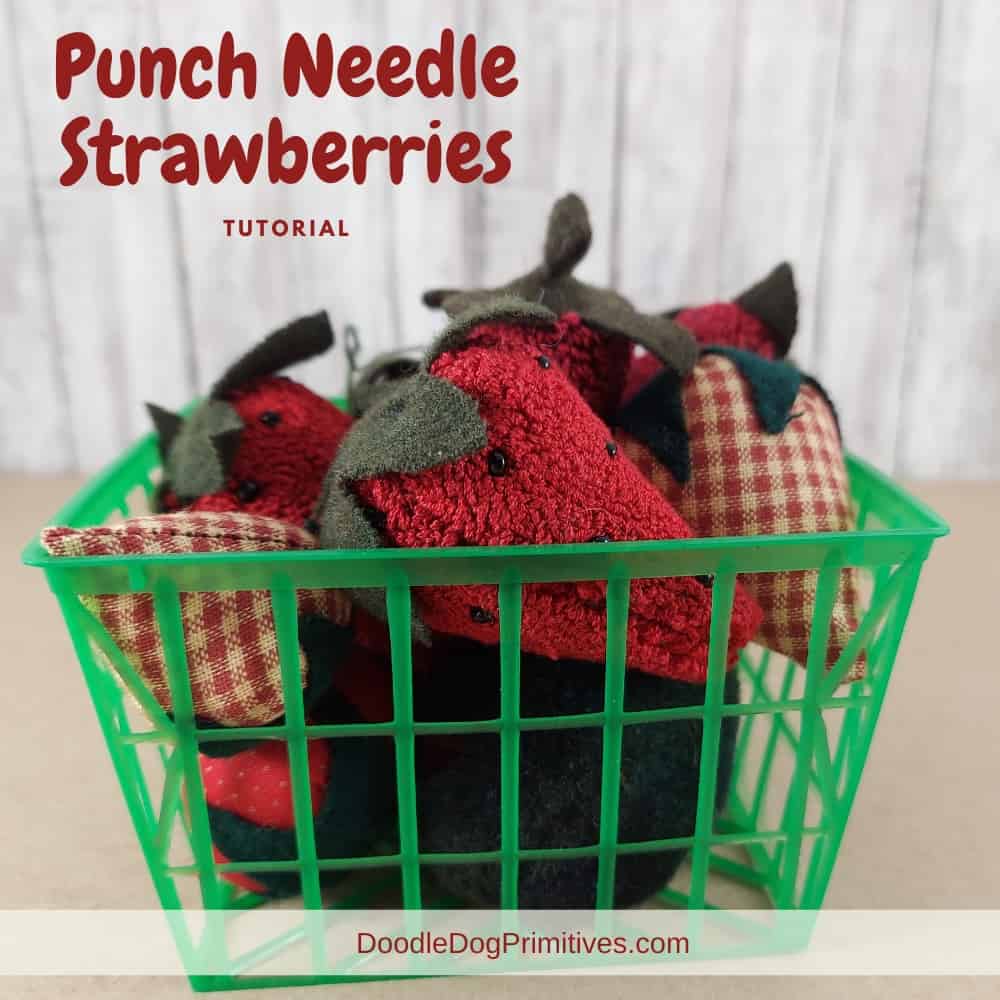
I decided to display mine in a vintage strawberry basket along with some other primitive style strawberries.
Be sure to check out my other punch needle tutorials.
Pin this Punch Needle Tutorial: