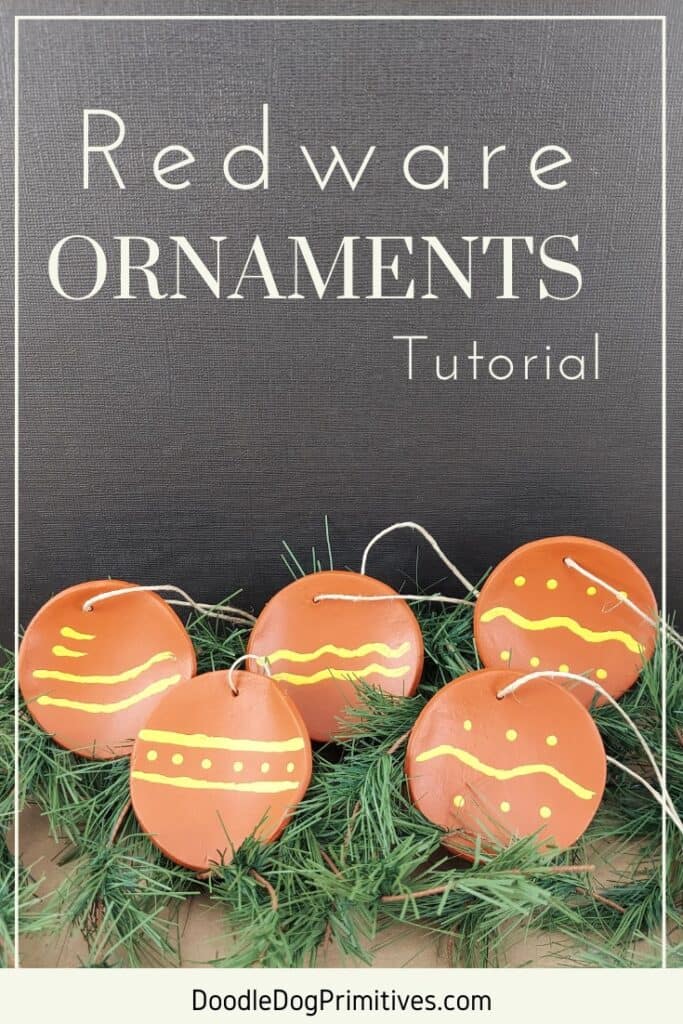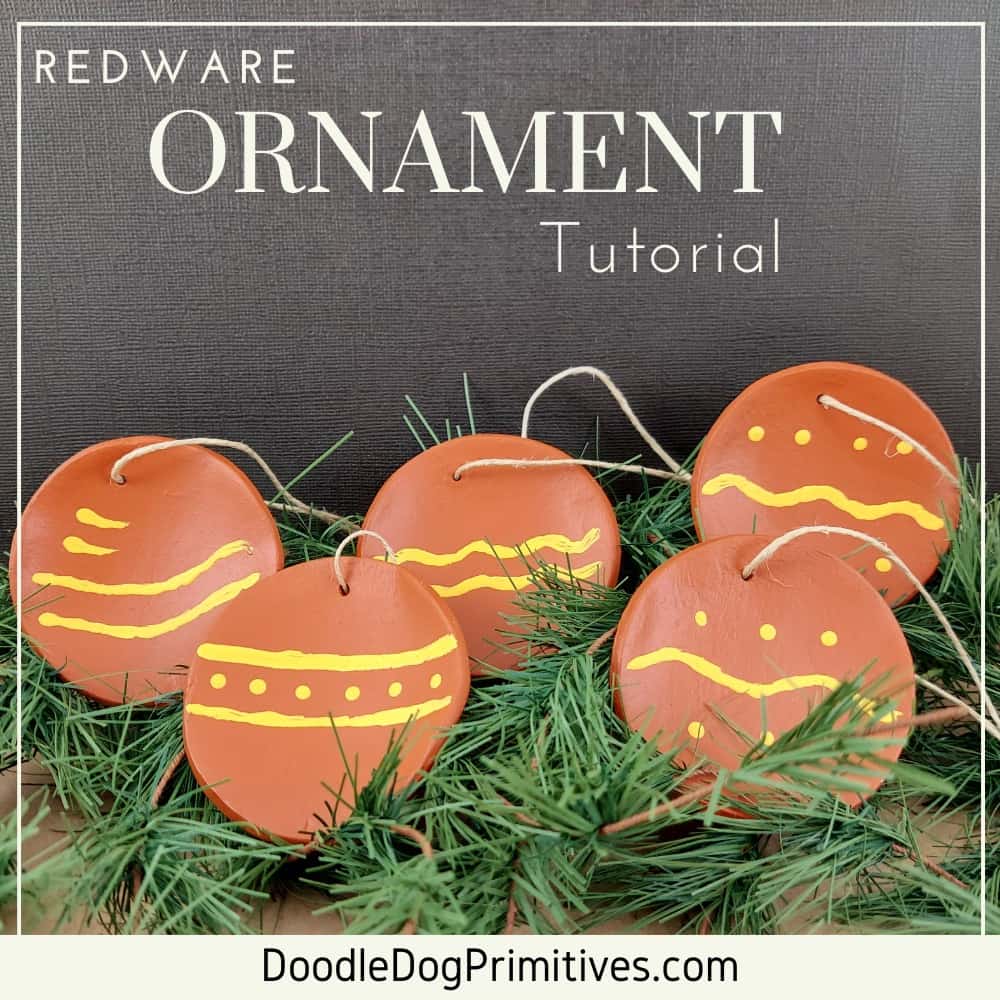
Today I want to show you how to make these redware style Christmas ornaments. They have been designed to look like antique redware plates and are easy to make by following this tutorial.
Watch the Video:
This post may contain affiliate links for your convenience, which means if you make a purchase after clicking a link I will earn a small commission but it won’t cost you a penny more. For more information, please visit our Privacy Policy.
The Clay:
I used air dry clay to make these ornaments. I like using the air dry clay because it is easy to use – it reminds me of playing with slightly hard play-doh. I have also used this for making prim sheep.
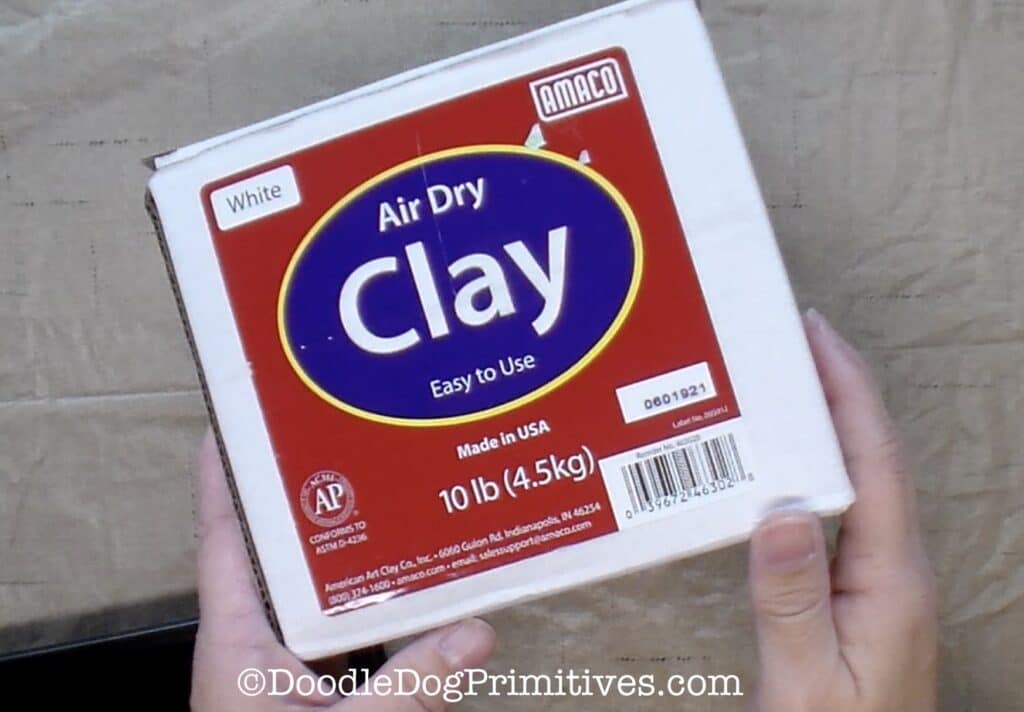
A few things to note about working with this type of clay:
- It will dry out in the air so it is important to keep what you aren’t using in an air tight container. I use a gallon ziploc bag.
- I like to keep a small bowl of water close by so I can dip my finger in the water to smooth things out on the clay.
- This clay is messy – put down a piece of wax paper, parchment paper, or a plastic tablecloth to protect your work surface.
Gather Household Supplies:
You will need a few household supplies to make these redware ornaments. This can end up being like a scavenger hunt in your house!
- Round cookie cutter or something else that can cut a circle. Mine is about 2-3/4″ in diameter.
- Rolling pin or a large diameter wooden dowel rod
- Round object about the same size as your cookie cutter. I used a vintage door knob. A bowl or ball might also work well.
- Wooden skewers
Sculpt the Ornaments:
Scoop out a small lump of the clay to work with.
Place the wooden skewers on either side of the clay. These will act as a thickness guide. If you keep the rolling pin over these, your clay won’t get too thin. It will end up being the same thickness as the skewers.
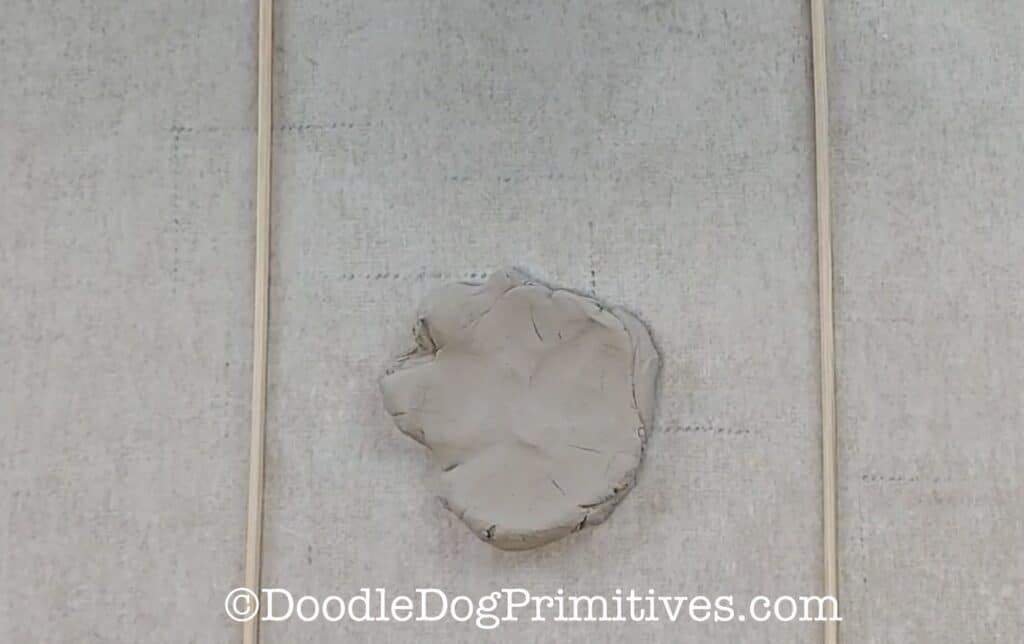
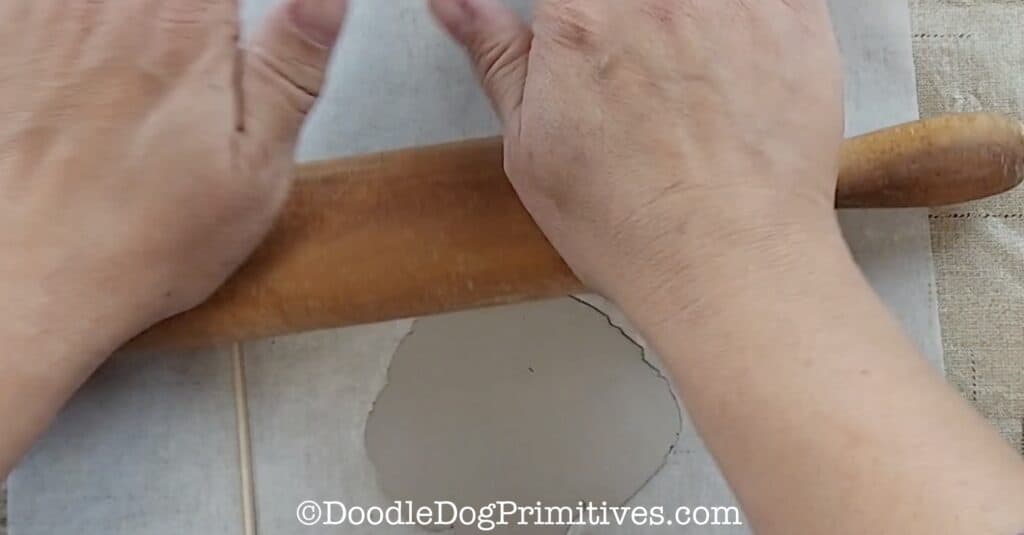
Use the rolling pin to roll out the clay just like you would a pie crust or sugar cookies.
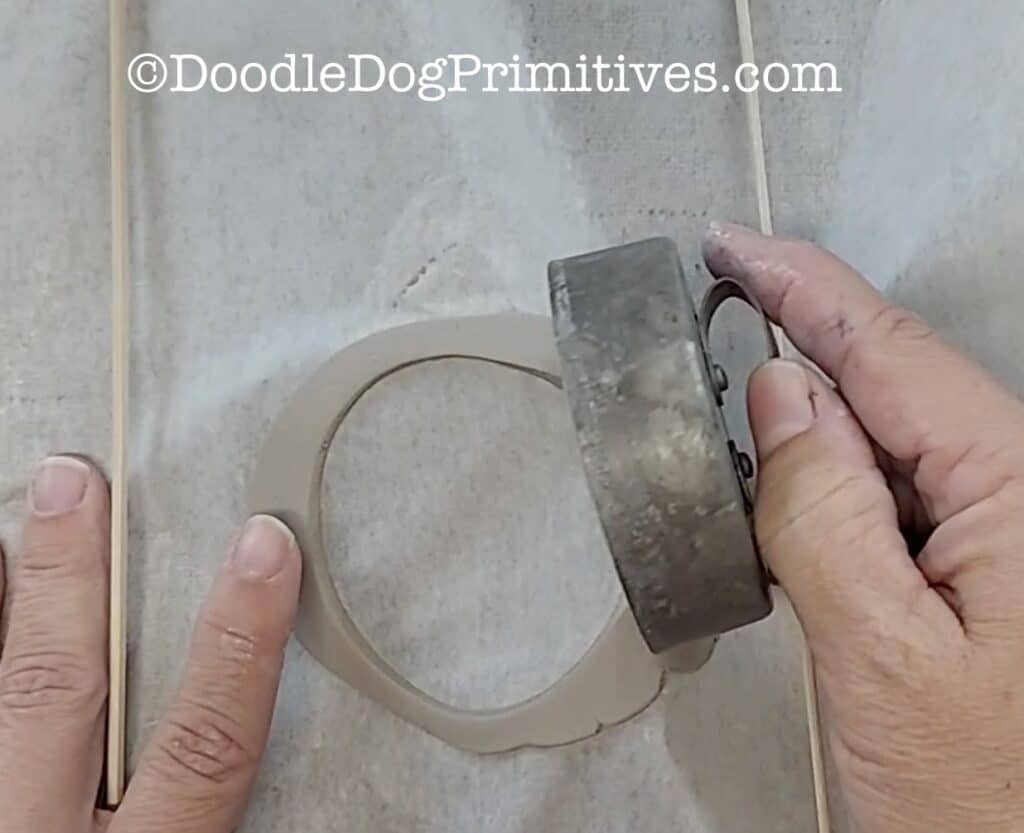
Use the cookie cutter to cut out a circle in the clay.
Use a wooden skewer to poke a hole through the ornament close to one edge for adding a hanger later.
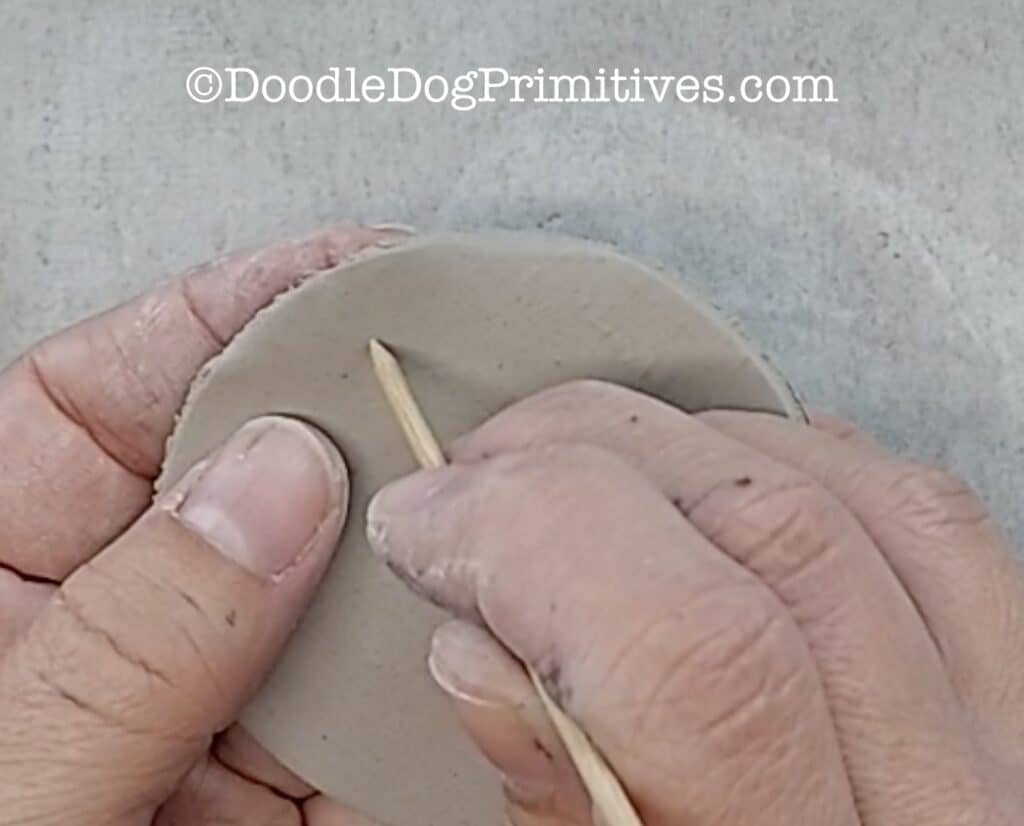
Get your fingers slightly wet and smooth out the edge of the circle and the area around the hole.
Place the clay circle on top of the round object you chose. Mold it to the door knob so the plate will be just slightly rounded.
Leave the circle on the round object while you roll out and cut the next ornament.
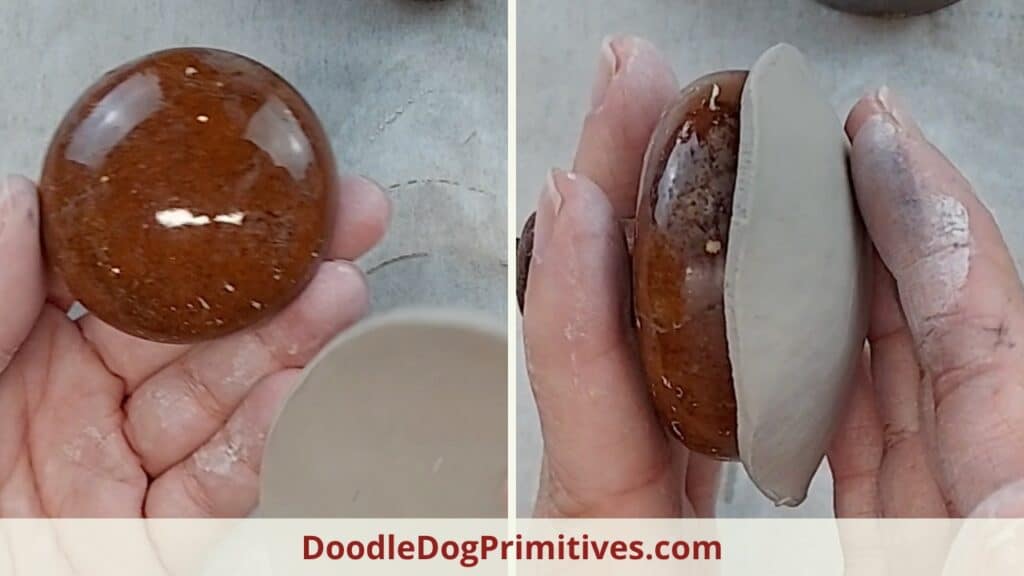
When the next ornament is ready to be molded, carefully remove the ornament from the round mold and set aside to dry right side up.
It is a good idea to make a few more than you want in case one breaks or turns out wonky looking.
After 10-12 hours of drying time, turn the ornaments over so they can get air on both sides to completely dry.
Prep & Paint Redware Ornaments:
After the ornaments are completely dry, you can use a fine grit sandpaper (180) to sand off any rough edges on them. Use a clean rag to wipe off all the dust.
Then it’s time to paint the ornaments a redware color. I have found that FolkArt Toasted TerraCotta is a good color. It is easiest to paint one side at a time and let them dry before turning them over to paint the other side. I had to paint two coats to get complete coverage. Be sure to get the inside of the hanger hole painted.
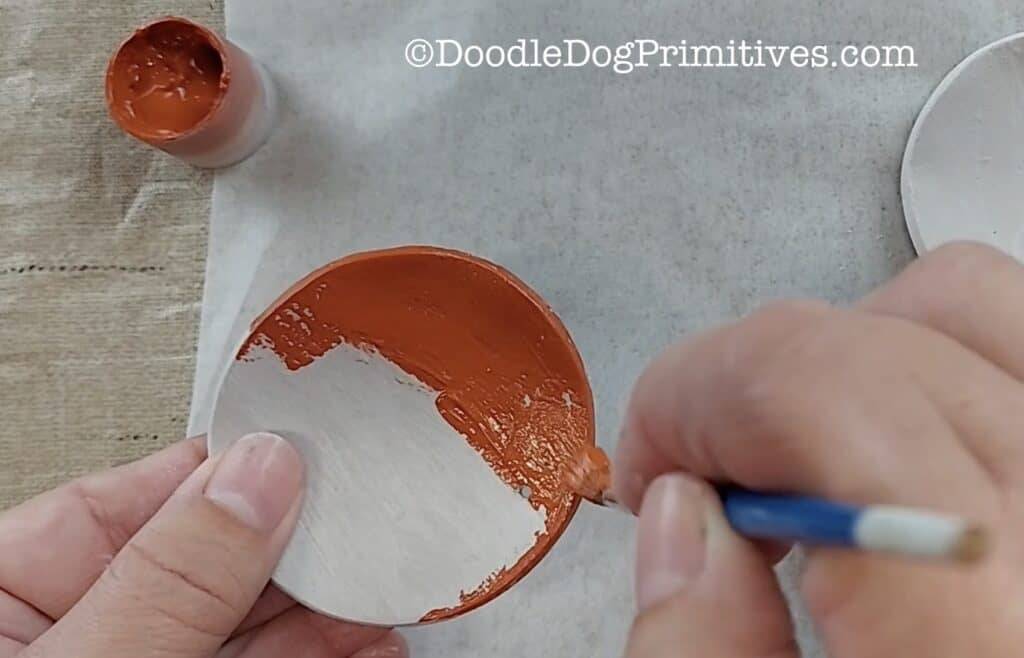
Let the paint completely dry.
Plan & Paint Redware Designs:
I thought it would be easier to plan some designs for the redware ornaments before I started painting. So I traced around the cookie cutter – once for each ornament.
Then I did an image search for “antique redware plate”. I used the pictures as inspiration for how I wanted my ornaments to look. Finally, I drew some simple designs onto my paper circles.
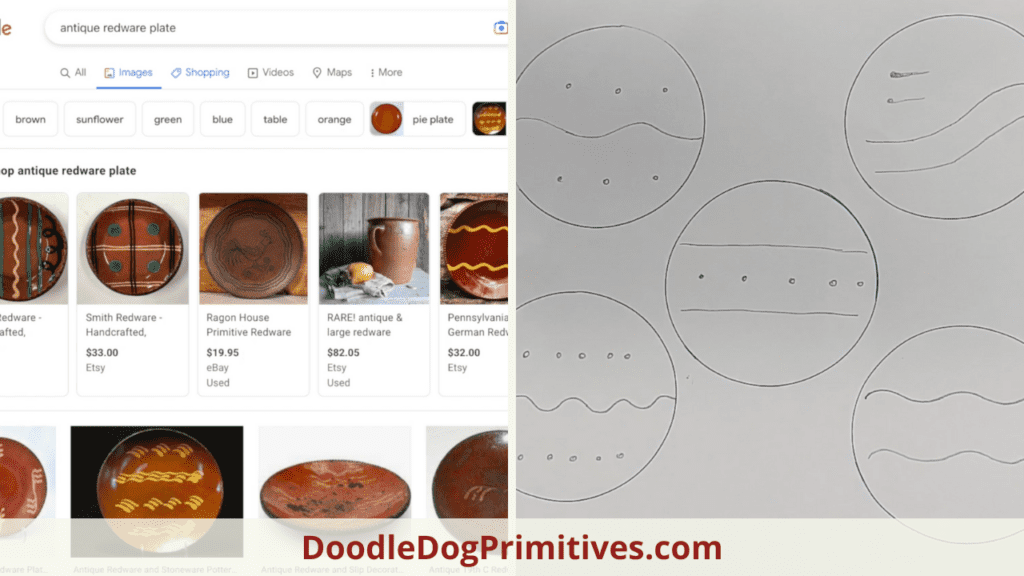
I used FolkArt Moon Yellow craft paint to paint the designs. I used the end of a paintbrush for the polka dots and a skinny paintbrush for the lines.
I practice painted a few of the lines on the paper to make sure I had a good paintbrush for the job.
You could use transfer paper to transfer the designs onto the ornaments or you can use a pencil and lightly draw them.
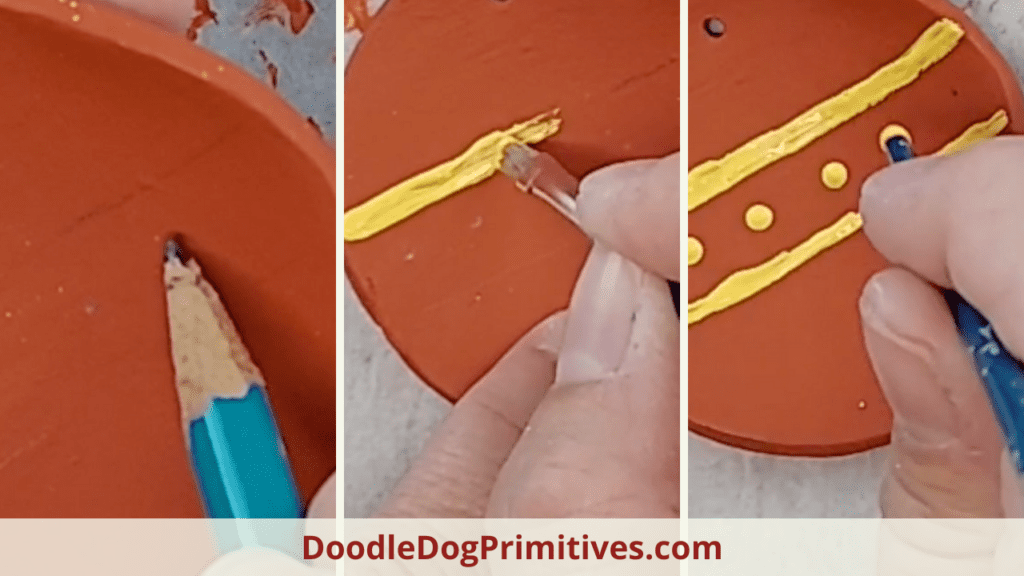
After the paint is completely dry, take the redware ornaments outside and spray on a coat of clear protecting spray in matte finish.
Add Hangers to Ornaments:
Cut a 10″ piece of thin jute for a hanger. Thread it through the hole and tie the two ends together in an overhand knot.
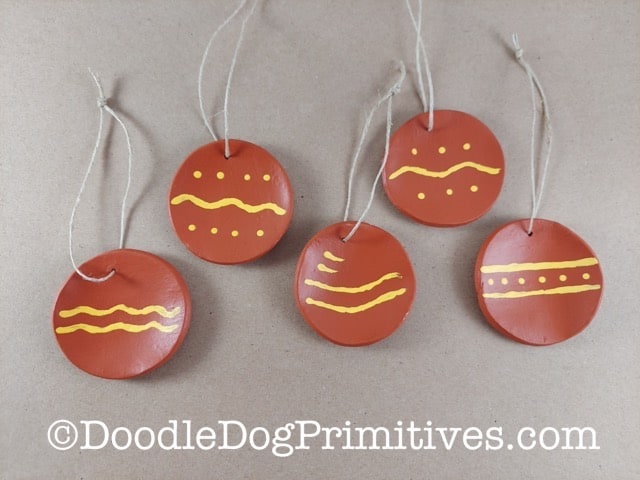
You might also like our redware Easter egg tutorial.
Blessings~
Amy
Be sure to pin this Christmas ornament tutorial:
