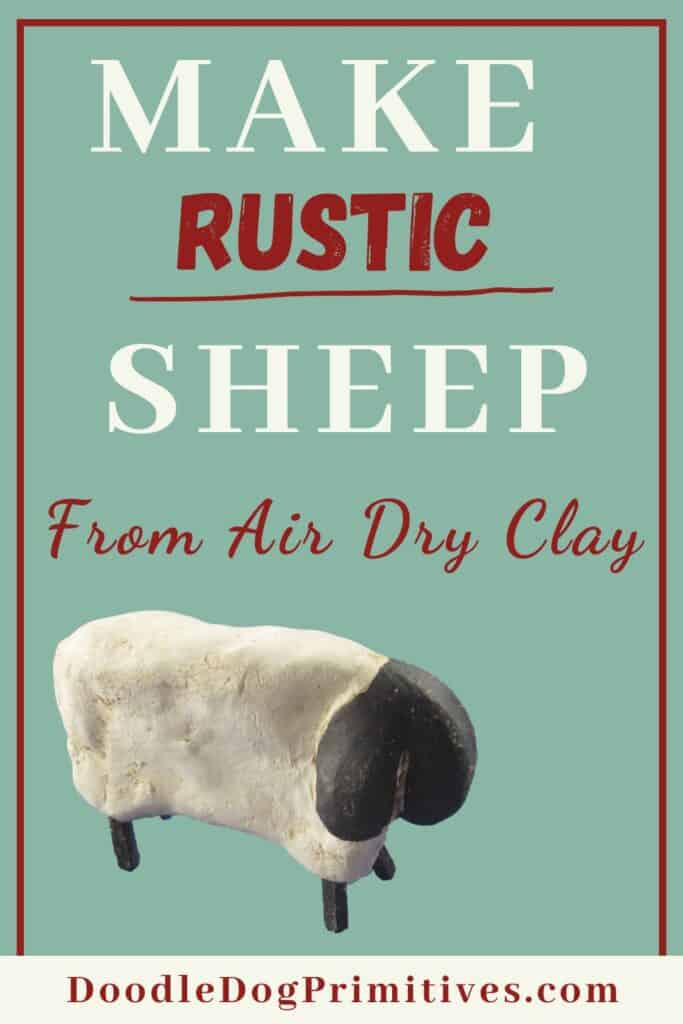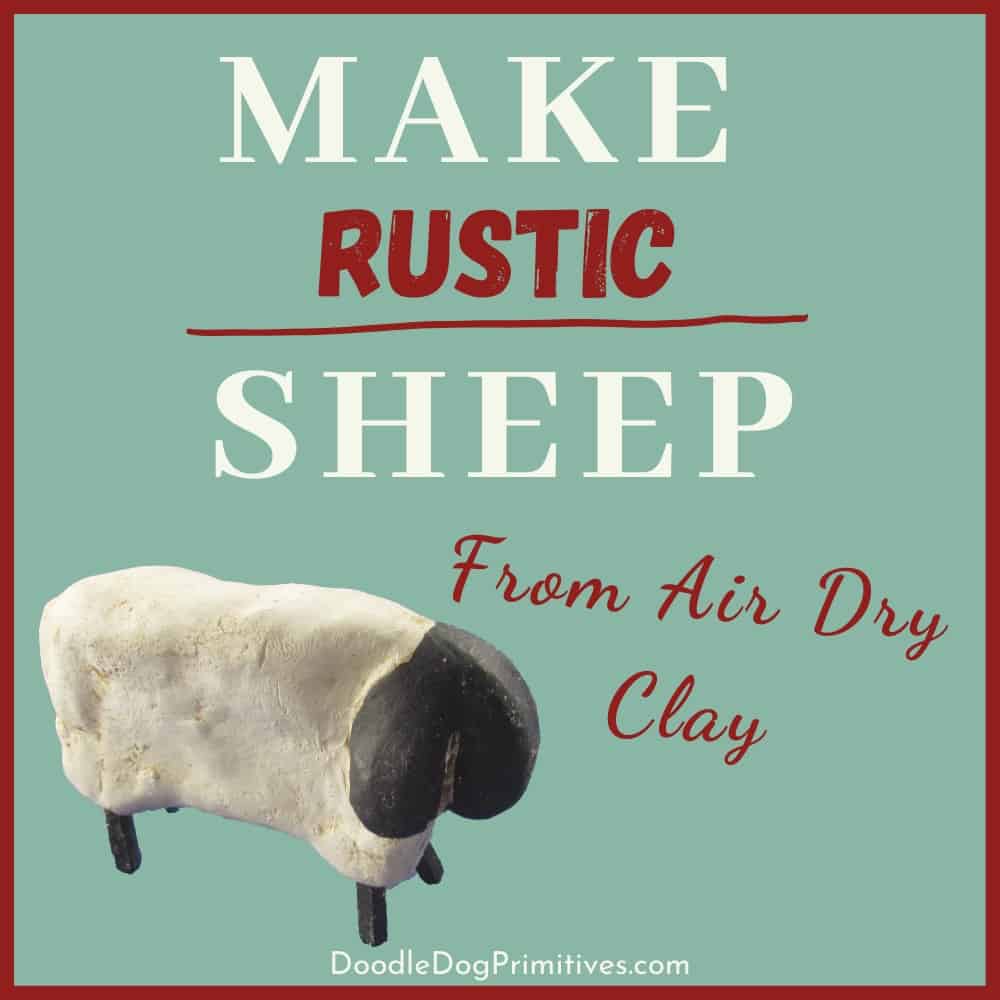
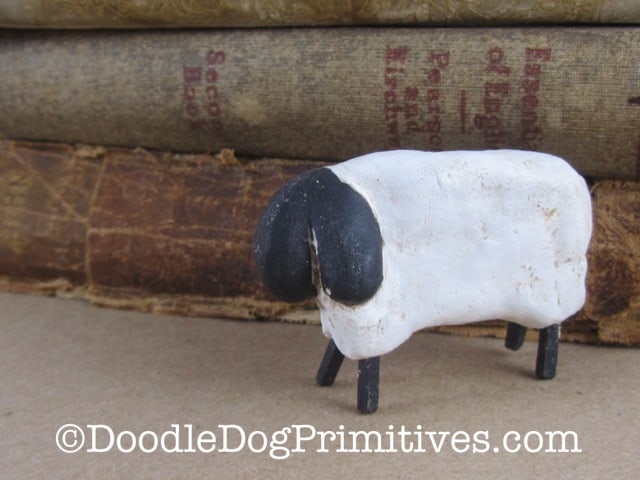
In this post, I am going to show you how I made some primitive looking rustic sheep from air dry clay.
The air dry clay is easy to work with – even for beginners.
I love to add little sheep like these around my farmhouse.
They are the perfect size to tuck into cupboards and add to shelves.
This post may contain affiliate links for your convenience, which means if you make a purchase after clicking a link I will earn a small commission but it won’t cost you a penny more. For more information, please visit our Privacy Policy.
Supplies for Rustic Sheep:
- Air dry clay – This is similar to the one I used
- Dowel rods or match sticks
- White & black craft paint
- Paintbrush
- Minwax Paste Finishing Wax – Special Dark
- Rubber Gloves
- Soft cloth rags
Watch the Video:
The Clay:
I used this air dry clay that I bought from Hobby Lobby.
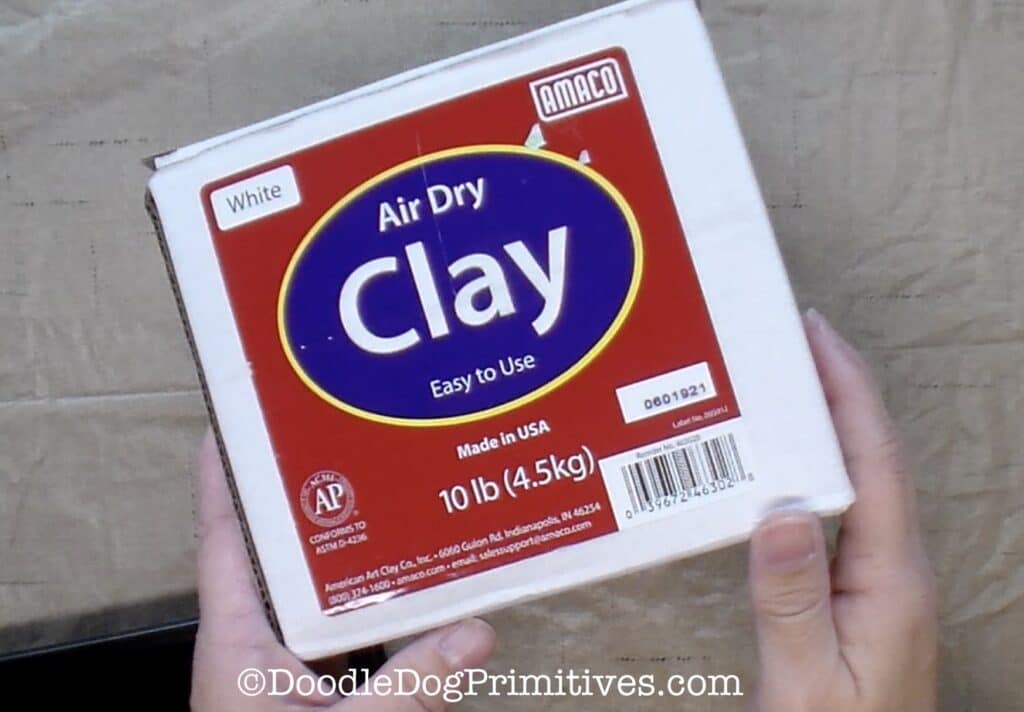
It looks very similar to this air dry clay.
I have also heard that the DAS brand is good work with, but I haven’t tried it yet.
Air dry clay is messy – so be sure to put a protective layer down on your work surface.
I have a vinyl tablecloth I use for messy projects.
It is a good idea to keep a container of water nearby when you are working with air dry clay.
The water will come in handy if the clay starts to get dry too fast
and when you want to smooth sections or adhere pieces together.
As the name implies, the clay will dry out when exposed to the air
so it is important to keep the extra clay in a sealed zipper type bag.
I just take out the amount I need for my project and seal the bag back up while I am working.
Shaping the Rustic Sheep Body:
Pull off a hunk of the air dry clay.
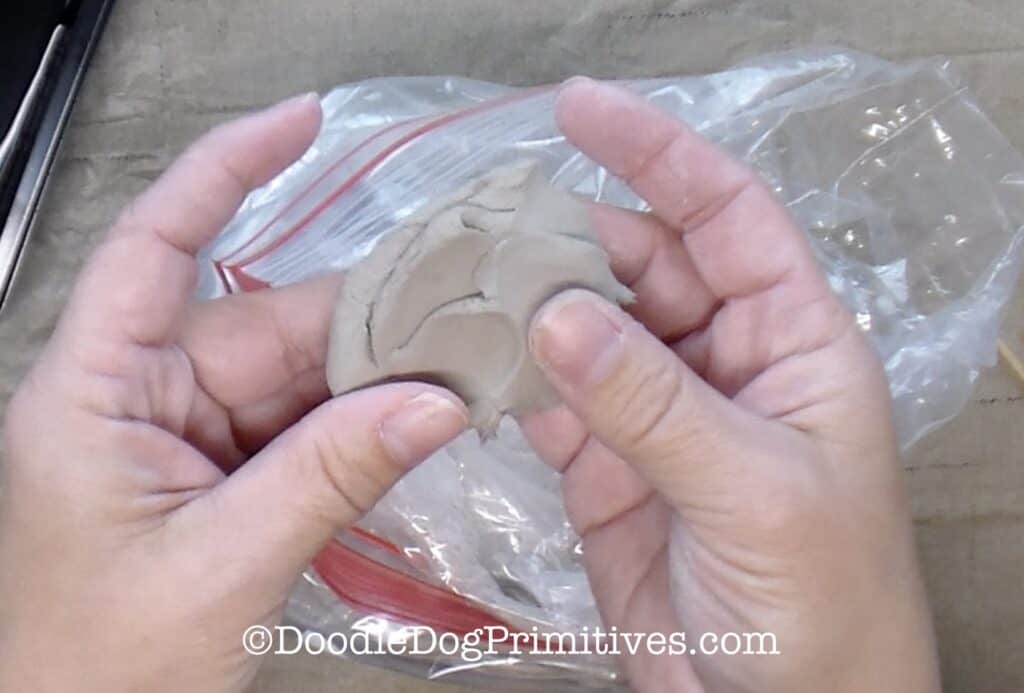
Save a little bit back for the head, ears, and tail.
Roll the rest into a log and then shape that into a rectangle shape.
This will be the sheep’s body.
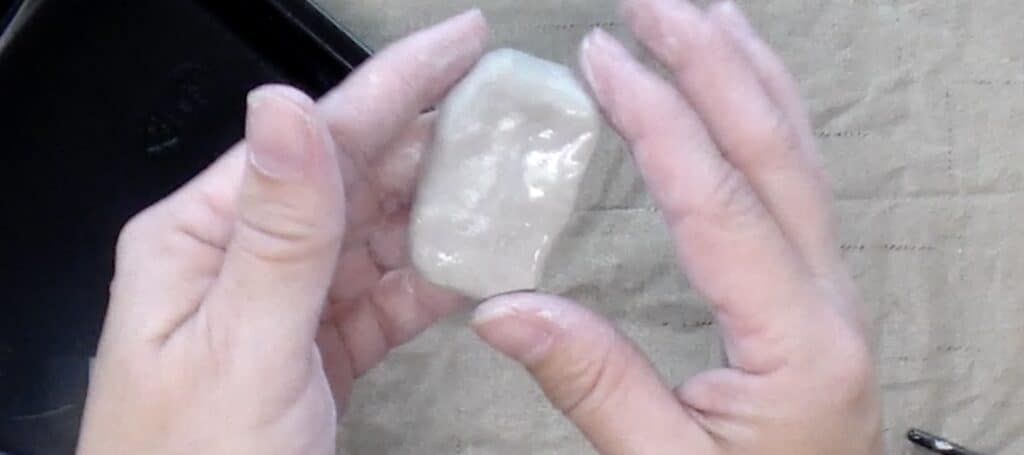
Dip a finger in the water and smooth out any rough areas.
Use your finger to create a groove along one of the long edges.
This will be the bottom of the sheep.
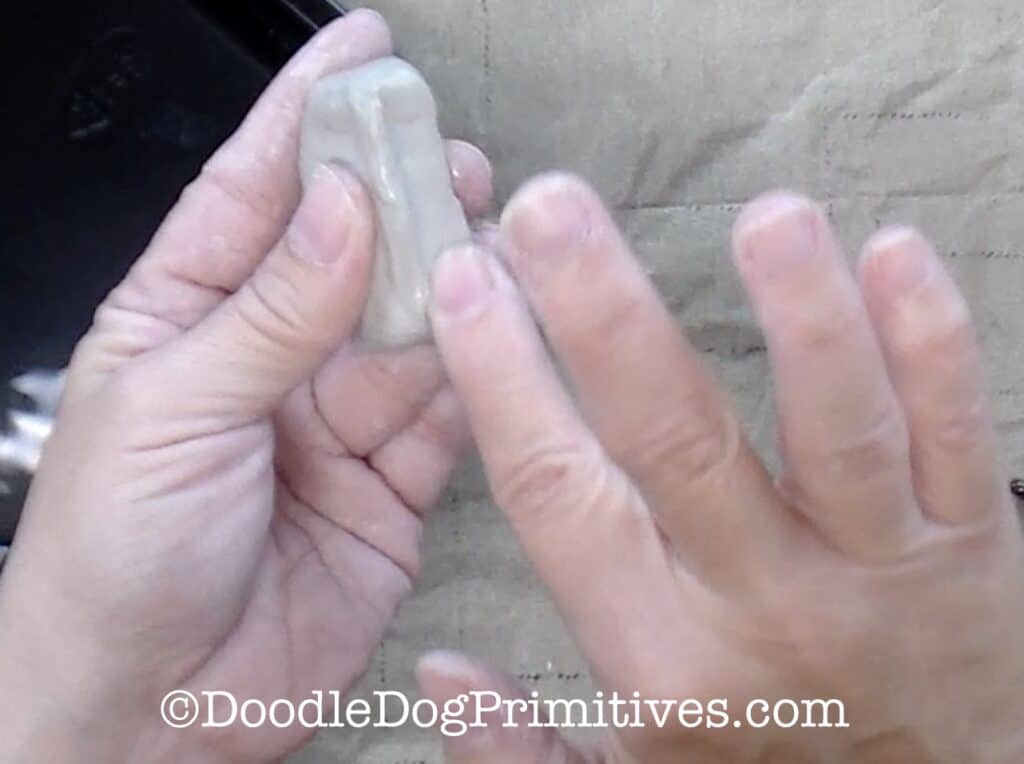
Form the Sheep Head:
Tear off a section of the leftover clay and roll it into a ball.
Shape the ball into an oval.
Shape it so it is narrower at the top of the oval and fatter near the nose of the sheep.
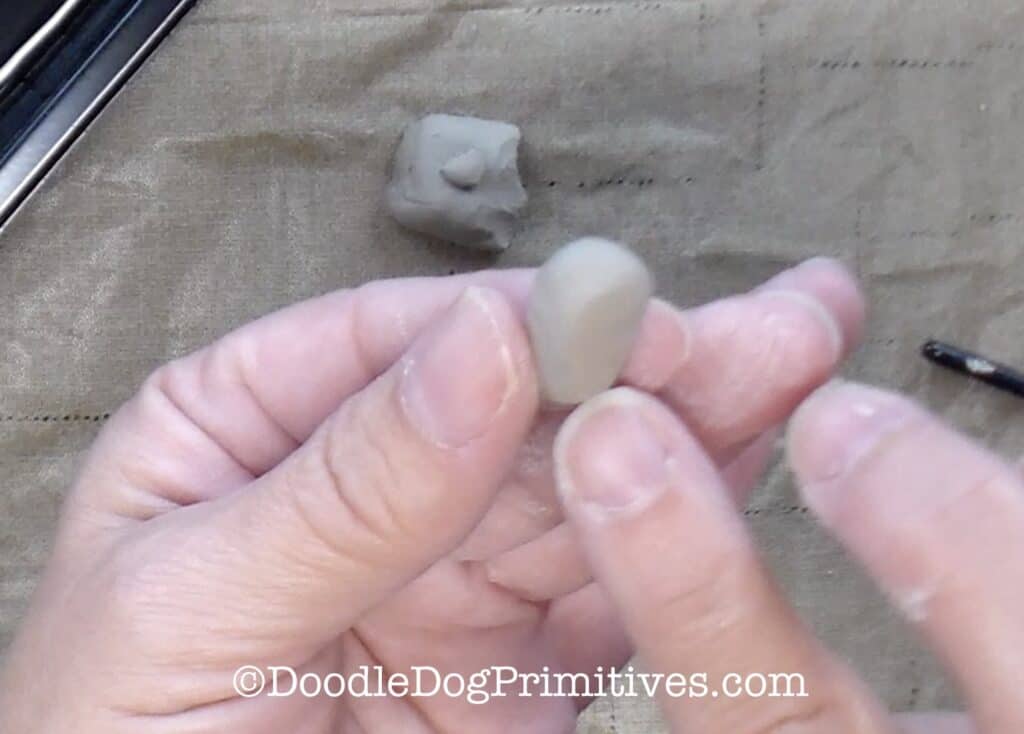
Dip your finger in the water and wet down the back of the head before attaching the head to the body.
Rub all around the area where the head attaches to the body to make sure it is attached well.
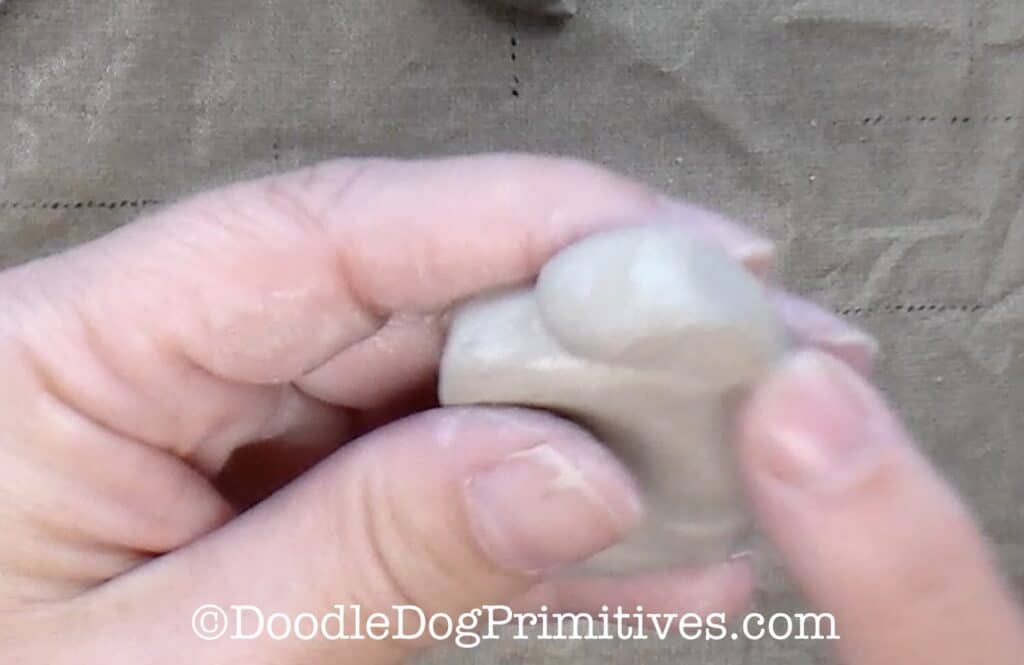
Tear off a tiny piece of the remaining clay and roll it into a snake.
Fold the snake in half lengthwise. This will be an ear.
Shape it so it is fatter at the bottom of then ear than at the top.
Attach it to the side of the sheep right over the where the head and body meet.
Use water and smooth the pieces together as with the head.
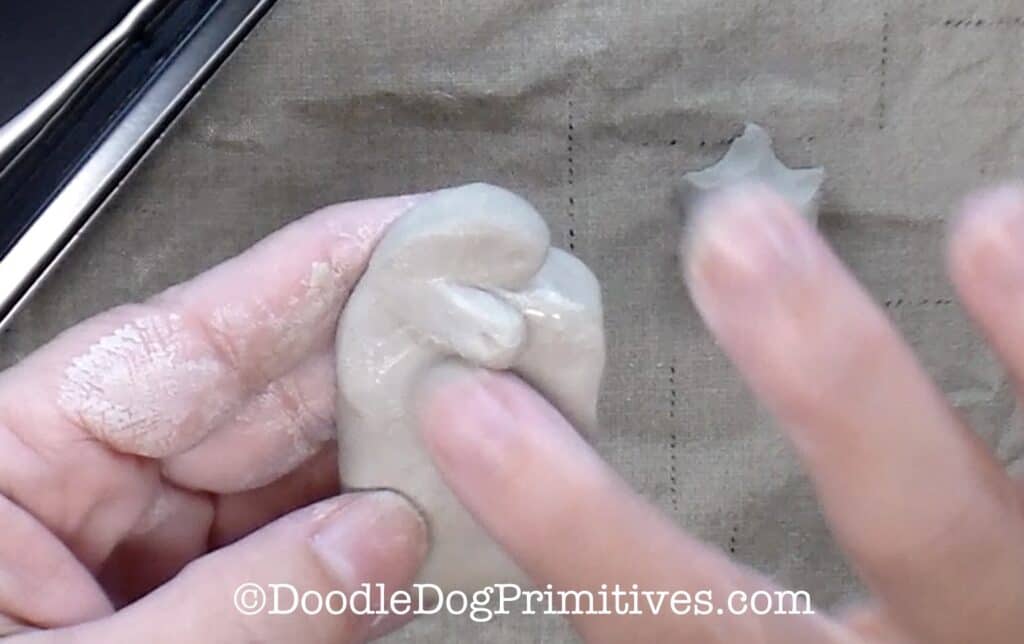
Repeat to make an ear for the other side of the sheep.
Check the front view of the sheep to make sure the ears are even.
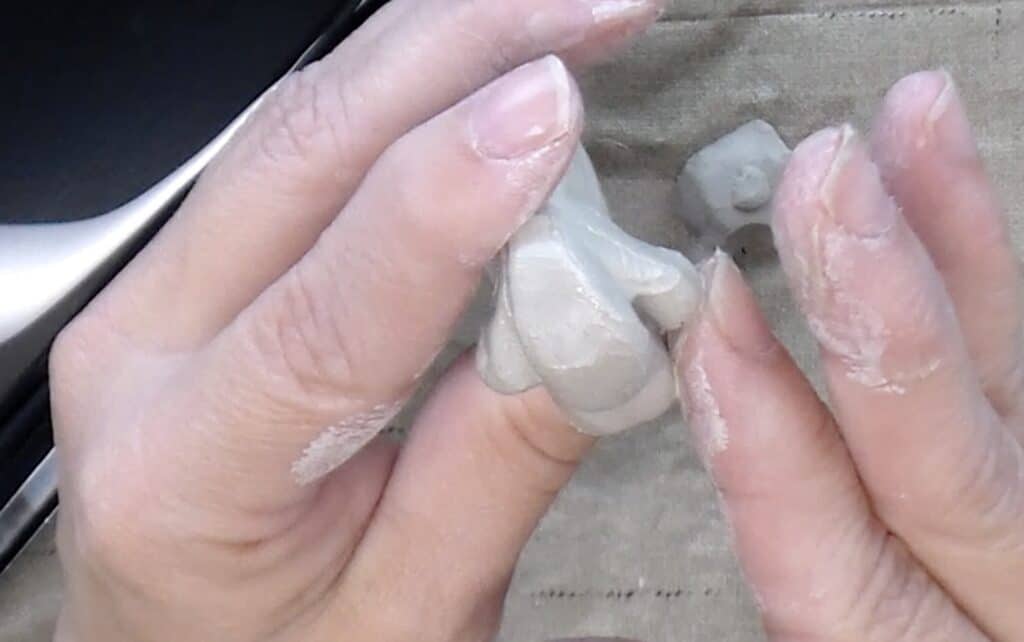
Sheep Tail & Legs:
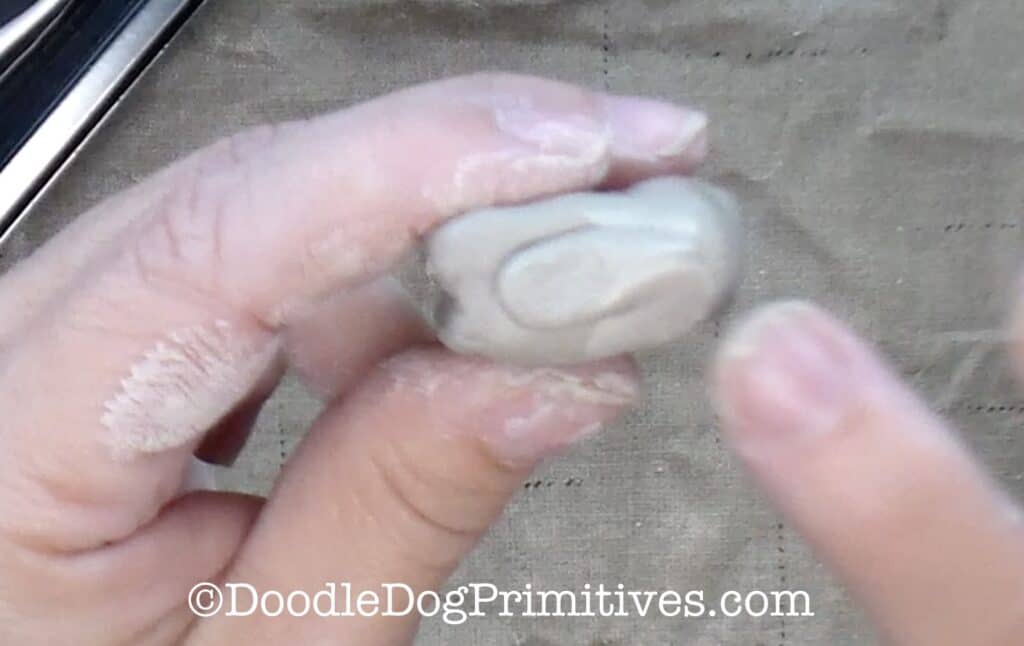
Make a tail by creating another snake and folding it over lengthwise.
Make it fatter on the bottom than the top.
Attach it to the back of the sheep using water and smoothing it on with your fingers.
You could use a dowel rod for the legs or square toothpicks or matchsticks.
I used square toothpicks.
I tore a square toothpick into four equal pieces.
I only used the two end pieces that had square ends so I used two toothpicks for the legs.
Poke the toothpicks into the bottom of the sheep for legs.
Make sure the torn ends are on the inside of the sheep.
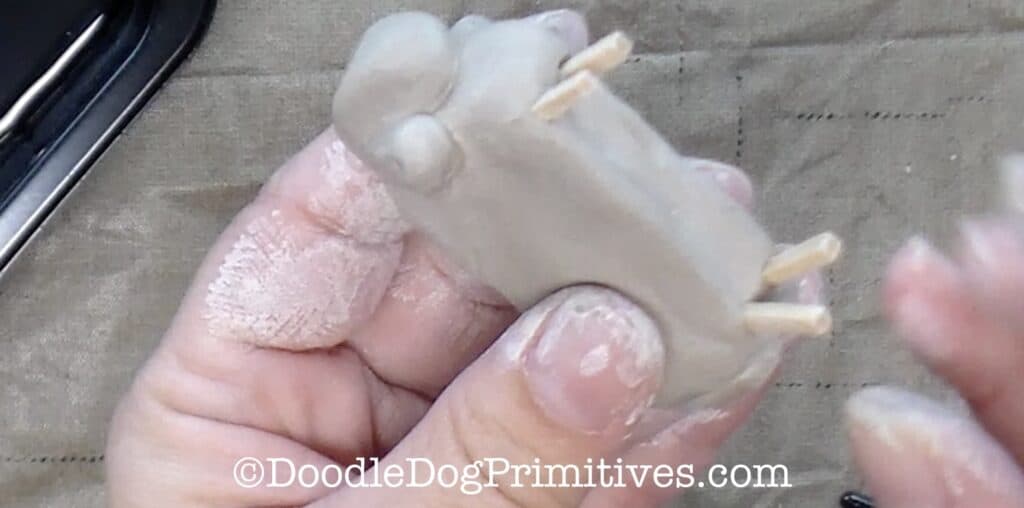
You can set the sheep down on a flat surface to make sure the legs are level.
Shape the bottom of the sheep so there is a bit of a curve to his belly
and mold up a bit of clay around each of the legs.
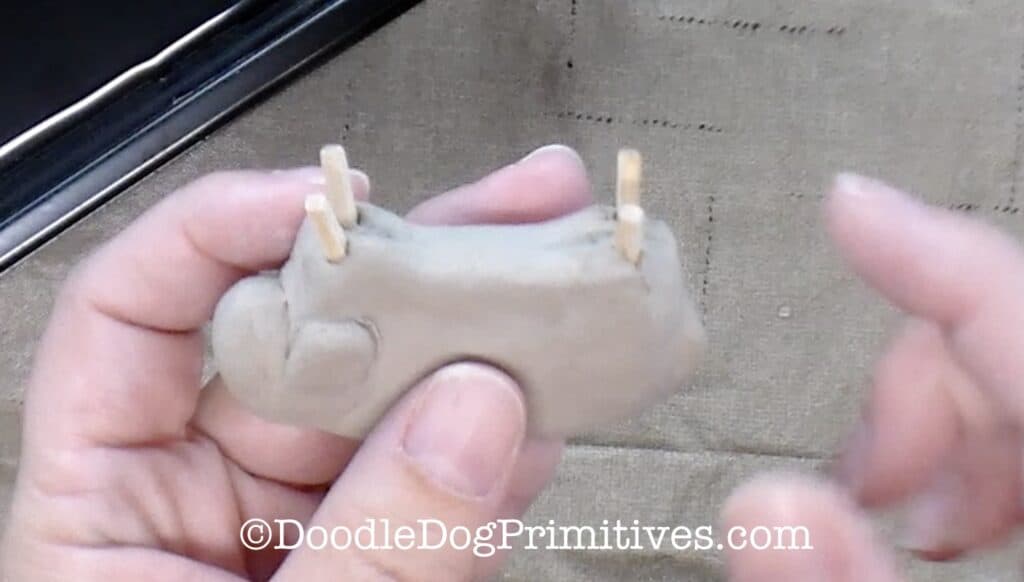
Set the sheep on its legs to dry and put any extra clay back into the clay bag.
Paint the Sheep:
After the sheep is completely dry, paint the legs, head, and ears black, and the rest of the sheep white.
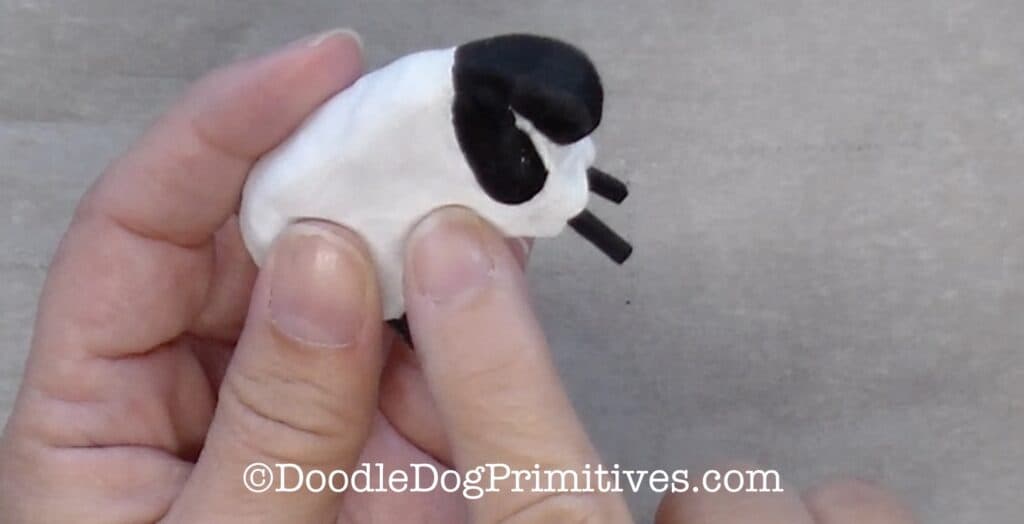
If you want the sheep to be a darker color, you can add an antiquing wax.
If you decide you like it the way it is, you can add a clear wax or a clear spray sealer.
I added a coat of Minwax Paste Finishing Wax – Special Dark.
I wear rubber gloves when using this wax because it is pretty messy.
Follow the directions on the product label to rub on the wax and then buff it off with a soft cloth.
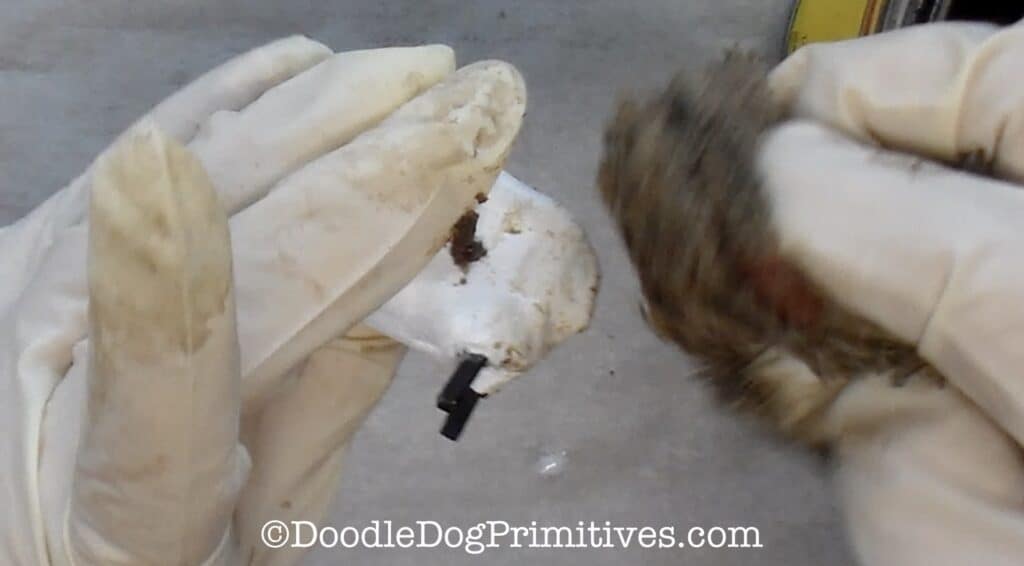
Enjoy your sheep!
Be sure to check out our other primitive craft tutorials.
Blessings~
Amy
Be sure to Pin this Air Dry Clay Tutorial:
