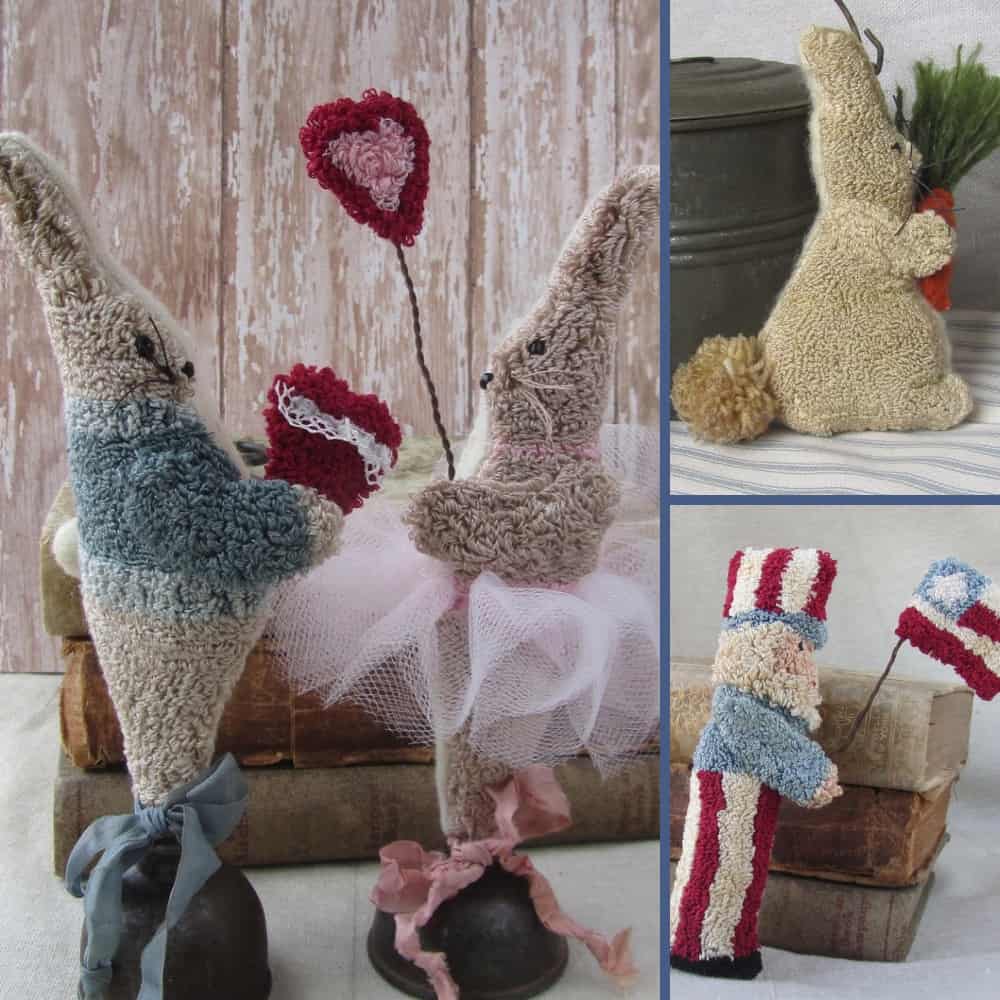
I like to add a 3 dimensional arm to some projects
to make it easier for them to hold onto something.
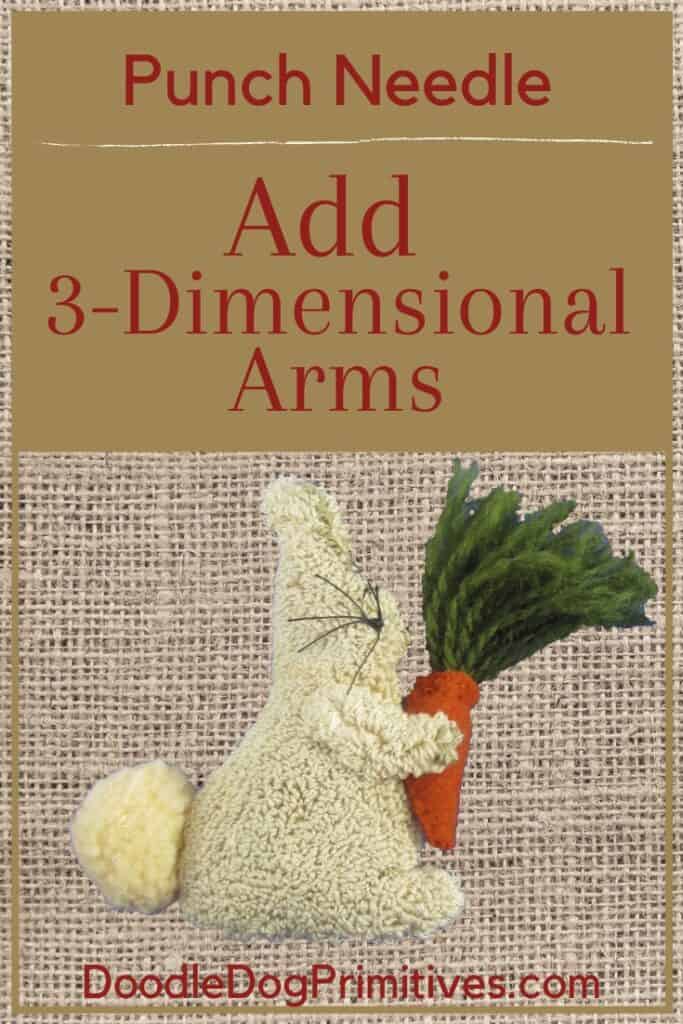
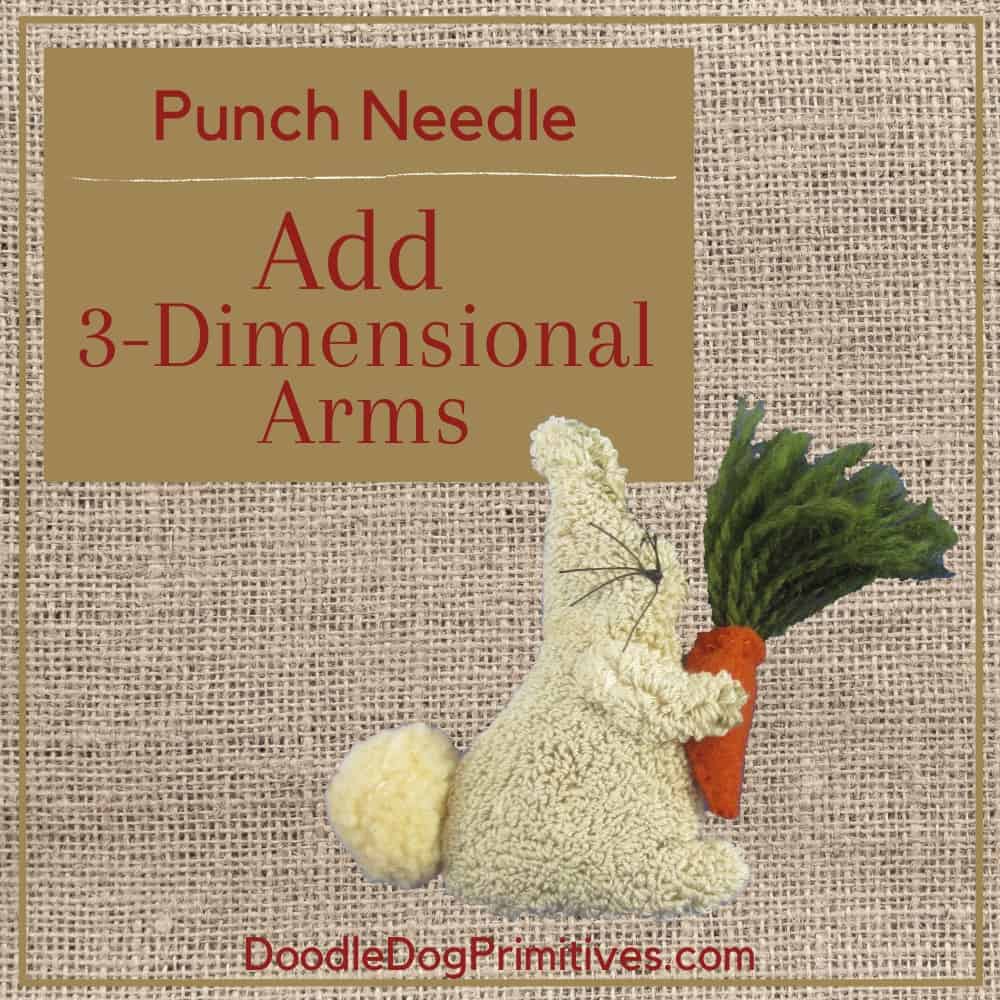
Today, I will show you my method for adding 3D arms to a punch needle project.
Watch the Punch Needle 3 Dimensional Arms Video:
This post may contain affiliate links for your convenience, which means if you make a purchase after clicking a link I will earn a small commission but it won’t cost you a penny more. For more information, please visit our Privacy Policy.
Prepare the Punch Needle Arm:
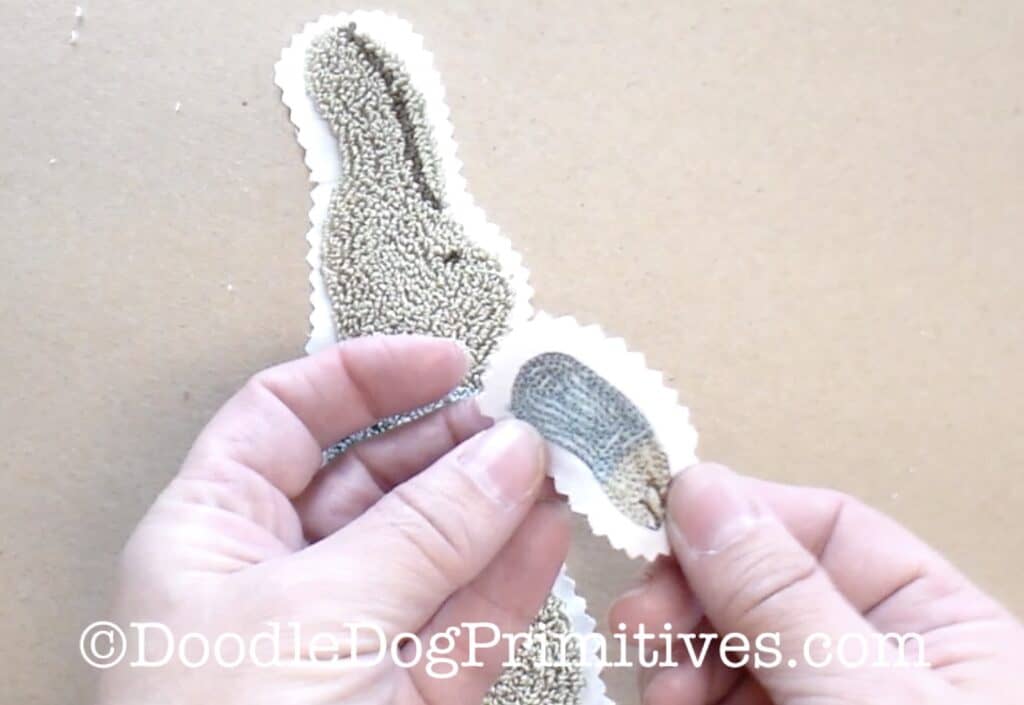
Punch the arm separate from the rest of the project.
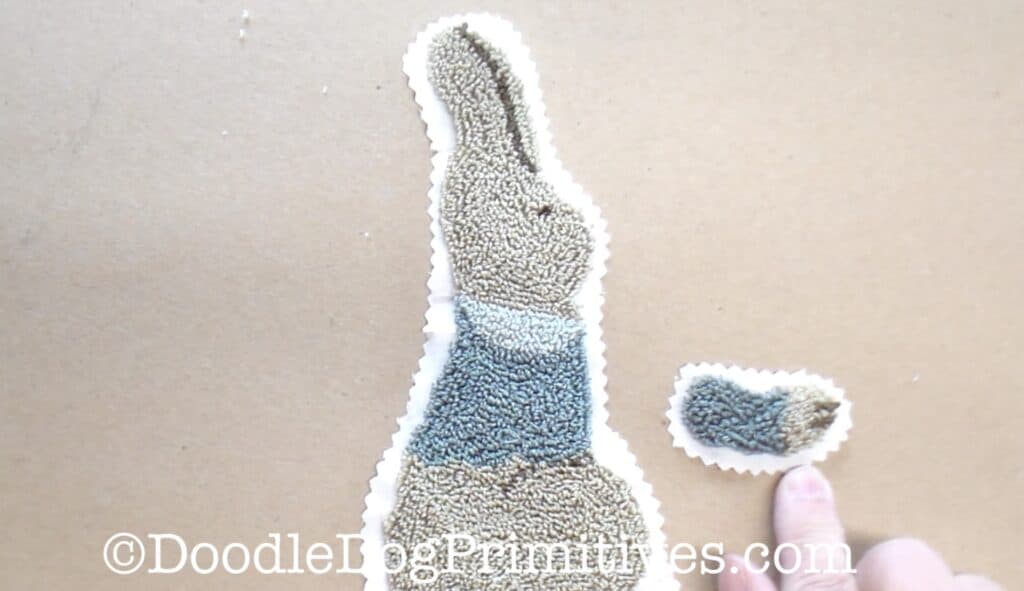
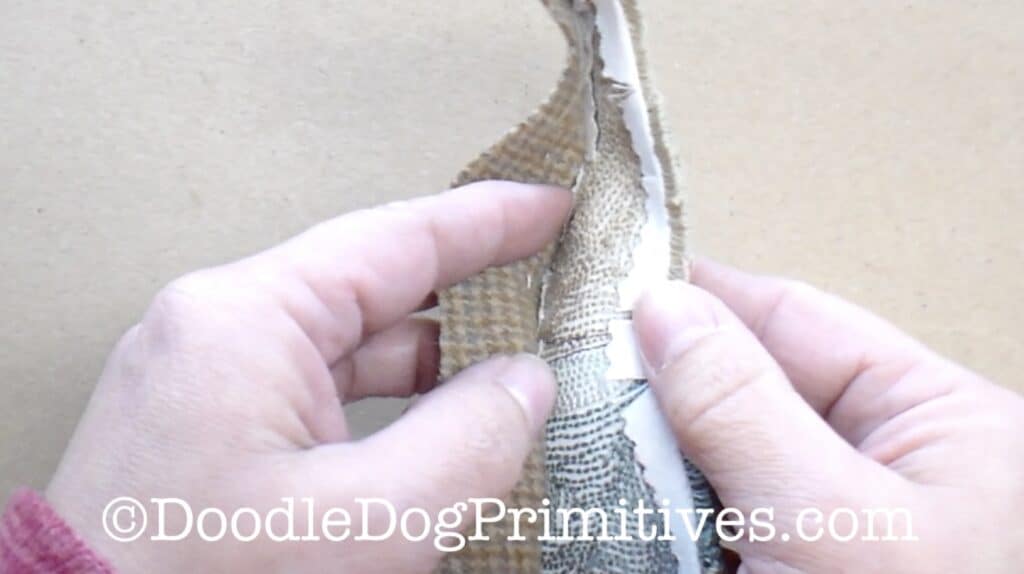
Trim the empty weavers cloth around the punched arm to about 1/4″.
I use pinking shears to reduce raveling.
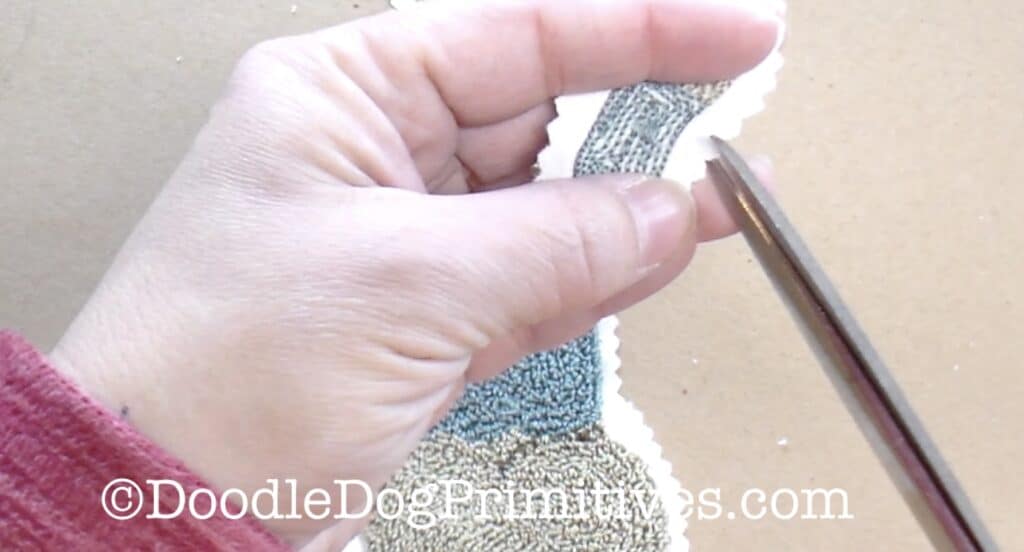
Using a pair of scissors, clip the inner curves.
You want the cut to get close to the punching, but not into the punching.
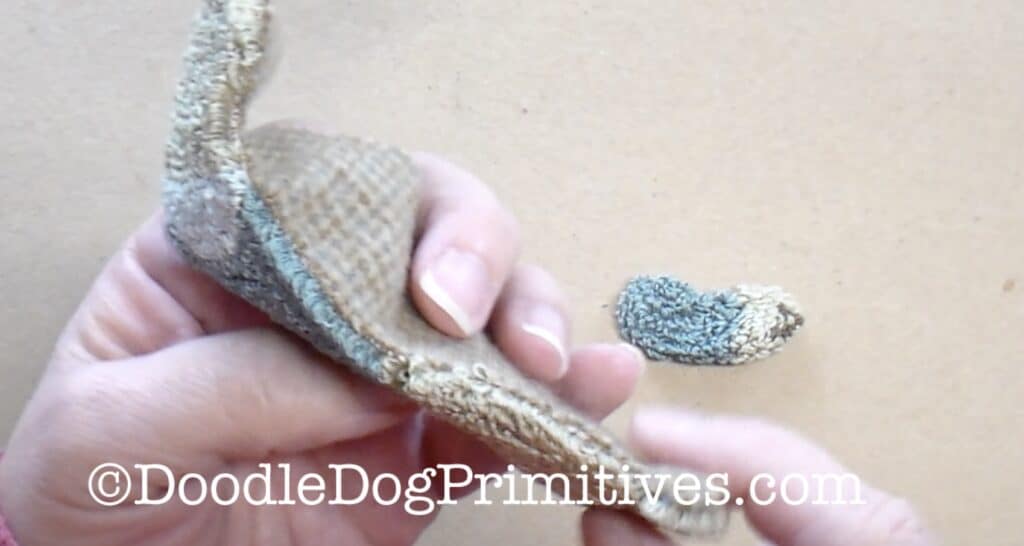
Press the empty weavers cloth to the back of the punched arm.
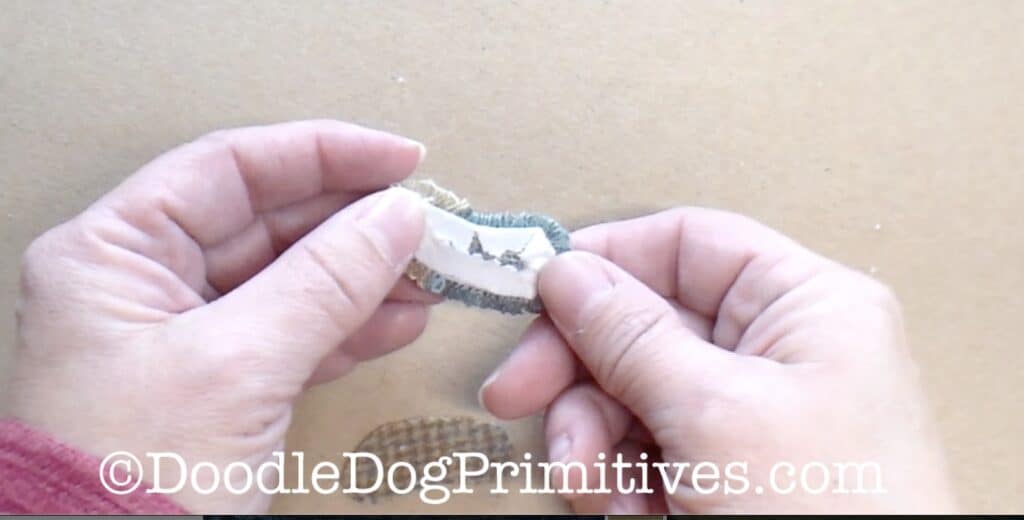
Cut a piece of felted wool the same size and shape as the punched arm.
I use the original punch needle pattern as a pattern for the felted wool.
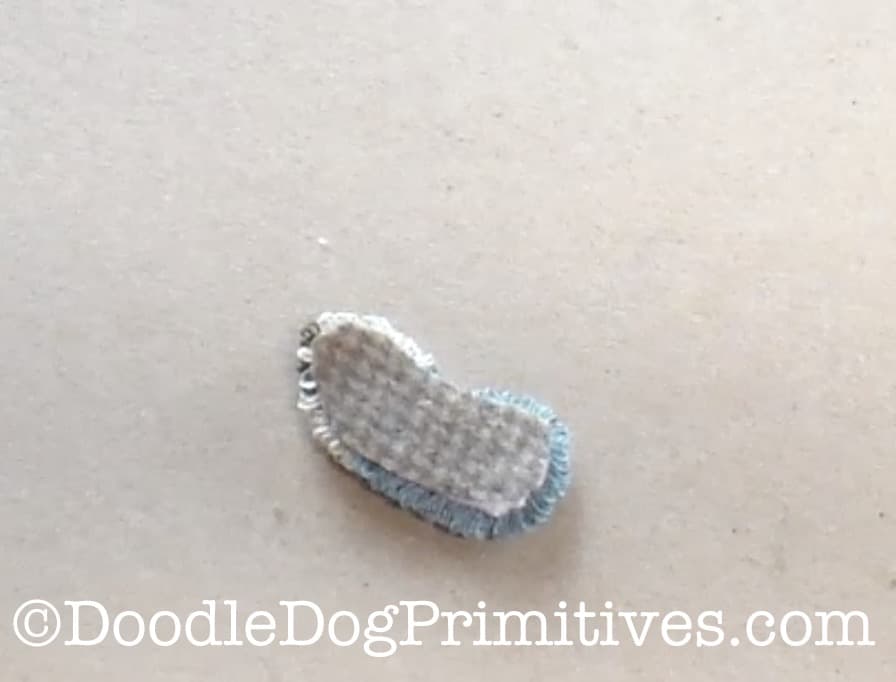
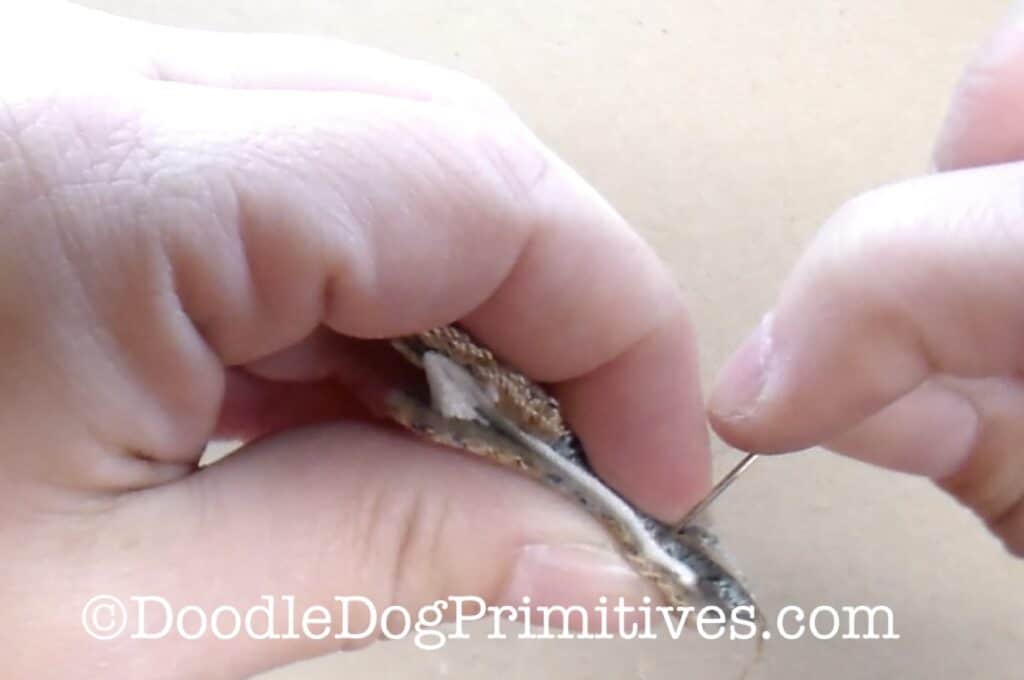
Using thread to match the backing fabric,
whipstitch all the way around the arm.
Make sure you catch the wool and the folded edge of the weavers cloth
but not any of the punched thread loops with your stitches.

Sew the Punch Needle Arm onto the Figure:
I will show you how to add the arm to the punch needle figure
if you are hand sewing the punch needle project to a backing
AND how to add the arm if you are machine sewing a backing to the project.
Adding the 3D Arm to a Hand Sewn Project:
Get full instructions for hand sewing a backing to a project.
Hand sew the side of the project that will have the arm.
In this project, that is the bunny’s front side.
Leave the other sides un-sewn for now.
This will allow you to work from the back side to sew on the arm.
Use the same thread that matches the arm’s backing fabric.
Place the arm on the figure as desired.
You will start sewing where the front edge of the figure
touches the arm and then sew all the way around the arm.
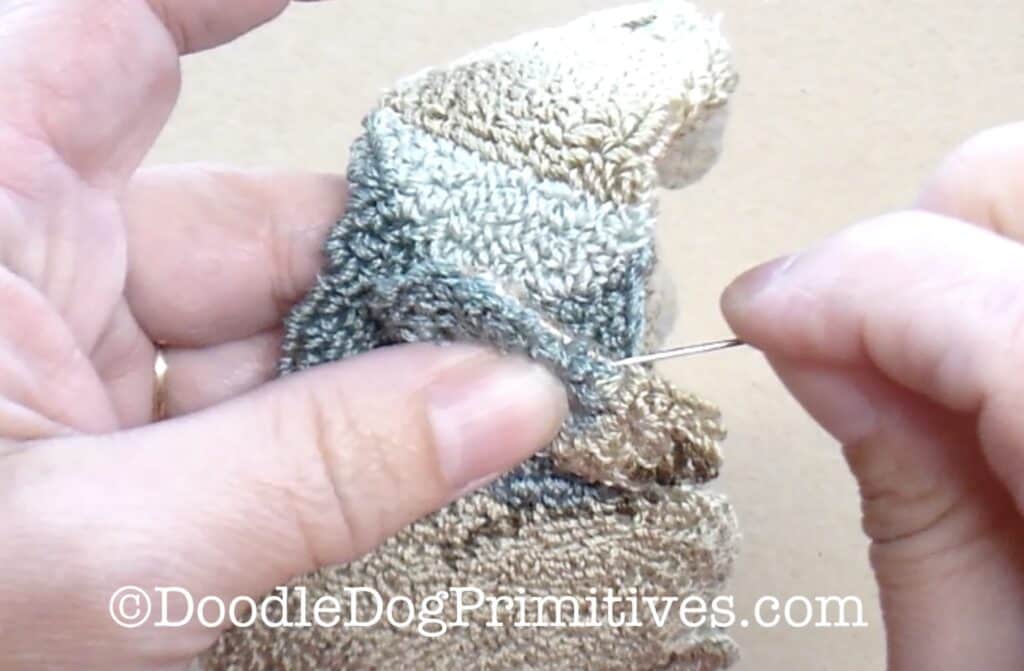
Bring the needle up from the inside of the figure,
and catch the backing on the arm and the weavers cloth.
Be careful to not catch the punched loops.
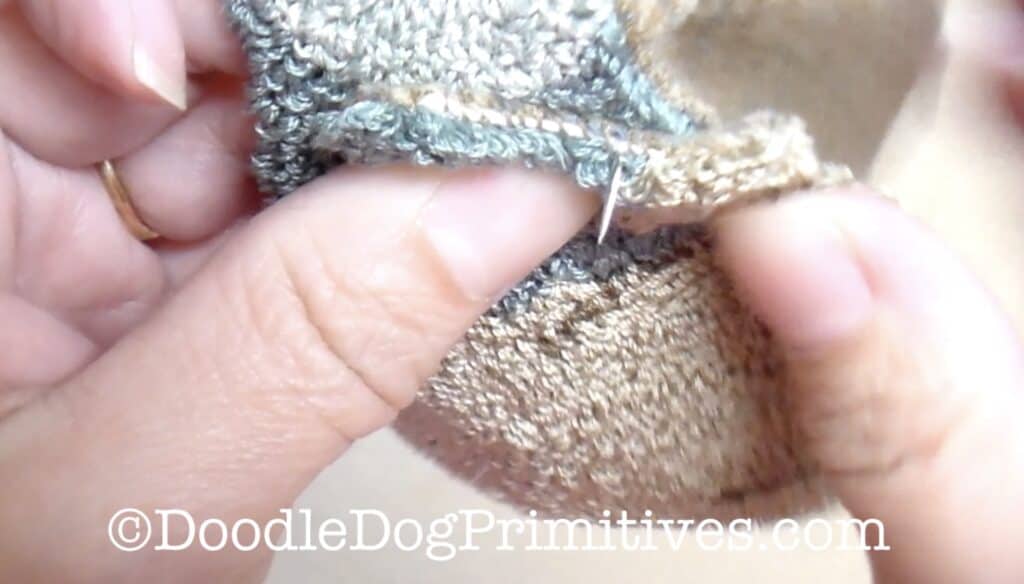
Poke the needle in close to where it came up and bring it to the back.
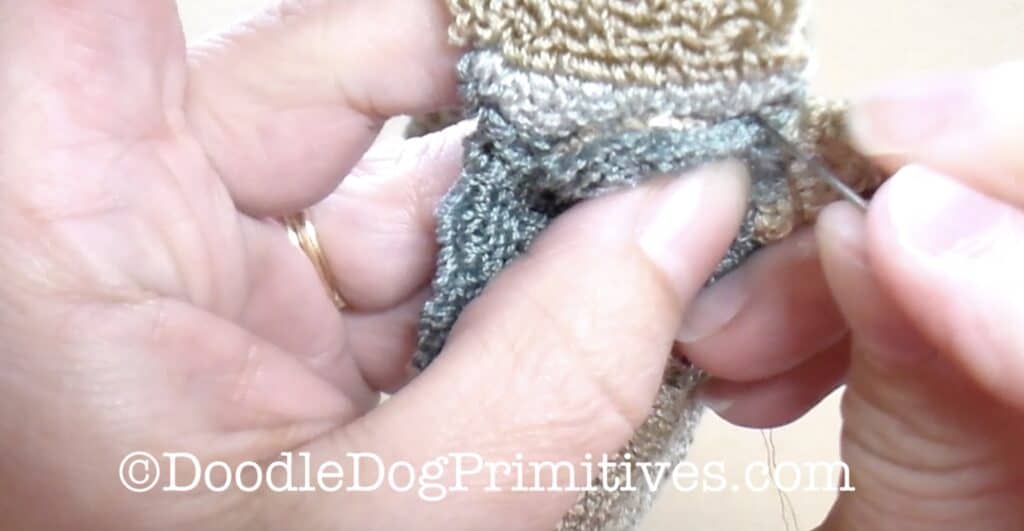
Continue stitching all the way around the arm
until you get back to the edge of the figure.
Tie off the string.
Finish hand sewing the figure to its backing.
When it is finished, this bunny is going to hold a little rake.
Adding the 3D Arm to a Machine Sewn Project:
Get full instructions for machine sewing a backing to a project.
Using a zipper foot and having the right sides together,
machine sew the backing to the project.
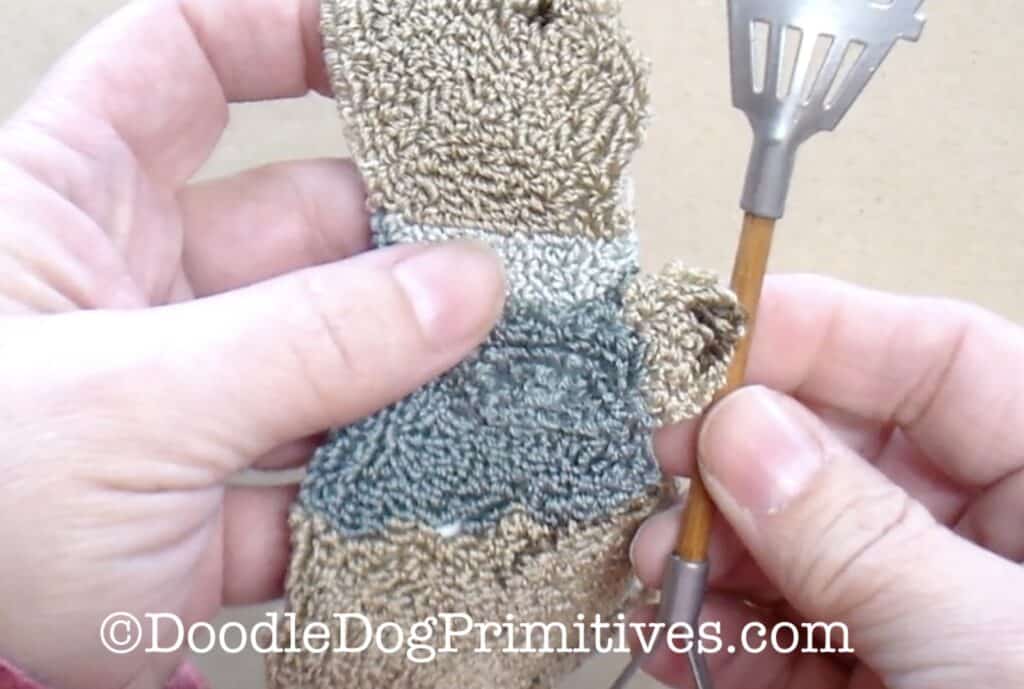
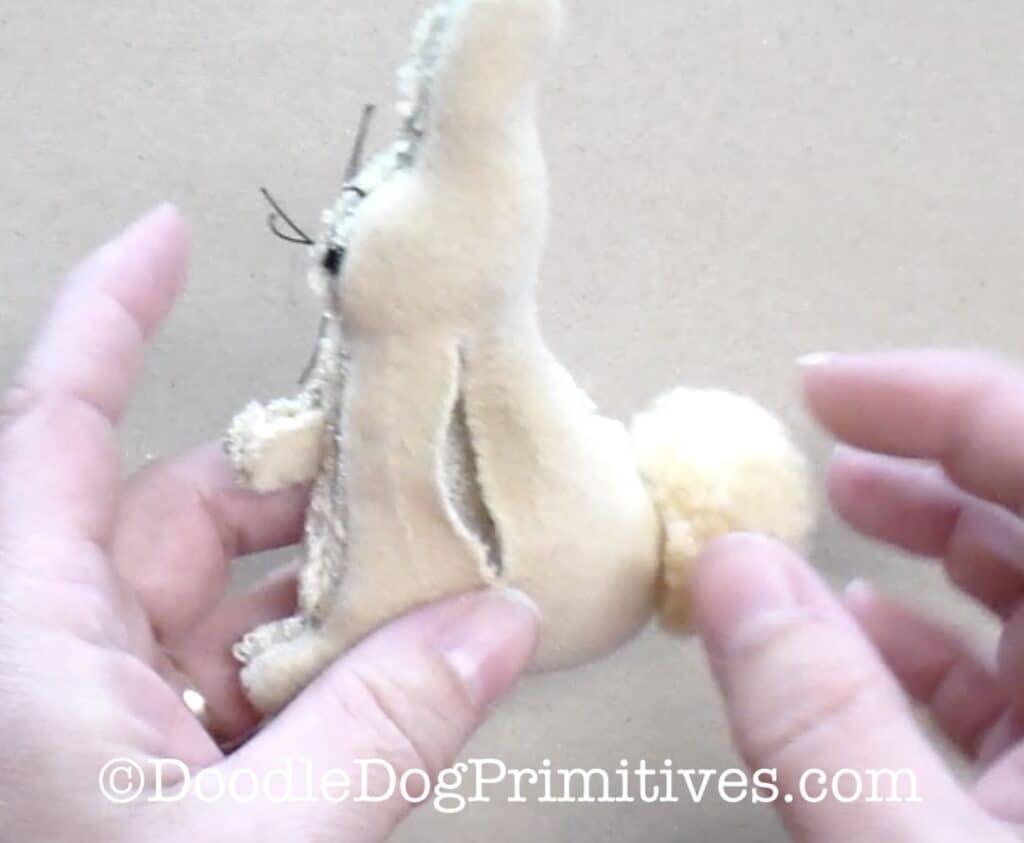
Carefully cut a slit in the middle of the backing to turn the project.
Turn the project right side out and press.
Through the hole in the back, sew the arm onto the figure
just as described above by catching the edges of the arm’s backing
and sewing all the way around where the arm touches the figure.
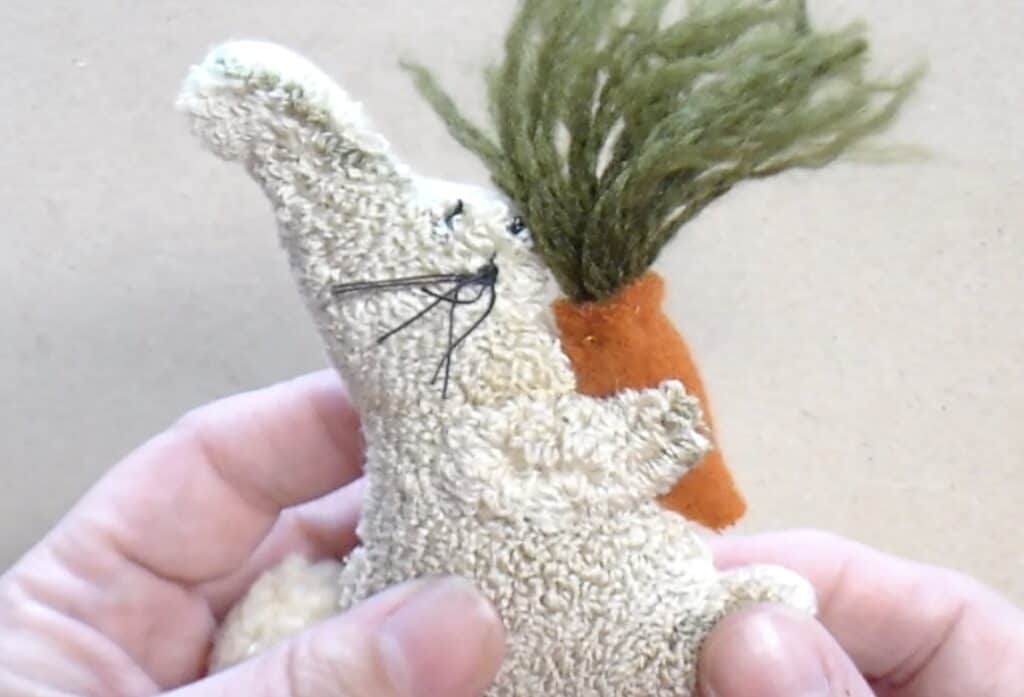
This bunny is holding a carrot when he is all finished.
I hope this helps and inspires you to create your own 3 dimensional figures
that include adding 3D Arms to a Punch Needle Project!
Blessings~
Amy
Pin this Adding 3D Arms Punch Needle Tutorial: