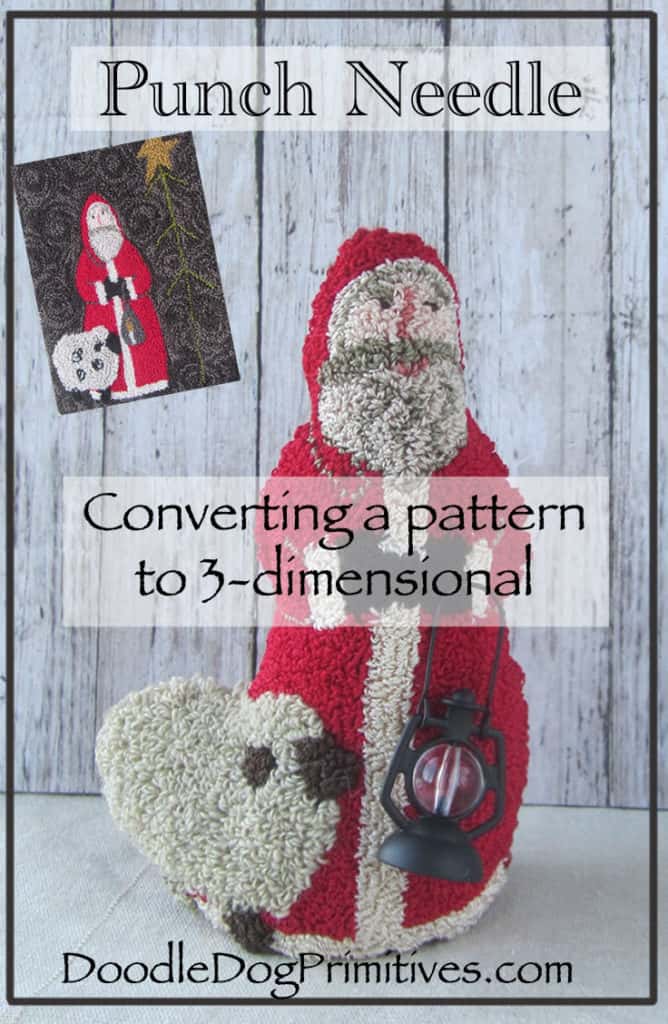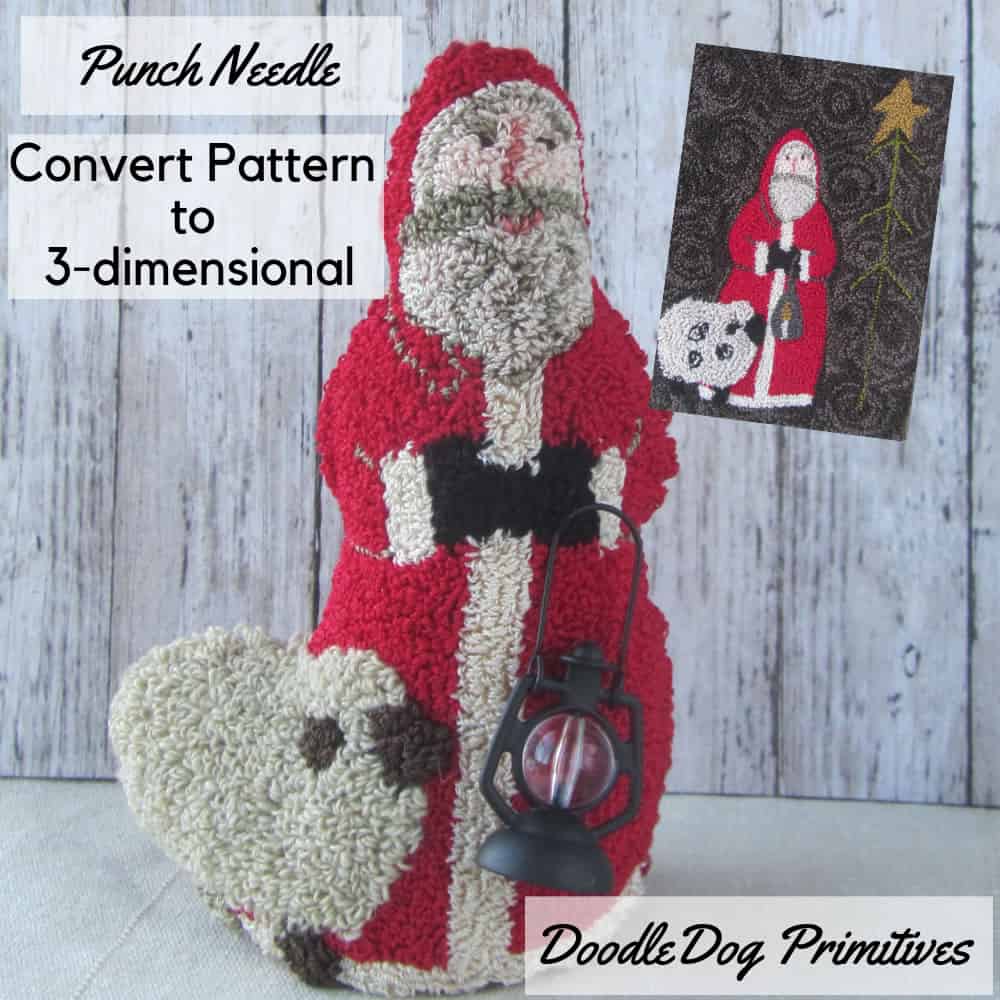
Find out how I converted a flat punch needle pattern to create a 3D punch needle figure.
While I was punching my newest pattern,
I kept thinking how cute the Santa and sheep
would be as a 3-dimensional figure
holding a “real” lantern.
Gather Accessories First:
First, I wanted to find the lantern so I would know how big to make the Santa.
I found it in the jewelry section of Hobby Lobby.
The miniature section and fairy garden sections are also good places to look for accessories.
Find out more about adding embellishments to punch needle projects here.
Modify Pattern:
It was too big for the Santa in the pattern,
so I enlarged the Santa and sheep until it was proportionally correct with the lantern.
Punch the 3D Figure:
Next, I punched the Santa and sheep.
I used Rustic wool Moire thread for the sheep with a deeper punching depth.
I also punched a background color between the back leg and Santa’s coat
so I wouldn’t have any hard to turn spots.
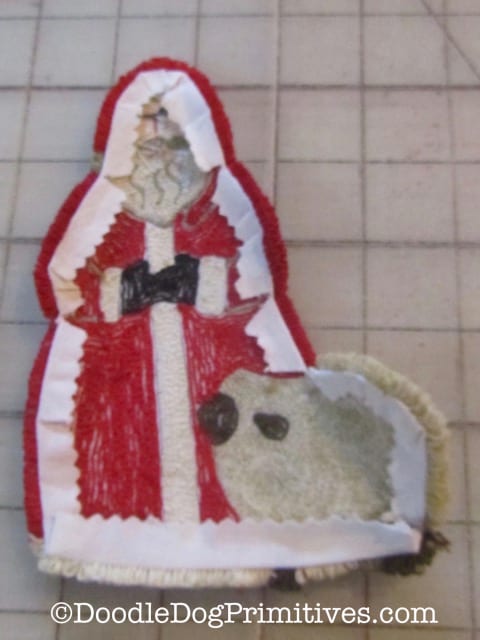
I cut out all around the punched piece and clipped the corners.

This post may contain affiliate links for your convenience, which means if you make a purchase after clicking a link I will earn a small commission but it won’t cost you a penny more. For more information, please visit our Privacy Policy.
I pressed the empty weavers cloth to the back of the project.
Assemble the Figure:
I cut a background of felted wool the same size as the punched Santa
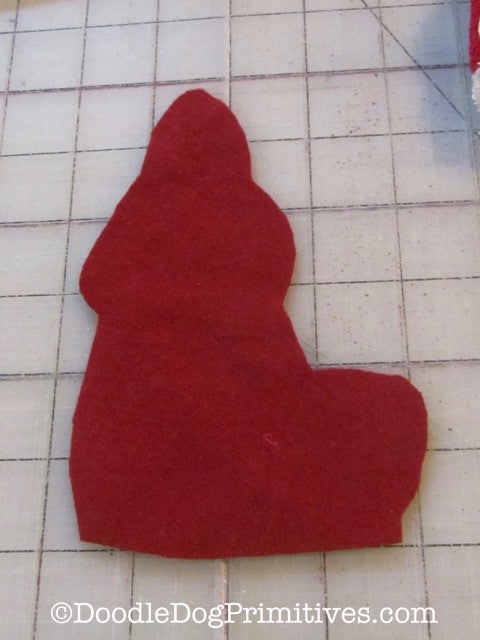
and I cut a base oval out of the same felted wool.
I just estimated the size on this based on the size of the bottom of the Santa
and cut an oval from felted wool.
It is better to be too big on the base rather than too little
because you can (and I did) cut part of the wool off as you sew it on.

I then hand-sewed the punch needle piece to the wool backing
(click for instructions on how to do this)
leaving the bottom completely open.

Then, I attached the lantern to his hand with a needle and thread.
I stuffed the Santa mostly full with stuffing
leaving a little room at the bottom to later add some plastic stuffing pellets.
(Kitty litter would also work.)
Sew the wool base onto the bottom of the Santa using the same technique
as was used for sewing the back onto the project.
When it is sewn almost all the way around the bottom, add the stuffing pellets
and finish sewing up the bottom.
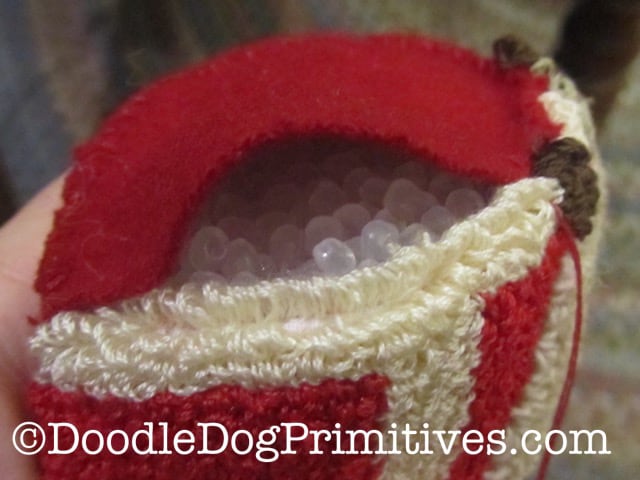
The stuffing pellets give it some weight on the bottom so it will stand up.

I hope you also try to make a 3D punch needle piece!
I would love to see what you create.
Blessings~
Amy
Be sure to Pin this 3D punch needle figure tutorial!
